Knitting with Metal: A Guide Knitting with Metal: A Guide Knitting with Metal: A Guide Knitting with Metal: A Guide for for for for Beginners Beginners Beginners Beginners Tips and Techniques by Jasmine Younkin Introduction Introduction Introduction Introduction Knit metal, much like yarn knitting, has many facets. Metal can be knit into household objects, sculptures, wearable art, or whatever you imagine. Metal holds its shape and can be molded into 3-D shapes, which opens a lot of creative doors. I specialize in knit metal jewelry. I’m self-taught and have been selling my jewelry for two years now. I’ve been knitting with metal for four years. I’m in the process of writing a few patterns to sell in my Etsy shop (www.smilingraven.etsy.com .) I wrote this document with the intention of offering a basic, free guide to knitting with metal. This is the first time I’ve translated ideas/techniques to writing for public consumption. Please feel free to e-mail me with any questions or comments [email protected].
Transcript
Knitting with Metal: A Guide Knitting with Metal: A Guide Knitting with Metal: A Guide Knitting with Metal: A Guide forforforfor Beginners Beginners Beginners Beginners Tips and Techniques by Jasmine Younkin
IntroductionIntroductionIntroductionIntroduction Knit metal, much like yarn knitting, has many facets. Metal can be knit into household objects, sculptures, wearable art, or whatever you imagine. Metal holds its shape and can be molded into 3-D shapes, which opens a lot of creative doors. I specialize in knit metal jewelry. I’m self-taught and have been selling my jewelry for two years now. I’ve been knitting with metal for four years. I’m in the process of writing a few patterns to sell in my Etsy shop (www.smilingraven.etsy.com.) I wrote this document with the intention of offering a basic, free guide to knitting with metal. This is the first time I’ve translated ideas/techniques to writing for public consumption. Please feel free to e-mail me with any questions or comments [email protected].
PreparationPreparationPreparationPreparation First things first, learn how to knit using yarn. Many of the techniques used in yarn knitting can be transferred to knitting with metal. There are some techniques and tricks which are unique to metal knitting. Next step, trim your nails as much as possible. Knitting with metal *WILL* break your nails. I usually coat my nails with Hard as Nails or some comparable strengthening polish. Beat the inevitable by preparing. Invest in some nice hand cream. For whatever reason, working with metal dries out my hands much more than working with yarn. Make sure you moisturize at least 15 minutes before so the metal doesn’t slip between your fingers. I prefer moisturizers with no scent. Sometimes artificial scents will dull metal or simply smell putrid when mixed with metal smells. Invest in a good set of needles or two. I’ve found that aluminum work best for me. Steel needles will also work. I wouldn’t suggest using bamboo or wood needles for obvious reasons. They break easily and the metal wears them down, causing painful splinters. Your aluminum needles will get bent and funky. They won’t be pretty, but will still function fine for metal working. They’re also easy to bend back into shape when they get arched. I personally prefer dpns. They come in sets of 4-5 needles, so I can have more than one project going. They also tend to be shorter and compact. When you’re working with metal, the work will strain your fingers and hands. Working with smaller needles reduces the amount of work you’ll have to put into knitting. Short needles will also bend less than long needles. I generally use 6 inch aluminum dpns.
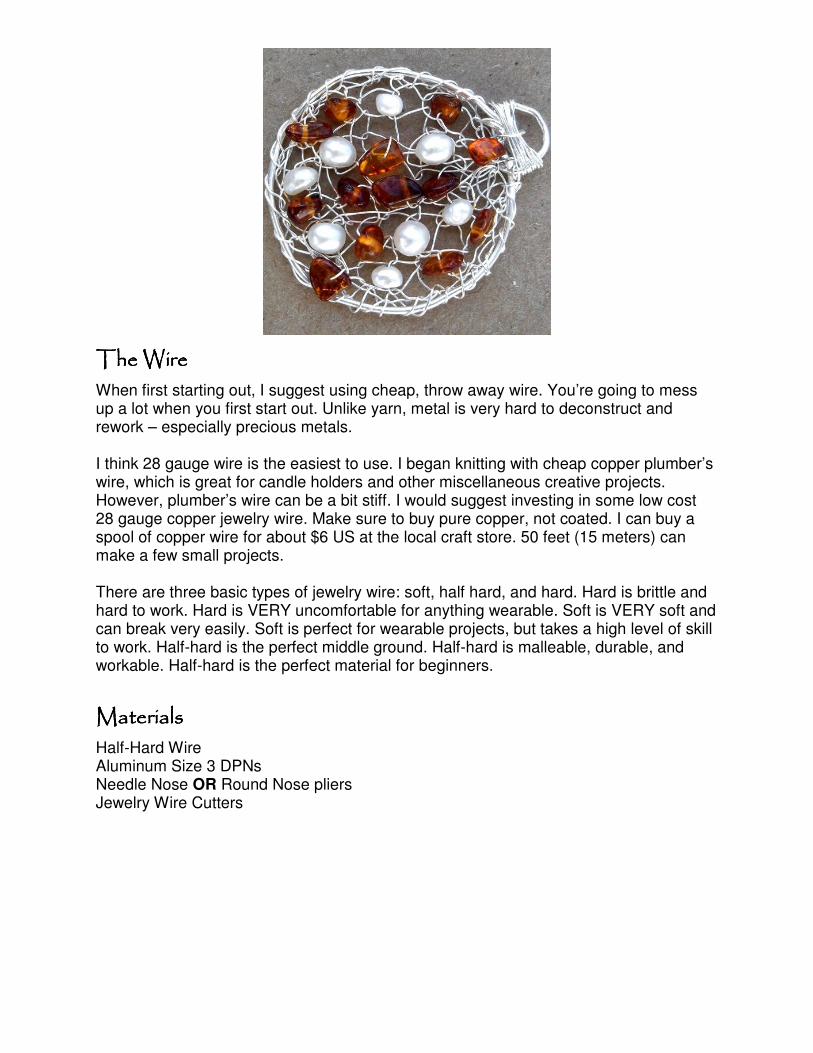
The WireThe WireThe WireThe Wire When first starting out, I suggest using cheap, throw away wire. You’re going to mess up a lot when you first start out. Unlike yarn, metal is very hard to deconstruct and rework – especially precious metals. I think 28 gauge wire is the easiest to use. I began knitting with cheap copper plumber’s wire, which is great for candle holders and other miscellaneous creative projects. However, plumber’s wire can be a bit stiff. I would suggest investing in some low cost 28 gauge copper jewelry wire. Make sure to buy pure copper, not coated. I can buy a spool of copper wire for about $6 US at the local craft store. 50 feet (15 meters) can make a few small projects. There are three basic types of jewelry wire: soft, half hard, and hard. Hard is brittle and hard to work. Hard is VERY uncomfortable for anything wearable. Soft is VERY soft and can break very easily. Soft is perfect for wearable projects, but takes a high level of skill to work. Half-hard is the perfect middle ground. Half-hard is malleable, durable, and workable. Half-hard is the perfect material for beginners.
MaterialsMaterialsMaterialsMaterials Half-Hard Wire Aluminum Size 3 DPNs Needle Nose OR Round Nose pliers Jewelry Wire Cutters
CasCasCasCasting Onting Onting Onting On Cast on using lark’s head knot. There are other methods which are possible, but this is the easiest method. Next, cast on additional stitches using preferred cast on method. Personally, I prefer the long-tail cast on method, but any method is fine. When casting on additional stitches, form a 1 inch (2.5 cm) loop. Gently decrease the loop, forming a nice even stitch on the needle. If the stitch is lopsided, release the stitch, smooth the wire, and start over. Cast on loosely. You’ll want approximately 2 mm (1/10 inch) of extra room on each casted stitch. Learning to cast on metal stitches is the hardest metal knitting technique. Once you’ve mastered casting on, you’re halfway there.
KnittingKnittingKnittingKnitting Slip the first stitch onto the end of the cast on needle. Knit into the first stitch and while both needles are in the stitch, gently pull away from the first needle with the working needle. The stitch should fit on the working needle, leaving approximately 2-3 mm of working room and look a bit stretched out and funky. This is a good thing! Knit into the remaining stitches as you would normally. Turn the work and knit into the first stitch. Tighten this stitch a bit more than the others, pulling gently to get that nice stretched out stitch. Keep repeating this method until you’ve made a few rows. Your work should look like a box or rectangle. At first, your work will look a bit scraggly around the edges. Remember when you first began knitting with yarn? Remember all the lumps, bumps, and weird pieces with one side significantly too long? You’re going to have to go through the same process to master metalwork. As you get used to working with metal, your work will improve.
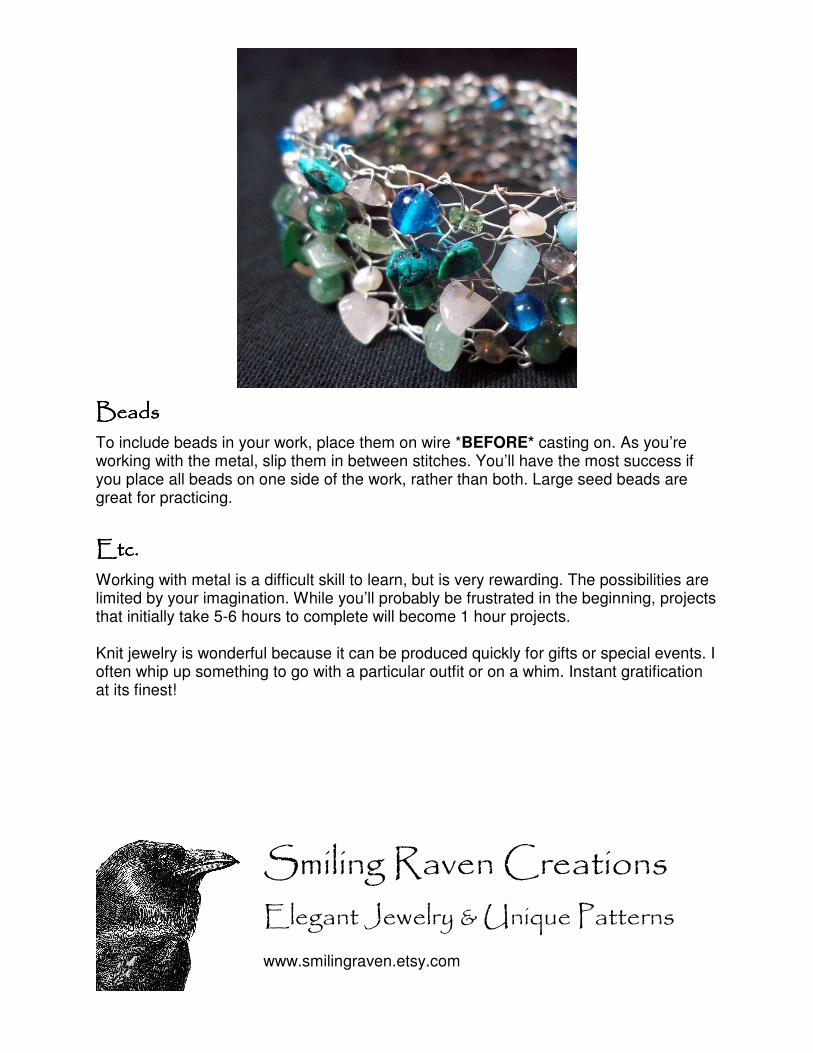
BeadsBeadsBeadsBeads To include beads in your work, place them on wire *BEFORE* casting on. As you’re working with the metal, slip them in between stitches. You’ll have the most success if you place all beads on one side of the work, rather than both. Large seed beads are great for practicing.
Etc.Etc.Etc.Etc. Working with metal is a difficult skill to learn, but is very rewarding. The possibilities are limited by your imagination. While you’ll probably be frustrated in the beginning, projects that initially take 5-6 hours to complete will become 1 hour projects. Knit jewelry is wonderful because it can be produced quickly for gifts or special events. I often whip up something to go with a particular outfit or on a whim. Instant gratification at its finest!