Knowledge is Power And if you look for it as for silver and search for it as for hidden treasure, then you will understand the fear of the LORD and find the knowledge of God. (Proverbs 2:4-5)
Transcript
Knowledge is Power
And if you look for it as for silver and search for
it as for hidden treasure, then you will
understand the fear of the LORD and find the
knowledge of God.
(Proverbs 2:4-5)
Kerberos Server Setup
on CentOS 5.8
Jeong Chul
tland12.wordpress.com
Computer Science
ITC and RUPP in Cambodia
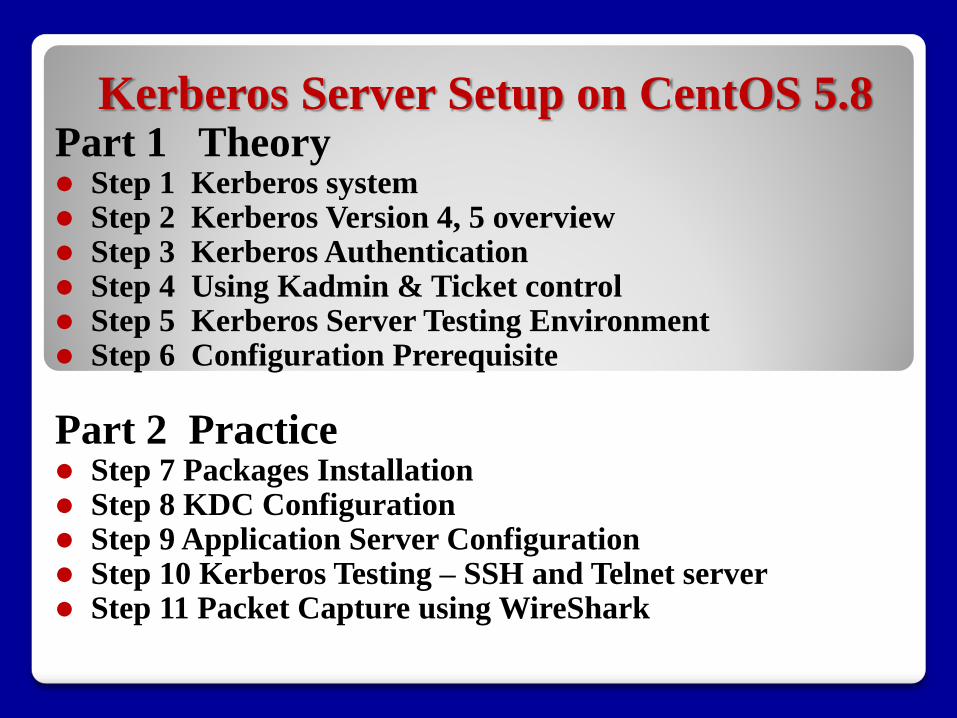
Kerberos Server Setup on CentOS 5.8 Part 1 Theory Step 1 Kerberos system Step 2 Kerberos Version 4, 5 overview Step 3 Kerberos Authentication Step 4 Using Kadmin & Ticket control Step 5 Kerberos Server Testing Environment Step 6 Configuration Prerequisite
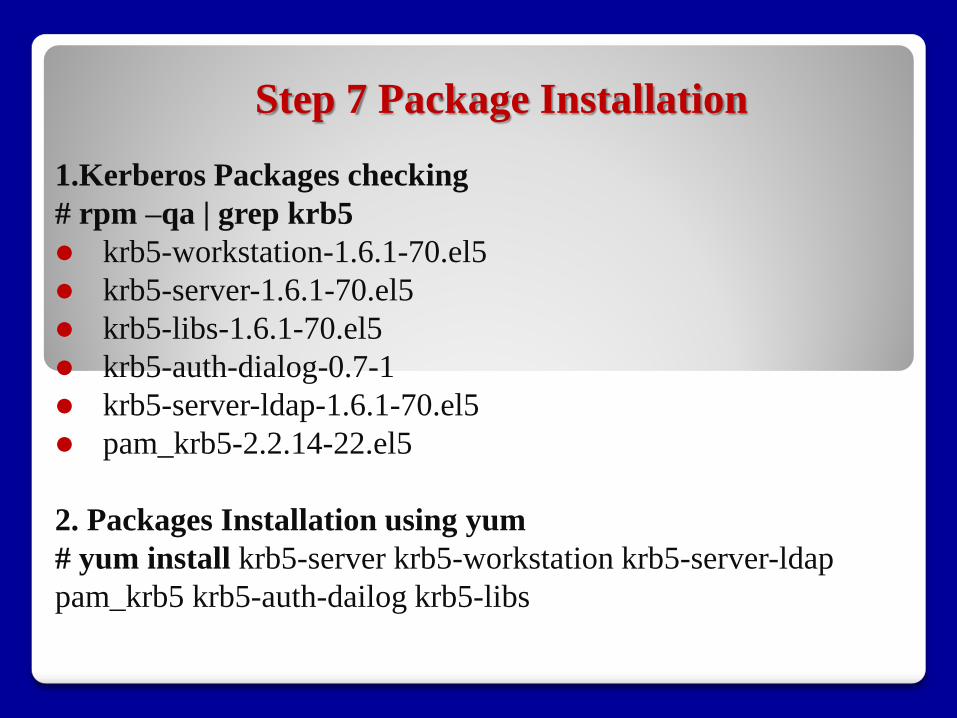
Part 2 Practice Step 7 Packages Installation Step 8 KDC Configuration Step 9 Application Server Configuration Step 10 Kerberos Testing – SSH and Telnet server Step 11 Packet Capture using WireShark
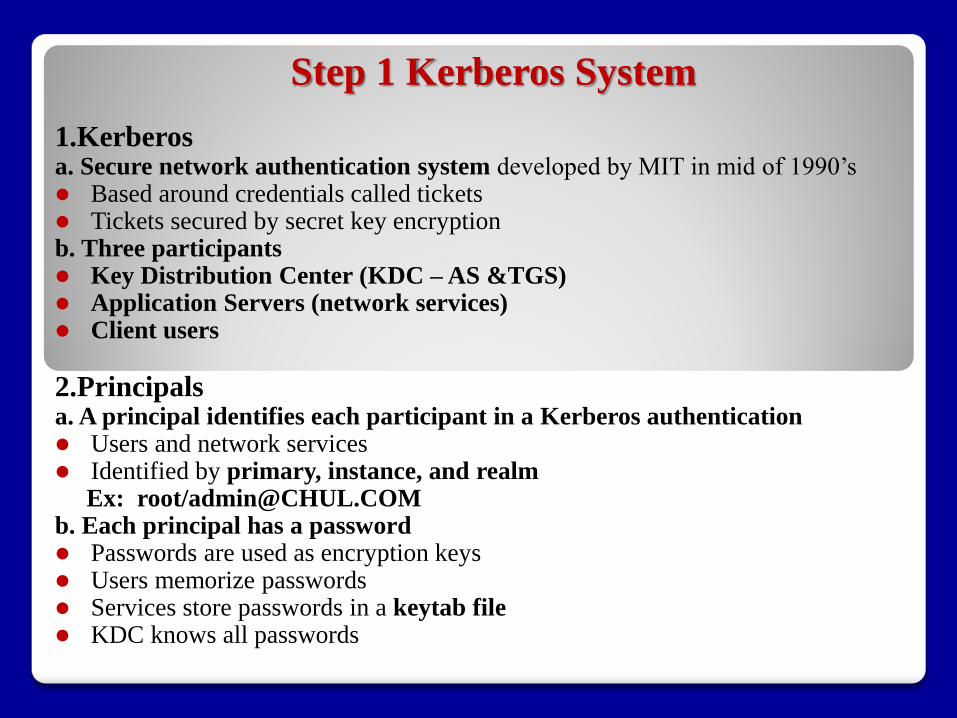
Step 1 Kerberos System
1.Kerberos a. Secure network authentication system developed by MIT in mid of 1990’s Based around credentials called tickets Tickets secured by secret key encryption b. Three participants Key Distribution Center (KDC – AS &TGS) Application Servers (network services) Client users
2.Principals a. A principal identifies each participant in a Kerberos authentication Users and network services Identified by primary, instance, and realm Ex: root/[email protected] b. Each principal has a password Passwords are used as encryption keys Users memorize passwords Services store passwords in a keytab file KDC knows all passwords
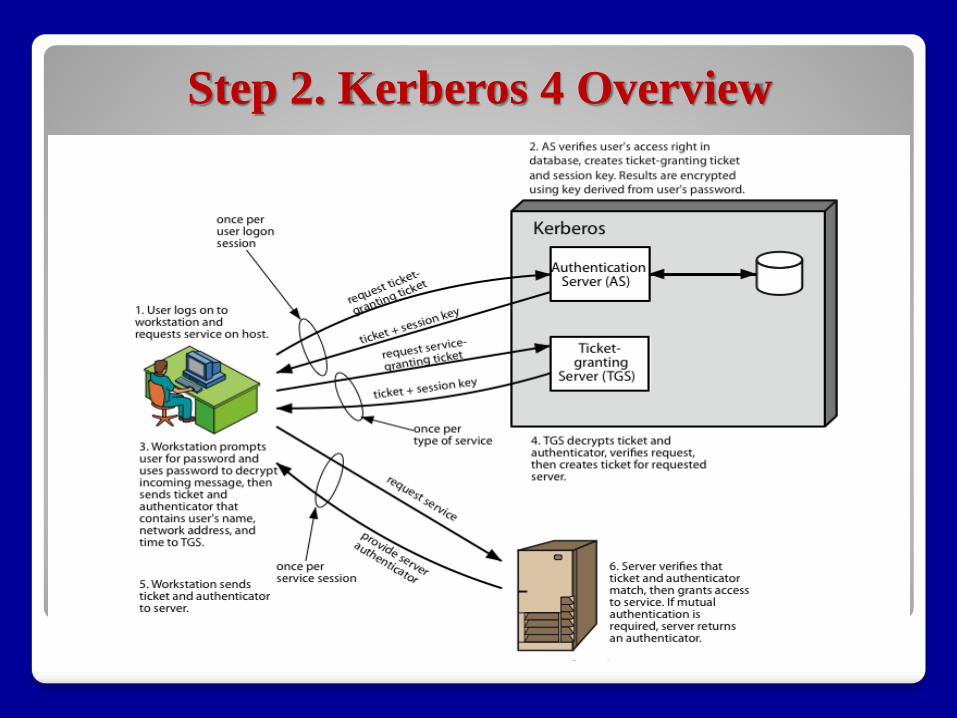
Step 2. Kerberos 4 Overview
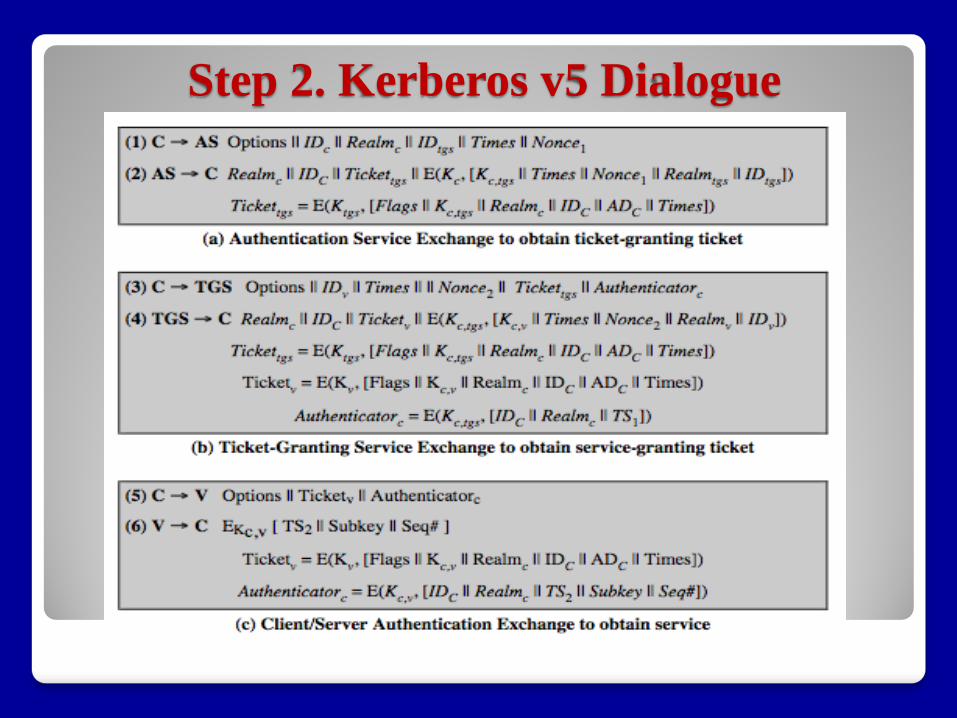
Step 2. Kerberos v5 Dialogue
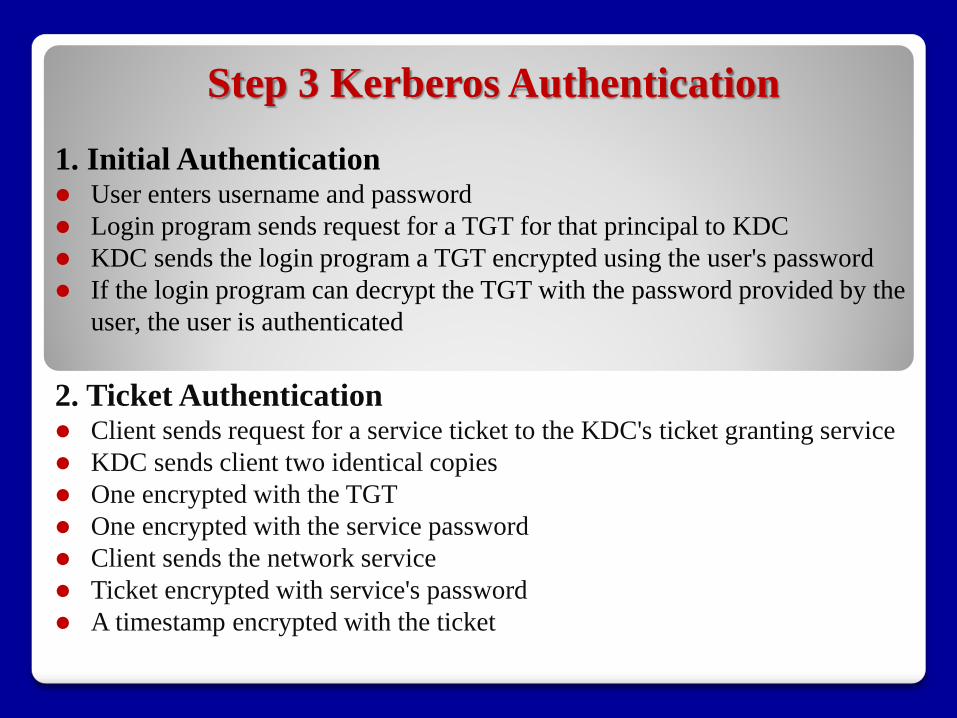
Step 3 Kerberos Authentication
1. Initial Authentication User enters username and password
Login program sends request for a TGT for that principal to KDC
KDC sends the login program a TGT encrypted using the user's password
If the login program can decrypt the TGT with the password provided by the
user, the user is authenticated
2. Ticket Authentication Client sends request for a service ticket to the KDC's ticket granting service
KDC sends client two identical copies
One encrypted with the TGT
One encrypted with the service password
Client sends the network service
Ticket encrypted with service's password
A timestamp encrypted with the ticket
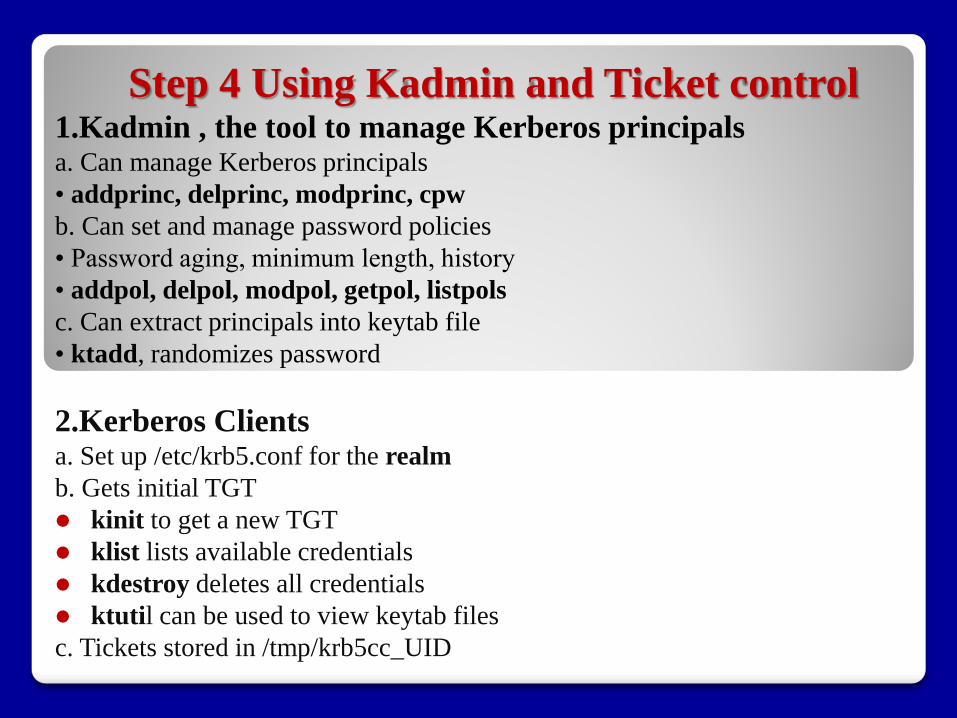
Step 4 Using Kadmin and Ticket control 1.Kadmin , the tool to manage Kerberos principals a. Can manage Kerberos principals
• addprinc, delprinc, modprinc, cpw
b. Can set and manage password policies
• Password aging, minimum length, history
• addpol, delpol, modpol, getpol, listpols
c. Can extract principals into keytab file
• ktadd, randomizes password
2.Kerberos Clients a. Set up /etc/krb5.conf for the realm
b. Gets initial TGT
kinit to get a new TGT
klist lists available credentials
kdestroy deletes all credentials
ktutil can be used to view keytab files
c. Tickets stored in /tmp/krb5cc_UID
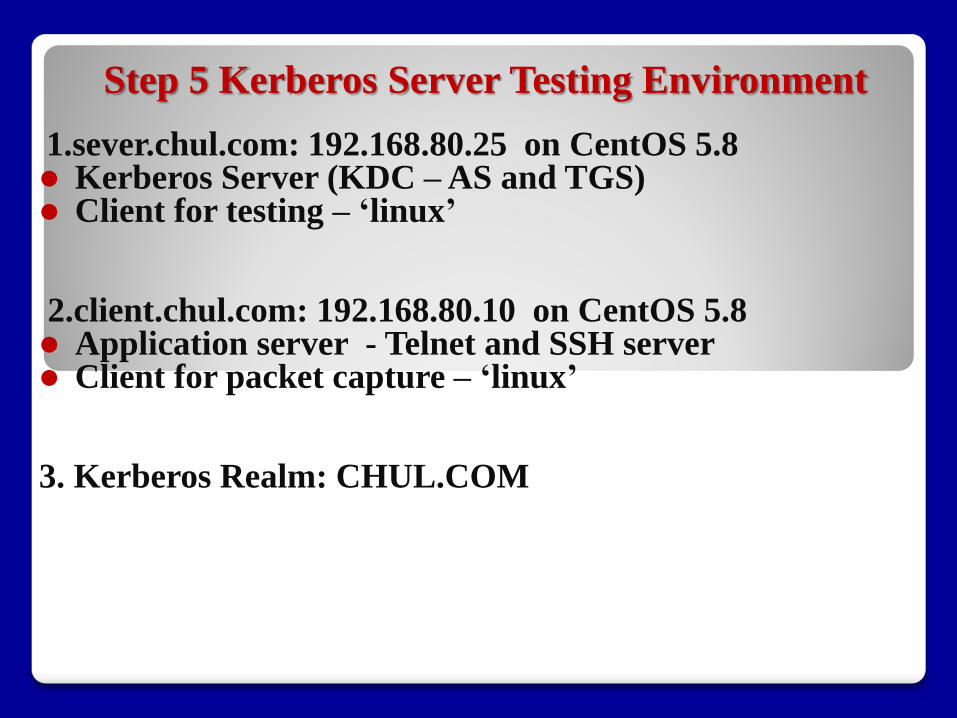
Step 5 Kerberos Server Testing Environment
1.sever.chul.com: 192.168.80.25 on CentOS 5.8 Kerberos Server (KDC – AS and TGS) Client for testing – ‘linux’ 2.client.chul.com: 192.168.80.10 on CentOS 5.8 Application server - Telnet and SSH server Client for packet capture – ‘linux’ 3. Kerberos Realm: CHUL.COM
1. Configuration on /etc/krb5.conf # vi /etc/krb5.conf [libdefaults]: default_realm = CHUL.COM [realms] CHUL.COM = { kdc = 192.168.80.25:88 admin_server = 192.168.80.25:749 } [domain_realm] should read: [domain_realm] server.chul.com = CHUL.COM client.chul.com = CHUL.COM In [appdefaults], add the following line inside the curly braces for the PAM block so that login program must validate the KDC validate = true
Step 8 KDC Configuration (2)
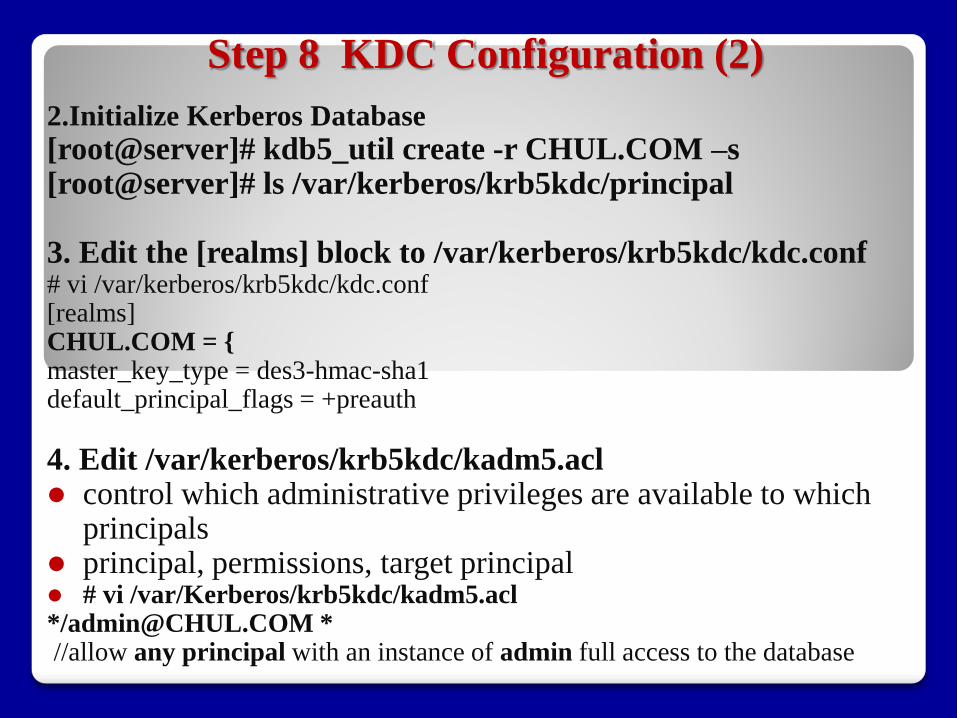
2.Initialize Kerberos Database
[root@server]# kdb5_util create -r CHUL.COM –s [root@server]# ls /var/kerberos/krb5kdc/principal 3. Edit the [realms] block to /var/kerberos/krb5kdc/kdc.conf # vi /var/kerberos/krb5kdc/kdc.conf [realms] CHUL.COM = { master_key_type = des3-hmac-sha1 default_principal_flags = +preauth
4. Edit /var/kerberos/krb5kdc/kadm5.acl control which administrative privileges are available to which
principals principal, permissions, target principal # vi /var/Kerberos/krb5kdc/kadm5.acl */[email protected] * //allow any principal with an instance of admin full access to the database
Step 8 KDC Configuration (3)
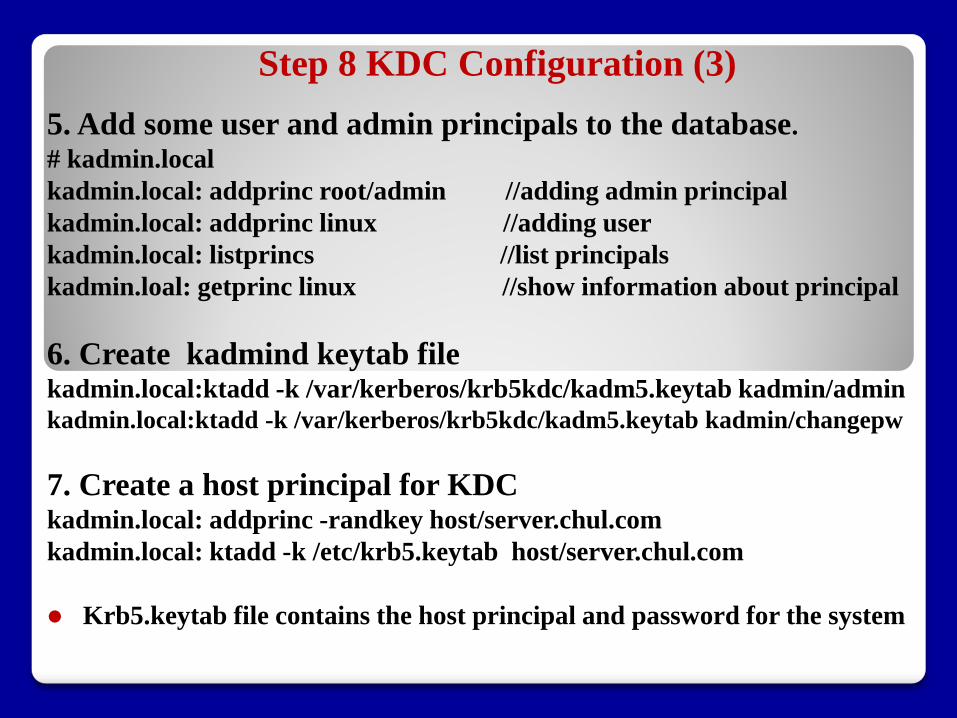
5. Add some user and admin principals to the database.
# kadmin.local
kadmin.local: addprinc root/admin //adding admin principal
kadmin.local: addprinc linux //adding user
kadmin.local: listprincs //list principals
kadmin.loal: getprinc linux //show information about principal