47
Hands-On: Deploying an Application with Kubernetes Practical guide by
| Date post: | 24-Jan-2018 |
| Category: |
Technology |
| Upload: | stratoscale |
| View: | 502 times |
| Download: | 2 times |

Hands-On:
Deploying an Application with Kubernetes
Practical guide by

Kubernetes is an open-source, container management solution originally announced by Google in 2014.
After its initial release in July 2015, Google donated Kubernetes to the Cloud Native Computing Foundation.
Since then, several stable versions have been released under Apache License.
In this short practical guide we will demonstrate how to deploy the WordPress content management system with a MySQL backend. It is a classic two-tier application, where the first tier is the application server (WordPress) that uses the second tier for data persistence (MySQL).

Step 1:
Create a Kubernetes Secret
Step 2:
Create a Persistent Volume
Step 3:
Claim a Persistent Volume
Step 4:
Deploy MySQL
Step 8:
Test the WordPress Application
Step 7:
Create a Service for WordPress
Step 6:
Deploy WordPress
Step 5:
Create a Service for MySQL

Step 1:
Create a Kubernetes Secret

Kubernetes secrets allow users to pass sensitive information, such as passwords, database credentials, to containers.
In the first step, we need to define a Kubernetes secret that contains a database name, user, and password.
It should also contain the root password for MySQL.
Step 1:Create a Kubernetes Secret

Before creating a secret, we need to encode such information in Base64 format.
Let’s assume we want to use the following values in our application:
• “app-db” as a database name• “app-user” as a database user name• “app-pass” as a database password• “app-rootpass” as a database root
password
Step 1: Create a Kubernetes Secret

Note that we need to provide a database root password to allow WordPress to create the required database.
To encode these values to Base64 format, we can use the standard base64 utility that is available in almost all Linux distributions:Step 1:
Create a Kubernetes Secret

We use the “-n” option to make sure that the new line symbol (“\n”) is not included in the encoded value.
To define a new Kubernetes secret, create a new file, app-secret.yaml, with the following content:Step 1:
Create a Kubernetes Secret
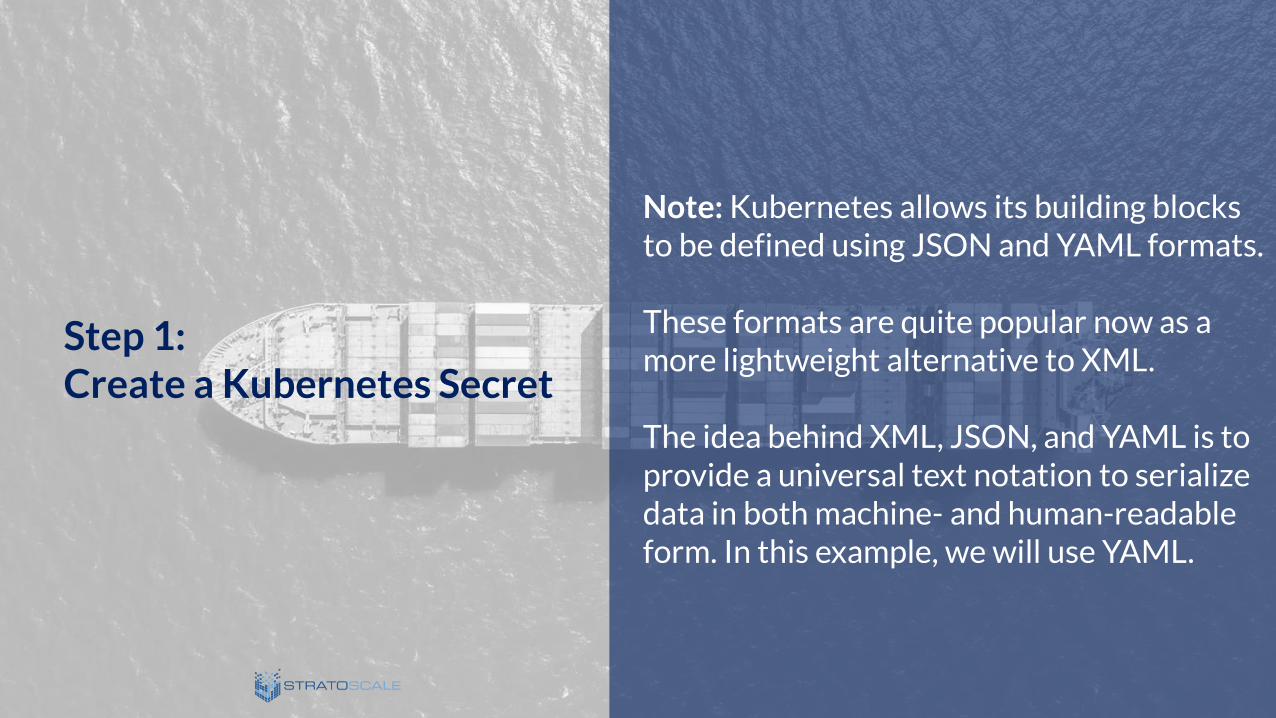
Note: Kubernetes allows its building blocks to be defined using JSON and YAML formats.
These formats are quite popular now as a more lightweight alternative to XML.
The idea behind XML, JSON, and YAML is to provide a universal text notation to serialize data in both machine- and human-readable form. In this example, we will use YAML.
Step 1: Create a Kubernetes Secret

In the app-secret.yaml file, we specified the required Kubernetes API version and the data type to let Kubernetes know that we are defining a secret.
In addition, the file defines four keys (dbname, dbuser, dbpass, dbrootpass) with the corresponding values we encoded above.
Step 1: Create a Kubernetes Secret

Now we can create our Kubernetes secret using its definition in the app-secret.yamlfile:
Let’s verify the secret creation:
Step 1: Create a Kubernetes Secret

Step 2:
Create a Persistent Volume

Next, we will create a Kubernetes persistent volume to provide the underlying storage for our MySQL database.
To define a new persistent volume, create a new file, app-pv.yam, with the following content:Step 2:
Create a Persistent Volume

In this file, we use a HostPath volume, which will just pass a directory from the host into a container for consumption. To specify that the persistent volume will be used for our application, we added a label (vol: mysql) that can be used later in a selector.
Before creating the actual persistent volume, verify that the directory /data/app exists:
Now we can create our persistent volume:
Step 2: Create a Persistent Volume
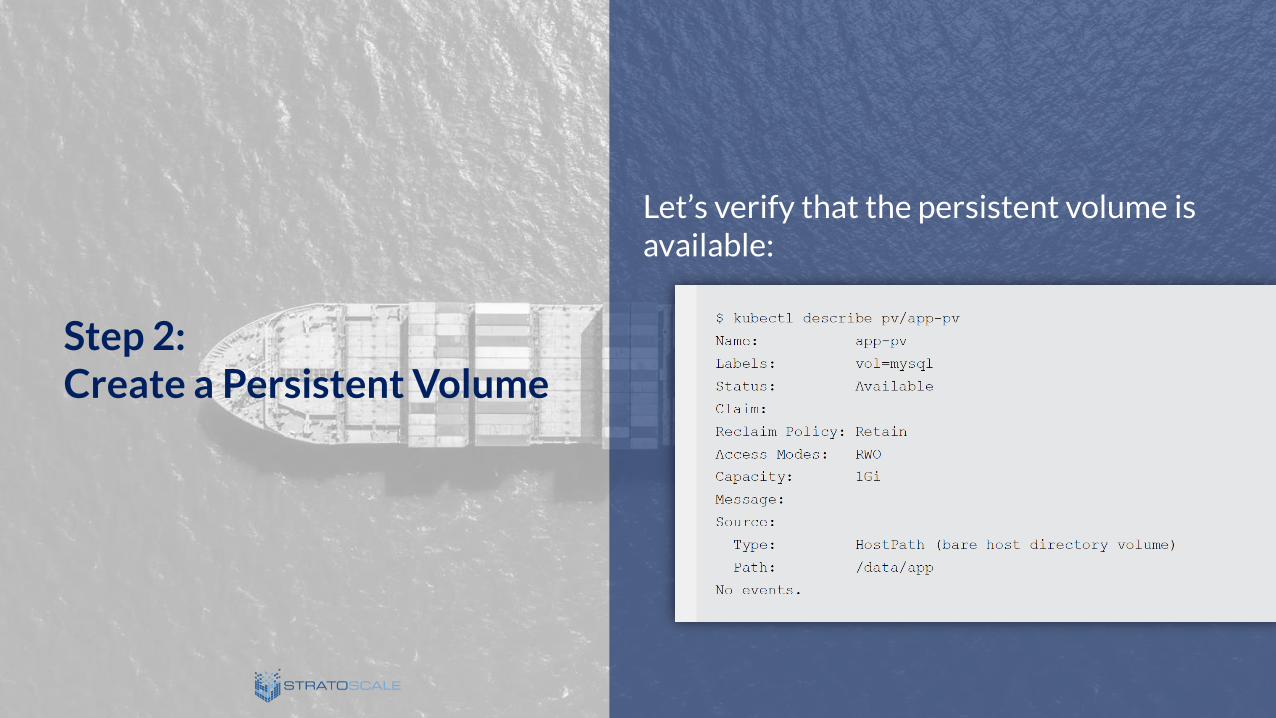
Let’s verify that the persistent volume is available:
Step 2: Create a Persistent Volume

Step 3:
Claim a Persistent Volume

For MySQL, we need to claim our previously created persistent volume.
Create a new file, apppvc.yaml, with the following content:
Step 3: Claim a Persistent Volume

The label selector “matchLabels” is used to make the association to the persistent volume that we created early.
To create the persistent volume claim using its definition execute the following:
Step 3: Claim a Persistent Volume

Step 4:
Deploy MySQL

Now we will create a new deployment for MySQL using the existing Docker image.
Create a new file, mysql-deployment.yaml, with the following content:
Step 4: Deploy MySQL

There is quite a lot of stuff happening in the above YAML. Let’s break it down:• We are specifying a standard pod’s information, such as
container name (mysql), image to use (mysql:5.6), and exposed port to access (3306).
• We are specifying the number of replicas (1) and attaching a label (app: mysql).
• We are then mounting a volume to the “/var/lib/mysql” directory in the container, where the volume to mount is named “mysql-pd” and is declared at the bottom of this document.
• We are also declaring environment variables to initialize. The MySQL image we are using that is available on Docker Hub supports environment variable injection. The four environment variables we are initializing are defined and used within the Docker image itself. The environment variables set all reference different keys we defined in our secret earlier. When this container starts up, we will automatically have MySQL configured with the desired root user password. We will also have the database for WordPress created with appropriate access granted for our WordPress user.
Step 4: Deploy MySQL

To create the deployment using its definition, execute the following:
Let’s verify that everything was created successfully:
Step 4: Deploy MySQL

Step 5:
Create a Service for MySQL
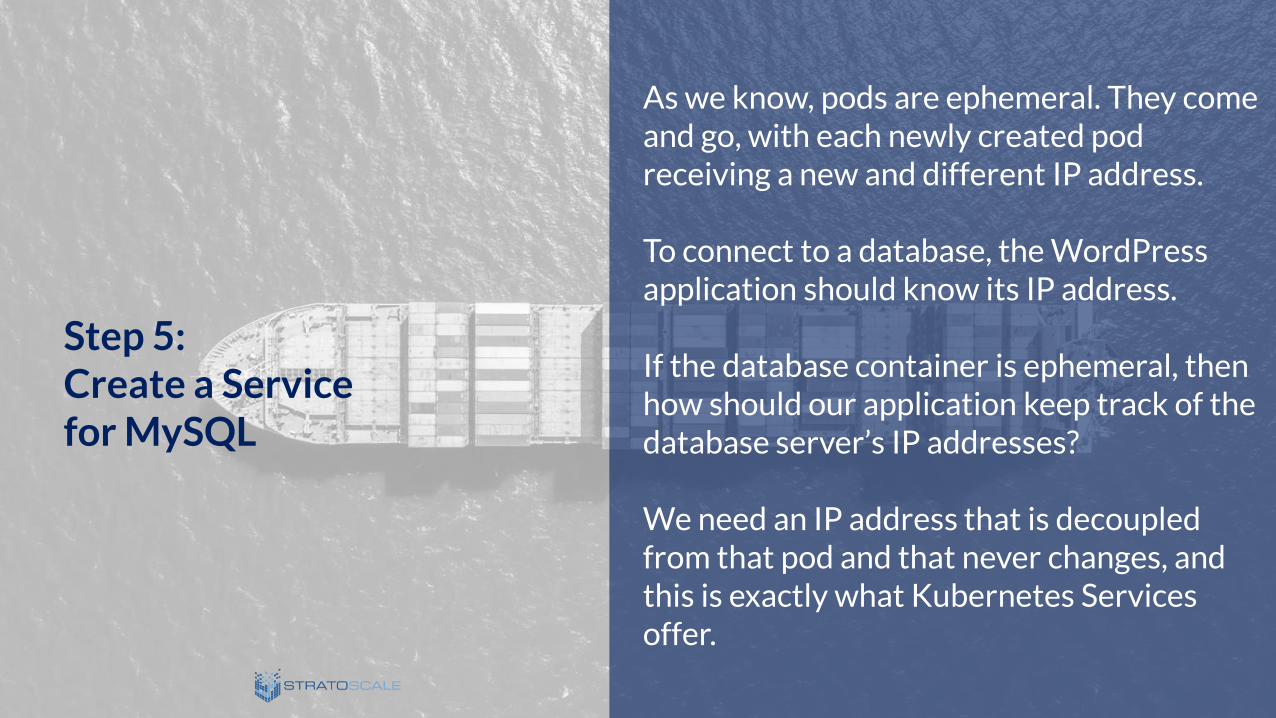
As we know, pods are ephemeral. They come and go, with each newly created pod receiving a new and different IP address.
To connect to a database, the WordPress application should know its IP address.
If the database container is ephemeral, then how should our application keep track of the database server’s IP addresses?
We need an IP address that is decoupled from that pod and that never changes, and this is exactly what Kubernetes Services offer.
Step 5: Create a Service for MySQL

To define a service for MySQL, create a new file, mysql-service.yaml, with the following content:
Step 5: Create a Service for MySQL

To create the actual service execute, the following command:
Step 5: Create a Service for MySQL

Let’s verify that the service is created and correctly mapped:
Step 5: Create a Service for MySQL

From the output above, we can verify the service was correctly mapped to the pod for our MySQL deployment in that the Endpoints IP address for the service aligns with the IP address for the MySQL Pod.
Step 5: Create a Service for MySQL

Step 6:
Deploy WordPress

To define a deployment for WordPress, create a new file, wordpress deployment.yaml, with the following content:
Step 6: Deploy WordPress

In this file, we are specifying standard pod information such as container name (wordpress), image to use (wordpress: 4.5-apache), exposed port to access (80), and number of replicas (2).
We are also attaching a label (app: wordpress) to the pod’s replicas. One of the key things we accomplish in the YAML above is the initialization of the environment variable ”WORDPRESS_DB_HOST” to a value of “mysql-service”.
This is how we are tell the WordPress application to access its database through the Kubernetes service we created in the previous step.
Step 6: Deploy WordPress

To create the actual deployment, execute the following command:
Verify the deployment:
Step 6: Deploy WordPress

Get a list of created pods:
Make note of the name of one of the WordPress pods from the output above. Execute an interactive shell within that pod:
Step 6: Deploy WordPress

Let’s check that the MySQL service can be resolved within the pod using the service’s name:
The above output verifies that mysql-service can be resolved through DNS to the ClusterIP address that was assigned to the MySQL service (your IP address may be different).
Step 6: Deploy WordPress

Now let’s verify that WordPress is properly configured:
The WordPress pod has configured itself using the environment environments “injected” into container using the values from the Kubernetes secret we defined earlier.
Step 6: Deploy WordPress

Step 7:
Create a Service for WordPress

The final step is to expose the WordPress application to external users. For this, we again need a service. In this step, we expose a port on the node running our application, and forward it to port 80 of our container. This allows us to access the application, but it probably is not the approach one would take in production, especially if Kubernetes is hosted by a service provider.
Kubernetes can integrate with load balancing services offered by platforms such as GCE and AWS. If you are using either of those, then that would be an approach to take for using the load balancing functionality offered by those platforms.
Step 7: Create a Service for WordPress

To define a service for the WordPress application, create a new file, wordpress-service.yaml, with the following content:
Step 7: Create a Service for WordPress

To create the actual service using the definition from the wordpress-service.yamlfile, execute the following command:
Verify its status:Step 7: Create a Service for WordPress

Step 8:
Test the WordPress Application

Open your browser and navigate to http://<nodeIP>:30080, where <nodeIP> is the address of your Kubernetes cluster node.
You can follow the installation wizard to get WordPress up and running through the browser.
Congratulations!
Step 8: Test the WordPress Application

The following diagram shows all of the Kubernetes building blocks we defined and created for our application:
Step 8: Test the WordPress Application
In production, we may want to update the WordPress deployment increasing the number of replicas to handle a high load for the application.
We can easily do it manually, but the preferred way in Kubernetes is to use auto-scaling feature.
Step 8: Test the WordPress Application

For the MySQL deployment in our example, there is no simple way to increase the number of MySQL pods, because we cannot share the same persistent volume between several MySQL processes: MySQL does not support that.
To scale the database and make it highly available we can use, for example, a Galeracluster in the multi-master node.
In this case, each Galera pod will use its own persistent volume and Galera cluster will replicate its data between pods using its own protocol.
Step 8: Test the WordPress Application

Want to learn more
about Kubernetes?
Download the eBook Now!

About StratoscaleStratoscale is the cloud infrastructure company, allowing anyone to deploy an AWS-compatible region in any data center. Stratoscale Symphony, can be deployed in minutes on commodity x86 servers, creating an Amazon Web Services (AWS) compatible region and offering AWS-compatible services including EC2, S3, EBS, RDS and Kubernetes. Stratoscale was named a “Cool Vendor in Servers and Virtualization” by Gartner and raised over $70M from leading investors including: Battery Ventures, Bessemer Venture Partners, Cisco, Intel, Qualcomm Ventures, SanDisk and Leslie Ventures.
For more information visit:
http://www.stratoscale.comUS Phone: +1 877 420-3244 | Email: [email protected]


