21
1 Meraki MSP Guide How to become a Meraki Managed Service Provider (MSP), from Zero to Hero! V2/0321

1
Meraki MSP GuideHow to become a Meraki Managed Service Provider (MSP), from Zero to Hero!
V2/0321

2
ContentsCisco Partner Program - Provider Role .............................................................3
Rebranding CMSP to the Provider role ............................................................. 4
Future-ready: Expanding provider benefits .....................................................5
How to become a Cisco Meraki Provider? ....................................................... 6
8 reasons why you should become a Meraki Managed Service Provider (MSP): .........................................................................................................7
Turnkey Managed Services Examples ................................................................8
Comstor Meraki MSP Training .............................................................................. 9
Create the Meraki MSP Dashboard ...................................................................10
Branding of the MSP Dashboard ........................................................................11
Create a New Customer Company Organisation and Network ............... 12
Convert to PDL licensing model ........................................................................ 13
Order Meraki Hardware and Licenses ..............................................................14
Add Hardware and Licenses ............................................................................... 15
Configuring Meraki Hardware .............................................................................16
Configuring a Network ......................................................................................... 17
Congratulations, you are now Meraki MSP enabled .................................... 18
Next steps .................................................................................................................19
Useful Links .............................................................................................................20
Contact Comstor ....................................................................................................21

3
Cisco Partner Program - Provider RoleTogether, we are in the midst of a new inflection point in the market. Our customers are increasingly moving to SaaS, managed services, and cloud solutions as they look for flexible consumption models and reduced time to maximize value.To capitalize on this shift, the new Cisco Partner Program (seen below) is a unified program, structured around the roles you play with customers, instead of how you transact with Cisco.
The program is based on four key roles that we primarily see partners playing: Integrator, Provider, Developer, and Advisor.
Providers are experts at delivering managed and cloud solutions and central to our strategy moving forward. This role is an evolution of the Cloud and Managed Services program and will continue to be supported with a robust end-to-end value exchange.
The Gold brand remains the cornerstone of the new program. Still, Cisco are enhancing Premier and Select program levels to make sure all partners who invest in Cisco have the degrees of freedom they need to differentiate with the customers they serve.
Integrator Developer AdvisorProvider (CMSP)
A foundation of partner incentives and unique role-based rewards
Gre
ater
Par
tner
Val
ue &
Ben
efits
Gold
Premier
Select

4
CMSP Master Gold Provider
CMSP Advanced Premier Provider
CMSP Express Select Provider
Rebranding CMSP to the Provider roleThe CMSP partner’s transition out of CMSP tiers and into the Provider role and levels commenced from February 9, 2021.
CMSP Master partners will transition to Gold Providers. New Gold Providers will have until day 1, Q1 FY23, to meet new eligibility requirements.
CMSP Advanced partners will transition to Premier Provider. No additional eligibility requirements.
CMSP Express partners will transition to Select Provider. No additional eligibility requirements.
CMSP The new Cisco Partner Program - Provider

5
Future-ready: Expanding provider benefitsEnabling partners to deliver outstanding managed service outcomes profitably is a goal of the Provider role. To accelerate Cisco provider success, we are focusing on five foundational benefits.
Differentiated Branding.Under the new Provider role,
the Provider Gold will be available for partners that meet the eligibility requirements —
bringing parity and recognition to providers who exemplify
best-in-class managed service practice capabilities and
investment.
Deal Velocity and deal protection.
To accelerate sales motions, Providers in all tiers may receive
competitive, pre-approved, upfront discounting (known as Simplified Pricing) across the Cisco portfolio and including
preferential pricing on Cisco SD-WAN (Viptela) on MSLA when
they use Simplified Pricing.
A growing Cisco Powered Service Portfolio.
Provider partners have access to and deliver managed services that adhere to rich standards with an ever increasing Cisco Powered
Services portfolio, including SD-WAN, Secure Access, Meraki
Access, Meraki Security, and Webex Contact Center.
Go to Market Support.Providers receive additional programmatic services to help them go to market,
including the development of customer facing content, sales enablement, and joint
marketing campaigns.
Financial Incentives.Provider partners receive various
financial incentives to help execute demand generation and sales of their MS offers, reinvest in
Cisco focused MS practice heads and drive performance across
the Managed Services lifecycle, including Market Development
Funds (MDF) and Provider Investment Funds (PIF).

6
How to become a Cisco Meraki MSP?So you want to start your Meraki MSP journey, great! This document will guide you through the process of becoming a Meraki MSP.Thank you for selecting Comstor and Cisco Meraki as your technology-of-choice for delivering managed services to your customers. With Meraki’s award-winning cloud architecture, ease of management, and highly scalable solutions, Meraki is a natural fit for any organisation looking to offer enterprise services to businesses ranging from SMBs to Fortune 100s.
Setup your Meraki MSP Dashboard
Get trained on Cisco Meraki Managed Services
Become a Meraki Managed Services Provider
Setting up your Meraki MSP Dashboard has never been easier. This document will guide you through the process, from creating the Meraki MSP dashboard to ordering and adding hardware + licenses to your customer organisations
Are you new to Meraki or already working with Meraki but still need to find ways to grow your business? Kick-off your Meraki Managed Services Business with Comstor’s Meraki MSP training.
Become a Cisco Meraki Managed Service Provider and maximise your profits. Grow your Managed Services revenue with incentives, promotions and market development funds.
1. 2. 3.
Let’s get started.

7
8 reasons why you should become a Meraki Managed Service Provider (MSP):1. Create managed services without many of the typical start-up costs and investments
2. Meraki offers a complete portfolio of 100% cloud-managed LAN, WAN, endpoint management, smart camera, security solutions and IOT sensor solutions
3. No additional hardware required for monitoring hardware and data center buildouts
4. The Meraki MSP dashboard allows you to remotely and centrally manage any number of customer networks and integrate with API’s
5. Provide co-branded customer portals with role-based access, rich analytics, simplified support ticketing across multiple organisations, location analytics, and remote live tools, such as rogue DHCP detection and containment
6. Intuitive platform, simple for sales to position
7. Reduced Network Operation Center (NOC) resources
8. Easily scale large customer deployments
Key benefits of Meraki-powered managed services include:
Shorter managed services sales cycles
• Intuitive, yet robust demo / trial capabilities
• Pre-configured devices, shipped directly to end customers
• Monitor-only or role-based access to dashboards with rich analytics and statistics
Zero-touch managed services deployments; unbox and plug-in
• No pre-staging, onsite configurations, or lengthy customer portal builds
• Highly scalable for deployments of any size
Rich “day two” margin opportunities
• Reduced operational costs and increased productivity with centralised maintenance from a single pane of glass, across any number of customers and sites
• 24x7 Meraki support escalation
• Intuitive management platform with automated alerts and notifications
• Next-day RMA process (depending upon geography)
• Remote tools which minimize the need for on-site support
Ability to deliver excellent customer experiences
• Provide a fully operational service that can be live within days of ordering
• MSP-branded customer dashboard
• Rich analytics, business insights, and visibility into meaningful trends
8
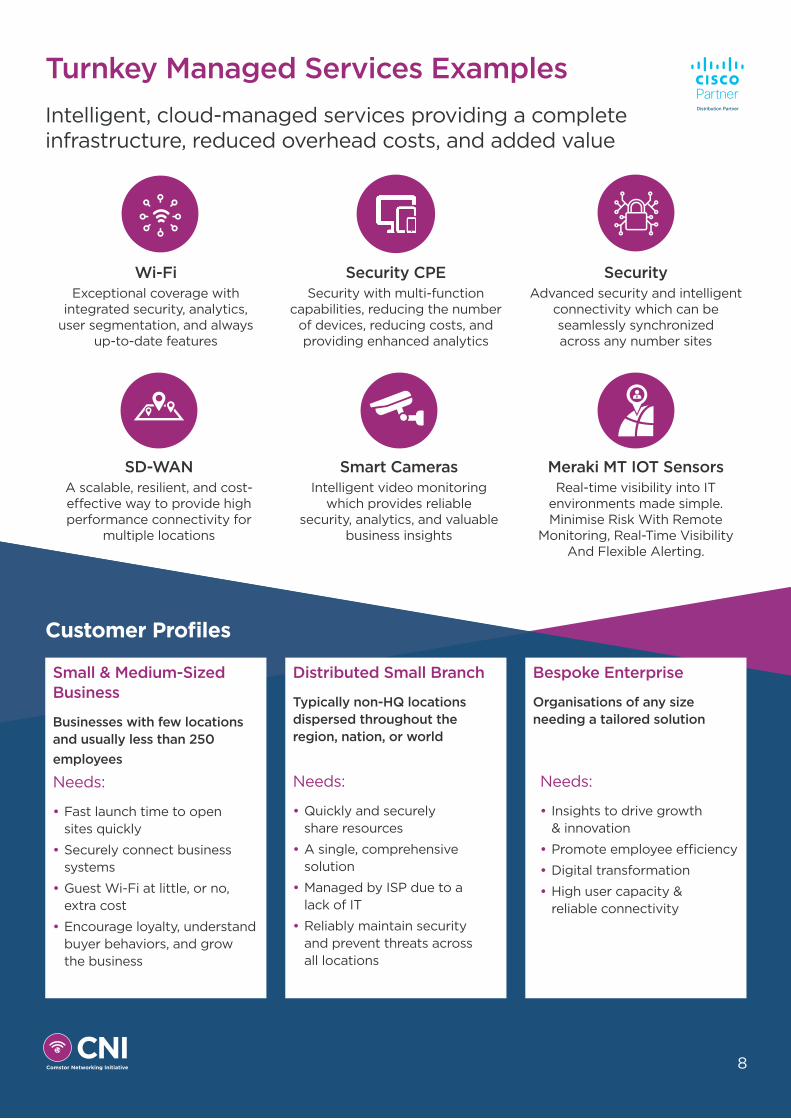
Turnkey Managed Services ExamplesIntelligent, cloud-managed services providing a complete infrastructure, reduced overhead costs, and added value
Customer Profiles
Wi-FiExceptional coverage with
integrated security, analytics, user segmentation, and always
up-to-date features
Small & Medium-Sized Business
Businesses with few locations and usually less than 250 employees
Needs:
• Fast launch time to open sites quickly
• Securely connect business systems
• Guest Wi-Fi at little, or no, extra cost
• Encourage loyalty, understand buyer behaviors, and grow the business
Distributed Small Branch
Typically non-HQ locations dispersed throughout the region, nation, or world
Bespoke Enterprise
Organisations of any size needing a tailored solution
SD-WAN A scalable, resilient, and cost-effective way to provide high performance connectivity for
multiple locations
Security CPE Security with multi-function
capabilities, reducing the number of devices, reducing costs, and providing enhanced analytics
Smart Cameras Intelligent video monitoring
which provides reliable security, analytics, and valuable
business insights
Meraki MT IOT Sensors Real-time visibility into IT
environments made simple. Minimise Risk With Remote
Monitoring, Real-Time Visibility And Flexible Alerting.
Security Advanced security and intelligent
connectivity which can be seamlessly synchronized across any number sites
Needs:
• Insights to drive growth & innovation
• Promote employee efficiency
• Digital transformation
• High user capacity & reliable connectivity
Needs:
• Quickly and securely share resources
• A single, comprehensive solution
• Managed by ISP due to a lack of IT
• Reliably maintain security and prevent threats across all locations
9
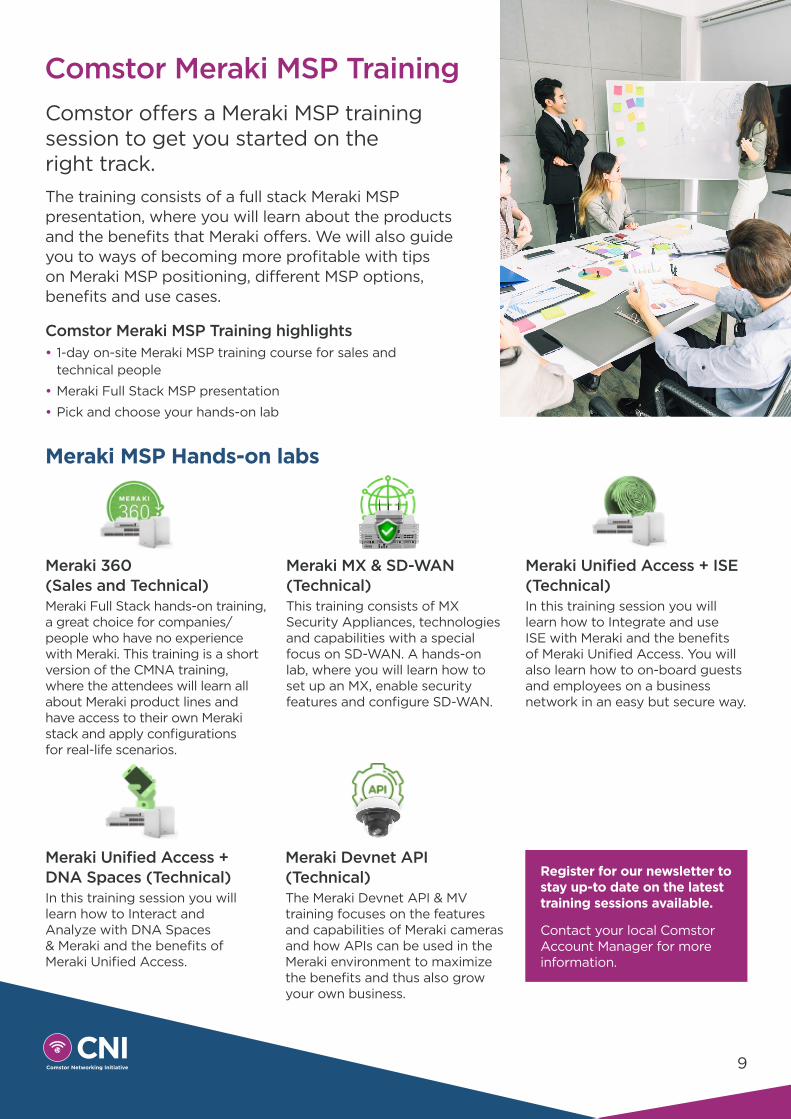
Comstor Meraki MSP TrainingComstor offers a Meraki MSP training session to get you started on the right track.The training consists of a full stack Meraki MSP presentation, where you will learn about the products and the benefits that Meraki offers. We will also guide you to ways of becoming more profitable with tips on Meraki MSP positioning, different MSP options, benefits and use cases.
Comstor Meraki MSP Training highlights• 1-day on-site Meraki MSP training course for sales and
technical people
• Meraki Full Stack MSP presentation
• Pick and choose your hands-on lab
Meraki MSP Hands-on labs
Meraki 360 (Sales and Technical)Meraki Full Stack hands-on training, a great choice for companies/people who have no experience with Meraki. This training is a short version of the CMNA training, where the attendees will learn all about Meraki product lines and have access to their own Meraki stack and apply configurations for real-life scenarios.
Meraki Unified Access + DNA Spaces (Technical)In this training session you will learn how to Interact and Analyze with DNA Spaces & Meraki and the benefits of Meraki Unified Access.
Meraki MX & SD-WAN (Technical)This training consists of MX Security Appliances, technologies and capabilities with a special focus on SD-WAN. A hands-on lab, where you will learn how to set up an MX, enable security features and configure SD-WAN.
Meraki Devnet API (Technical)The Meraki Devnet API & MV training focuses on the features and capabilities of Meraki cameras and how APIs can be used in the Meraki environment to maximize the benefits and thus also grow your own business.
Meraki Unified Access + ISE (Technical)In this training session you will learn how to Integrate and use ISE with Meraki and the benefits of Meraki Unified Access. You will also learn how to on-board guests and employees on a business network in an easy but secure way.
Register for our newsletter to stay up-to date on the latest training sessions available.
Contact your local Comstor Account Manager for more information.
10
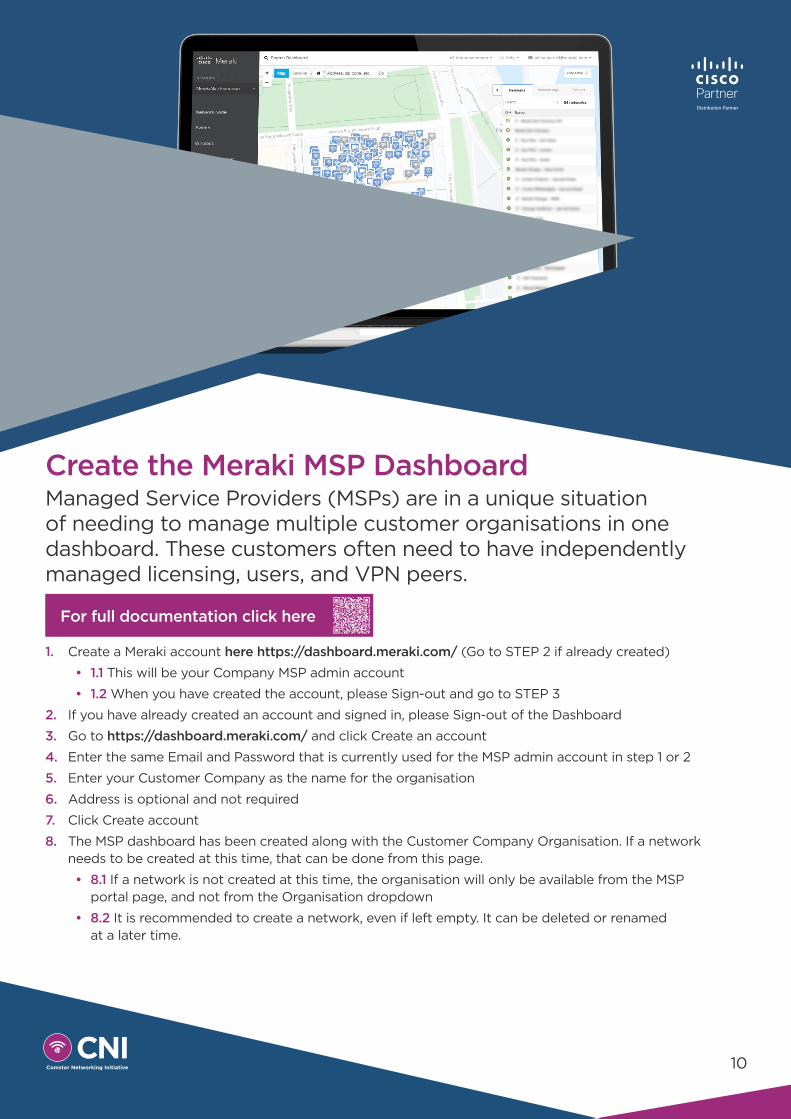
Managed Service Providers (MSPs) are in a unique situation of needing to manage multiple customer organisations in one dashboard. These customers often need to have independently managed licensing, users, and VPN peers.
1. Create a Meraki account here https://dashboard.meraki.com/ (Go to STEP 2 if already created)
• 1.1 This will be your Company MSP admin account
• 1.2 When you have created the account, please Sign-out and go to STEP 3
2. If you have already created an account and signed in, please Sign-out of the Dashboard
3. Go to https://dashboard.meraki.com/ and click Create an account
4. Enter the same Email and Password that is currently used for the MSP admin account in step 1 or 2
5. Enter your Customer Company as the name for the organisation
6. Address is optional and not required
7. Click Create account
8. The MSP dashboard has been created along with the Customer Company Organisation. If a network needs to be created at this time, that can be done from this page.
• 8.1 If a network is not created at this time, the organisation will only be available from the MSP portal page, and not from the Organisation dropdown
• 8.2 It is recommended to create a network, even if left empty. It can be deleted or renamed at a later time.
Create the Meraki MSP Dashboard
For full documentation click here

11
Branding of the MSP DashboardManaged Service Providers (MSPs) can now take advantage of custom branding options within the Cisco Meraki Dashboard. This allows MSPs to customise certain aspects of the Dashboard for their users and customers.
1. Navigate to Organisation > Branding.
2. Create a new policy by clicking Add policy.
3. Click on the new policy (which should be highlighted in yellow).
4. Enter a Name for the policy.
• Select which users this policy Applies to.
• All admins - Applied to all admin users in this Organisation.
• All admins of networks tagged - Applied to all admin users in networks with the selected tag.
• All admins of networks - Applied to all admin users in the selected networks.
• All network admins - Applied to all network-level admin users in the Organisation. Organisation admins are not included unless explicitly granted network-level permissions.
• All organisation admins - Applied to all organisation-level admin users in the Organisation.
• Specific admins - Applied to the admin users selected.
5. Select the desired behavior for each option under Help. To see each of these options in action, explore the Help tab along the left side of the page in Dashboard. Where applicable, behavioral options may include:
• Default or inherit - Use the default setting, unless the setting was previously overridden by another matched policy, in which case that setting will be used.
• Hide - Do not display this page or option.
• Replace - Replace this content with new information. Only available for certain options. When selected, an Edit option will appear in which custom text or HTML can be entered.
• Show - Display this page or option. Used to override a policy matched earlier that used either Hide or Replace.
6. If desired, change the Dashboard logo (which appears in the upper left corner of Dashboard) by clicking Change.
6.1. Keep in mind the following restrictions:• The uploaded image will be resized to a max width of 160px and max height of 40px. When resizing, the
image’s aspect ratio will be maintained.
• Recommended image formats are PNG, JPEG, GIF, or PDF.
• File size should not be greater than 5MB.
• Total resolution should not be greater than 65,448,100 pixels (8090 x 8090).
6.2. Click Upload file and browse for the image to use. Once uploaded, click on the image to highlight and then click Choose.
6.3. When finished with the policy, click Update.
7. Then click Save to save any changes to the policies.
Note! If you do not see the branding option in the Dashboard, please contact Cisco Meraki Support.
Note! Logos that are applied to Dashboard should be the logo of the MSP and not of the end customer.
For full documentation click here

12
Create a New Customer Company Organisation and Network
Organisations provide administrative containers for different networks which contain similar devices like access points, switches, or security appliances. Within an organisation you can create multiple networks which contain devices from different sites and locations. Multiple organisations can be linked together under a single login by using the same username and password when creating a new account/organisation
Creating a Network for the OrganisationA network holds devices and information related to those devices and can contain any number of access points or switches, but only a single security appliance, VM concentrator, or instance of Systems Manager.
1. Click on the newly created Organisation in the MSP Dashboard view
2. Select Register Meraki Devices if you want to setup a new Network (you can select this even if you do not have devices yet) or Setup Systems Manager if you want to setup a Systems Manager Network. Click Next.
3. Give the Network a name (for example Customer location)
4. (Optional) Click Add Devices to add some Meraki Hardware to the Network
5. Click Create Network
6. The Organisation Network has now been created
For full documentation click here
Creating an OrganisationIn order to create a new organisation for a customer/company, that will contain their various networks, perform the following steps:
1. Click the ‘organisation dropdown’ in the top left corner
2. Scroll to the top and select MSP Portal.
3. On the ‘MSP Portal’, expand the organisation list by selecting the arrow in the left corner of the list.
4. Select the ‘add organisation’ button.
5. Give the organisation a name (Customer name) and click ‘Create Org’
6. The Organisation is now created

13
Convert to PDL licensing modelMeraki currently offers two types of licensing models: a new, per-device licensing (PDL) model and a co-termination licensing model (co-term).
Default behaviourAs of November 2019, all Meraki customers are currently using a co-term licensing model by default. Per-device licensing is available for all new and existing customers to opt into. If you are a new customer creating a new Meraki organisation, you will automatically default to the co-term licensing model.
PDL modelCisco Meraki’s per-device licensing model allows customers to assign a license directly to a specific device or a network. This allows IT teams to maintain a single shared expiration date or various expiration dates across devices, networks, or organisations - whatever makes sense for your business however you see fit.
Per-device licensing offers a variety of features and ultimate flexibility for customers of all sizes.
For full documentation click here
1. Select the Organisation that you want to convert
2. Go to Organisation -> License Info
3. Click on Convert to per-device licensing
4. Read the Introduction text and click Next
5. Read the Convert Organisations text and click Next
6. Acknowledge the terms, tick the box and click Convert
7. The Conversion is now complete, click Done

14
Order Meraki Hardware and Licenses
Every Meraki hardware component requires a cloud license to be managed. Meraki hardware that isn’t licensed won’t pass traffic. Meraki devices use the Meraki cloud for centralised management and control.
The Meraki cloud is licensed on a “per device, per year” basis. Each device is licensed for a set duration with an expiration date. License prices vary for each product line and licenses are available for different time durations (1 day, 1, 3, 5, 7 and 10 years).
Ordering Meraki licenses is the same regardless of which licensing model you are using. You still order the same 1, 3, 5, 7, and 10 year licenses and receive a single Meraki license key and order number to claim into your Meraki dashboard organisation.
9 When you know what Meraki Hardware and licenses you need, reach out to Comstor Sales
9 If you are uncertain of the needed Meraki Hardware and licenses, reach out to Comstor and we will help you in selecting the correct products
9 You will receive an PO number from Meraki when you have ordered the Meraki Hardware and licenses from Comstor
9 You can use the Meraki PO number to claim your Hardware and Licenses into the Meraki Dashboard

15
Add Hardware and LicensesWhile a network can be configured without any devices in it, devices need to be added to a network to download their configuration. You’ll also need to add the licenses for those devices. This can easily be done in one step using the order number associated with your devices and licenses.
1. To claim an order, license or device, navigate to the Licensing & inventory page (Organisation -> License Info OR Organisation -> Inventory). On the ‘Overview’ tab, there is an add button in the upper right corner. Select ‘Add’.
2. Enter the order number, serial number or license key you wish to claim into your organisation. You can claim multiple types, one per line. The next step will show you the items you have added. Note: If your order contains matching licenses and devices (e.g. 5xMR-33 and 5xMR Licenses), Meraki can auto-assign the licenses and devices. If you wish to have this happen, select ‘Accept and assign’.
3. If you wish to manually assign the licenses to the devices, select ‘Next’. Select one or all the devices you wish to assign licenses to. Using the individual assignment, or the bulk assignment, increment or decrement the number of licenses you wish to assign to the selected device(s). When done, select ‘Select’.
4. The ‘Expiration date’ column will update with the expiration date based on the licenses assigned. To continue to assign the devices to a network, select ‘Next’.
5. You can either
• Assign the devices to an existing network.
• Add a new network and assign the devices to that network.
• Move the licenses to inventory. You can assign the devices to a network individually, or select multiple devices and assign them using the bulk action tool (at the top).
• Note: If you assign licenses to the devices and your inventory, the license will still start to burn. 6. When complete, select ‘Next’.
7. Once all the actions are complete, you will be prompted with a completion screen. You can then navigate to your device(s) and start configuring them.
For full documentation click here

16
Configuring Meraki HardwareAs opposed to traditional hardware that requires physical access to be configured, you can configure everything before you even have your devices, thanks to the Meraki cloud! Meraki devices get all their configuration settings from the Meraki cloud, which means the only prerequisite to getting a device up and running is an uplink connection on the device itself. As long as your device can get to the internet and has the appropriate firewall rules configured, your device will be able to contact the Meraki cloud and report on its performance, as well as check for and download its latest configuration.
All of your configuration settings can be set up in the dashboard before you even have the device, or it can be done after the fact. There is a tremendous amount of flexibility when getting started with the initial setup for a Meraki deployment. Here’s a list of the things you’ll need to set up for your first devices and networks:
• A Meraki dashboard account and organisation - you’ll create an organisation at the same time you create your account!
• An order number for a Meraki purchase, or the serial numbers of your devices
• An idea of what you want to do with your devices and how to group them
• An uplink to the internet for your devices, with valid firewall rules configured, so they can talk to the Meraki cloud
That’s all you need to get started with Meraki!If you have Meraki devices in-hand that have not yet been installed, please refer to Meraki quick start guides for first-time setup. These will provide information about mounting and initial configuration.
• MR Series Access Points
• MS Series Switches
• MX Series Security Appliances
• Z Series Teleworker Gateways
• MV Series Smart Cameras
• IOT sensors

17
Configuring a NetworkTo begin configuring your network, simply navigate to the desired configuration options in the Meraki dashboard and make your changes. Once your devices are online, they will automatically download their latest configuration within one to two minutes after saving the changes in the dashboard.
For more information about the configuration options available for each type of Meraki device, refer to the respective product manuals below.
MR Series Access Points
Z Series Teleworker Gateways
MS Series Switches
Systems Manager (SM)
MX Series Security Appliances
Meraki Insight (MI)
MV Series Cameras
Meraki Sensors (MT)

18
Congratulations, you are now Meraki MSP enabled
If you’ve reached this point, it’s likely that you’ve successfully created your MSP dashboard account and dashboard organisation, the first dashboard network contained in that organisation, and have added your first device(s) to that network. You’ve also added the appropriate licensing to your organisation.
Why not become a Cisco Provider Program Partner? It’s free and you will get some great benefits.
Cisco Provider Program – Enabling partners to deliver outstanding managed service outcomes profitably
Select Provider Premier / Gold Provider
Ben
efits
: Standard discount Earn Marketing Development Funds Fast Track pricing counted towards MDF PIF
Req
uire
men
ts:
Offer Cisco Meraki technology Marketing Service Description Proof of MS delivery & SLA Provide first call support RMM in place Monthly billing Meraki focused Cisco Powered service (For example MX Advanced Security)
Business Plan required Minimum Bookings ITIL v2 / v3 Must hold title of ownership Webex Validation of at least one Meraki focused Cisco Powered service

19
Next stepsContact your Comstor Account Manager to make your Cisco Provider journey easy.
9 Get more information about the Meraki MSP training, availability and training dates
9 Get trained on Meraki MSP
9 Apply for Gold Provider / Premier Provider / Select Provider
9 Start Selling Meraki Managed Services and improve your profitability

20
Useful LinksMeraki Managed Services HubFind a wide-variety of information to guide you throughout your journey in creating a Meraki-based managed service.
Meraki PartnersTrack deals, manage leads, access sales enablement, training, promotions, and more.
Meraki Guide Get a full Meraki guide from Comstor!
The Cisco Meraki 100% cloud-managed networking solution, encompassing security, physical surveillance, switching, wireless, and mobile device management, will help you grow your networking business with several unique advantages.
Small Business GuideGuiding you to ways of being more profitable within the small business market.
Cisco Meraki Launchpad v1 for Partners - Instant DemoDemonstrate the power of Meraki to your customers. This Demo includes preconfigured users and components to illustrate scripted scenarios and features of the solution.
Learn Managed Services the Meraki way.In this online course you will learn the benefits of managed services with the Meraki solution.

Contact Comstor today to start your Meraki MSP journey:
Equipo de Comstor
Tel: 914196100


