MID-CENTURY FLOOR LAMP BUILD IT WITH ROCKLER PROJECT PLAN BUILD QUESTIONS? Go to www.rockler.com or call 800-279-4441 67833 Bottle Lamp Kit with Harp, Polished Brass (1) 37060 1/2" D x 1" H x 1/2" Shank Rockler Piloted Flush Trim Bit (3 Cutting Flutes) 68968 3/8'' Tapered Plug Cutter with 1/4'' Hex Shank 68432 Centerline #8 x 2'' Flat Head Square X Self-Countersinking Wood Screws, (100-Pack) 60866 Empire-Shaped Hardback Lampshade 3/4 x 4-6" x 48, Mahogany (4) All items subject to changes in availability. Stock # Item
Transcript
MID-CENTURY FLOOR LAMP
BUILD IT WITHROCKLER PROJECT PLAN
BUILD QUESTIONS? Go to www.rockler.com or call 800-279-4441
67833 Bottle Lamp Kit with Harp, Polished Brass (1) 37060 1/2" D x 1" H x 1/2" Shank Rockler Piloted Flush Trim Bit (3 Cutting Flutes)68968 3/8'' Tapered Plug Cutter with 1/4'' Hex Shank68432 Centerline #8 x 2'' Flat Head Square X Self-Countersinking Wood Screws, (100-Pack)60866 Empire-Shaped Hardback Lampshade
3/4 x 4-6" x 48, Mahogany (4)
All items subject to changes in availability.
Stock # Item
FLOOR LAMP
MATERIAL LISTT x W x L
1 Legs (3) 3/4" x 3" x 47"2 Bottom Circle (1) 3/4" x 8-1/4"-dia.3 Top Circle (1) 3/4" x 4-1/2"-dia.4 Bottom Center Post (1) 3/4" x 5" x 16"5 Top Center Post (2) 3/4" x 5" x 12"
Exploded View
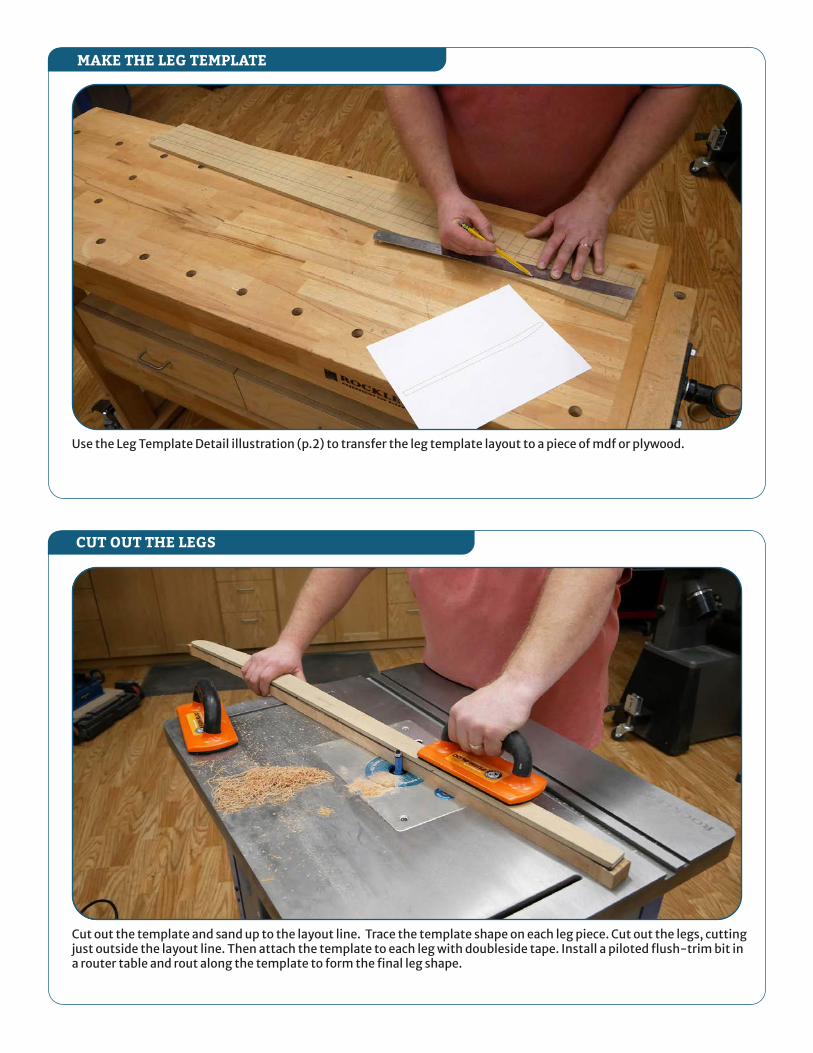
Use the Leg Template Detail illustration (p.2) to transfer the leg template layout to a piece of mdf or plywood.
Cut out the template and sand up to the layout line. Trace the template shape on each leg piece. Cut out the legs, cutting just outside the layout line. Then attach the template to each leg with doubleside tape. Install a piloted flush-trim bit in a router table and rout along the template to form the final leg shape.
CUT OUT THE LEGS
MAKE THE LEG TEMPLATE
FORM THE NOTCHES FOR THE BOTTOM CIRCLE
Use a chisel to form the notches in the legs that will connect the bottom circle. The bottom of the notch is located19-5/8" from the bottom of the leg.
Glue up a 3/4" x 10" x 10" square of mahogany. Set a compass to 4-1/8"-radius to draw the Bottom Circle. Draw the 8-1/4"-diameter Bottom Circle. Keeping the compass set to 4-1/8", make six marks around the perimeter of the circle (left photo). Then connect three of the marks to form a triangle (center photo). Reset the compass to 2-1/4"to repeat this process for the Top Circle. Finally, draw a line perpendicular with each triangle side. This line marks the center of the legs.
LAY OUT THE BOTTOM CIRCLE
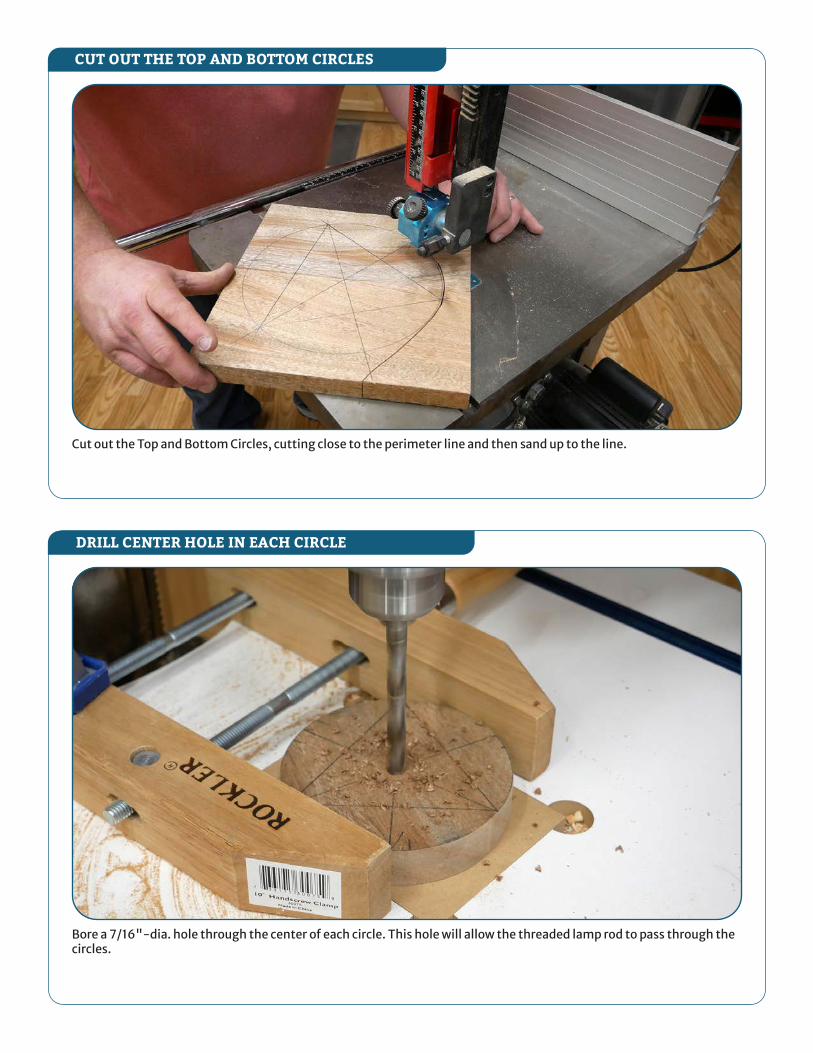
Cut out the Top and Bottom Circles, cutting close to the perimeter line and then sand up to the line.
Bore a 7/16"-dia. hole through the center of each circle. This hole will allow the threaded lamp rod to pass through the circles.
DRILL CENTER HOLE IN EACH CIRCLE
CUT OUT THE TOP AND BOTTOM CIRCLES
Transfer the center mark for each leg to the side of the circles. Sand to create a flat spot for connecting to the leg.
Use a plug cutter to cut six wood plugs from a scrap of the same wood used to make the legs. Use a band saw to cut the plugs loose.
CUT WOOD PLUGS
MARK THE CENTER LINE FOR EACH LEG
Use band clamps to clamp the circles between the legs. Position the band clamps so that the straps support the circles. It is easier to get a help to position the circles as you are tightening the clamps. Drill a pilot hole and counter bore for each screw.
Drill pilot holes and counterbore holes for each screw in the top circle. Secure the circles with screws and fill the counterbores with wood plugs.
ATTACH THE LEGS TO THE TOP CIRCLE
ATTACH THE LEGS TO THE BOTTOM CIRCLE
Set your table saw blade to 1/4" high and make several pass to cut a 1/2"-wide x 1/4"-deep groove in each half of the center post.
Apply glue to the edges along each side of the center groove and clamp the center post halves together.
ASSEMBLE THE CENTER POST
MAKE THE CENTER POSTS
Hold the center post in position against the circles. Mark the height of the Bottom post. Cut it to length. Position the post betwen the circles and slide the threaded rod through the circles and post. Thread nuts on the threaded rod below the Bottom Circle and above the Top Circle.
Follow the instructions included with the lamp hardware to wire the lamp. The lamp kit that is specified in the Materials List includes an insert for mounting to a bottle. This project does not requre using that insert.
INSTALL THE LAMP HARDWARE
INSTALL THE BOTTOM POST
Cut the Top Post to a length that leaves roughly 1/2" of threaded rod exposed. Slide the post over the rod and thread a nut on the rod to secure the post.