Beginners Guide To The Fiery Warpath Introduction Things You Will Need Basic Mechanism Power Type Streaks & Waves Charms Strategies Support Mice Catching the Gargantuamouse Warpath Commander Charm Trap Loots and their Uses Decision Regarding Trap Loots Conclusion
Transcript
Beginners Guide To The Fiery Warpath
Introduction Things You Will Need Basic Mechanism Power Type Streaks & Waves Charms Strategies Support Mice Catching the Gargantuamouse Warpath Commander Charm Trap Loots and their Uses Decision Regarding Trap Loots Conclusion
Introduction
First of all let me congratulate you on reaching the
heights of Baronhood. Must be brimming with excitement .
Let us first start by knowing what exactly is new about this
area? Well everything! So better be ready for the most
unique and enthralling experience ever in Mouse-Hunt till
date.
You are in middle of a War where experienced
Hunters and Huntresses from all across Gnawnia are trying
to repel a terrifying invasion from a group of mice who
prefer to call themselves The Marching Flame. It is said they
have travelled across the vast Sandtail Desert for ages
destroying everything that came in their way. So it goes
without saying that this isn‟t going to be an easy task. That
is why we need as much preparations as we can and that is
what we ensure over here in this Guide
Basic Mechanism
So let‟s get going. The mice here will attack in different
Waves. But hey, what exactly is that supposed to mean?
Well at first a certain number of them will come. Defeating
them will cause a new Battalion of mice to appear, only
more brutal and powerful this time. There are total of Four
Waves, completion of which will result in a head to head
battle with the dreaded Warmonger.
Power Type
Regarding the power types, this is one area like the Seasonal
Gardens where you will need more than one power type to go
through but in a totally different way. Just like in an army
there are multiple units, here also there are different kinds of
units. And different units have their weakness against
different power types. To start with there are Scouts, Warriors
and Archers who are weak against Physical Power Type. Then
there are Cavalries and Mages weak against Tactical and
Hydro Type respectively. Artilleries are also there for whom
Arcane Type works well and then there is the vicious
Gargantuamouse which can be tamed by a Draconic Type Trap
Streaks & Waves
Streaks:-In different waves you will come across a certain no. of
mice in total. But you don‟t really need to catch all of them to go
through. But it sounds impossible right? Not really because you
will notice something called streak over here. You will encounter a
streak by catching the same mouse in a row thrice without any
FTA or FTC in between. For every multiple of 3 streaks you get,
you will repel 2 more mice of the same type from the Wave. That is
catching 3 will make 2 more of them to retreat. Similarly 4 will
retreat after a streak of 6and so on.
Wave 1:- There are a total of 105 mice. 35 each of Scout, Archer
and Warrior.
Wave 2:- There are a total of 185 mice. 40 each of Scout, Archer
and Warrior. Along with 45 Cavalry and 20 Mage.
Wave 3:- There are a total of 260 mice. 50 each of Scout, Archer
and Warrior. Along with 60, Cavalry 30 Mage and 20 Artillery Wave 4:- In here you need to catch 12 Theurgy Warden guarding
theWarmonger to come face to face with him.
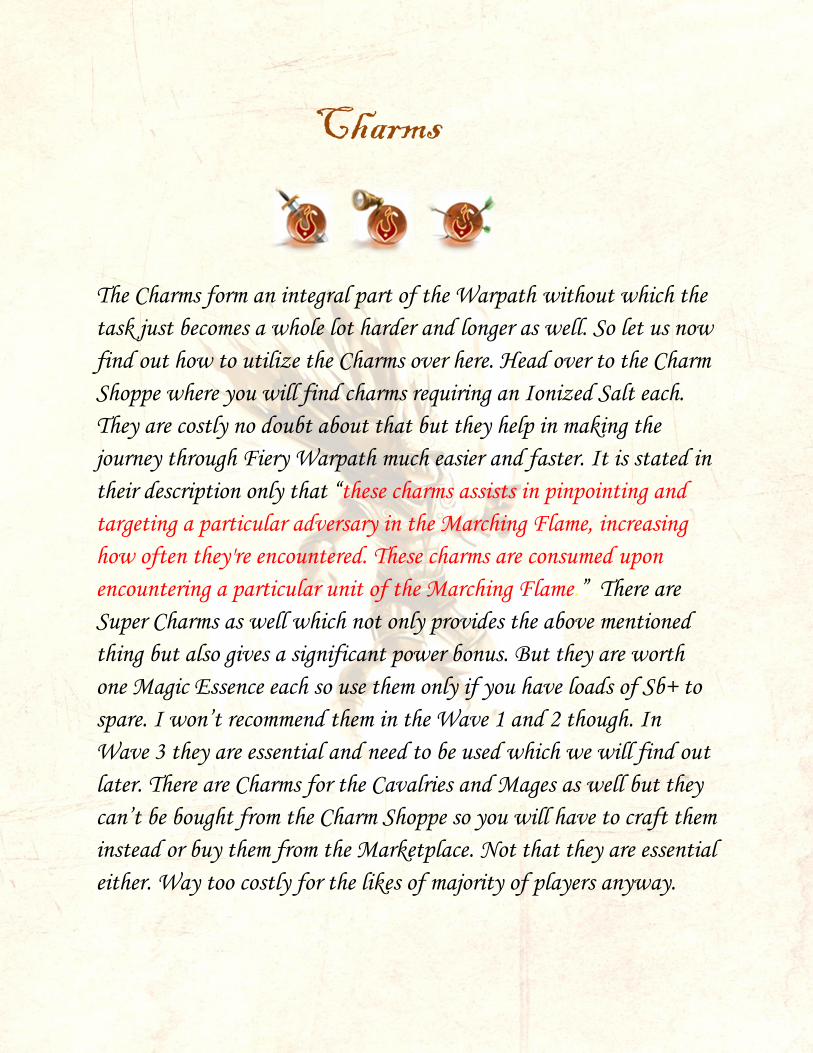
Charms
The Charms form an integral part of the Warpath without which the
task just becomes a whole lot harder and longer as well. So let us now
find out how to utilize the Charms over here. Head over to the Charm
Shoppe where you will find charms requiring an Ionized Salt each.
They are costly no doubt about that but they help in making the
journey through Fiery Warpath much easier and faster. It is stated in
their description only that “these charms assists in pinpointing and
targeting a particular adversary in the Marching Flame, increasing
how often they're encountered. These charms are consumed upon
encountering a particular unit of the Marching Flame.” There are
Super Charms as well which not only provides the above mentioned
thing but also gives a significant power bonus. But they are worth
one Magic Essence each so use them only if you have loads of Sb+ to
spare. I won‟t recommend them in the Wave 1 and 2 though. In
Wave 3 they are essential and need to be used which we will find out
later. There are Charms for the Cavalries and Mages as well but they
can‟t be bought from the Charm Shoppe so you will have to craft them
instead or buy them from the Marketplace. Not that they are essential
either. Way too costly for the likes of majority of players anyway.
Strategies Wave 1:-In here you have to deal with a total of 105 mice. Head over
to the Charm Shoppe and stock yourself with the 3 Normal Charms or
the Super ones if you are willing to burn Sb+. Arm your strongest
Physical Trap with Gouda (Sb+ if you are willing to use them) along
with a particular charm say Warpath Warrior Charm and let them do
all the work. Once a certain Class is defeated switch charms to attract
a different class. After finishing that as well you will be left with a
single class so no need to waste your charms for that cause only they
will fall before your trap. Once all the mice are done you will head
over to Wave 2 and will be presented with a Warpath Commander
Charm whose use we will see later in a while.
Wave 2:- Now here in Wave 2, the mice are tougher to catch than the
ones in Wave 1. Apart from Scout, Archer and Warrior now there
will be Cavalries and Mages as well. By now you must have a fair
idea about how things work so keep repeating what you did in Wave
1. Clear the 3 Physical Classes with their respective charms. Once that
is done, arm your strongest Tactical Trap. Zugzwang‟s First Move is
the most common option. But for those who managed to get the
Rewers Riposte from “She who must not be named” it‟s even better.
Finishing this wave will also reward you with one Warpath
Commander Charm.
Wave 3:-Now comes what could very well be said to be longest
challenge ever in the game. It sometimes gets so frustrating that it
could even make you feel that it would have been better hunting at
the Zugzwang‟s Tower now. As I said earlier, there are a total of 260
mice in here to clear. 50 each of Scout, Archer and Warrior. Along
with 60 Cavalry, 30 Mage and 20 Artillery. Usually it is wise to use
the Warpath Commander Charms in here which we will see shortly
afterwards. As the previous waves you will get another Warpath
Commander Charm as a reward once you complete it
Wave 4:- In here in Wave 4 there are 13 mice to be caught, including
the Warmonger himself. But he is actually guarded by 12 Elite
Guards known as the Theurgy Wardens. You need to clear 12 of them
to be able to catch the Warmonger. Before doing that you might
attract one though but won‟t be able to catch him. Arm your strongest
Physical setup in here. Catching the Warmonger for the first time will
get you Sandblasted Metal or an Oasis Bead or a Sphynx Crystal
which are used to craft the most powerful Physical, Hydro & Tactical
Traps respectively. It also drops 100 Flameshard every single time
with other random Charms such as Ultimate Power, Ultimate Luck,
Warpath Commander and even at times Simple Orbs. After the first
catch, the Warmonger will guard its loot closely hence getting one of
the trap loots thereafter is completely random and comes down to your
own luck.
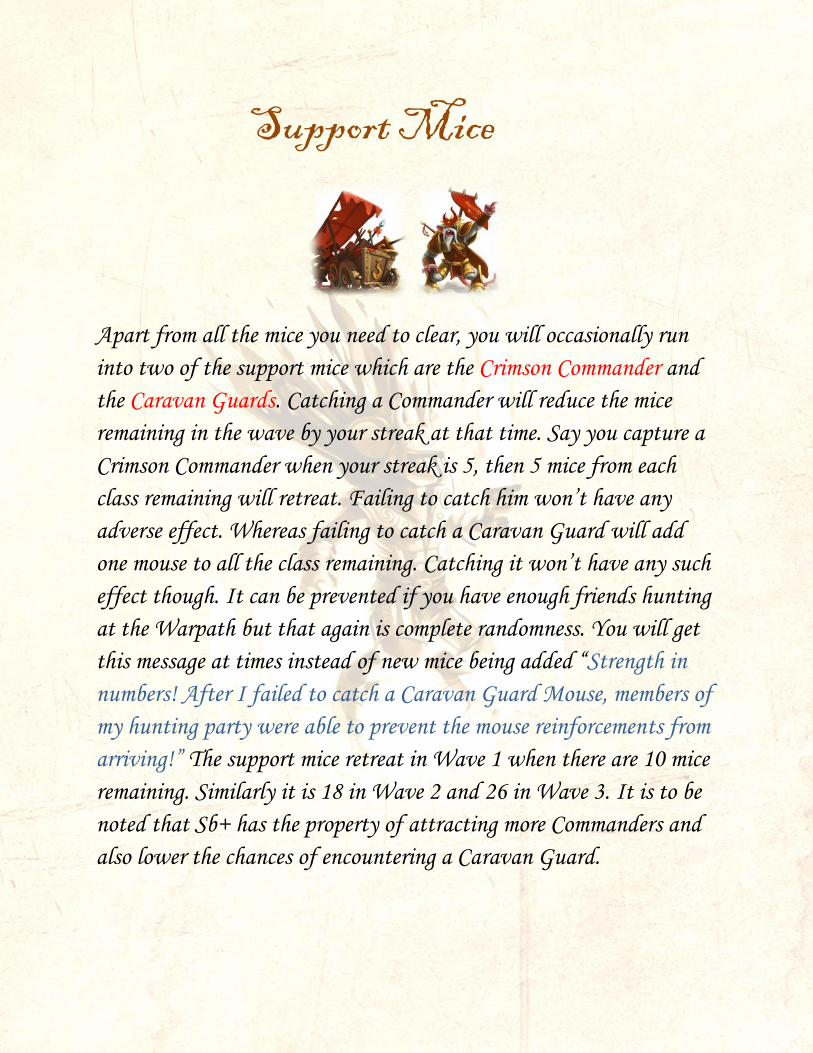
Support Mice
Apart from all the mice you need to clear, you will occasionally run
into two of the support mice which are the Crimson Commander and
the Caravan Guards. Catching a Commander will reduce the mice
remaining in the wave by your streak at that time. Say you capture a
Crimson Commander when your streak is 5, then 5 mice from each
class remaining will retreat. Failing to catch him won‟t have any
adverse effect. Whereas failing to catch a Caravan Guard will add
one mouse to all the class remaining. Catching it won‟t have any such
effect though. It can be prevented if you have enough friends hunting
at the Warpath but that again is complete randomness. You will get
this message at times instead of new mice being added “Strength in
numbers! After I failed to catch a Caravan Guard Mouse, members of
my hunting party were able to prevent the mouse reinforcements from
arriving!” The support mice retreat in Wave 1 when there are 10 mice
remaining. Similarly it is 18 in Wave 2 and 26 in Wave 3. It is to be
noted that Sb+ has the property of attracting more Commanders and
also lower the chances of encountering a Caravan Guard.
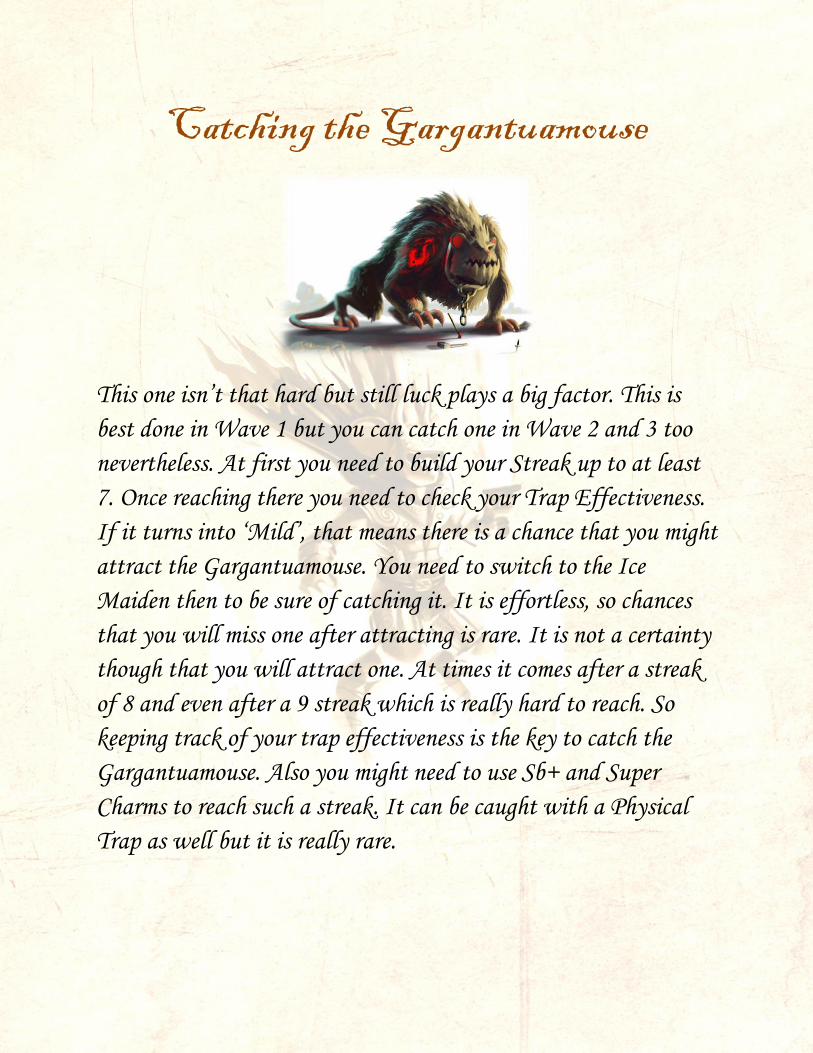
Catching the Gargantuamouse
This one isn‟t that hard but still luck plays a big factor. This is
best done in Wave 1 but you can catch one in Wave 2 and 3 too
nevertheless. At first you need to build your Streak up to at least
7. Once reaching there you need to check your Trap Effectiveness.
If it turns into „Mild‟, that means there is a chance that you might
attract the Gargantuamouse. You need to switch to the Ice
Maiden then to be sure of catching it. It is effortless, so chances
that you will miss one after attracting is rare. It is not a certainty
though that you will attract one. At times it comes after a streak
of 8 and even after a 9 streak which is really hard to reach. So
keeping track of your trap effectiveness is the key to catch the
Gargantuamouse. Also you might need to use Sb+ and Super
Charms to reach such a streak. It can be caught with a Physical
Trap as well but it is really rare.
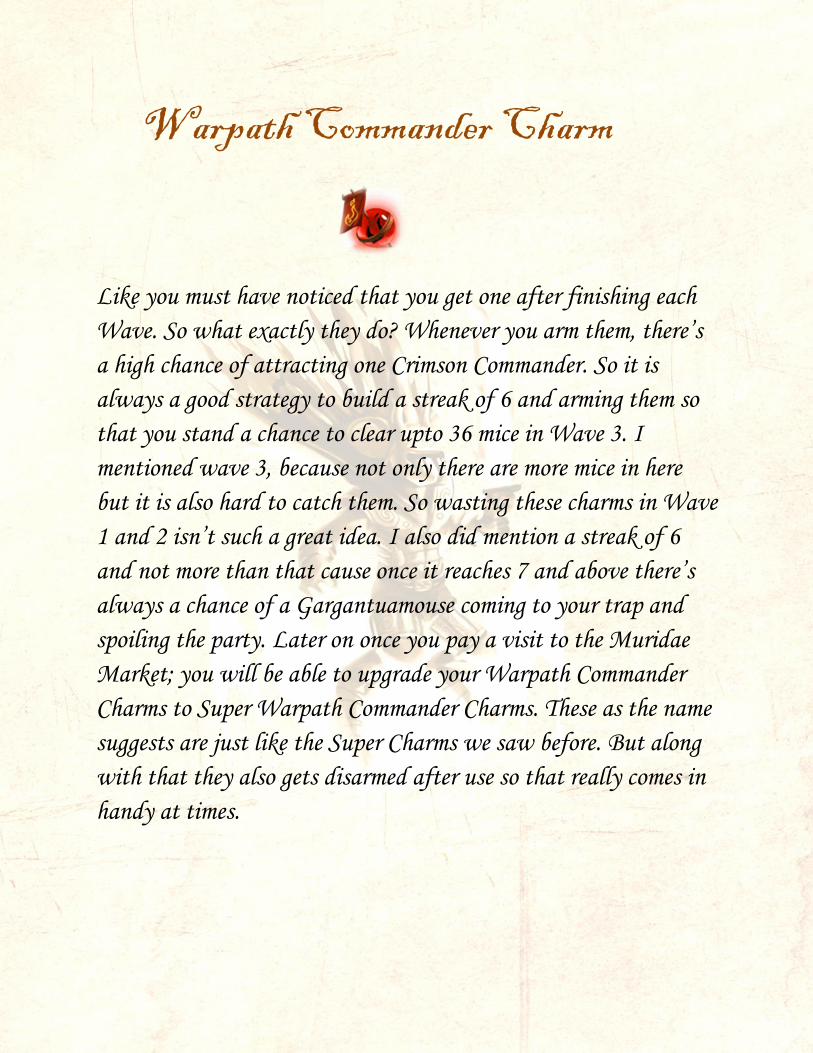
Warpath Commander Charm
Like you must have noticed that you get one after finishing each
Wave. So what exactly they do? Whenever you arm them, there‟s
a high chance of attracting one Crimson Commander. So it is
always a good strategy to build a streak of 6 and arming them so
that you stand a chance to clear upto 36 mice in Wave 3. I
mentioned wave 3, because not only there are more mice in here
but it is also hard to catch them. So wasting these charms in Wave
1 and 2 isn‟t such a great idea. I also did mention a streak of 6
and not more than that cause once it reaches 7 and above there‟s
always a chance of a Gargantuamouse coming to your trap and
spoiling the party. Later on once you pay a visit to the Muridae
Market; you will be able to upgrade your Warpath Commander
Charms to Super Warpath Commander Charms. These as the name
suggests are just like the Super Charms we saw before. But along
with that they also gets disarmed after use so that really comes in
handy at times.
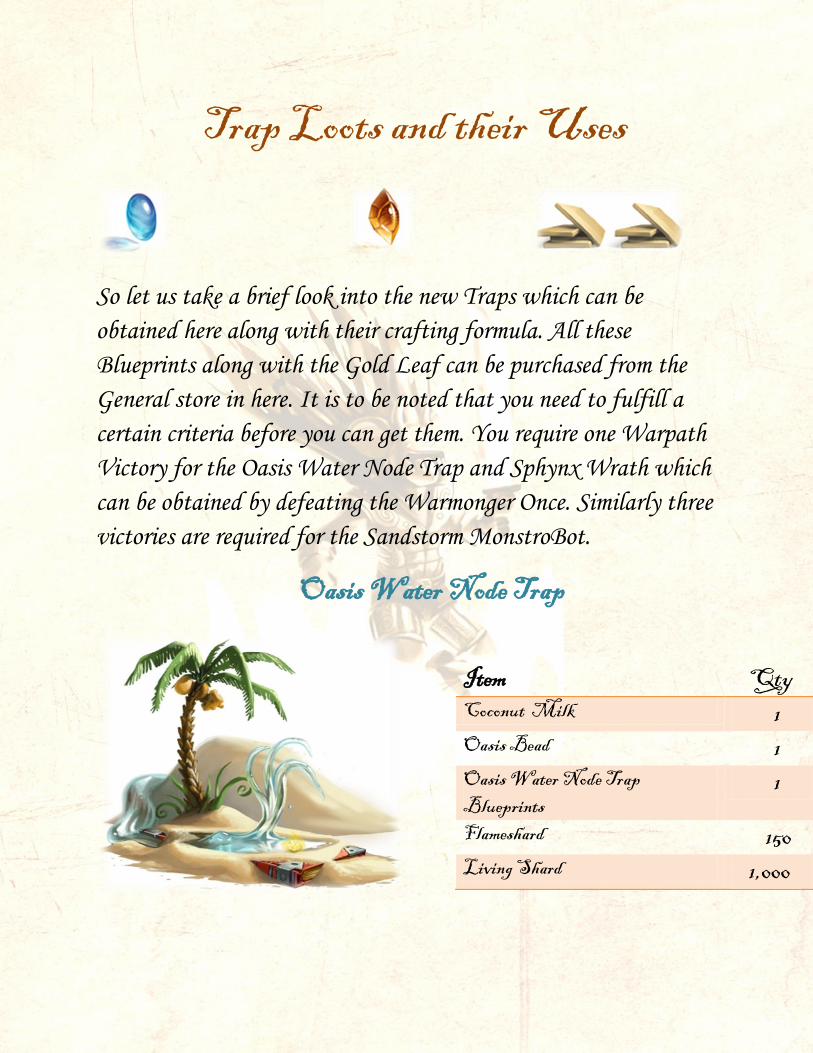
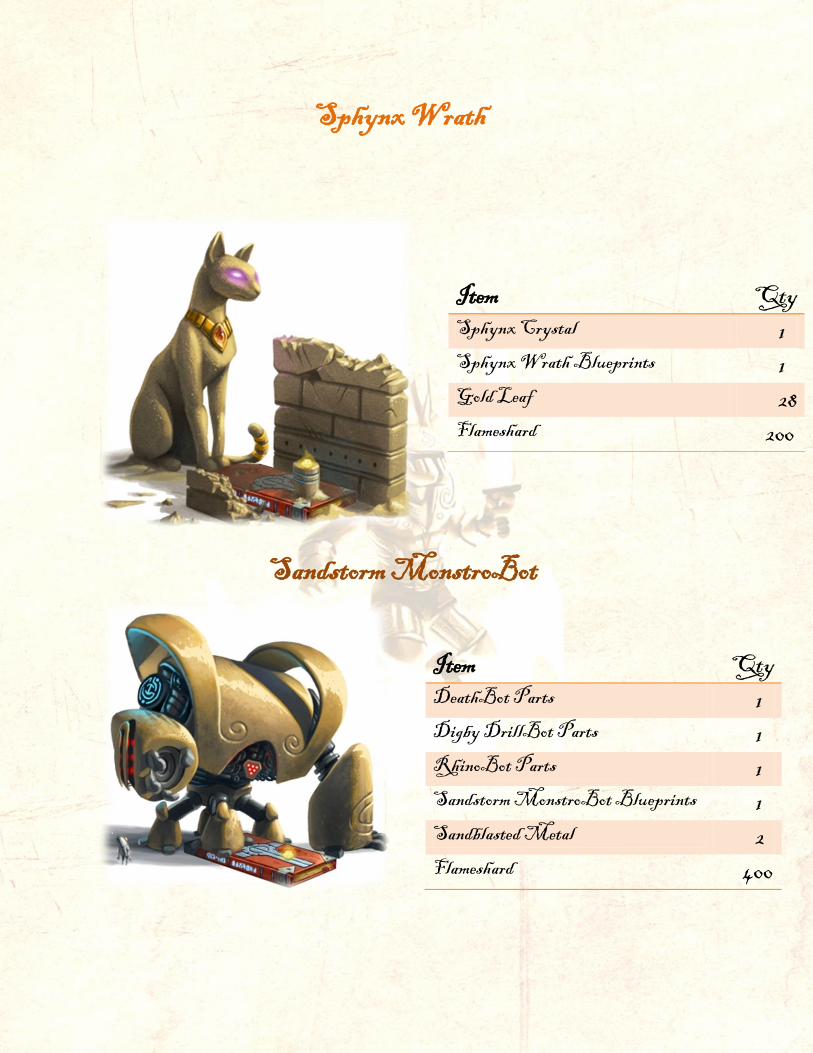
Trap Loots and their Uses
So let us take a brief look into the new Traps which can be
obtained here along with their crafting formula. All these
Blueprints along with the Gold Leaf can be purchased from the
General store in here. It is to be noted that you need to fulfill a
certain criteria before you can get them. You require one Warpath
Victory for the Oasis Water Node Trap and Sphynx Wrath which
can be obtained by defeating the Warmonger Once. Similarly three
victories are required for the Sandstorm MonstroBot.


![Ricoh ChinaFiery JobFlow Base Fiery , FS200 Pro _Ei*fic Fiery Fiery Productivity Package Fiery JobFlow E] Fiery Windows Fiery Windows 7, 8, 8.1 s 10 32 fi/64 Google Mozilla Firefox'](https://static.documents.pub/doc/80x56/611424df97efee38ef5fbef2/ricoh-fiery-jobflow-base-fiery-fs200-pro-eific-fiery-fiery-productivity-package.jpg)


