NEWSLETTER No 25 – 4 th September, 2020 . CHALCOT WEEKLY SCHOOL VISION Chalcot Lodge Primary School empowers all students to embrace learning, achieve their personal best and build their emotional, social and physical well-being. Miss Osborne Mr Hawes Miss K Mrs Bracgirdle & Mr Hawes Miss Quinlan & Mr Hawes Mrs Bracegirdle Miss Keay Miss Ablitt
Transcript
NEWSLETTER No 25 – 4th September, 2020
.
CHALCOT WEEKLY
SCHOOL VISION
Chalcot Lodge Primary School empowers all
students to embrace learning, achieve their
personal best and build their emotional, social
and physical well-being.
Miss Osborne
Mr Hawes
Miss K Mrs Bracgirdle &
Mr Hawes
Miss Quinlan & Mr Hawes Mrs Bracegirdle
ea
Miss Keay ea
Miss Ablitt
Mr Evans
Miss Keay ea
Mrs Bearsley
Mr Dexter
Mr Poliviou
Miss Quinlan
Mr Evans & Mr Hawes
ea
Mr Poliviou
Mr Hawes
Miss K
Mr Poliviou
Miss Ablitt
Mr Evans
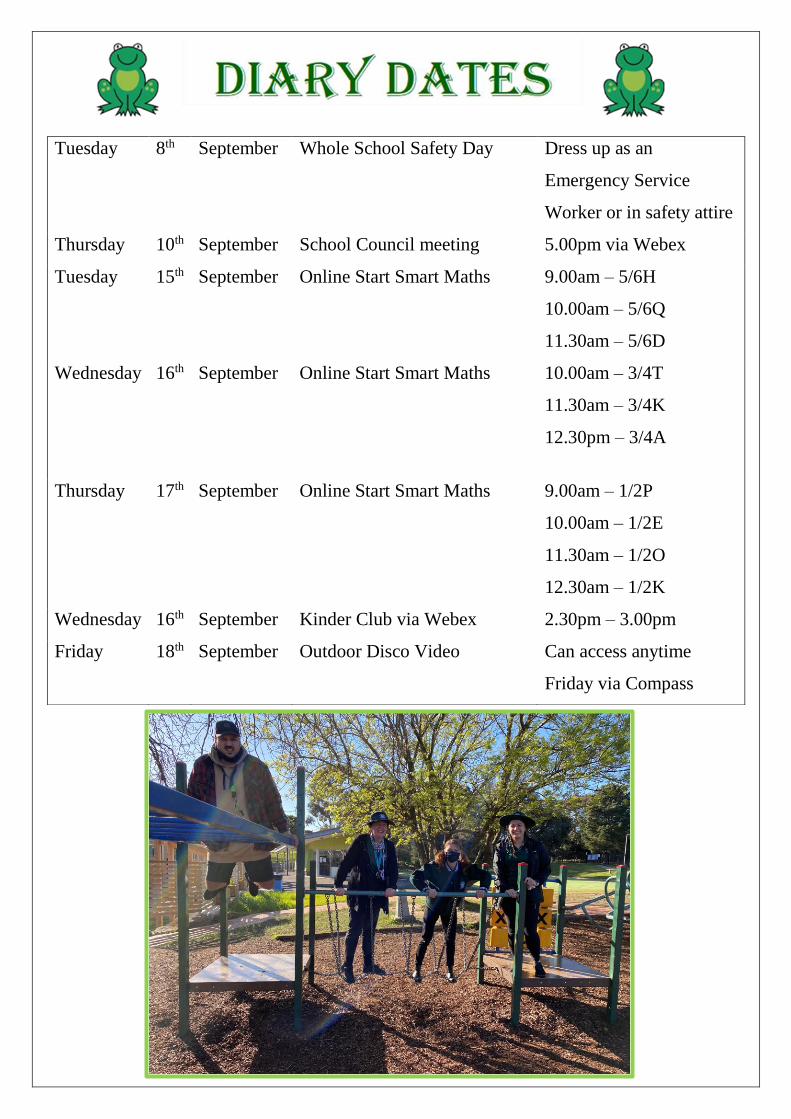
Emergency Services Dress Up & Safety Day - Tuesday 8th September
Remote & Onsite Students
On Tuesday 8th September, we are having an Emergency Services dress up day. Teachers will be
implementing safety sessions, having discussions and completing engaging & fun learning activities about
Emergency Workers, safety scenarios and emergency plans at home. Usually the school organises and runs
four drills per year, however due to COVID we have only managed one to date. As part of our Emergency
Management Plan, we will conduct on Onsite Evacuation Drill next Tuesday 8th September. This is a good
opportunity to get the whole community involved in a fun interactive way.
Onsite Students – Practice Emergency Drill
As part of the school’s Emergency Management Plan, we will be practicing an emergency evacuation drill
next Tuesday 8th September for students and staff that are onsite. We will publish on COMPASS lots of
photos of the drill.
Why do I need a Home Emergency Plan?
Just like we have an Emergency Management Plan for school, emergencies can happen any time and can have
a big effect on your life. Many people think they don’t have time to make a plan, or that they don’t need one.
Experience shows that those who plan and prepare for emergencies can reduce the impact of the emergency
and may recover quicker afterwards. Taking the time to think about emergencies and making a plan helps you
to think clearly, have a greater sense of control and make better decisions when an emergency occurs.
Your emergency plan
A good emergency plan has three parts:
1. What you plan to do before the emergency to be ready.
2. What you plan to do during the emergency to keep safe and minimise the effect of the emergency on you
and your property.
3. What you plan to do after the emergency to get help, recover and return to normal life as soon as possible.
Make sure your plan includes:
How you will get further information about the situation
What you will do if some family members are not at home during the emergency or you have visitors
at your home.
Who you can ask for help if you need it.
To get a better picture of where your property may be at risk and what resources you have to help you, try
drawing a map. Mark on your map important details such as:
The location of your house and its neighbours.
Sheds, paddocks, haysheds and animal shelters.
Water tanks and dams.
Main routes in and out of the area.
Lakes, oceans, drains, rivers, creeks or any other waterways that could lead to flooding.
Areas of natural bush or grasslands.
Direction of the most common damaging weather patterns such as storm fronts or strong winds.
Add a plan of your house showing the location of bedrooms, kitchen and main living areas. Include features
such as gas bottles, heaters and electricity/water meters and make sure you know how to switch these off if
needed. Identify at least two ways in and out of each room of the house and a meeting place such as a
letterbox or neighbour’s house that is away from danger and where emergency services can find you.
The following emergencies may affect Victorian households.
Tick the ones you know might happen in your area:
o Storms with damaging winds,
o Flash flooding and hail
o Flood Bushfire or grassfire*
o House fire
o Mudslide or landslide
o Earthquakes and tremors
o Medical emergency
o Power, gas or mains
o Water outages
o Industrial accidents or chemical spills
If you would like to, you can send in your safety evacuation plan with a photo of you practicing with your
family, don’t forget to include your pets in the plan. I am looking forward to seeing how you went.
All families that send in their action plan and some photos of them practising their emergency evacuation will
go into a draw for one of 4 family First Aid Kits.
All onsite students that get dressed up will also go into the draw.
Program Management – Your Suggestions Please
It is already that time of year when we start planning for 2021. I am hoping that you will provide your opinion
as to what resources you think the school will need to purchase to support student learning in 2021. Please
forward your suggestions to the schools email [email protected] by Friday 11th September.
PROBLEM SOLVING, FUN. If you are remote schooling, chances are you are somewhat time poor. By teaching your children to cook, you could
incorporate some learning while also getting dinner or lunch prepared!!
Teaching children to cook healthy food helps them gain knowledge and skills across a range of subjects
simultaneously. The bonus is you could get a healthy meal prepared as well!
Why cooking? Being able to apply these subjects to everyday activities helps develop self confidence.
Learning to follow a recipe and prepare food covers subjects such as english, through reading and comprehension,
weighing and measuring out ingredients uses maths concepts of volume and measurement, and the skills of inquiry
and problem solving relates to science.
Teaching children to cook, and focusing on healthy foods, integrates knowledge from all these and can also help
children develop motivation and communication skills.
It is common for children to think they don’t like or understand maths. So it is important to find new ways to interest
children in these areas.
Cooking uses real-life skills and teaches them how to use abstract concepts relevant to mass (weight), length, area
and volume. Basic english, maths and science skills are essential to cooking, accurately following recipes and
understanding food labels.
You can make cooking more challenging To challenge your children’s maths ability even further, try limiting the cooking utensils used so more calculation is
needed. For example, when a recipe calls for one cup of rice, use the ¼ cup measure and ask your children to work
out how many of these they need to add.
Or use different types of kitchen utensils such as a measuring jug rather than a measuring cup to work out the
gradations and pour the content of the cup into the jug and vice versa.
Food art – if it looks good it tastes good
We eat with our eyes, so arranging healthy foods in fun and creative ways can help kids like these foods more. How
you present food and giving children the opportunity to be creative, increases the desire to try different foods.