40
www.raisecom.com Raisecom NView NNM V5.0 Installation and Deployment Manual
www.raisecom.com
Raisecom NView NNM V5.0 Installation and Deployment Manual
Legal Notices
Raisecom Technology Co., Ltd makes no warranty of any kind with regard to this manual, including, but not limited to, the implied warranties of merchantability and fitness for a particular purpose. Raisecom Technology Co., Ltd shall not be held liable for errors contained herein or direct, indirect, special, incidental or consequential damages in connection with the furnishing, performance, or use of this material.
Warranty.
A copy of the specific warranty terms applicable to your Raisecom product and replacement parts can be obtained from Service Office.
Restricted Rights Legend.
All rights are reserved. No part of this document may be photocopied, reproduced, or translated to another language without the prior written consent of Raisecom Technology Co., Ltd. The information contained in this document is subject to change without notice.
Copyright Notices.
Copyright ©2006 Raisecom. All rights reserved. No part of this publication may be excerpted, reproduced, translated or utilized in any form or by any means, electronic or mechanical, including photocopying and microfilm, without permission in Writing from Raisecom Technology Co., Ltd.
Trademark Notices
is the trademark of Raisecom Technology Co., Ltd.
Java™ is a U.S. trademark of Sun Microsystems, Inc.
Microsoft® is a U.S. registered trademark of Microsoft Corporation.
Windows NT® is a U.S. registered trademark of Microsoft Corporation.
Windows® 2000 is a U.S. registered trademark of Microsoft Corporation.
Windows® XP is a U.S. registered trademark of Microsoft Corporation.
Windows® and MS Windows® are U.S. registered trademarks of
Microsoft Corporation.
Contact Information
Technical Assistance Center
The Raisecom TAC is available to all customers who need technical assistance with a Raisecom product, technology, or, solution. You can communicate with us through the following methods:
Add: 1120, Haitai Tower, 229 Fourth North Loop Middle Road, Haidian District, Beijing
100083
Tel: +86-10-82884499 Ext.878 (International Department)
Fax: +86-10-82885200, +86-10-82884411
World Wide Web
You can access the most current Raisecom product information on the World Wide Web at the following URL:
http://www.raisecom.com
Feedback
Comments and questions about how the NView iEMS system software works are welcomed. Please review the FAQ in the related manual, and if your question is not covered, send email by using the following web page:
http://www.raisecom.com/en/xcontactus/contactus.htm.
If you have comments on the NView iEMS specification, instead of the web page above, please send comments to:
We hope to hear from you!
CONTENTS Chapter 1 Installation Preparation------------------------------------------------------------------ 1
1.1 Overview --------------------------------------------------------------------------------------------------------------------1 1.2 Operating environment ------------------------------------------------------------------------------------------------1
1.2.1 Hardware environment requirement--------------------------------------------------------------------------------------------------- 1 1.2.2 Software environment requirement ---------------------------------------------------------------------------------------------------- 1
1.3 System environment confirmation --------------------------------------------------------------------------------1 1.4 Deployment scheme selection --------------------------------------------------------------------------------------2 1.5 Installation steps---------------------------------------------------------------------------------------------------------2
Chapter 2 NView NNM System Installation Steps --------------------------------------------- 3 2.1 Choose setup language ---------------------------------------------------------------------------------------------------3 2.2 Decompress the installation program --------------------------------------------------------------------------------3 2.3 License agreement ----------------------------------------------------------------------------------------------------------5 2.4 Select install mode ----------------------------------------------------------------------------------------------------------6 2.5 Select database type -------------------------------------------------------------------------------------------------------7 2.6 Import license file------------------------------------------------------------------------------------------------------------8 2.7 Select destination location -----------------------------------------------------------------------------------------------9 2.8 Confirm installation information----------------------------------------------------------------------------------------9 2.9 Copy installation files ----------------------------------------------------------------------------------------------------10 2.10 Register database service --------------------------------------------------------------------------------------------10 2.11 Installation completion ------------------------------------------------------------------------------------------------- 11
Chapter 3 NView NNM System Upgrade Steps ------------------------------------------------13 3.1 Choose setup language -------------------------------------------------------------------------------------------------13 3.2 Decompress the installation program ------------------------------------------------------------------------------13 3.3 License agreement --------------------------------------------------------------------------------------------------------15 3.4 Select install mode --------------------------------------------------------------------------------------------------------16 3.5 Import license file----------------------------------------------------------------------------------------------------------16 3.6 Select destination location ---------------------------------------------------------------------------------------------17 3.7 Confirm installation information--------------------------------------------------------------------------------------18 3.8 Copy installation files ----------------------------------------------------------------------------------------------------18 3.9 Installation completion --------------------------------------------------------------------------------------------------19
Chapter 4 The Start and Stop of NView NNM System---------------------------------------20 4.1 Start the NView NNM system ------------------------------------------------------------------------------------------20
4.1.1 Start the server --------------------------------------------------------------------------------------------------------------------------- 20 4.1.2 Start the client ----------------------------------------------------------------------------------------------------------------------------- 21
4.2 Close down the NView NNM system --------------------------------------------------------------------------------21 4.2.1 Quit the client ----------------------------------------------------------------------------------------------------------------------------- 21 4.2.2 Close down the server ------------------------------------------------------------------------------------------------------------------ 22
Chapter 5 EMS Installation Steps------------------------------------------------------------------23 5.1 Preparation-------------------------------------------------------------------------------------------------------------------23 5.2 Installation steps-----------------------------------------------------------------------------------------------------------23
5.2.1 Decompress the installation program ----------------------------------------------------------------------------------------------- 23 5.2.2 License agreement ---------------------------------------------------------------------------------------------------------------------- 25 5.2.3 Confirm installation information------------------------------------------------------------------------------------------------------- 26 5.2.4 Start the installation---------------------------------------------------------------------------------------------------------------------- 26 5.2.5 Installation completion ------------------------------------------------------------------------------------------------------------------ 27
Chapter 6 Uninstall NView NNM System --------------------------------------------------------28 6.1 Basic procedures ----------------------------------------------------------------------------------------------------------28 6.2 Close down the NView NNM system --------------------------------------------------------------------------------28 6.3 Uninstall NView NNM system------------------------------------------------------------------------------------------28
Chapter 7 FAQ--------------------------------------------------------------------------------------------30 7.1 How to stop the SNMP Trap receiving service of Windows-------------------------------------------------30 7.2 Alarms from network element devices can not reach the system. ---------------------------------------31 7.3 Clients can not connect to the server after an installation following the distributed scheme. -32 7.4 When starting the server, a dialog box that informs the failure of connecting the database pops
up.------------------------------------------------------------------------------------------------------------------------------------32 7.5 When starting the EMS, the system informs communication timeout or SNMP operation failure.----------------------------------------------------------------------------------------------------------------------------------------32
Preface
Audience
This manual is for users of NView NNM product.
Relevant Manual
《NView NNM V5.0 User Manual》
Organization
This manual serves as an installation and deployment guide for NView NNM V5.0. It describes how to get the NView NNM system running.
The manual is composed of the following chapters:
Chapter 1 Installation Preparation: The basic preparation and the prerequisites that must be satisfied for installing and running NView NNM V5.0.
Chapter 2 NView NNM System Installation Steps: Describes the steps for installing NView NNM system.
Chapter 3 NView NNM System Upgrade Steps: Describes how to upgrade NView NNM V4.2 to V5.0 or how to upgrade NView iEMS V2.0 to NView NNM V5.0.
Chapter 4 The Start and Stop of NView NNM System: Introduces how to start or stop NView NNM system
Chapter 5 EMS Installation Steps: Mainly describe the steps for installing NView series EMS.
Chapter 6 Uninstall NView NNM System: Introduces how to uninstall NView NNM system.
Chapter 7 FAQ: Describe the problems that may occur during the installing and running of NView NNM system and the ways of solving these problems.
www.raisecom.com User Manual
1
Chapter 1 Installation Preparation
1.1 Overview
The network management system NView NNM V5.0 is the upgrade version of NView NNM V4.0. It is developed by Raisecom Technology Co., Ltd. NView NNM V5.0 system not only provides all functions NNM V4.0 can provide, but adopts lots of features and advantages from NView iEMS system and NView OneTouch system, which greatly enhance the functionality and usability of the system.
Using the installation program for NView NNM V5.0 system, users can either deploy NView NNM V5.0 system completely or upgrade existing NView NNM V4.2 system to V5.0 system and reserve all V4.2 system data. The installation program for NView NNM V5.0 system adopts a guidance manner. Users only need to select an installation mode, and follow the guidance to complete the installation step by step. The installation process is easy to handle.
Chapter 2 of this manual introduces the installation and deployment of NView NNM V5.0 system; it is for users who use NView NNM system for the first time. Chapter 3 of this manual describes the process of upgrade existing NView NNM V4.2 system to V5.0 version. Users of NView NNM V4.0 system can drop Chapter 2 and refer to Chapter 3 directly for upgrade.
1.2 Operating environment
1.2.1 Hardware environment requirement To completely deploy NView NNM V5.0 system, different installation manner requires different hardware environment.
Installation Manner CPU Core Frequency Memory Hard Disc Space
Install Client P4 2GHz 512M 500M
Install NView NNM V5.0 Version
P4 2.8GHz 1G 10G
1.2.2 Software environment requirement NView NNM system has complete inbuilt operating system itself; the only requirement that must be satisfied is the requirement on OS system. At present, NView NNM system can run on the following OS systems:
Windows 2000 series Windows 2003 series Windows XP series
1.3 System environment confirmation
Before installing NView NNM system, please check whether the following requirements are
www.raisecom.com User Manual
2
satisfied:
Before conducting a complete installation of NNM system, please make sure that no other network management system exists on the target host. If there is any other network management system on the host, please uninstall it first. If the existing network management is NView NNM V4.2 system, please choose to upgrade it to V5.0 during the installation. For details, please refer to Chapter 3.
Please make sure that the “SNMP Trap Receiving Service” of Windows OS system services on the target host has been stopped.
Warning: The presence of other SNMP network management systems on the target host
where NNM Server will reside is strictly forbidden in system deployment process. This may lead to system failure due to reasons such as resource occupation. A most typical instance is the failure of receiving trap information correctly caused by port 162 occupation.
1.4 Deployment scheme selection
At present, two deployment schemes are adopted: standalone deployment scheme and distributed deployment scheme.
Standalone deployment scheme: The standalone deployment scheme installs client, server, and database on one PC. This scheme is suitable for concentrated management and maintenance based on management center.
Distributed deployment scheme: The distributed deployment scheme installs the complete system on a host adopting the typical deployment scheme, installs client on other hosts, and connects all clients on to one host. This scheme meets the requirement of remote, multi-client management.
The two deployment schemes can be realized by different options in the installation process. Users can choose either of the two according to need.
Note: If the system is deployed distributedly, to upgrade the system (including installing service packs, EMS and application components), users have to install the upgrade program on the host where the server resides and install corresponding upgrade program on the hosts where the clients resides.
1.5 Installation steps
To completely install NView NNM system, please follow the steps listed below:
Firstly, install the NView NNM network management system. Install the latest Service Pack of NView NNM system according to need. Install corresponding EMS according to network management requirement.
www.raisecom.com User Manual
3
Chapter 2 NView NNM System Installation Steps
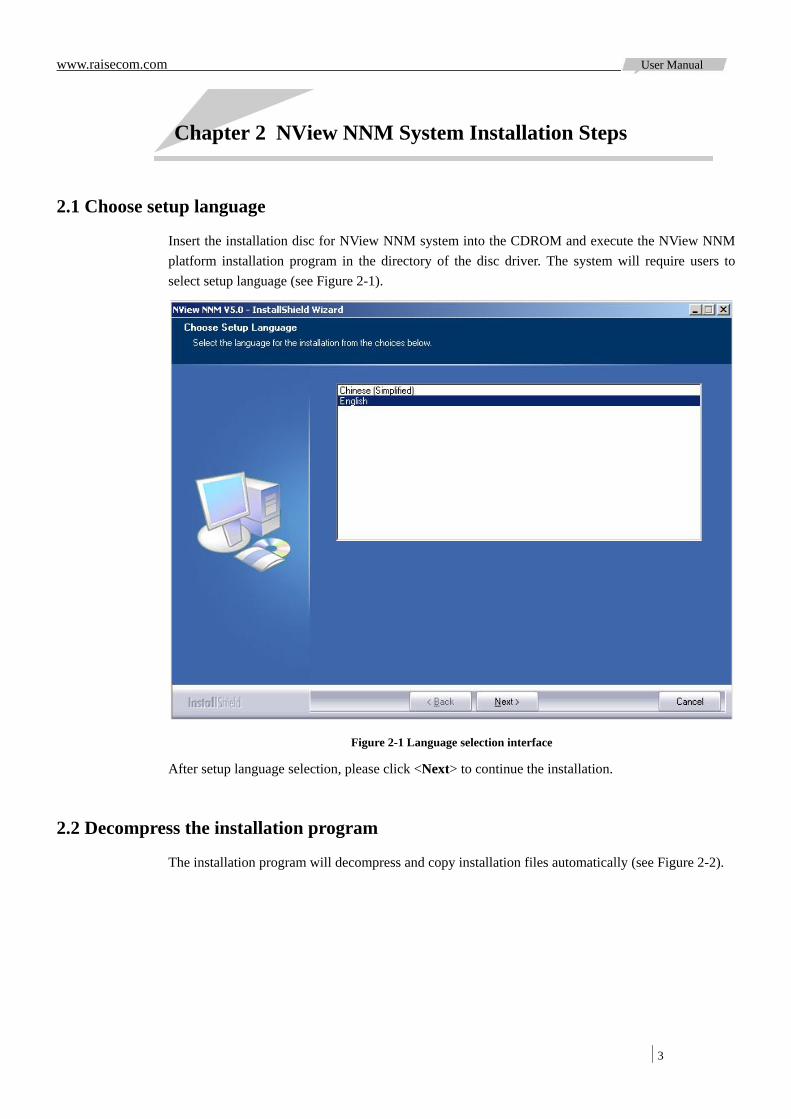
2.1 Choose setup language
Insert the installation disc for NView NNM system into the CDROM and execute the NView NNM platform installation program in the directory of the disc driver. The system will require users to select setup language (see Figure 2-1).
Figure 2-1 Language selection interface
After setup language selection, please click <Next> to continue the installation.
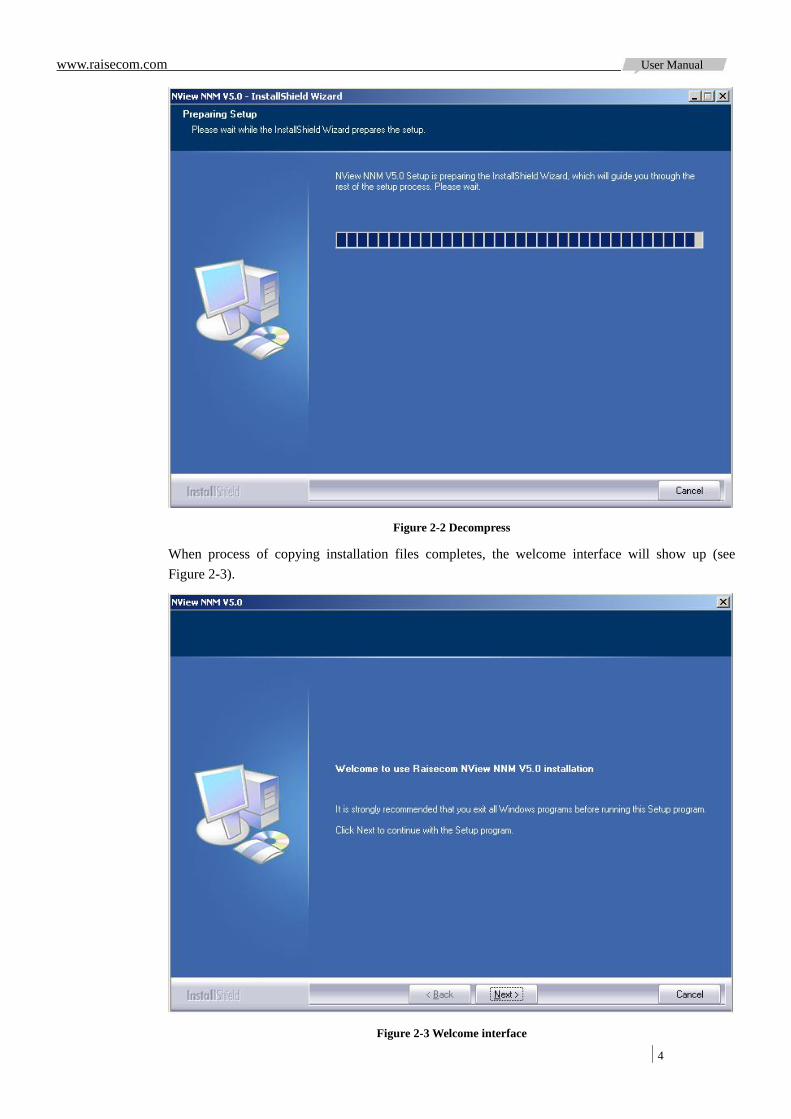
2.2 Decompress the installation program
The installation program will decompress and copy installation files automatically (see Figure 2-2).
www.raisecom.com User Manual
4
Figure 2-2 Decompress
When process of copying installation files completes, the welcome interface will show up (see Figure 2-3).
Figure 2-3 Welcome interface
www.raisecom.com User Manual
5
Please click <Next> to continue the installation.
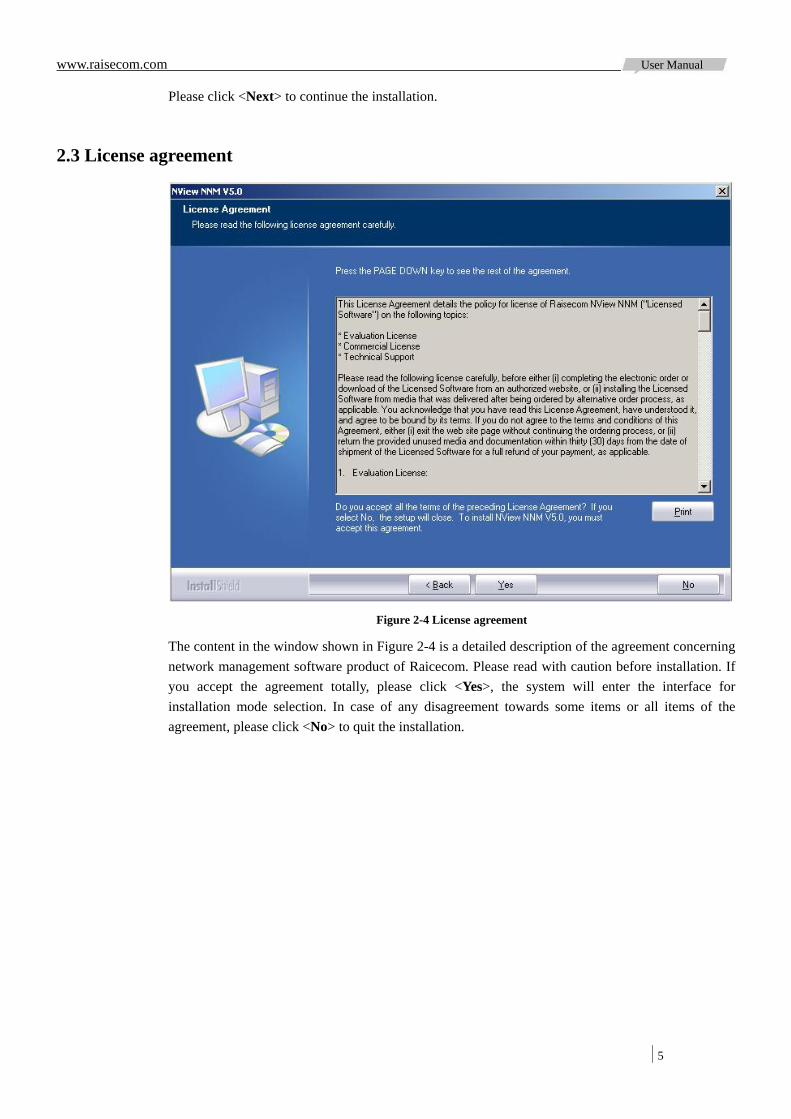
2.3 License agreement
Figure 2-4 License agreement
The content in the window shown in Figure 2-4 is a detailed description of the agreement concerning network management software product of Raicecom. Please read with caution before installation. If you accept the agreement totally, please click <Yes>, the system will enter the interface for installation mode selection. In case of any disagreement towards some items or all items of the agreement, please click <No> to quit the installation.
www.raisecom.com User Manual
6
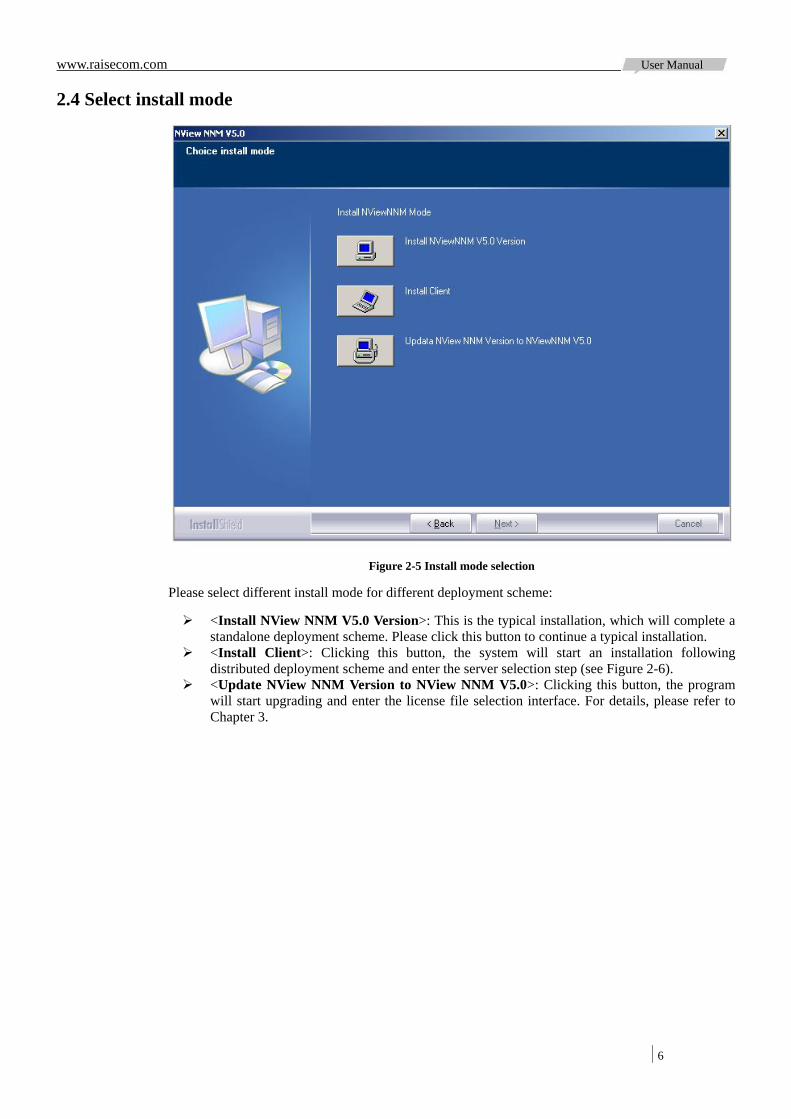
2.4 Select install mode
Figure 2-5 Install mode selection
Please select different install mode for different deployment scheme:
<Install NView NNM V5.0 Version>: This is the typical installation, which will complete a standalone deployment scheme. Please click this button to continue a typical installation.
<Install Client>: Clicking this button, the system will start an installation following distributed deployment scheme and enter the server selection step (see Figure 2-6).
<Update NView NNM Version to NView NNM V5.0>: Clicking this button, the program will start upgrading and enter the license file selection interface. For details, please refer to Chapter 3.
www.raisecom.com User Manual
7
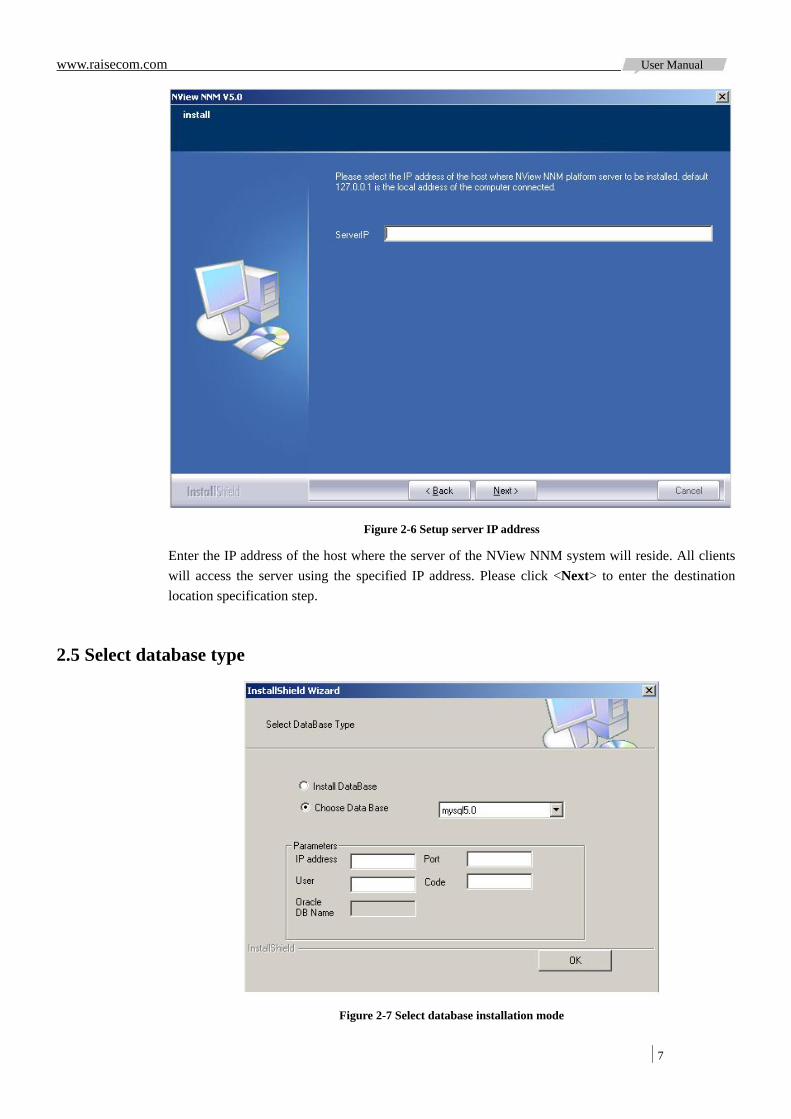
Figure 2-6 Setup server IP address
Enter the IP address of the host where the server of the NView NNM system will reside. All clients will access the server using the specified IP address. Please click <Next> to enter the destination location specification step.
2.5 Select database type
Figure 2-7 Select database installation mode
www.raisecom.com User Manual
8
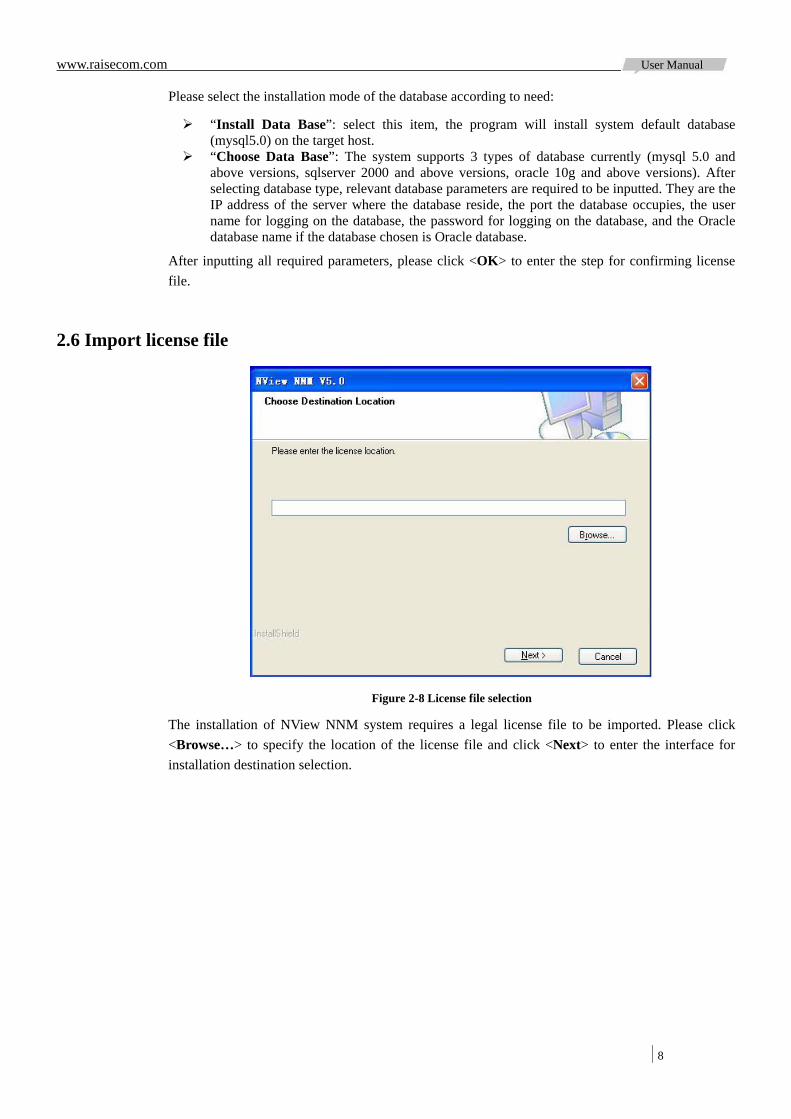
Please select the installation mode of the database according to need:
“Install Data Base”: select this item, the program will install system default database (mysql5.0) on the target host.
“Choose Data Base”: The system supports 3 types of database currently (mysql 5.0 and above versions, sqlserver 2000 and above versions, oracle 10g and above versions). After selecting database type, relevant database parameters are required to be inputted. They are the IP address of the server where the database reside, the port the database occupies, the user name for logging on the database, the password for logging on the database, and the Oracle database name if the database chosen is Oracle database.
After inputting all required parameters, please click <OK> to enter the step for confirming license file.
2.6 Import license file
Figure 2-8 License file selection
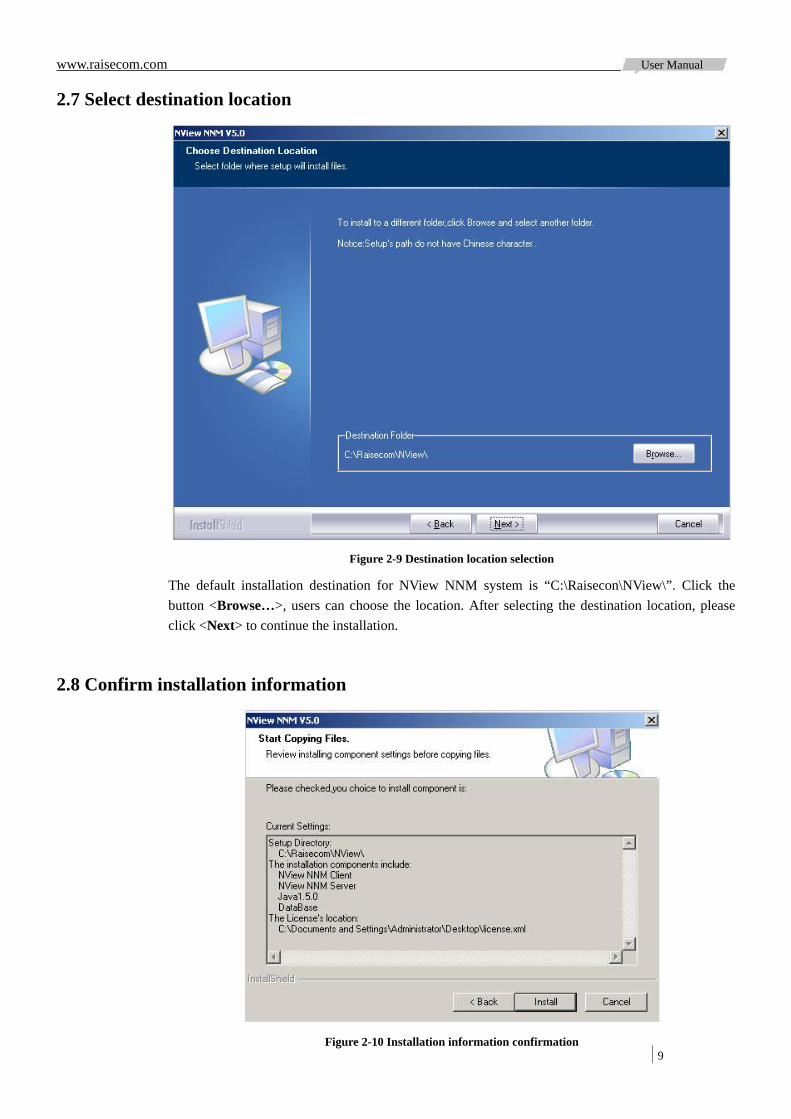
The installation of NView NNM system requires a legal license file to be imported. Please click <Browse…> to specify the location of the license file and click <Next> to enter the interface for installation destination selection.
www.raisecom.com User Manual
9
2.7 Select destination location
Figure 2-9 Destination location selection
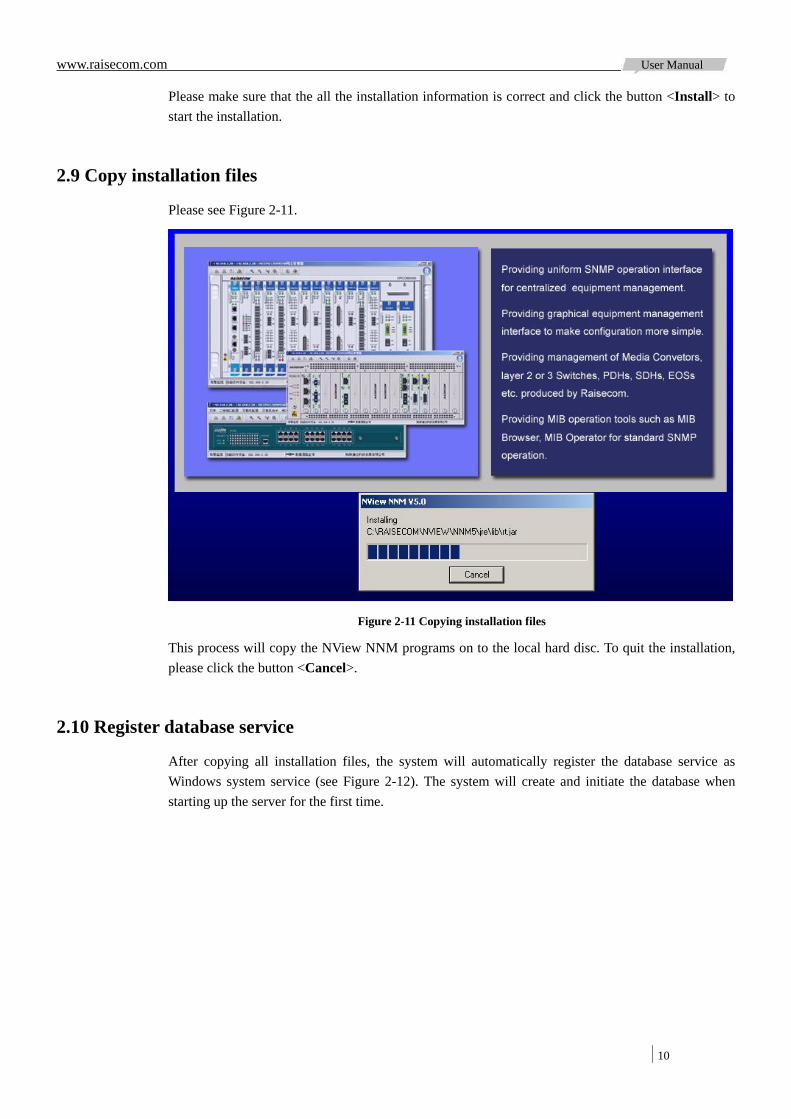
The default installation destination for NView NNM system is “C:\Raisecon\NView\”. Click the button <Browse…>, users can choose the location. After selecting the destination location, please click <Next> to continue the installation.
2.8 Confirm installation information
Figure 2-10 Installation information confirmation
www.raisecom.com User Manual
10
Please make sure that the all the installation information is correct and click the button <Install> to start the installation.
2.9 Copy installation files
Please see Figure 2-11.
Figure 2-11 Copying installation files
This process will copy the NView NNM programs on to the local hard disc. To quit the installation, please click the button <Cancel>.
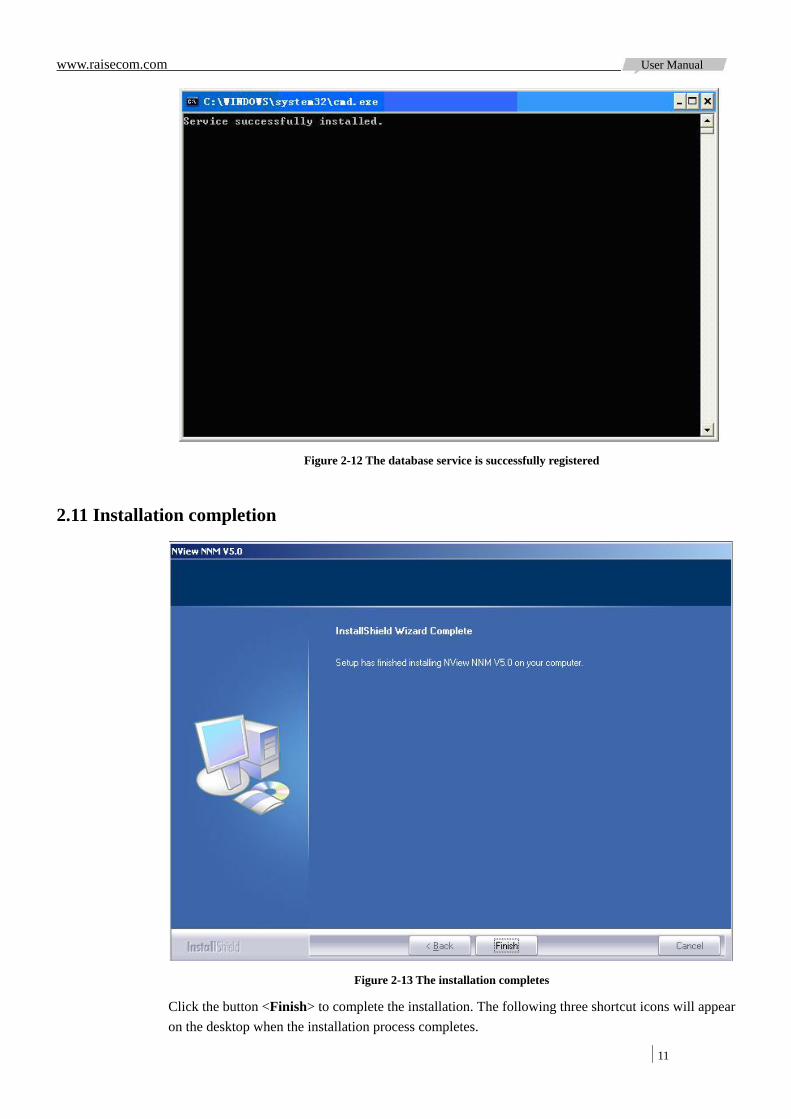
2.10 Register database service
After copying all installation files, the system will automatically register the database service as Windows system service (see Figure 2-12). The system will create and initiate the database when starting up the server for the first time.
www.raisecom.com User Manual
11
Figure 2-12 The database service is successfully registered
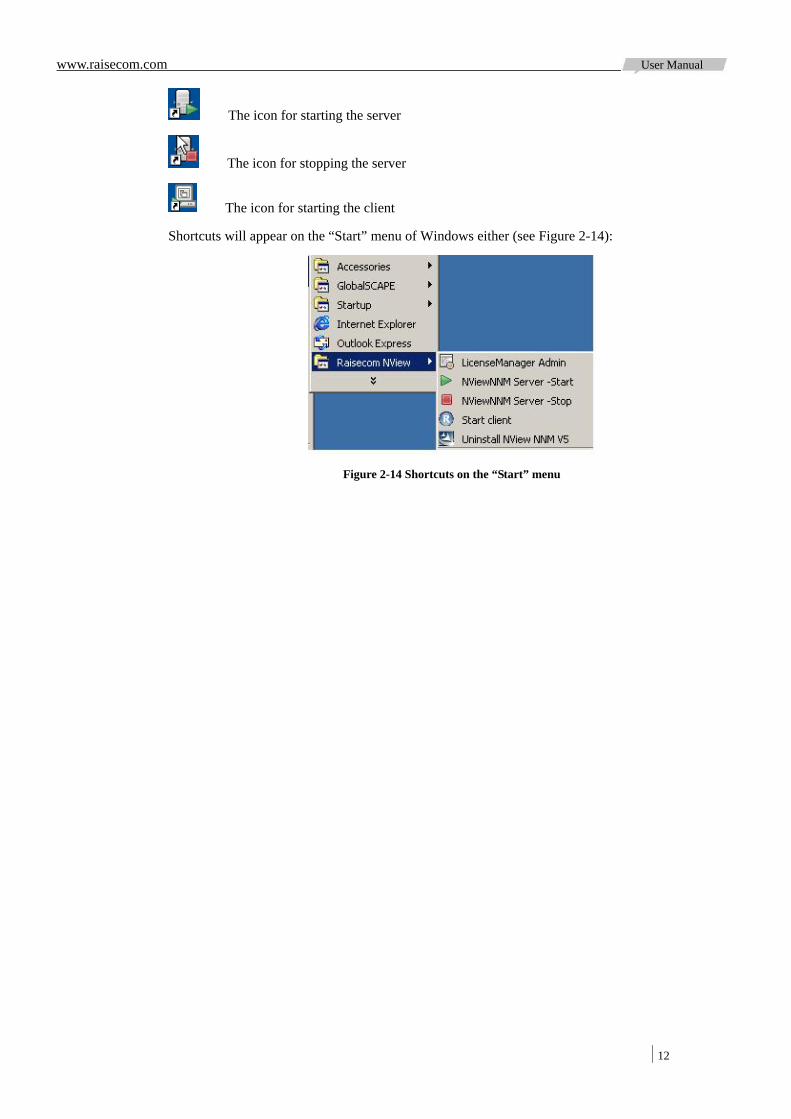
2.11 Installation completion
Figure 2-13 The installation completes
Click the button <Finish> to complete the installation. The following three shortcut icons will appear on the desktop when the installation process completes.
www.raisecom.com User Manual
12
The icon for starting the server
The icon for stopping the server
The icon for starting the client
Shortcuts will appear on the “Start” menu of Windows either (see Figure 2-14):
Figure 2-14 Shortcuts on the “Start” menu
www.raisecom.com User Manual
13
Chapter 3 NView NNM System Upgrade Steps
This chapter mainly introduces the steps for upgrading NView NNM V4.2 to V5.0 using this installation program. NView iEMS V2.0 can also be upgraded to NView NNM V5.0 using this program and the steps are identical to the steps for upgrading NView NNM V4.0.
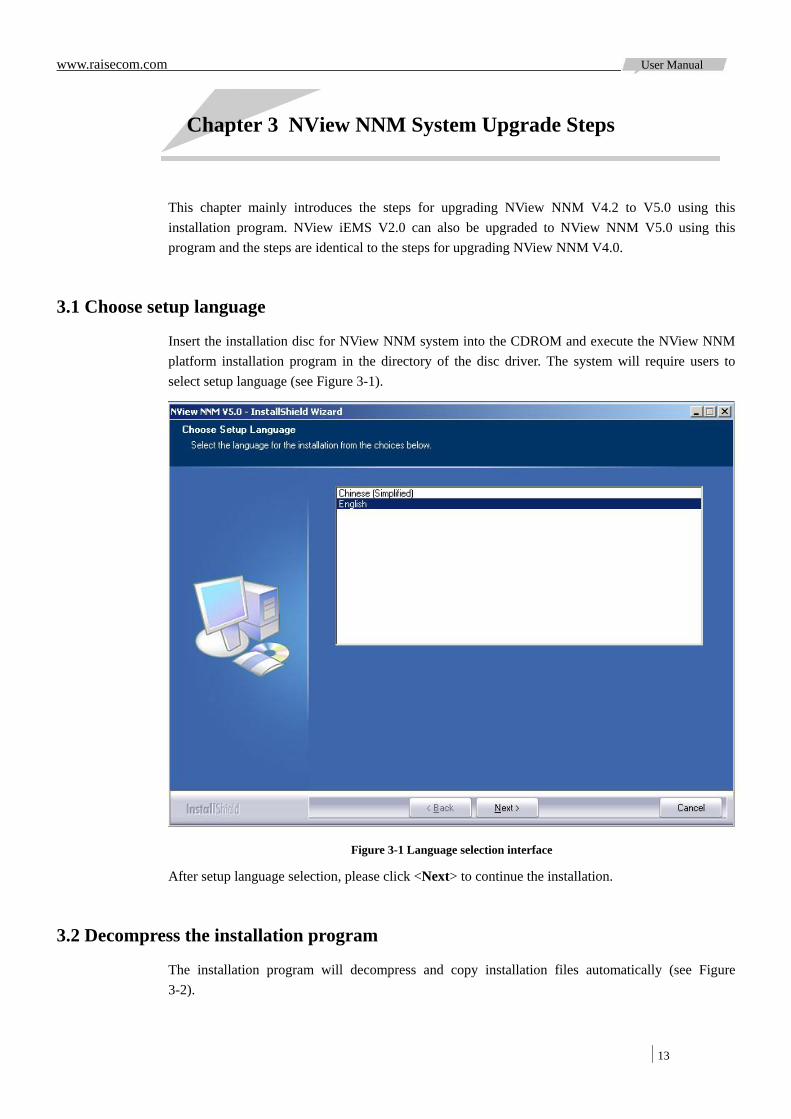
3.1 Choose setup language
Insert the installation disc for NView NNM system into the CDROM and execute the NView NNM platform installation program in the directory of the disc driver. The system will require users to select setup language (see Figure 3-1).
Figure 3-1 Language selection interface
After setup language selection, please click <Next> to continue the installation.
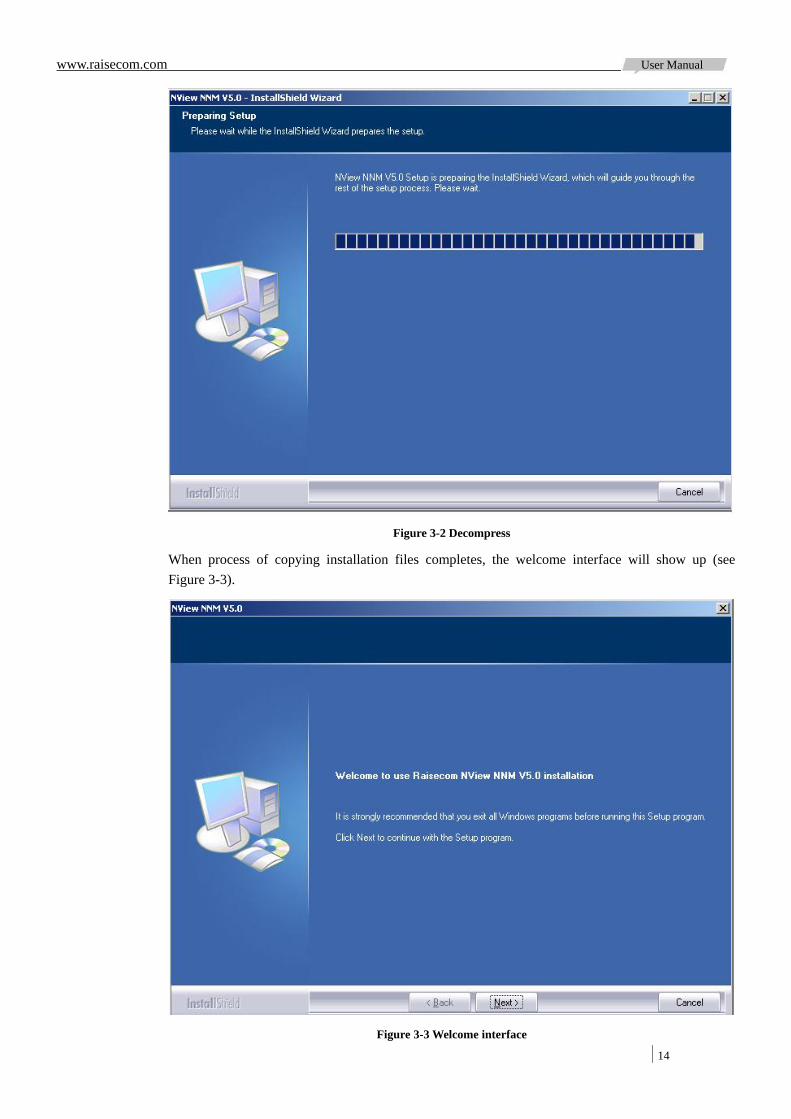
3.2 Decompress the installation program
The installation program will decompress and copy installation files automatically (see Figure 3-2).
www.raisecom.com User Manual
14
Figure 3-2 Decompress
When process of copying installation files completes, the welcome interface will show up (see Figure 3-3).
Figure 3-3 Welcome interface
www.raisecom.com User Manual
15
Please click the button <Next> to continue the installation.
3.3 License agreement
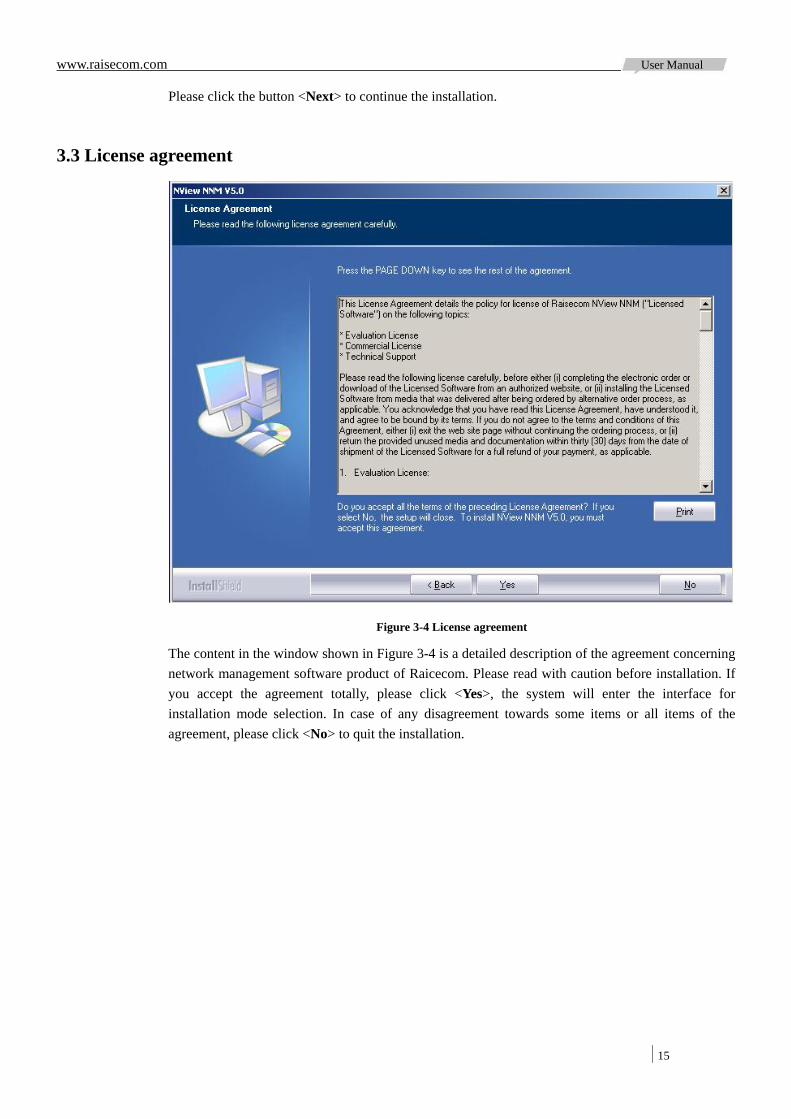
Figure 3-4 License agreement
The content in the window shown in Figure 3-4 is a detailed description of the agreement concerning network management software product of Raicecom. Please read with caution before installation. If you accept the agreement totally, please click <Yes>, the system will enter the interface for installation mode selection. In case of any disagreement towards some items or all items of the agreement, please click <No> to quit the installation.
www.raisecom.com User Manual
16
3.4 Select install mode
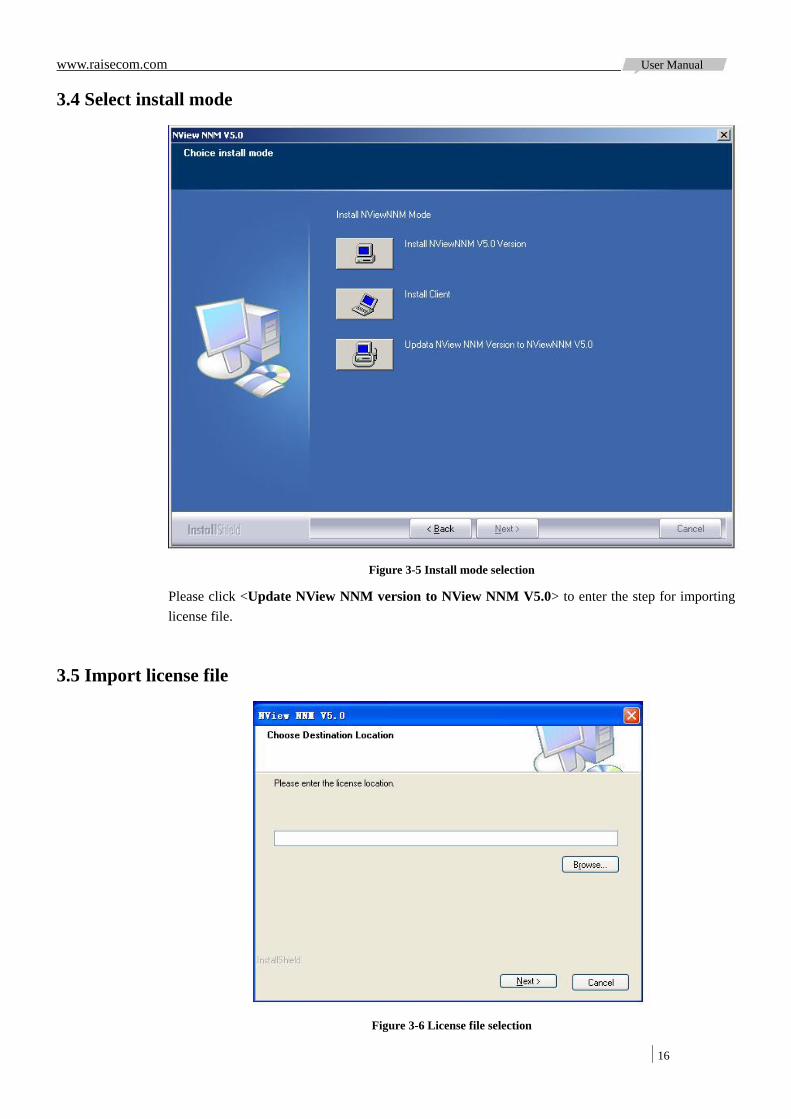
Figure 3-5 Install mode selection
Please click <Update NView NNM version to NView NNM V5.0> to enter the step for importing license file.
3.5 Import license file
Figure 3-6 License file selection
www.raisecom.com User Manual
17
The installation of NView NNM system requires a legal license file to be imported. Please click <Browse> to specify the location of the license file and click <Next> to enter the interface for installation destination selection.
3.6 Select destination location
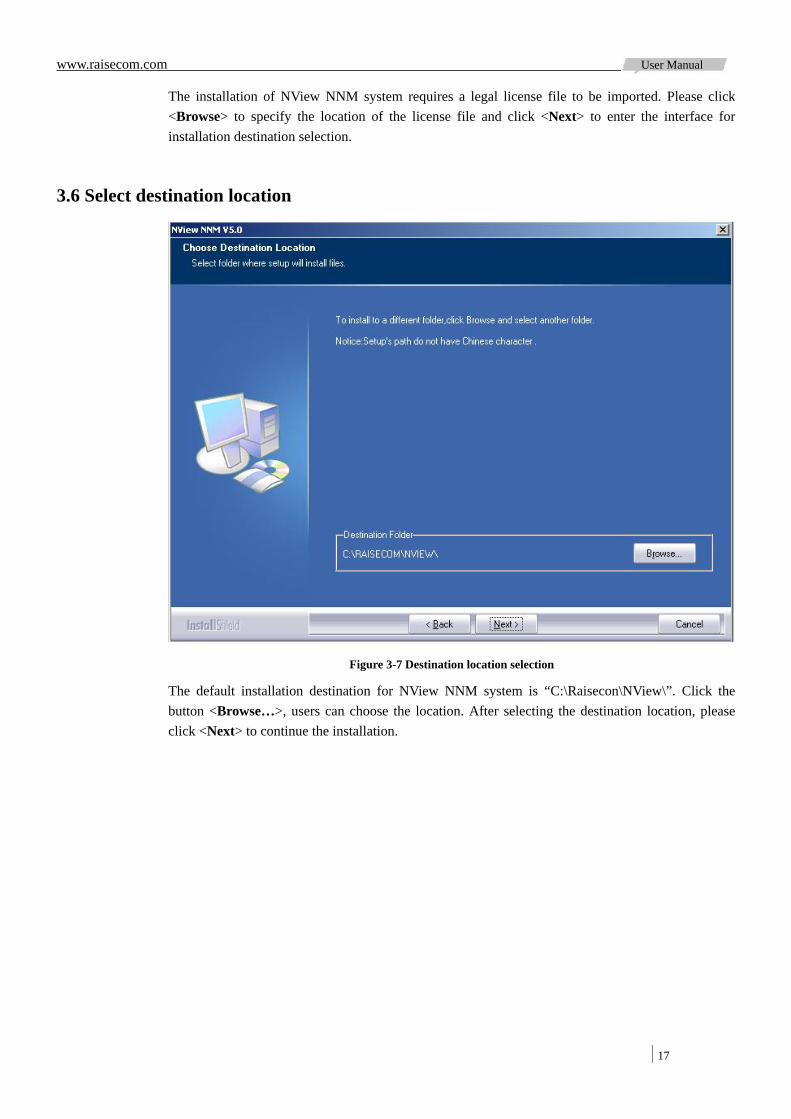
Figure 3-7 Destination location selection
The default installation destination for NView NNM system is “C:\Raisecon\NView\”. Click the button <Browse…>, users can choose the location. After selecting the destination location, please click <Next> to continue the installation.
www.raisecom.com User Manual
18
3.7 Confirm installation information
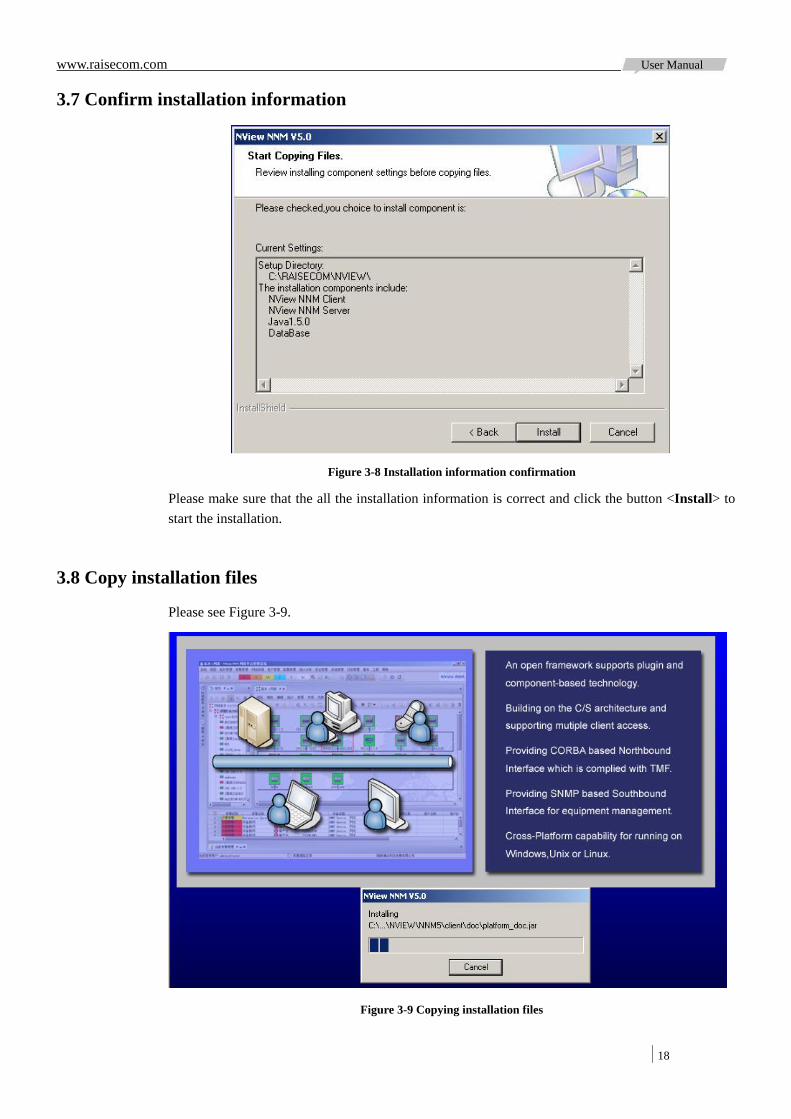
Figure 3-8 Installation information confirmation
Please make sure that the all the installation information is correct and click the button <Install> to start the installation.
3.8 Copy installation files
Please see Figure 3-9.
Figure 3-9 Copying installation files
www.raisecom.com User Manual
19
3.9 Installation completion
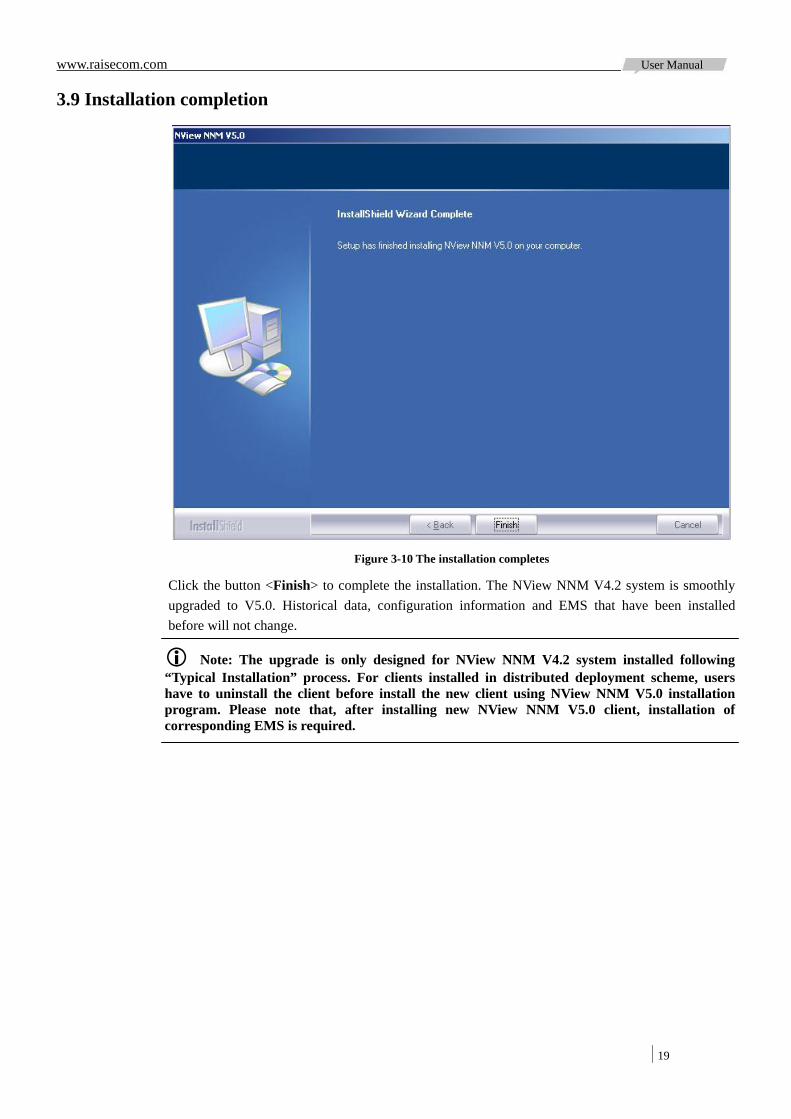
Figure 3-10 The installation completes
Click the button <Finish> to complete the installation. The NView NNM V4.2 system is smoothly upgraded to V5.0. Historical data, configuration information and EMS that have been installed before will not change.
Note: The upgrade is only designed for NView NNM V4.2 system installed following “Typical Installation” process. For clients installed in distributed deployment scheme, users have to uninstall the client before install the new client using NView NNM V5.0 installation program. Please note that, after installing new NView NNM V5.0 client, installation of corresponding EMS is required.
www.raisecom.com User Manual
20
Chapter 4 The Start and Stop of NView NNM System
4.1 Start the NView NNM system
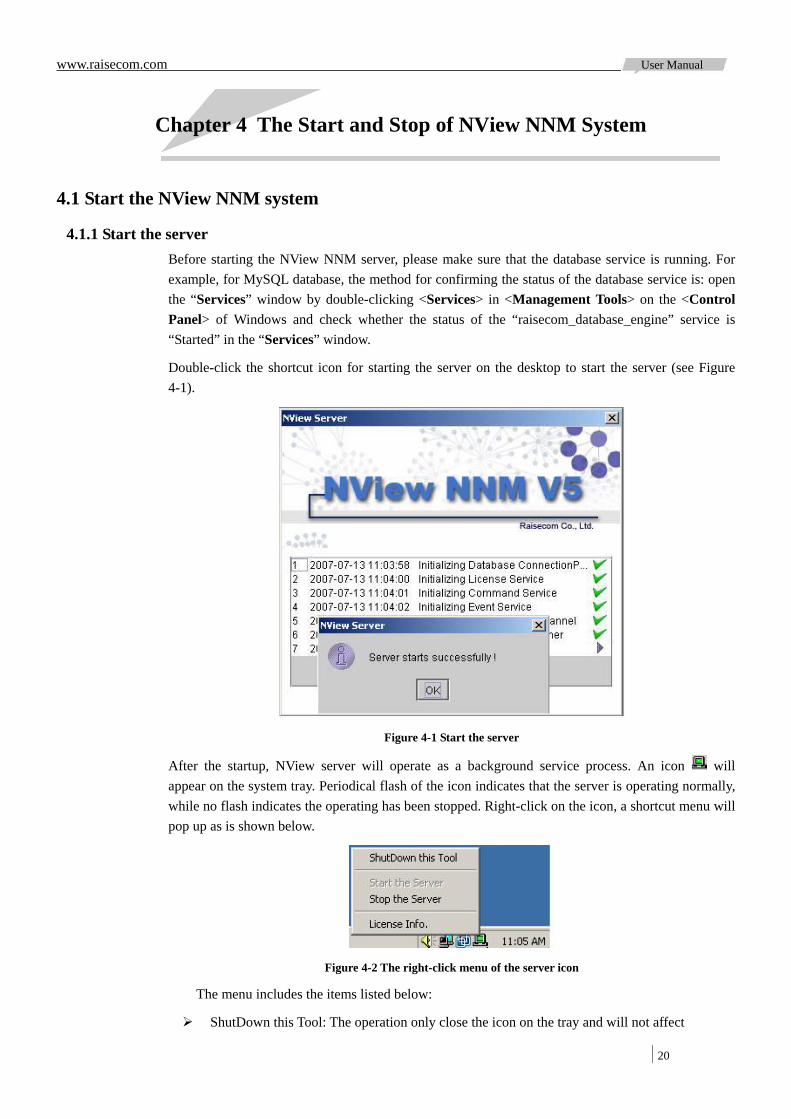
4.1.1 Start the server Before starting the NView NNM server, please make sure that the database service is running. For example, for MySQL database, the method for confirming the status of the database service is: open the “Services” window by double-clicking <Services> in <Management Tools> on the <Control Panel> of Windows and check whether the status of the “raisecom_database_engine” service is “Started” in the “Services” window.
Double-click the shortcut icon for starting the server on the desktop to start the server (see Figure 4-1).
Figure 4-1 Start the server
After the startup, NView server will operate as a background service process. An icon will appear on the system tray. Periodical flash of the icon indicates that the server is operating normally, while no flash indicates the operating has been stopped. Right-click on the icon, a shortcut menu will pop up as is shown below.
Figure 4-2 The right-click menu of the server icon
The menu includes the items listed below:
ShutDown this Tool: The operation only close the icon on the tray and will not affect
www.raisecom.com User Manual
21
the operating of the server
Start the Server: This operation starts up the NView NNM server. Stop the Server: This operation closes down the NView NNM server. License Info: This operation opens the License management platform. Users can
browse License information on the platform.
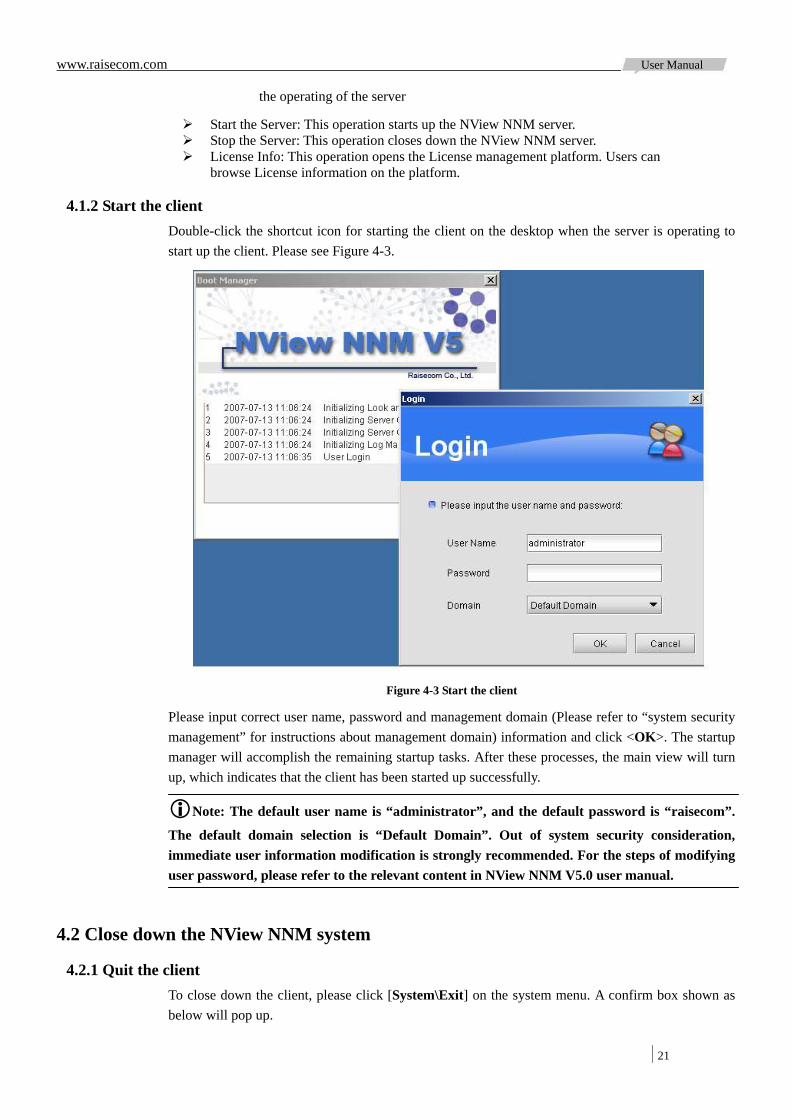
4.1.2 Start the client Double-click the shortcut icon for starting the client on the desktop when the server is operating to start up the client. Please see Figure 4-3.
Figure 4-3 Start the client
Please input correct user name, password and management domain (Please refer to “system security management” for instructions about management domain) information and click <OK>. The startup manager will accomplish the remaining startup tasks. After these processes, the main view will turn up, which indicates that the client has been started up successfully.
Note: The default user name is “administrator”, and the default password is “raisecom”.
The default domain selection is “Default Domain”. Out of system security consideration, immediate user information modification is strongly recommended. For the steps of modifying user password, please refer to the relevant content in NView NNM V5.0 user manual.
4.2 Close down the NView NNM system
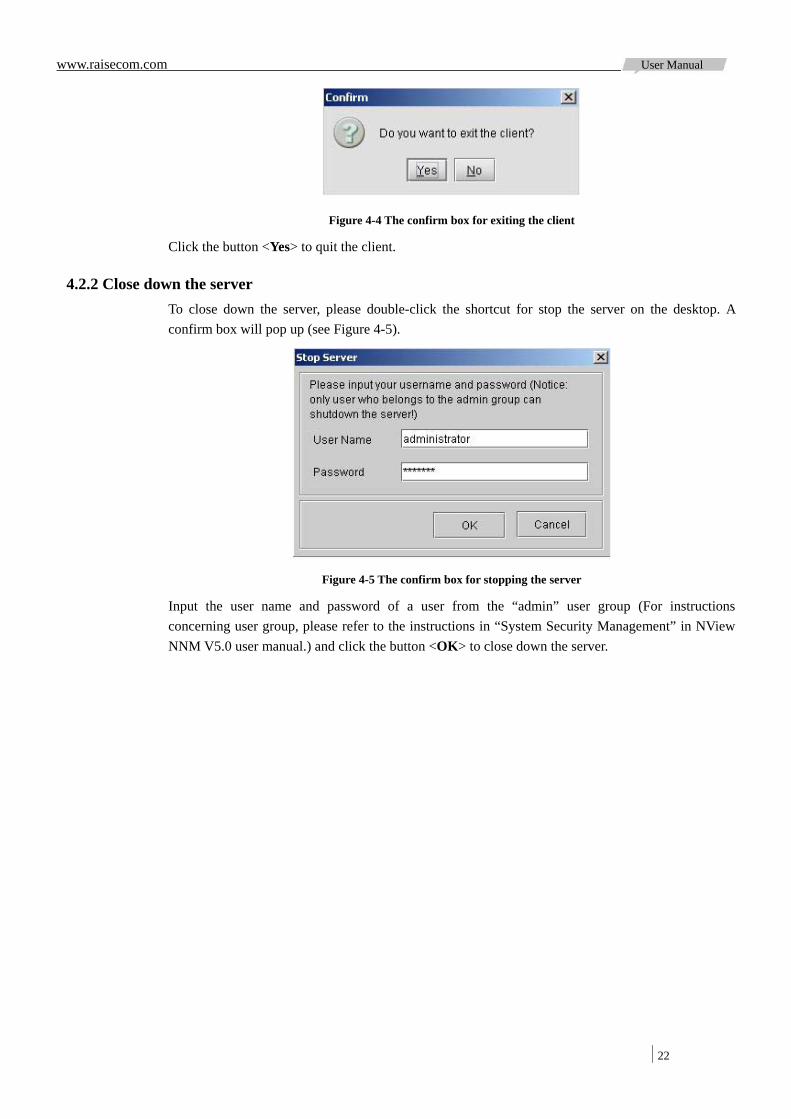
4.2.1 Quit the client To close down the client, please click [System\Exit] on the system menu. A confirm box shown as below will pop up.
www.raisecom.com User Manual
22
Figure 4-4 The confirm box for exiting the client
Click the button <Yes> to quit the client.
4.2.2 Close down the server To close down the server, please double-click the shortcut for stop the server on the desktop. A confirm box will pop up (see Figure 4-5).
Figure 4-5 The confirm box for stopping the server
Input the user name and password of a user from the “admin” user group (For instructions concerning user group, please refer to the instructions in “System Security Management” in NView NNM V5.0 user manual.) and click the button <OK> to close down the server.
www.raisecom.com User Manual
23
Chapter 5 EMS Installation Steps
5.1 Preparation
Please make sure that the NView NNM system has been correctly installed on the target host and the system is operating in order.
Please ensure that the version of the current NNM system meets the lowest version requirement of the EMS to be installed. Otherwise, please upgrade the current NNM system.
If the current NNM system is operating, please quit the system (both the client and the server) first, and make sure that the database service is running.
If any personal network security software (e.g. Norton Internet Security) exists on the target host, please stop it before the installation of the EMS and restart it when the installation completes.
5.2 Installation steps
In this section, we take the installation of RC002 EMS as an example to demonstrate the installation process of EMS. The installation of other EMS is similar.
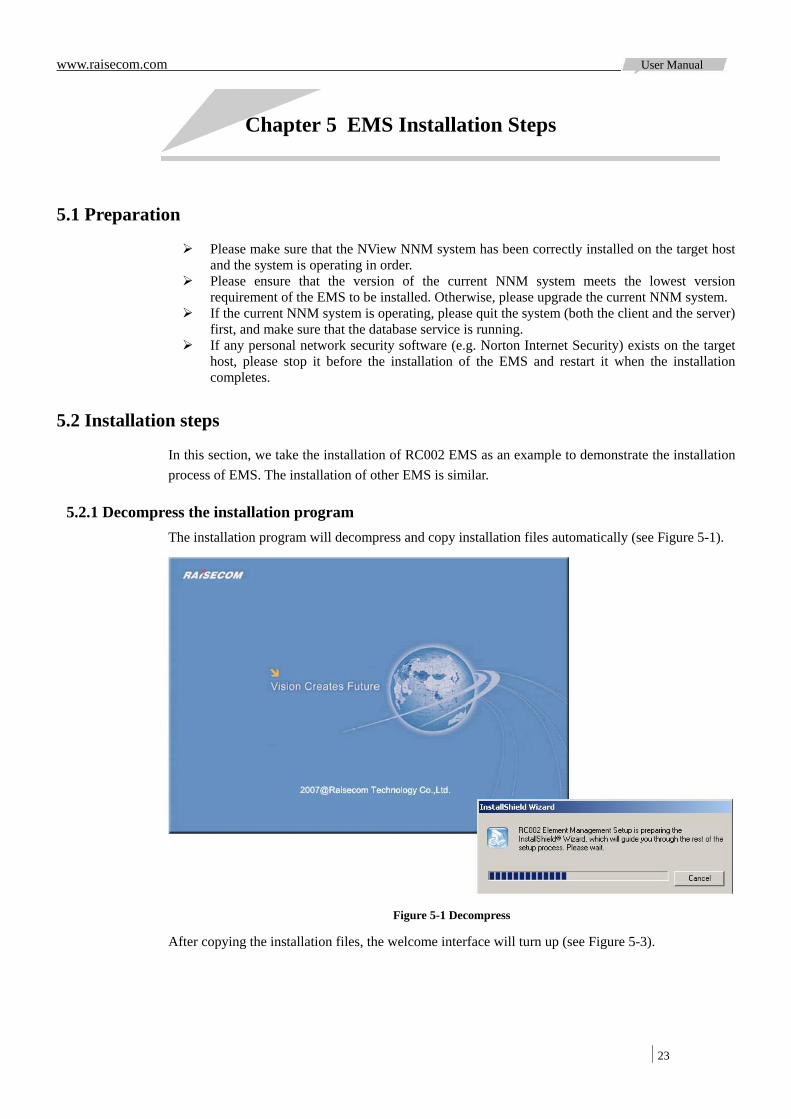
5.2.1 Decompress the installation program The installation program will decompress and copy installation files automatically (see Figure 5-1).
Figure 5-1 Decompress
After copying the installation files, the welcome interface will turn up (see Figure 5-3).
www.raisecom.com User Manual
24
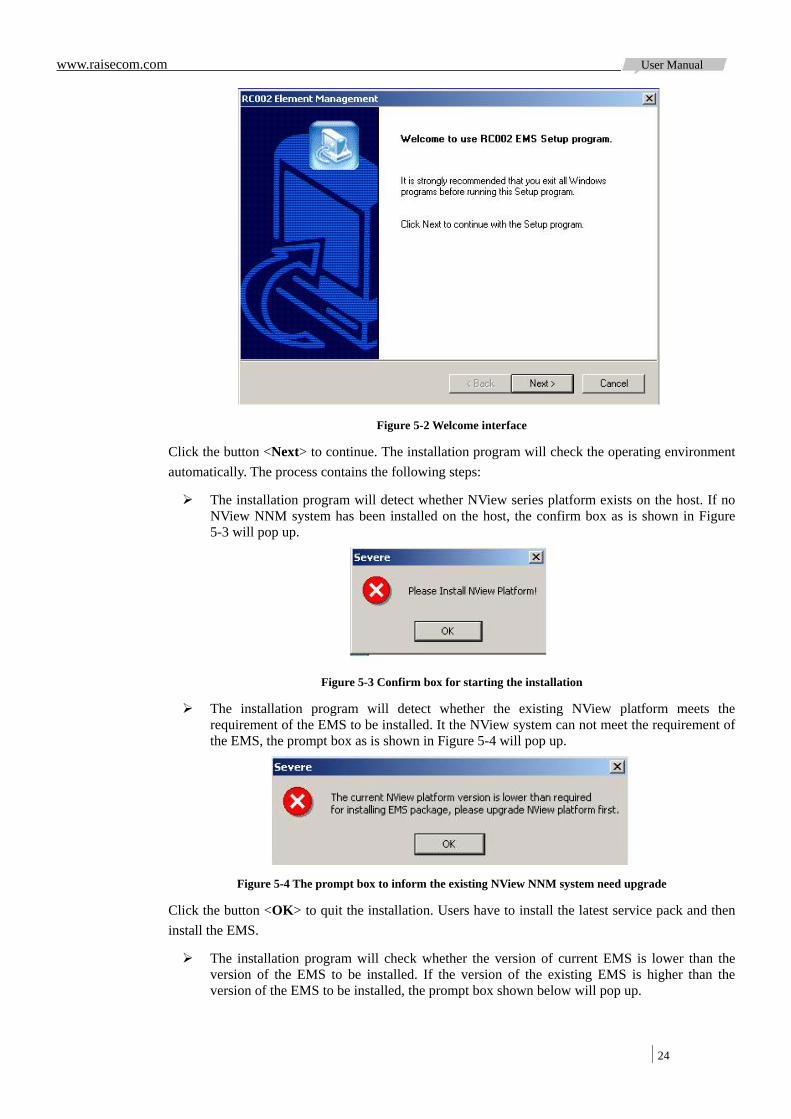
Figure 5-2 Welcome interface
Click the button <Next> to continue. The installation program will check the operating environment automatically. The process contains the following steps:
The installation program will detect whether NView series platform exists on the host. If no NView NNM system has been installed on the host, the confirm box as is shown in Figure 5-3 will pop up.
Figure 5-3 Confirm box for starting the installation
The installation program will detect whether the existing NView platform meets the requirement of the EMS to be installed. It the NView system can not meet the requirement of the EMS, the prompt box as is shown in Figure 5-4 will pop up.
Figure 5-4 The prompt box to inform the existing NView NNM system need upgrade
Click the button <OK> to quit the installation. Users have to install the latest service pack and then install the EMS.
The installation program will check whether the version of current EMS is lower than the version of the EMS to be installed. If the version of the existing EMS is higher than the version of the EMS to be installed, the prompt box shown below will pop up.
www.raisecom.com User Manual
25
Figure 5-5 Prompt box to inform that the version of the EMS to be installed is lower than that of the existing EMS
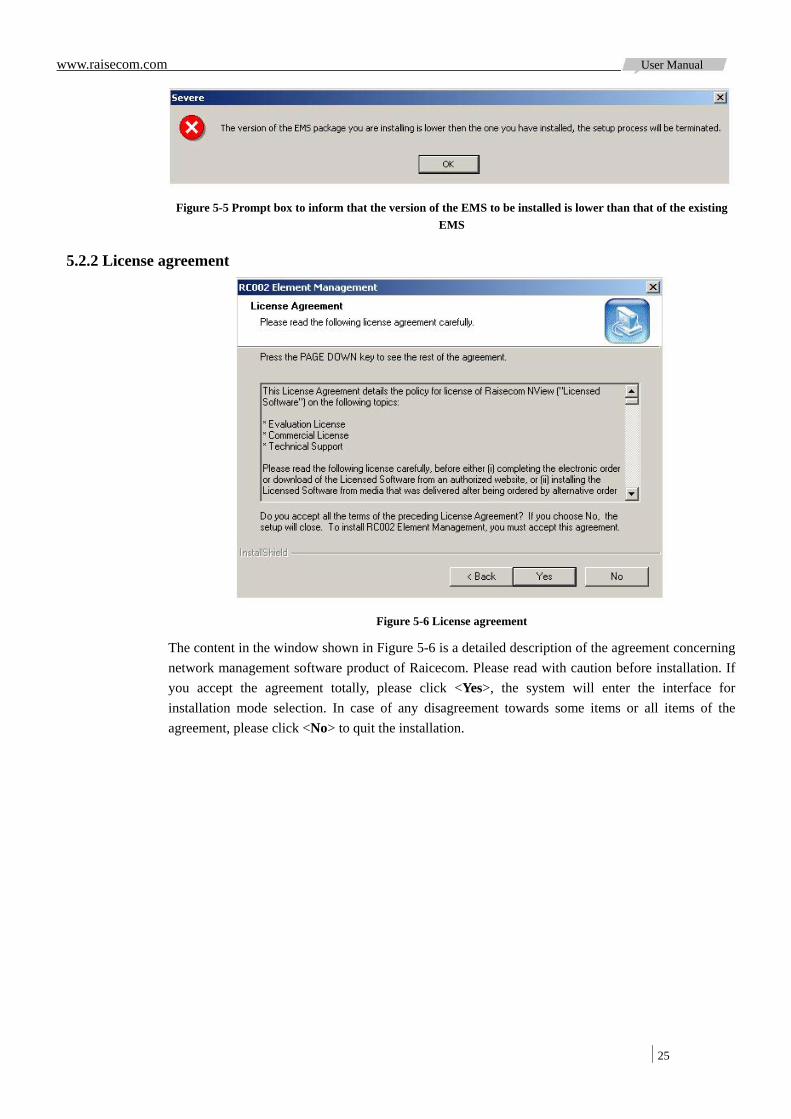
5.2.2 License agreement
Figure 5-6 License agreement
The content in the window shown in Figure 5-6 is a detailed description of the agreement concerning network management software product of Raicecom. Please read with caution before installation. If you accept the agreement totally, please click <Yes>, the system will enter the interface for installation mode selection. In case of any disagreement towards some items or all items of the agreement, please click <No> to quit the installation.
www.raisecom.com User Manual
26
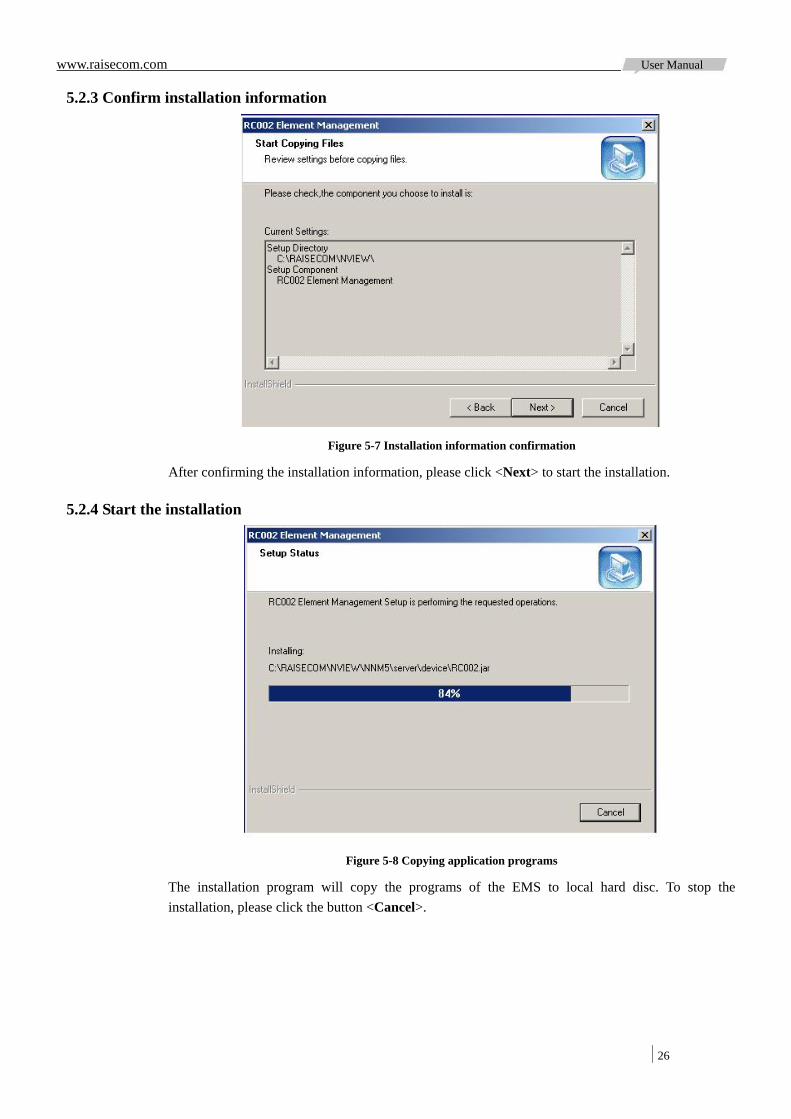
5.2.3 Confirm installation information
Figure 5-7 Installation information confirmation
After confirming the installation information, please click <Next> to start the installation.
5.2.4 Start the installation
Figure 5-8 Copying application programs
The installation program will copy the programs of the EMS to local hard disc. To stop the installation, please click the button <Cancel>.
www.raisecom.com User Manual
27
5.2.5 Installation completion
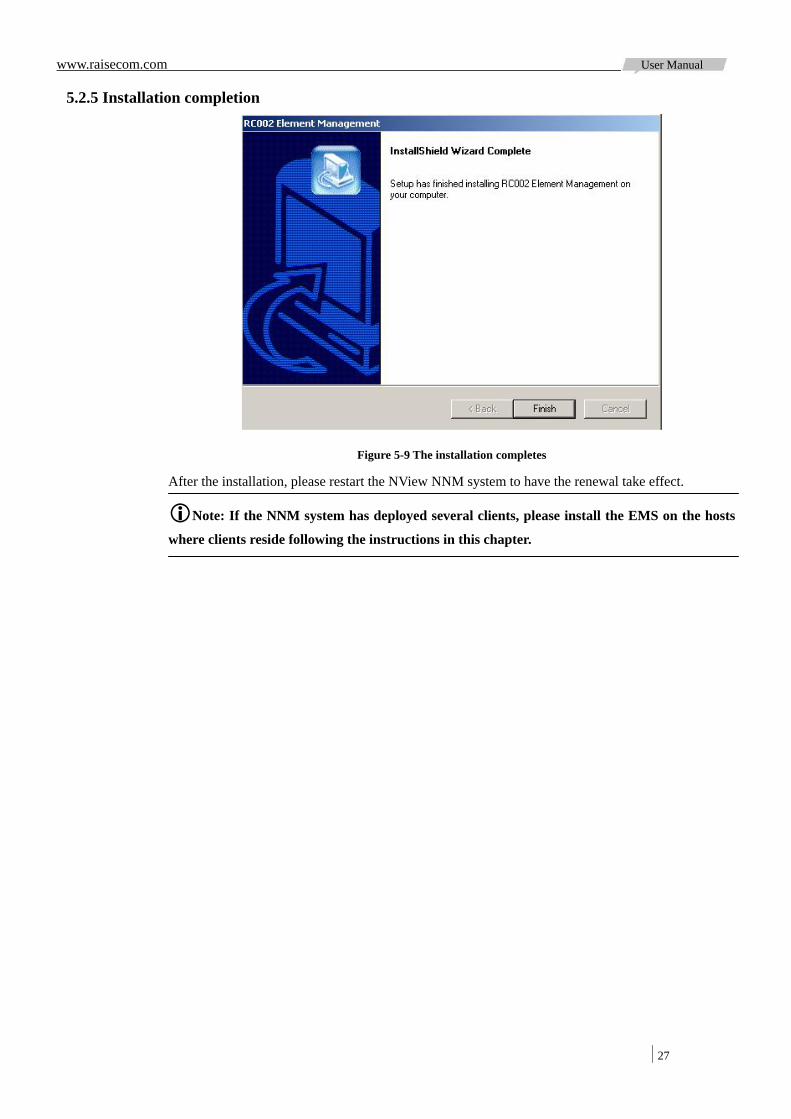
Figure 5-9 The installation completes
After the installation, please restart the NView NNM system to have the renewal take effect.
Note: If the NNM system has deployed several clients, please install the EMS on the hosts
where clients reside following the instructions in this chapter.
www.raisecom.com User Manual
28
Chapter 6 Uninstall NView NNM System
6.1 Basic procedures
Close down the NView NNM system, including server and client. Stop and uninstall MySQL service Uninstall NView NNM system
6.2 Close down the NView NNM system
Please refer to the instructions in section 4.2.
6.3 Uninstall NView NNM system
Users can execute the uninstall via Windows “Start” menu by selecting [Start\Programs\Raisecom NView NNM V5.0\Uninstall NView NNM V5.0].
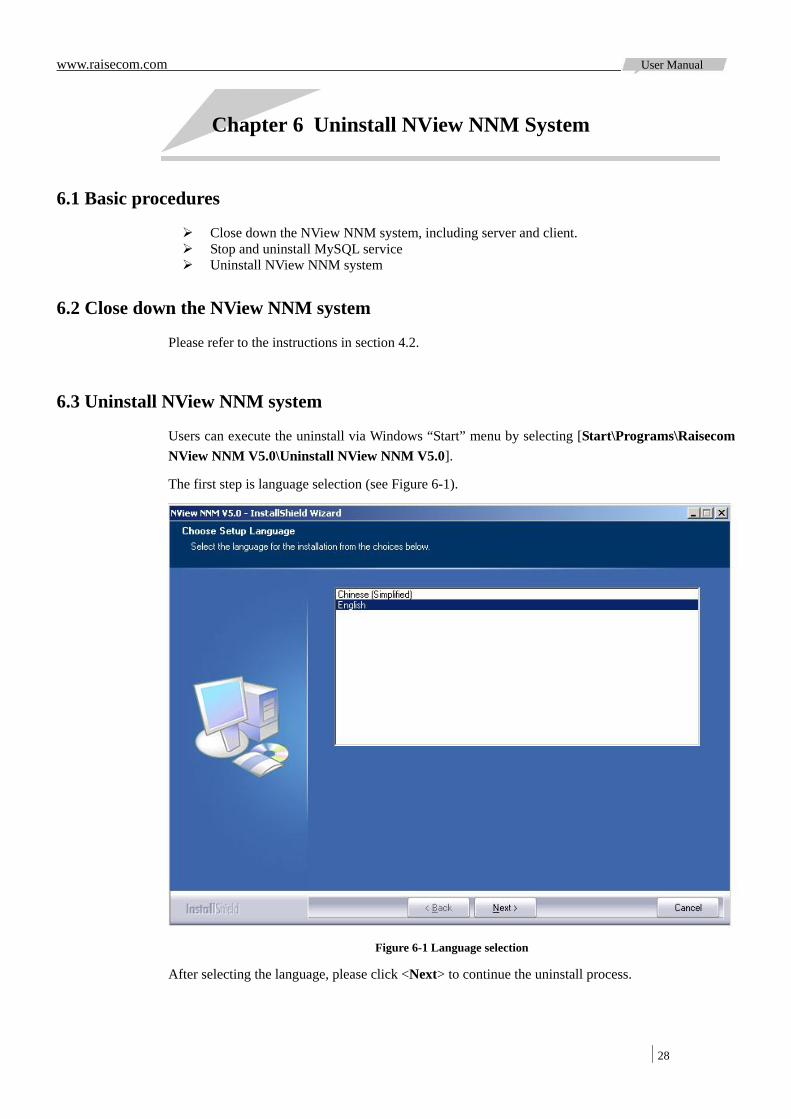
The first step is language selection (see Figure 6-1).
Figure 6-1 Language selection
After selecting the language, please click <Next> to continue the uninstall process.
www.raisecom.com User Manual
29
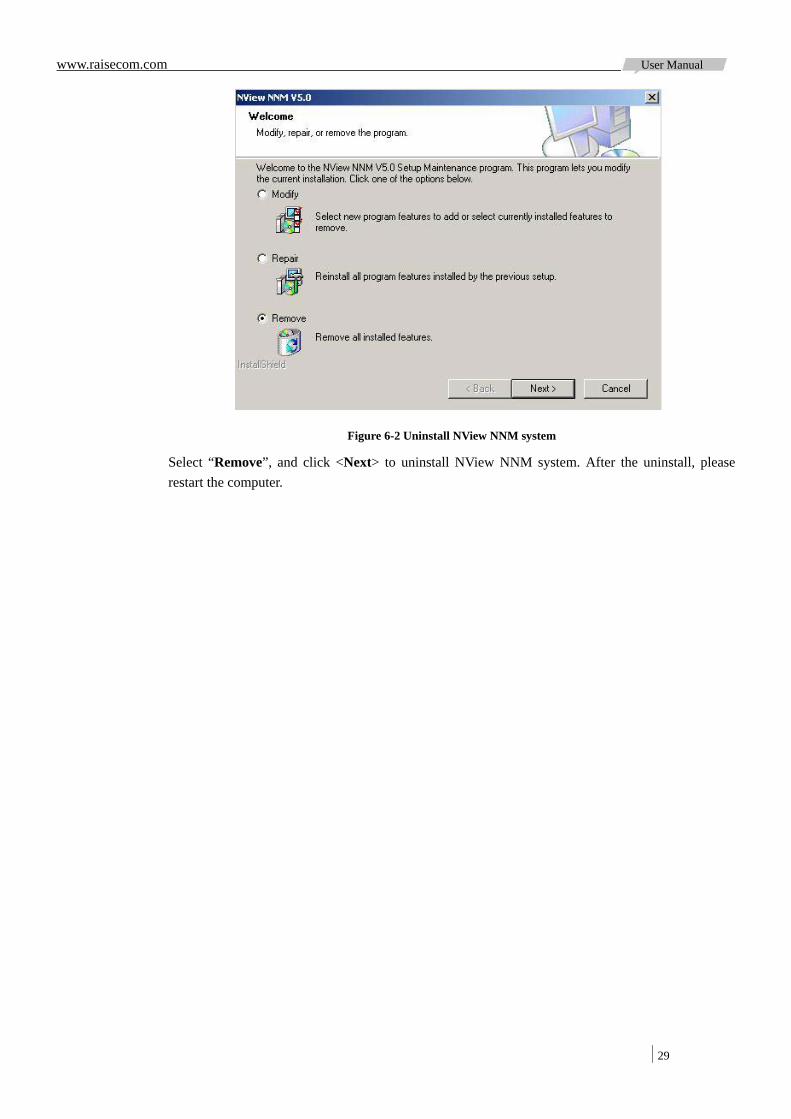
Figure 6-2 Uninstall NView NNM system
Select “Remove”, and click <Next> to uninstall NView NNM system. After the uninstall, please restart the computer.
www.raisecom.com User Manual
30
Chapter 7 FAQ
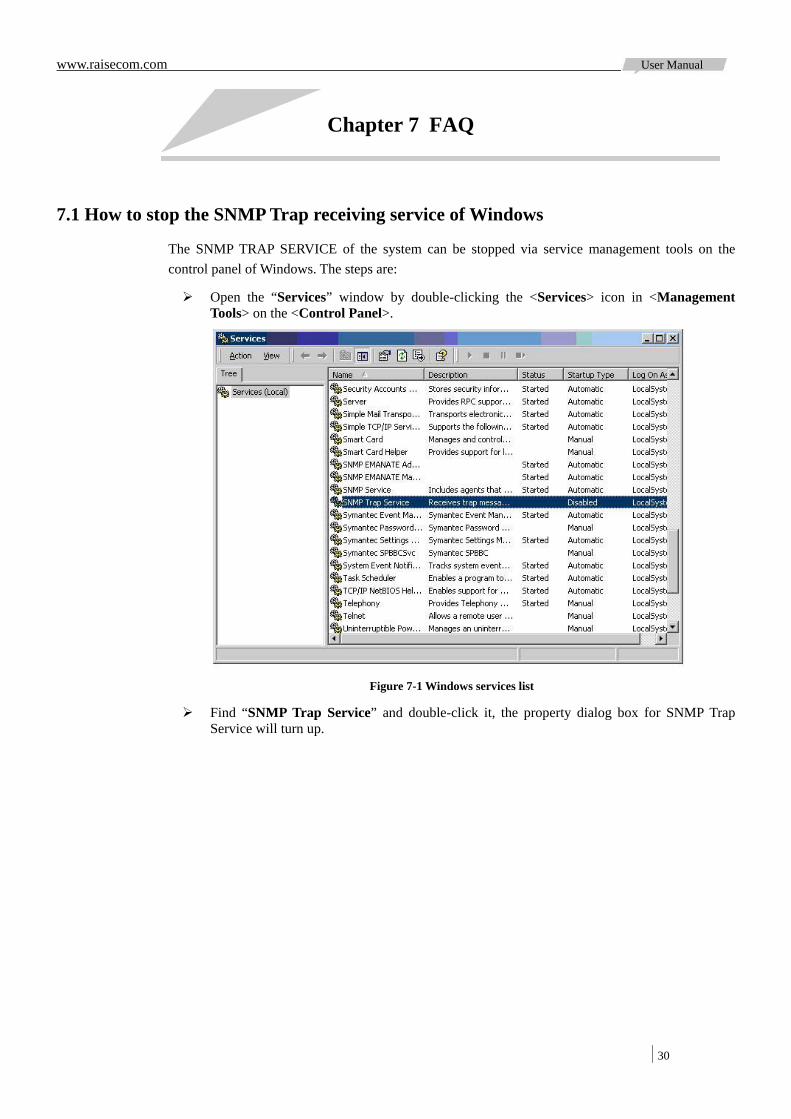
7.1 How to stop the SNMP Trap receiving service of Windows
The SNMP TRAP SERVICE of the system can be stopped via service management tools on the control panel of Windows. The steps are:
Open the “Services” window by double-clicking the <Services> icon in <Management Tools> on the <Control Panel>.
Figure 7-1 Windows services list
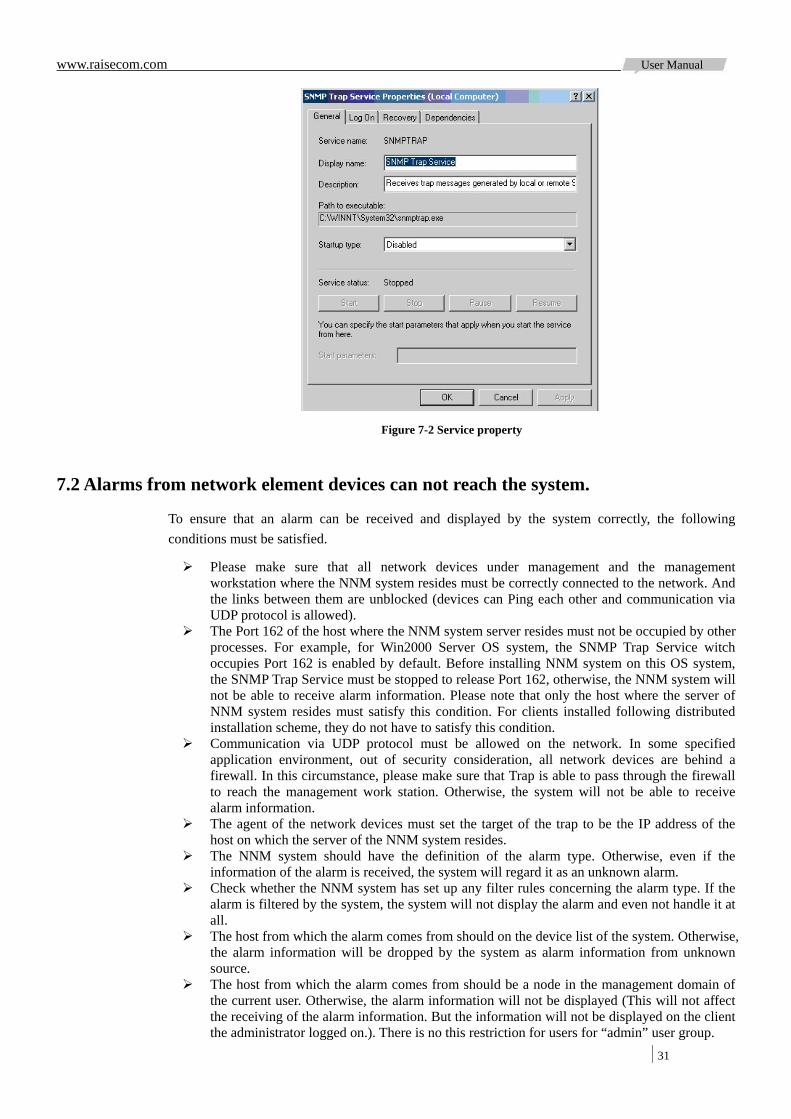
Find “SNMP Trap Service” and double-click it, the property dialog box for SNMP Trap Service will turn up.
www.raisecom.com User Manual
31
Figure 7-2 Service property
7.2 Alarms from network element devices can not reach the system.
To ensure that an alarm can be received and displayed by the system correctly, the following conditions must be satisfied.
Please make sure that all network devices under management and the management workstation where the NNM system resides must be correctly connected to the network. And the links between them are unblocked (devices can Ping each other and communication via UDP protocol is allowed).
The Port 162 of the host where the NNM system server resides must not be occupied by other processes. For example, for Win2000 Server OS system, the SNMP Trap Service witch occupies Port 162 is enabled by default. Before installing NNM system on this OS system, the SNMP Trap Service must be stopped to release Port 162, otherwise, the NNM system will not be able to receive alarm information. Please note that only the host where the server of NNM system resides must satisfy this condition. For clients installed following distributed installation scheme, they do not have to satisfy this condition.
Communication via UDP protocol must be allowed on the network. In some specified application environment, out of security consideration, all network devices are behind a firewall. In this circumstance, please make sure that Trap is able to pass through the firewall to reach the management work station. Otherwise, the system will not be able to receive alarm information.
The agent of the network devices must set the target of the trap to be the IP address of the host on which the server of the NNM system resides.
The NNM system should have the definition of the alarm type. Otherwise, even if the information of the alarm is received, the system will regard it as an unknown alarm.
Check whether the NNM system has set up any filter rules concerning the alarm type. If the alarm is filtered by the system, the system will not display the alarm and even not handle it at all.
The host from which the alarm comes from should on the device list of the system. Otherwise, the alarm information will be dropped by the system as alarm information from unknown source.
The host from which the alarm comes from should be a node in the management domain of the current user. Otherwise, the alarm information will not be displayed (This will not affect the receiving of the alarm information. But the information will not be displayed on the client the administrator logged on.). There is no this restriction for users for “admin” user group.
www.raisecom.com User Manual
32
The version of the EMS should match that of the device Agent program. For example, if the version of Agent program is higher than that of the EMS, the information of some types of alarms can not be received.
If all the conditions listed above are satisfied, the NNM system should be able to receive and resolve alarm information correctly. Please note that the above conditions are the minimal set of conditions that must be satisfied to have alarm information received correctly. In some specified application environment, some other conditions may have to be satisfied.
7.3 Clients can not connect to the server after an installation following the distributed scheme.
Please check whether the server is started and operating in order. Please check whether the IP address of the host where the server resides is correctly inputted
when installing remote clients. During the startup process of the client, if the specified IP address of the server can not be connected, the system will inform the user to enter the IP address of the host where the server resides again.
Please make sure whether the “User Access Control” function is enabled. If it is enabled, please register the IP address of host where the remote client resides on the local clients, otherwise, the remote client is not allowed to log on.
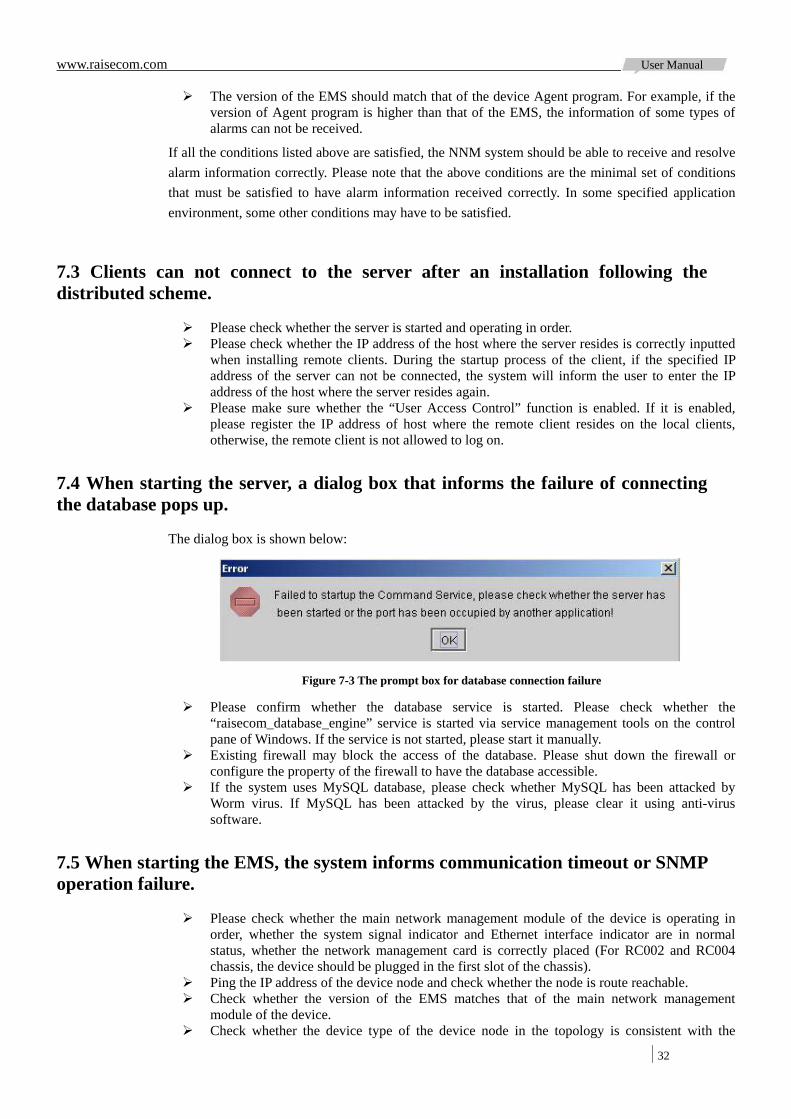
7.4 When starting the server, a dialog box that informs the failure of connecting the database pops up.
The dialog box is shown below:
Figure 7-3 The prompt box for database connection failure
Please confirm whether the database service is started. Please check whether the “raisecom_database_engine” service is started via service management tools on the control pane of Windows. If the service is not started, please start it manually.
Existing firewall may block the access of the database. Please shut down the firewall or configure the property of the firewall to have the database accessible.
If the system uses MySQL database, please check whether MySQL has been attacked by Worm virus. If MySQL has been attacked by the virus, please clear it using anti-virus software.
7.5 When starting the EMS, the system informs communication timeout or SNMP operation failure.
Please check whether the main network management module of the device is operating in order, whether the system signal indicator and Ethernet interface indicator are in normal status, whether the network management card is correctly placed (For RC002 and RC004 chassis, the device should be plugged in the first slot of the chassis).
Ping the IP address of the device node and check whether the node is route reachable. Check whether the version of the EMS matches that of the main network management
module of the device. Check whether the device type of the device node in the topology is consistent with the
www.raisecom.com User Manual
33
faction model of the device. Check whether the SNMP information (read community and write community) registered for
the device node is consistent with the settings in the main network management module. In general, the factory default setting of the read community is “public”, and that of the write community is “private”.
Please adjust the value of SNMP timeout and retry times according to the factual status of network.

地址: 北京市海淀区北四环中路229号海泰大厦617/619室 邮编: 100083 电话: (8610)-82884499 传真: (8610)-82885200 Http://www.raisecom.com 技术支持:[email protected] 销售热线: 86-10-82884499 转 600 技术咨询热线: (8610)-82883110 82884499 转 87


