June 2014 OB Basics - a University of Calgary Needs Based Educational Day for Incoming Residents OB Basics is a full day interactive multiple station workshop to improve the competence and confidence of incoming residents as they enter their obstetrical experience. The skill set included was based on an informal needs assessment by family medicine obstetrical educators in 2013. Simple simulation is a fun and inexpensive solution to skill enhancement, and encourages a non-threatening learning environment. The curriculum was developed by Heather Baxter for the University of Calgary Family Medicine residency program. I would like to extend sincere appreciation to Vicki Van Wagner, RM for her willingness to share some of her model designs. The reference for her excellent article is listed below. I would also like to thank Anne Biringer MD, and Jeanine Robinson and Marianna Hofmeister for their assistance and support. This is certainly a work in progress. A new workshop is being developed focussing on interprofessional communication for 2014. If you have any other innovations or new curriculum please share it with us. Thanks for your interest in this curriculum. Heather Baxter MD CCFP FCFP Associate Clinical Professor Director Master Teacher Program Faculty of Medicine University of Calgary [email protected]Reference: Van Wagner V. Using Simple Simulation to Teach Midwifery Skills. Canadian Journal of Midwifery Research and Practice 2012; 11 (1)
Transcript
June 2014
OB Basics - a University of Calgary Needs Based Educational Day for Incoming Residents
OB Basics is a full day interactive multiple station workshop to improve the competence and confidence of
incoming residents as they enter their obstetrical experience. The skill set included was based on an informal
needs assessment by family medicine obstetrical educators in 2013.
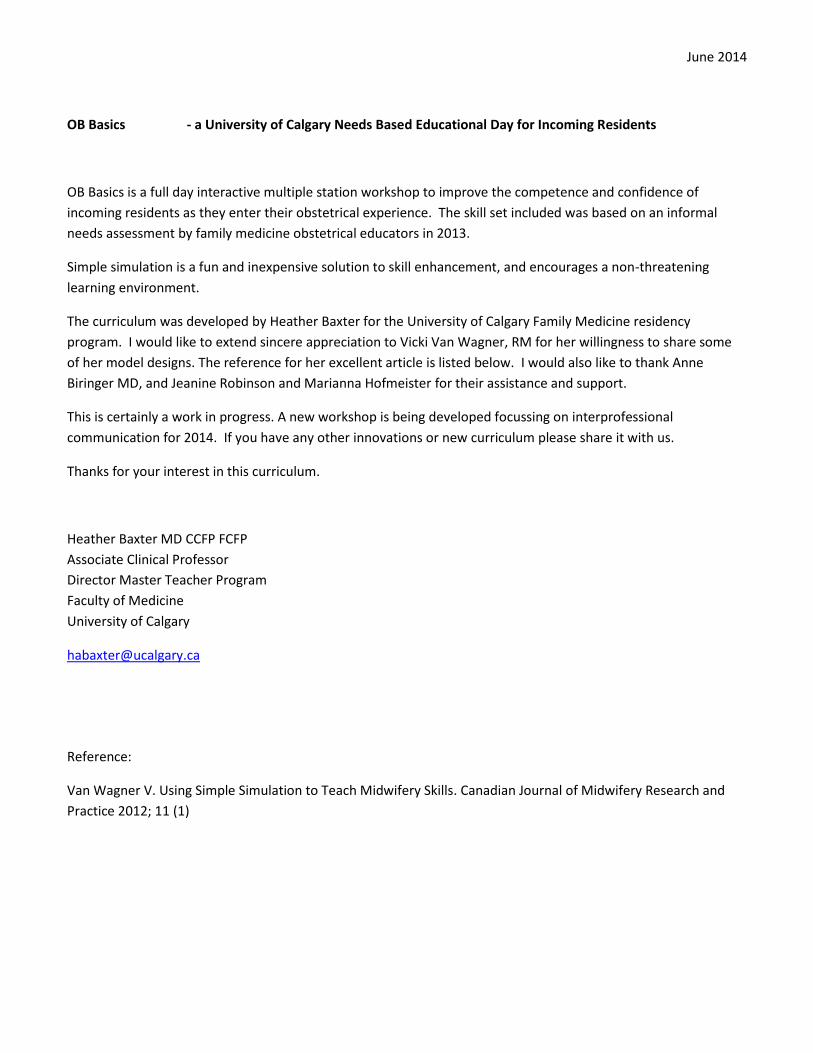
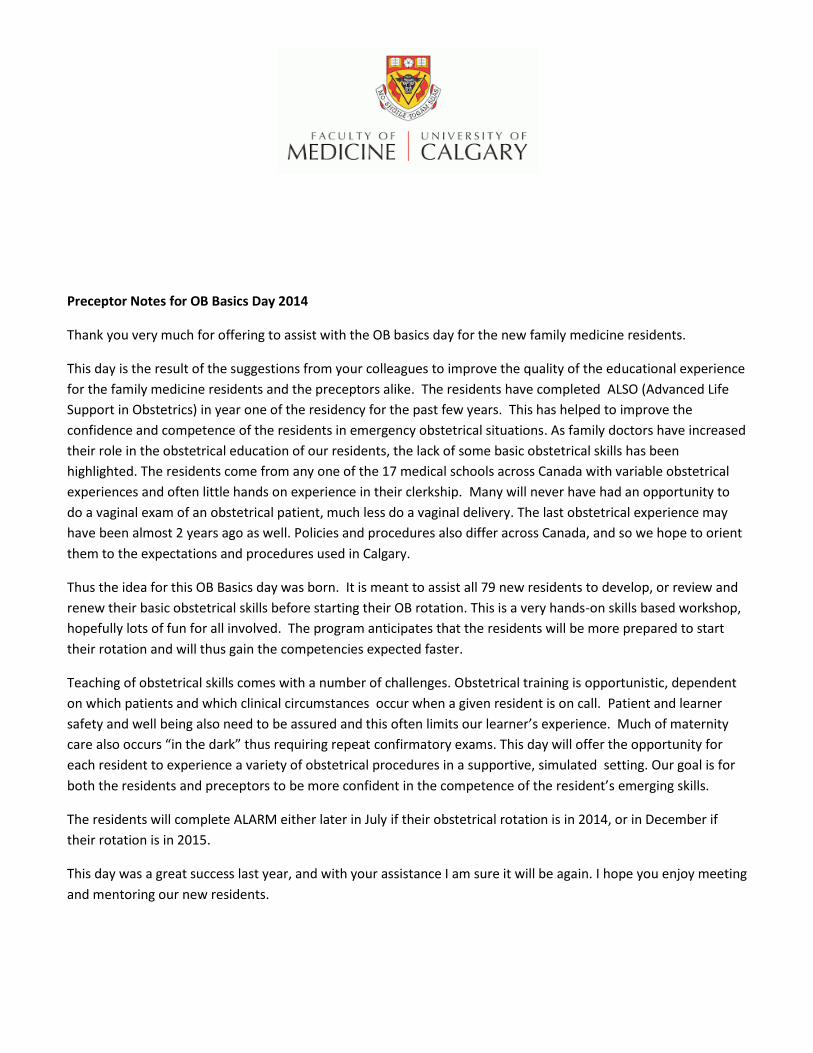
Simple simulation is a fun and inexpensive solution to skill enhancement, and encourages a non-threatening
learning environment.
The curriculum was developed by Heather Baxter for the University of Calgary Family Medicine residency
program. I would like to extend sincere appreciation to Vicki Van Wagner, RM for her willingness to share some
of her model designs. The reference for her excellent article is listed below. I would also like to thank Anne
Biringer MD, and Jeanine Robinson and Marianna Hofmeister for their assistance and support.
This is certainly a work in progress. A new workshop is being developed focussing on interprofessional
communication for 2014. If you have any other innovations or new curriculum please share it with us.
By the end of this workshop residents will be able to
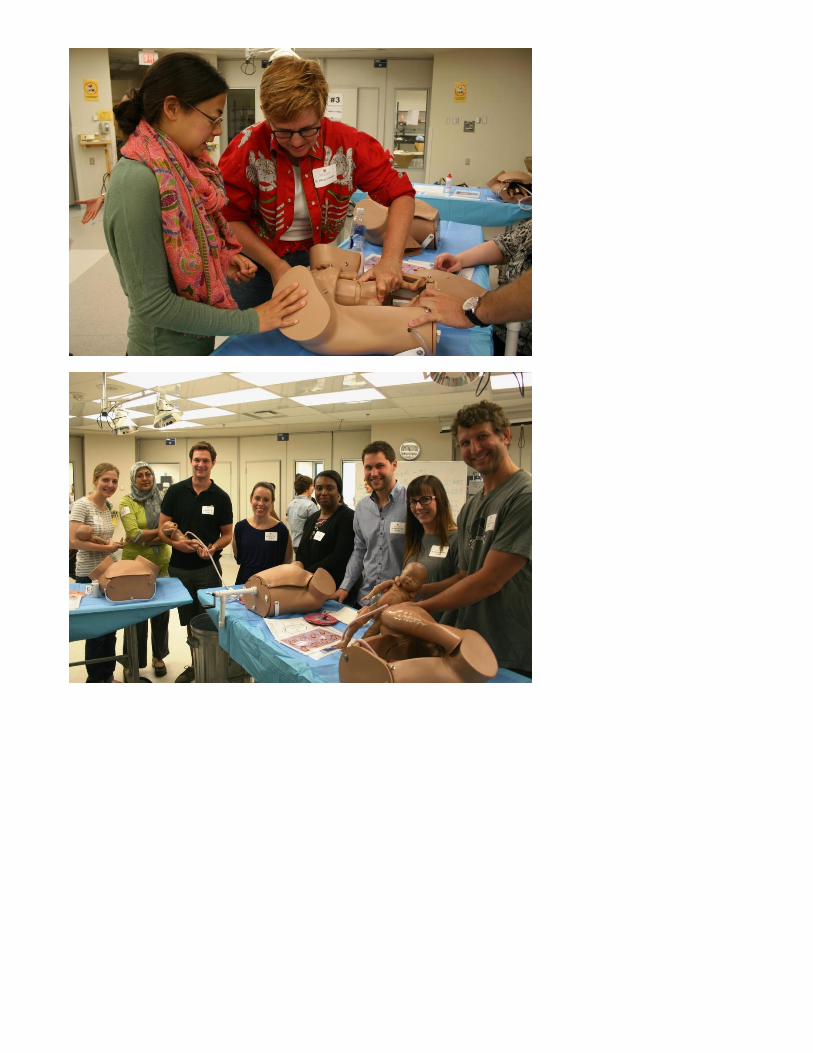
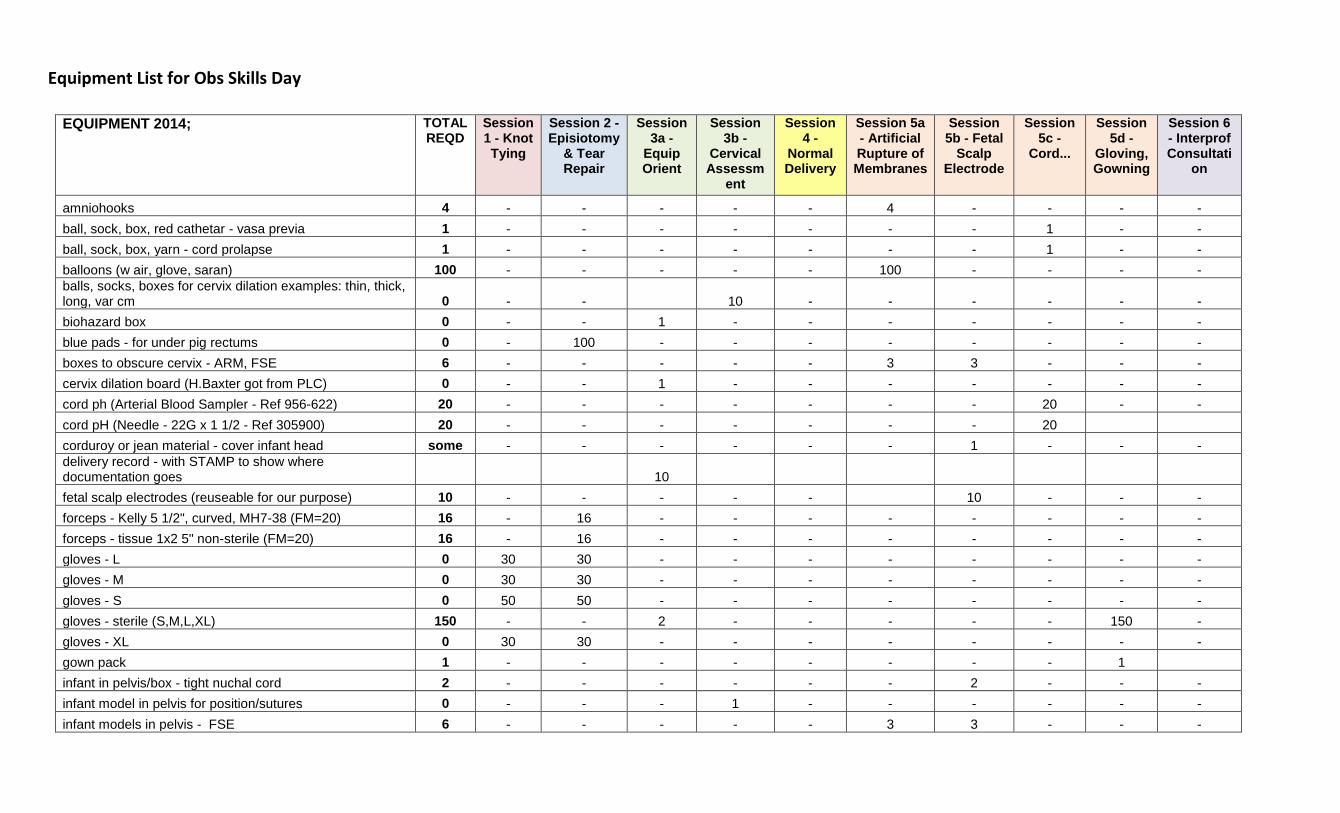
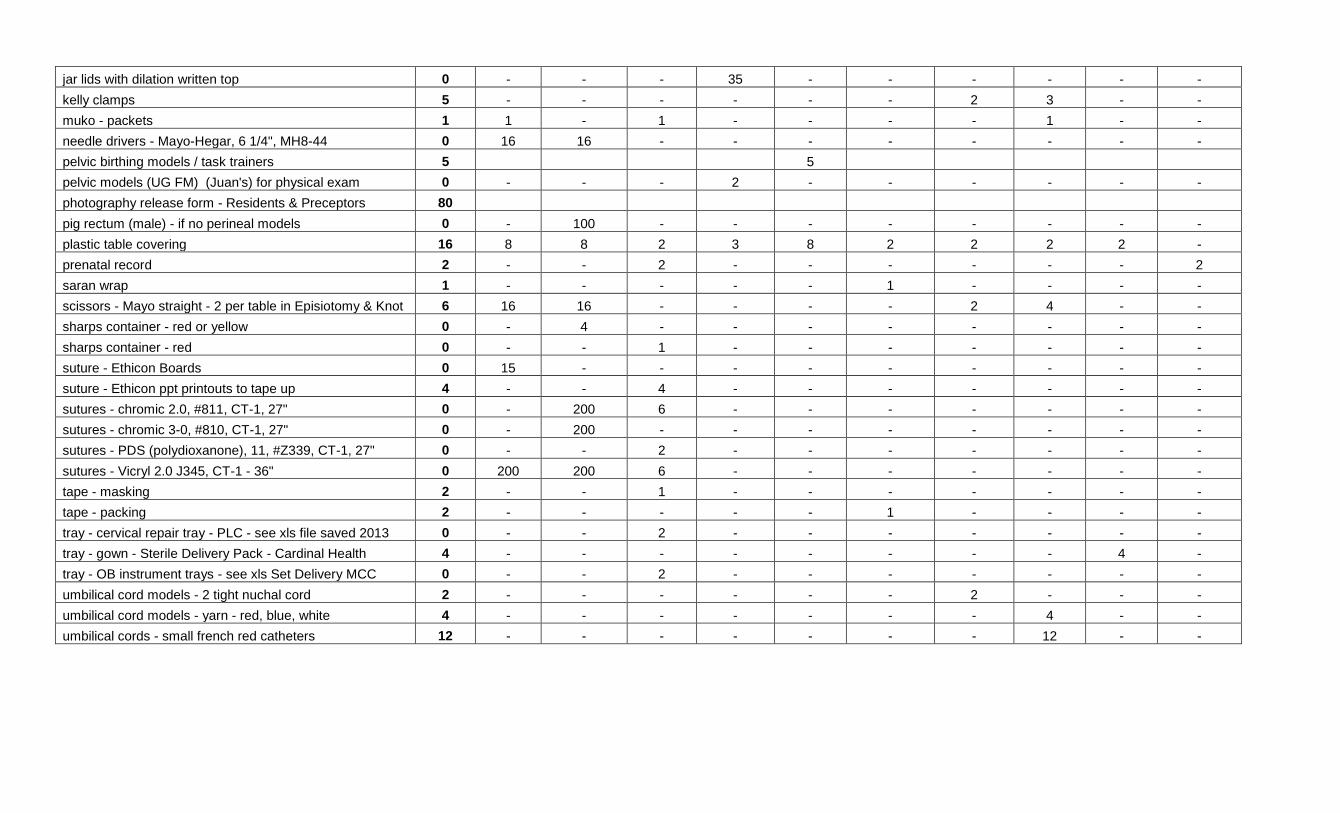
1. List components of an obstetrical delivery tray
2. List what equipment counts are required at the end of the procedure
3. List 3 types of sutures and one advantage of each
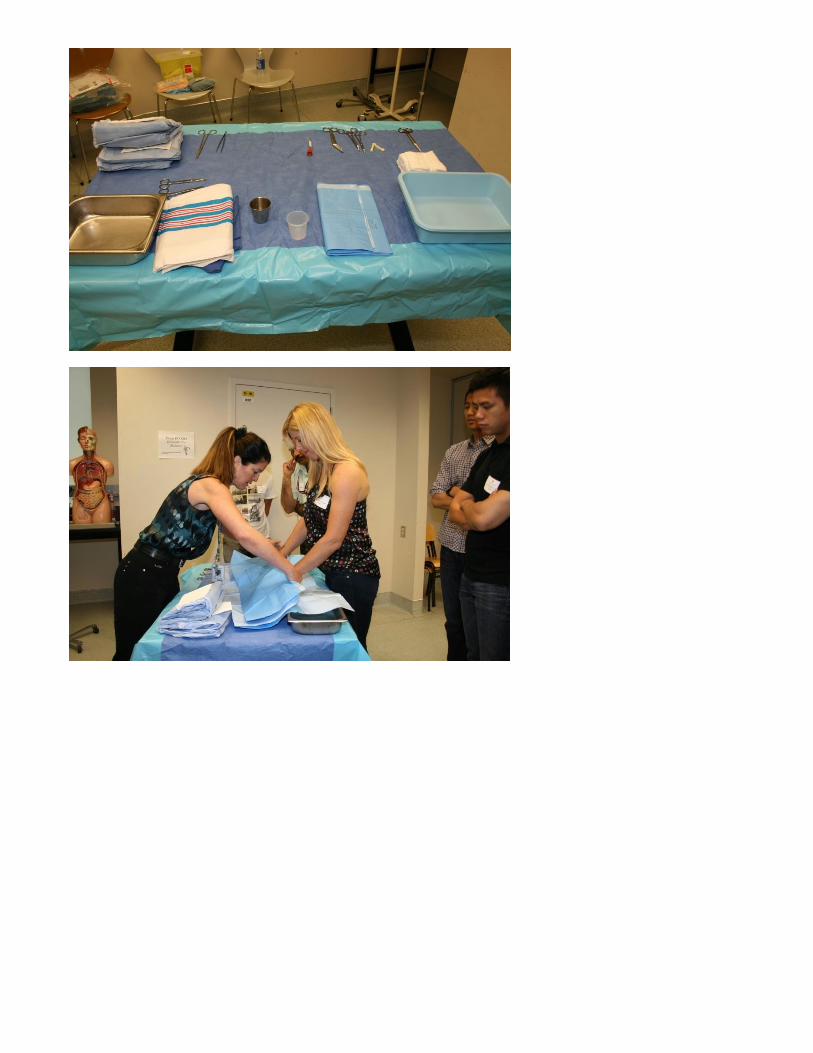
4. Demonstrate how to appropriately drape for a vaginal delivery
5. Describe safe management and disposal of sharps
This station is meant to be an orientation to the equipment and set-up for a normal vaginal delivery. Please
review how to open an obstetrical tray in a sterile manner, review of the instruments and their use, how the
instruments are usually laid out, what instrument and sponge counts the medical practitioner is responsible for at
the end of the procedure. Please review chromic, vicryl and PDS sutures and their uses. The ethicon ppt and basic
suturing notes may be good resources to review. These sutures will be available for the students to feel the
difference in the filaments. Please also demonstrate how draping should be done for a normal vaginal delivery.
Resources - basic suturing notes for students
ethicon ppt
Resources at Station: basic suturing notes for students
Station #2B – Cervical Exam
By the end of this workshop residents will be able to
1. Demonstrate the technique for a gender sensitive vaginal exam
2. Demonstrate the assessment of cervical dilatation, effacement and station.
3. Demonstrate the determination of fetal position by assessing suture lines
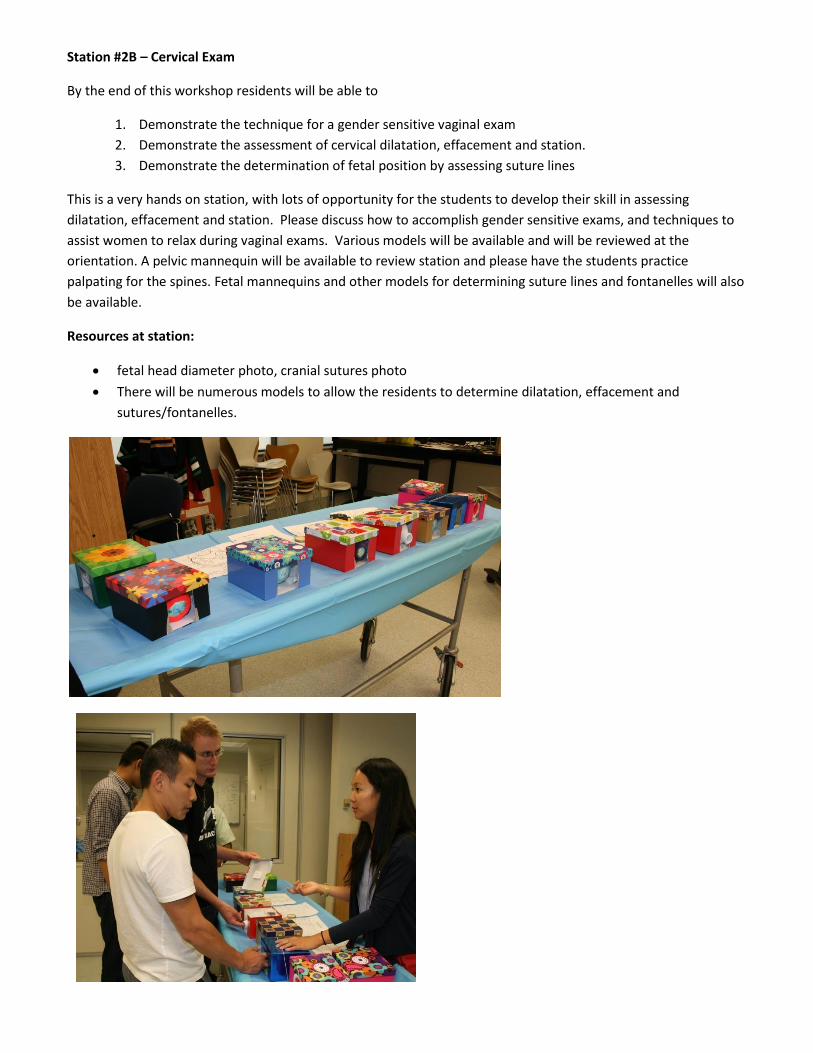
This is a very hands on station, with lots of opportunity for the students to develop their skill in assessing
dilatation, effacement and station. Please discuss how to accomplish gender sensitive exams, and techniques to
assist women to relax during vaginal exams. Various models will be available and will be reviewed at the
orientation. A pelvic mannequin will be available to review station and please have the students practice
palpating for the spines. Fetal mannequins and other models for determining suture lines and fontanelles will also
be available.
Resources at station:
fetal head diameter photo, cranial sutures photo
There will be numerous models to allow the residents to determine dilatation, effacement and
sutures/fontanelles.
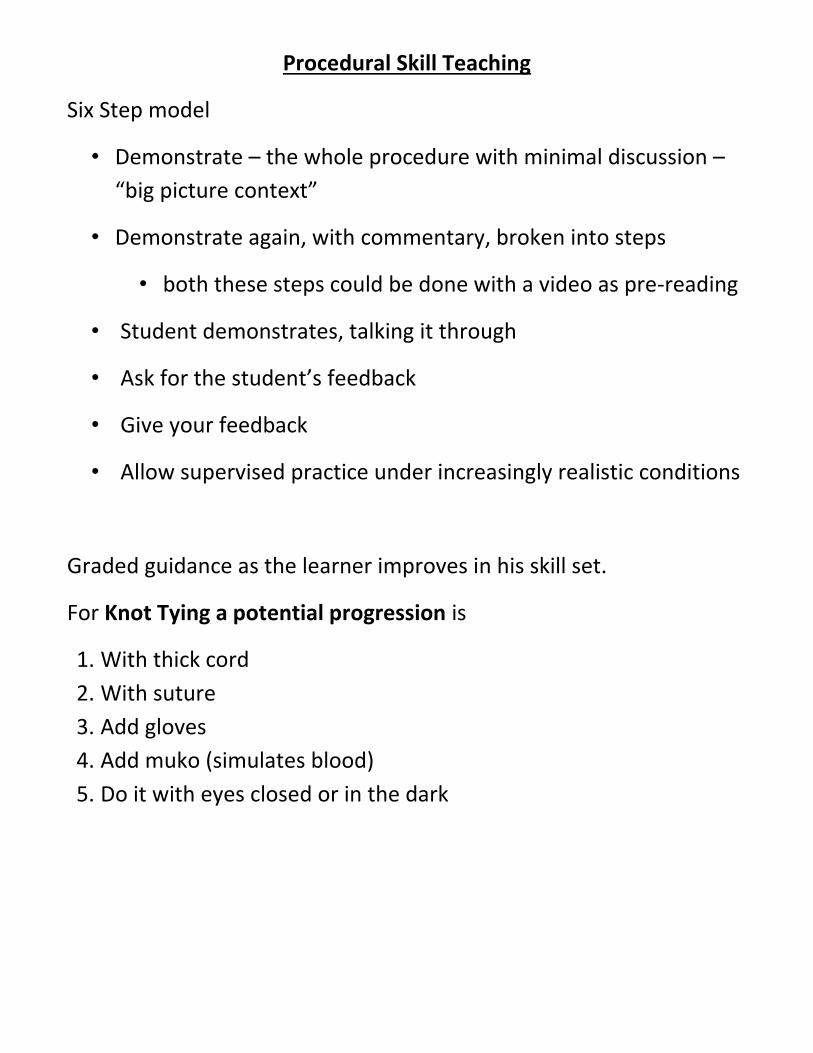
Station #3 – Knot Tying
By the end of this workshop residents will be able to
1. Demonstrate technique for 1 hand knot tying
2. Demonstrate technique for instrument tie
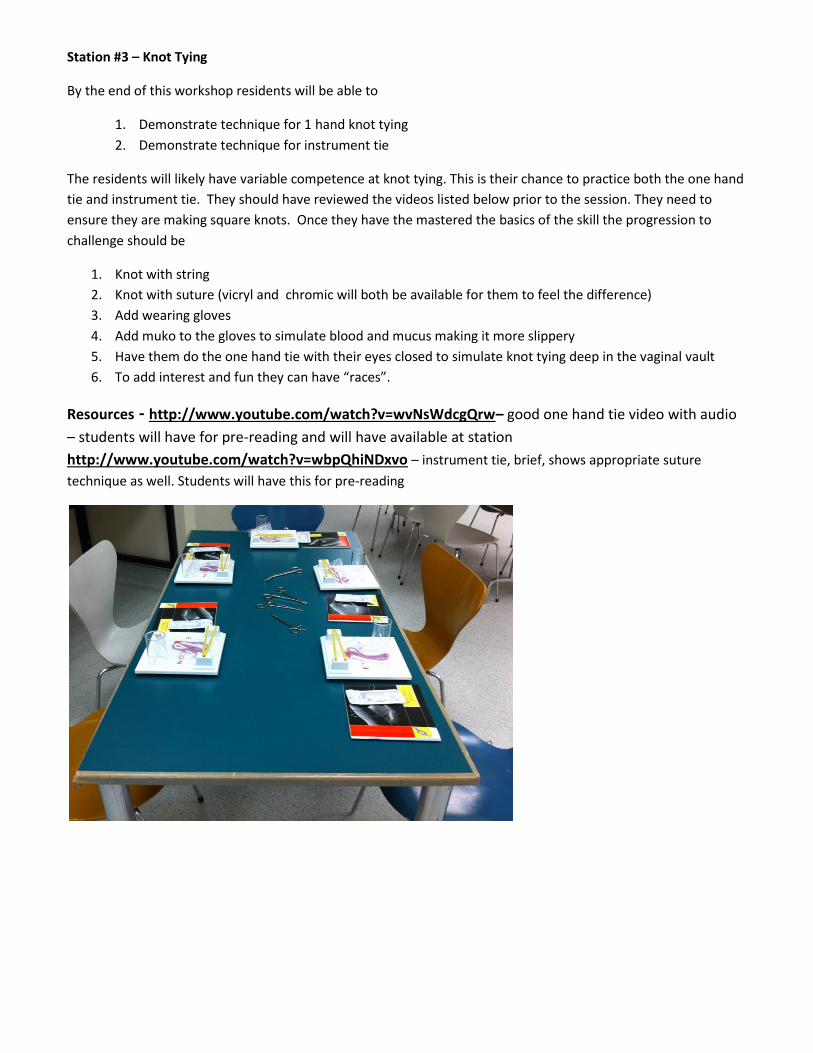
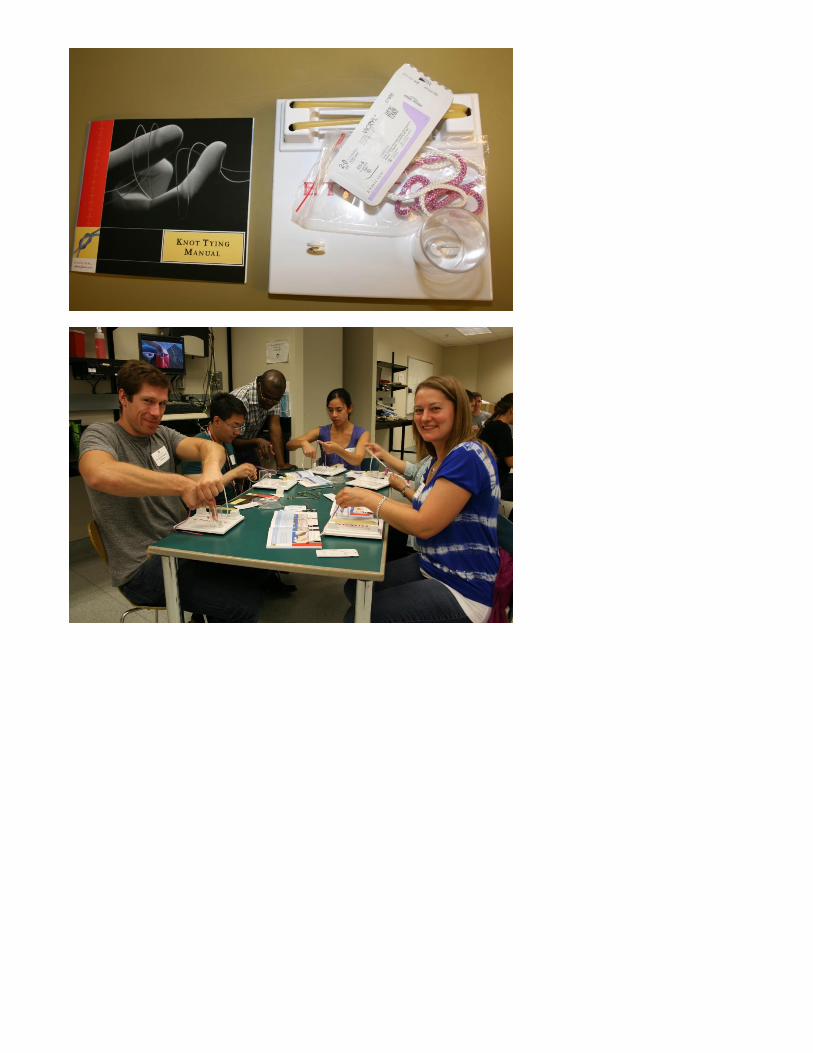
The residents will likely have variable competence at knot tying. This is their chance to practice both the one hand
tie and instrument tie. They should have reviewed the videos listed below prior to the session. They need to
ensure they are making square knots. Once they have the mastered the basics of the skill the progression to
challenge should be
1. Knot with string
2. Knot with suture (vicryl and chromic will both be available for them to feel the difference)
3. Add wearing gloves
4. Add muko to the gloves to simulate blood and mucus making it more slippery
5. Have them do the one hand tie with their eyes closed to simulate knot tying deep in the vaginal vault
6. To add interest and fun they can have “races”.
Resources - http://www.youtube.com/watch?v=wvNsWdcgQrw– good one hand tie video with audio
– students will have for pre-reading and will have available at station http://www.youtube.com/watch?v=wbpQhiNDxvo – instrument tie, brief, shows appropriate suture
technique as well. Students will have this for pre-reading