8
Onscreen Marking Getting the marking buttons onto the toolbar
| Date post: | 19-Aug-2015 |
| Category: |
Education |
| Upload: | marius-pienaar-dr |
| View: | 52 times |
| Download: | 2 times |

Onscreen Marking Getting the marking buttons onto the toolbar

Outcome
At the end of this PowerPoint presentation you will know how to put the marking tool buttons on the toolbar at the top of the Acrobat Professional software.
Onscreen Marking: Getting the marking buttons onto the toolbar

After you have installed Adobe Acrobat Professional the buttons appear under the Tools button under Add-on Tools.
Onscreen Marking: Getting the marking buttons onto the toolbar
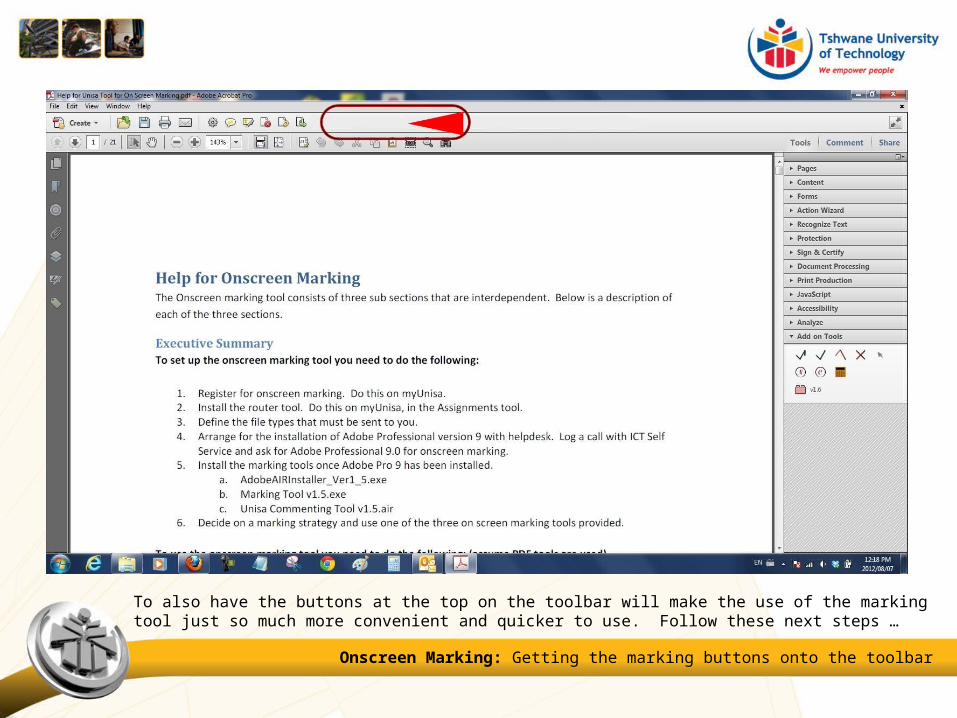
To also have the buttons at the top on the toolbar will make the use of the marking tool just so much more convenient and quicker to use. Follow these next steps …
Onscreen Marking: Getting the marking buttons onto the toolbar

Click on View > Show/Hide > Toolbar Items > Quick Tools
Onscreen Marking: Getting the marking buttons onto the toolbar

In the left hand side column of the popup window, open Third-Party Plug-Ins, then open Add-on Tools. Select each of the tools one by one and click on the right-arrow button each time to move the buttons to the right hand column. Click OK at the end.
Onscreen Marking: Getting the marking buttons onto the toolbar

The buttons will then appear on the toolbar as indicated.
Onscreen Marking: Getting the marking buttons onto the toolbar


