Osteocapsular Arthroplasty of the Elbow Journal of Bone and Joint Surgery Essential Surgical Techniques April 2014,vol3 Shawn W. O’Driscoll and Davide Blonna Mayo Clinic, Rochester Level of evidence III PRESENTER : Dr SAUMYA AGARWAL Junior resident Dept of Orthopaedics J.N. Medical College and Dr. Prabhakar Kore Hospital and MRC, Belgaum
Transcript
Osteocapsular Arthroplasty of the Elbow
Journal of Bone and Joint Surgery Essential Surgical Techniques April 2014,vol3 Shawn W. O’Driscoll and Davide Blonna Mayo Clinic, Rochester
Level of evidence III
PRESENTER : Dr SAUMYA AGARWAL
Junior resident Dept of Orthopaedics J.N. Medical College and Dr. Prabhakar Kore Hospital and MRC, Belgaum
INTRODUCTION
• Arthroscopic osteocapsular arthroplasty of elbow is a procedure involving 3D reshaping of bones, removal of loose bodies and capsulectomy to restore motion and function and to reduce or eliminate pain.
• It allows better visualization of intra-articular lesions, quick recovery and better cosmetic results.
• This procedure is technically challenging and there is often risk of nerve injury.
• Consequently, a safety-driven technique for arthroscopic osteocapsular arthroplasty was developed for prevention of neurologic injuries without compromising surgical efficacy.
Preoperative Planning
• 2D and 3D CT Scans with sagittal and coronal reconstruction to reveal any loose bodies, broken osteophytes.
• Osteophytes in the posteromedial corner are paid much attention due to closeness to ulnar nerve.
• Surgeon must be thorough with the location of radial and median nerve as well.
Patient Position
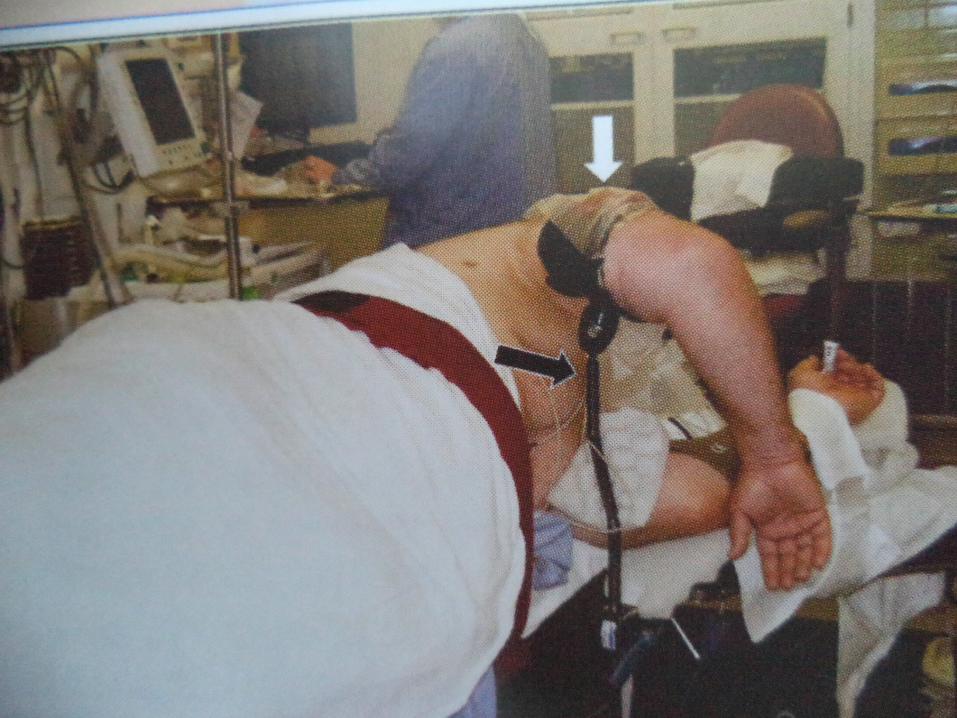
• Lateral decubitus position with arm resting on arm holder
• Tourniquet should be tied
• Shoulder flexed between 90⁰ and 100⁰ and elbow at 90⁰
• Keep elbow higher than shoulder
• Adequate access to coronoid fossa should be there
Limited Open Ulnar Nerve Decompression
• Through a small posteromedial skin incision a limited open ulnar nerve decompression is performed to prevent delayed onset ulnar neuritis.
• Decompression should be about 3 to 4 cm proximal and distal to cubital tunnel.
• Through this incision, posteromedial aspect of the capsule can also be released and osteophytes can be removed medially.
Portals and Fluid Management
• First in posterior compartment with arthroscope in posterolateral portal and working instrument in posterior portal.
• Retractor is placed in proximal posterolateral portal.
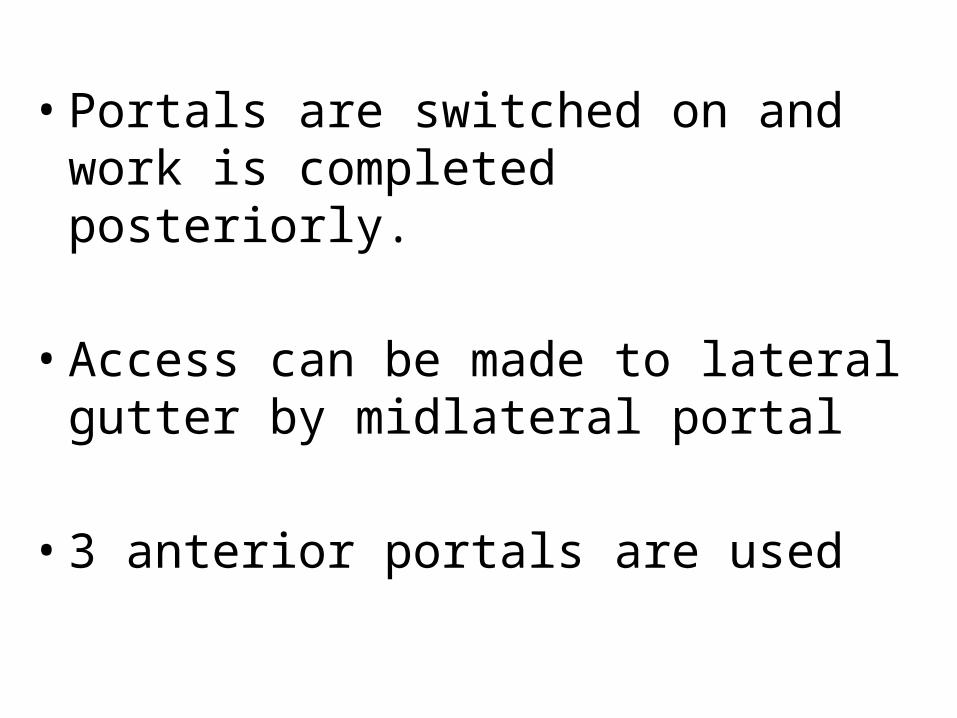
• Portals are switched on and work is completed posteriorly.
• Access can be made to lateral gutter by midlateral portal
• 3 anterior portals are used
• Anterolateral and proximal anteromedial portals for arthroscope and working instruments
and proximal anterolateral portal for retractor.
• For fluid management, a standard 3-L jet lavage system is used and attached to intravenous tubing for inflow.
• Shaver outflow left open
• Visualization is enhanced with capsular and soft tissue retraction
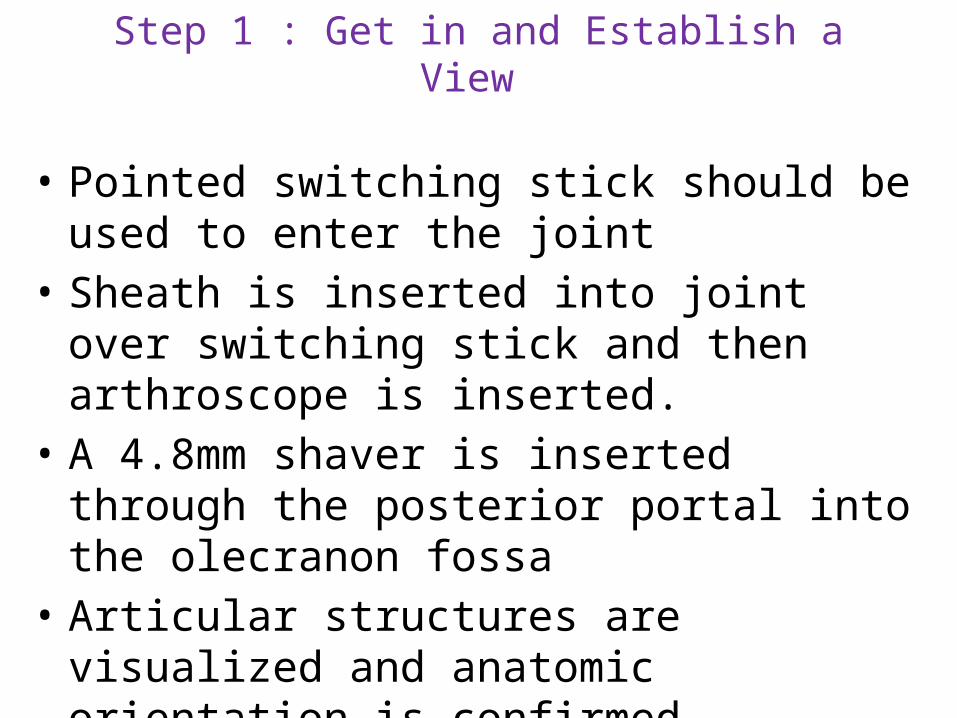
Step 1 : Get in and Establish a View
• Pointed switching stick should be used to enter the joint
• Sheath is inserted into joint over switching stick and then arthroscope is inserted.
• A 4.8mm shaver is inserted through the posterior portal into the olecranon fossa
• Articular structures are visualized and anatomic orientation is confirmed.
Step 2 : Create a Space in Which to Work
• A radiofrequency device is used with brief pulsations and pause
• Retractor can be used
• Capsule is stripped off the humerus proximally and along the medial and lateral supracondylar ridges.
Step 3 : Bone Removal
• Osteophytes are removed from the floor of the fossa and margins and olecranon is restored to its normal shape
• Shaver blade is used to prevent injury to ulnar nerve and soft tissue
Step 4 : Capsulectomy
• Capsule is released along the supracondylar ridges and also posteromedially and posterolaterally.
• If loss of flexion is severe, capsule is released through posterior bundle of medial collateral ligament on medial side and upto radial head on lateral side.
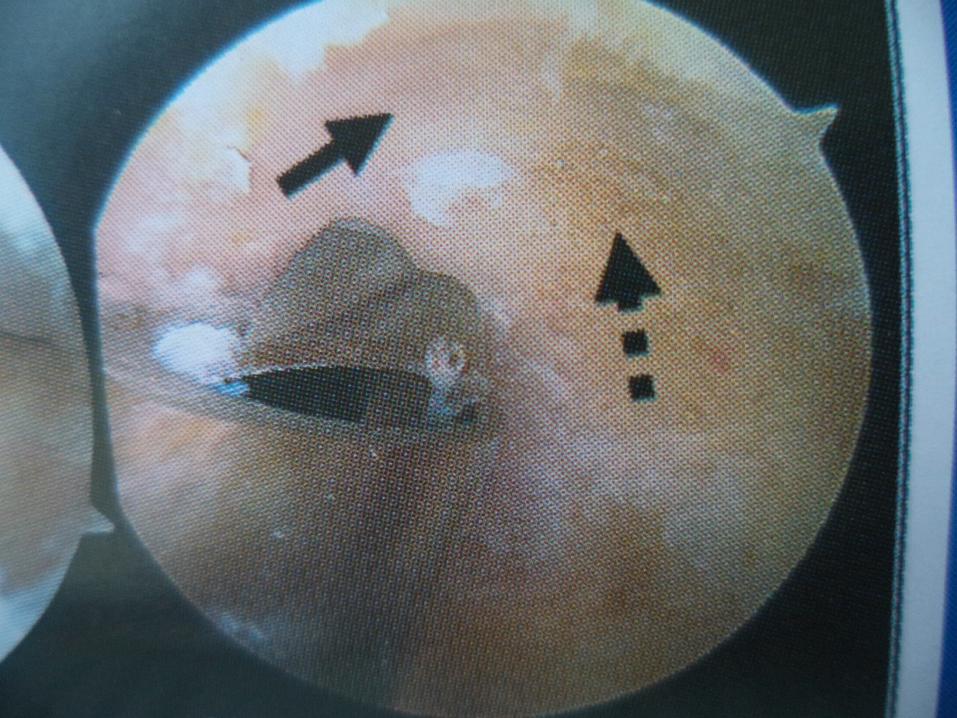
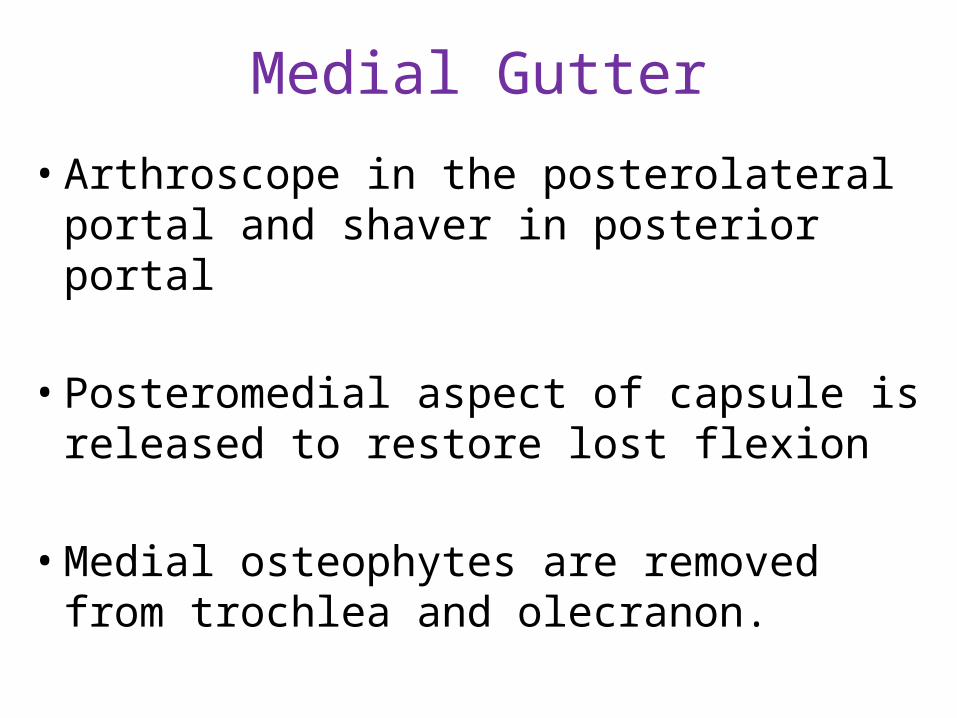
Medial Gutter
• Arthroscope in the posterolateral portal and shaver in posterior portal
• Posteromedial aspect of capsule is released
to restore lost flexion
• Medial osteophytes are removed from trochlea and olecranon.
Lateral Gutter
• Arthroscope in posterior portal and shaver in posterolateral portal
• Osteophytes are removed from posterior aspect of capitellum and lateral ridges of trochlea and olecranon
• All the loose bodies should be removed
Anterior joint Compartment
• Step 1 : Get in and establish a view :• Entry is made through proximal
anteromedial portal with a pointed switching stick• Sheath is inserted into joint and then
arthroscope• Articular structures are visualized and
anatomic orientation is confirmed
Step 2 : Create a Space in Which to Work
• This step includes : removal of the debris scar tissue loose bodies Stripping the capsule off the humerus• Capsular attachments are released along the
medial and lateral supracondylar ridges • Retractor is placed in proximal anterolateral
portal
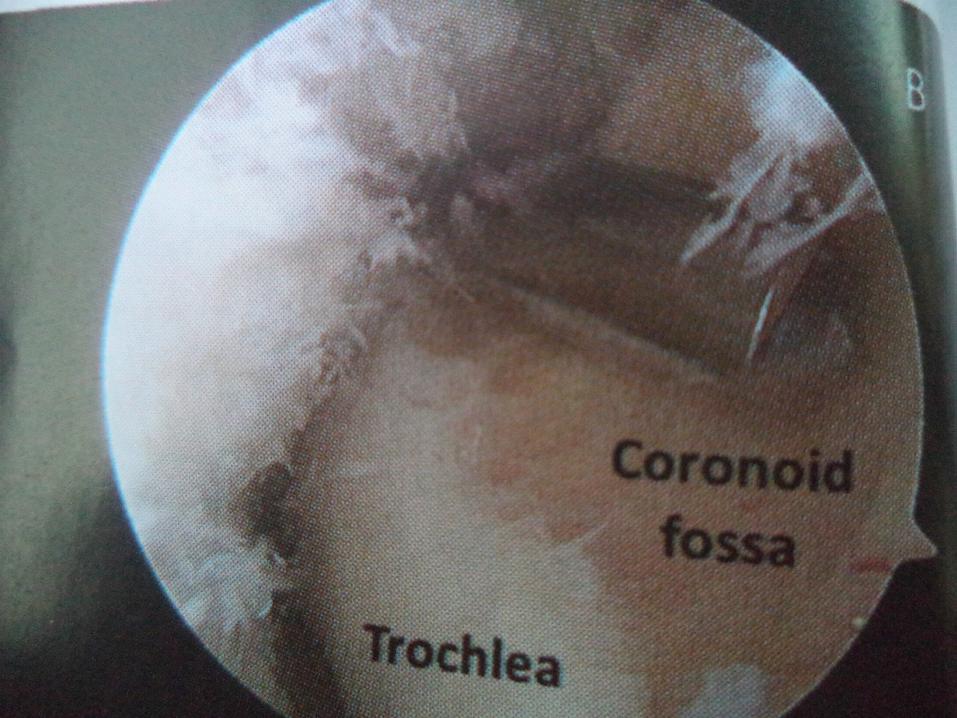
Step 3 : Bone Removal
• Osteophytes are removed from coronoid and radial fossa
• Capsule is detached from humerus proximally and along the medial and lateral supracondylar ridges
• Synovectomy
• removal of loose tissues from surface of capsule
• Capsule is incised from medial to lateral with a wide duck billed punch.
• Capsulotomy is now performed by extending it from medial side of ulnohumeral joint to common flexor pronator tendon.
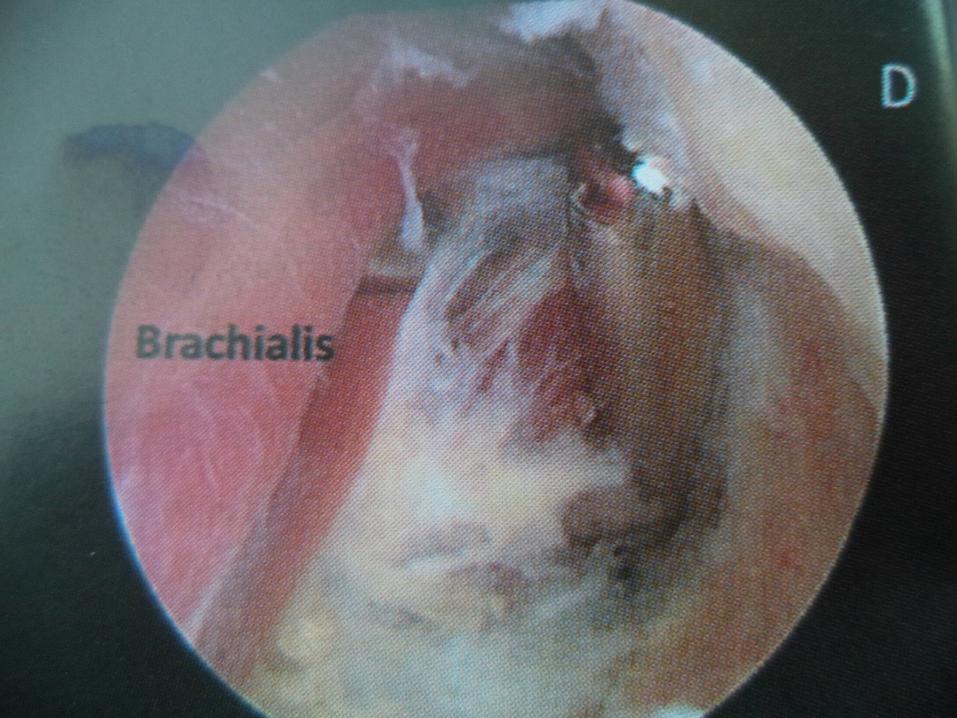
• Using bite and peel technique capsule is incised upto lateral edge of brachialis.
• It is extended distally till the interval between brachioradialis and extensor carpi radialis longus is easily identifiable
• Capsule is excised off the lateral edge of brachialis and surrounding tissue.
Closure
• Close the wounds after drains have been placed anteriorly and posteriorly.
Postoperative Regimen
• An indwelling axillary catheter is put for a continous brachial plexus block
• Continous passive motion is started
• Catheter is removed 12 hours prior to discharge
Results
• Out of 464 patients , 24 cases revealed transient nerve injury
• Reasons being: Prolonged tourniquet time Simultaneous ulnar nerve transposition Cutaneous dysesthesia• All nerve palsies got resolved.
INDICATIONS
• Ideally indicated for symptomatic osteoarthritis of elbow with contracture.
CONTRAINDICATIONS
• Anterior capsulectomy may be contraindicated in patients with prior submuscular transposition of ulnar nerve.
• Substantial distortion of anatomic landmarks.
Pitfalls and Challenges
• Keep a margin of safety• Thorough knowledge about nerves• Use of retractors• Suction tubing to be detached from shaver• Burr should not be used near ulnar nerve• A stepwise approach
Clinical Comments
• Even in expert hands risk of nerve injury is there• But with safety driven strategy it