P6 Version 8.2 to 8.4 EPPM Web Power Sample Point Slide Show Copyright Eastwood Harris Pty Ltd 1 THIS SLIDE REQUIRES NEW PICTURE Page 2 Welcome to the Eastwood Harris Pty Ltd Primavera P6 Version 8.4 EPPM Web Tool 2 day training course “Enterprise Portfolio Project Management” Page 4 Administration Evacuation Facilities, timings and meals Mobile phones & Emails Introductions: Your name, The types of projects you are involved in, Your experience in scheduling software and What you seek from this course, Course attendance sheet, Course conduct. Page 5 Course Objectives This course objectives are to teach participants: Introduction to the user interface, How to create and plan projects without resources including creating the WBS, adding activities, relationships and constraints, Formatting, filters, layouts and printing, Assigning Baselines and updating an un-resourced project, Adding and assigning Roles and Resources, Updating a Resourced project, Successful completion of the workshops is required to complete the course. Page 6 6 Course Agenda DAY 1 1 - Introduction 2 - Creating a Project Plan 3 - Starting Up and Navigation 4 - Creating a New Project 5 - Defining Calendars 6 - Creating a Primavera Project WBS 7 - Adding Activities and Organizing Under the Wbs 8 - Formatting the Activity Window and Views 9 - Adding Relationships 10 - Activity Network View 11 – Constraints continued… Page 7 7 Course Agenda DAY 2 12 - Printing and Reports 13 - Scheduling Options and Setting a Baseline 14 - Updating an Unresourced Schedule 15 - Administer Menu 16 - Creating Roles and Resources 17 - Assigning Roles, Resources and Expenses 18 - Resource Optimization 19 - Updating a Resourced Schedule 20 - Other Methods of Organizing Project Data 21 – Index.
Transcript
P6 Version 8.2 to 8.4 EPPM Web Power Sample Point Slide Show
Copyright Eastwood Harris Pty Ltd 1
THIS SLIDE REQUIRES NEW PICTURE
Page 2
Welcome to theEastwood Harris Pty Ltd
Primavera P6Version 8.4
EPPM Web Tool2 day training course
“Enterprise Portfolio Project Management”
Page 4
Administration Evacuation
Facilities, timings and meals
Mobile phones & Emails
Introductions: Your name,
The types of projects you are involved in,
Your experience in scheduling software and
What you seek from this course,
Course attendance sheet,
Course conduct.
Page 5
Course ObjectivesThis course objectives are to teach participants:
Introduction to the user interface,
How to create and plan projects without resources including creating the WBS, adding activities, relationships and constraints,
Formatting, filters, layouts and printing,
Assigning Baselines and updating an un-resourced project,
Adding and assigning Roles and Resources,
Updating a Resourced project,
Successful completion of the workshops is required to complete the course.
Page 6
6
Course AgendaDAY 1
1 - Introduction
2 - Creating a Project Plan
3 - Starting Up and Navigation
4 - Creating a New Project
5 - Defining Calendars
6 - Creating a Primavera Project WBS
7 - Adding Activities and Organizing Under the Wbs
8 - Formatting the Activity Window and Views
9 - Adding Relationships
10 - Activity Network View
11 – Constraints
continued…
Page 7
7
Course AgendaDAY 2
12 - Printing and Reports
13 - Scheduling Options and Setting a Baseline
14 - Updating an Unresourced Schedule
15 - Administer Menu
16 - Creating Roles and Resources
17 - Assigning Roles, Resources and Expenses
18 - Resource Optimization
19 - Updating a Resourced Schedule
20 - Other Methods of Organizing Project Data
21 – Index.
P6 Version 8.2 to 8.4 EPPM Web Power Sample Point Slide Show
Copyright Eastwood Harris Pty Ltd 2
Page 8
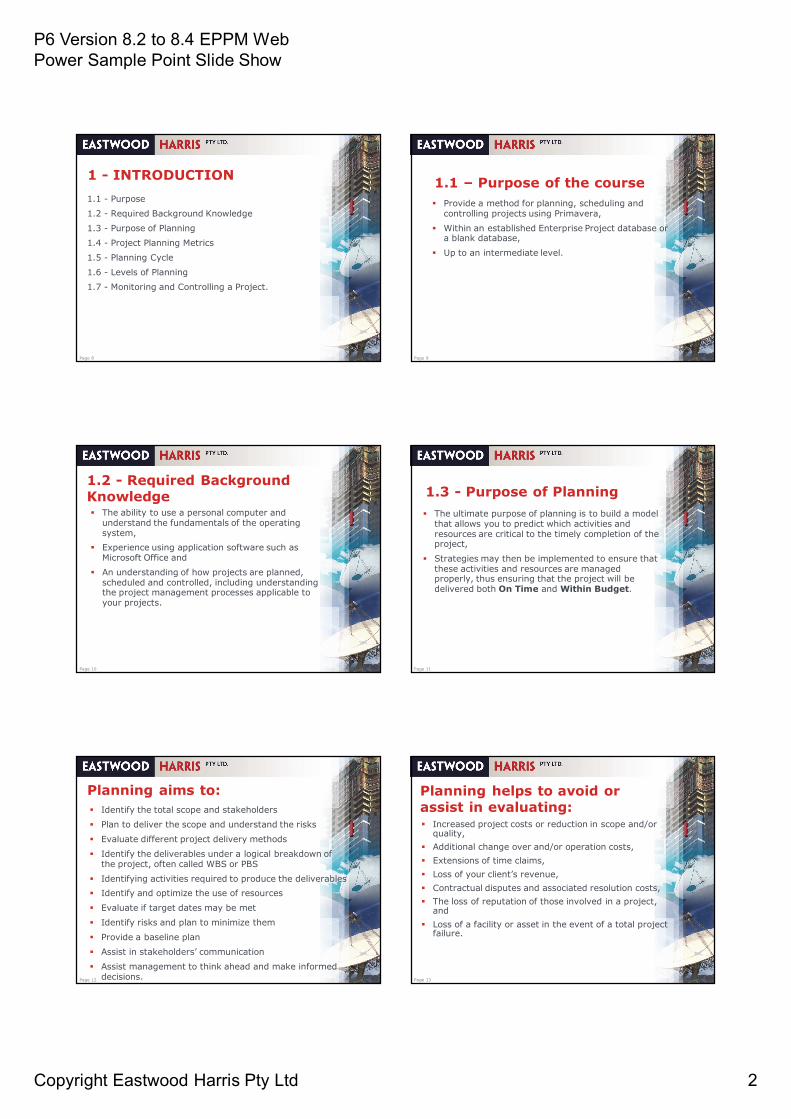
1 - INTRODUCTION 1.1 - Purpose
1.2 - Required Background Knowledge
1.3 - Purpose of Planning
1.4 - Project Planning Metrics
1.5 - Planning Cycle
1.6 - Levels of Planning
1.7 - Monitoring and Controlling a Project.
Page 9
1.1 – Purpose of the course Provide a method for planning, scheduling and
controlling projects using Primavera,
Within an established Enterprise Project database or a blank database,
Up to an intermediate level.
Page 10
1.2 - Required Background Knowledge The ability to use a personal computer and
understand the fundamentals of the operating system,
Experience using application software such as Microsoft Office and
An understanding of how projects are planned, scheduled and controlled, including understanding the project management processes applicable to your projects.
Page 11
1.3 - Purpose of Planning The ultimate purpose of planning is to build a model
that allows you to predict which activities and resources are critical to the timely completion of the project,
Strategies may then be implemented to ensure that these activities and resources are managed properly, thus ensuring that the project will be delivered both On Time and Within Budget.
Page 12
Planning aims to: Identify the total scope and stakeholders
Plan to deliver the scope and understand the risks
Evaluate different project delivery methods
Identify the deliverables under a logical breakdown of the project, often called WBS or PBS
Identifying activities required to produce the deliverables Identify and optimize the use of resources
Evaluate if target dates may be met
Identify risks and plan to minimize them
Provide a baseline plan
Assist in stakeholders’ communication
Assist management to think ahead and make informed decisions. Page 13
Planning helps to avoid or assist in evaluating: Increased project costs or reduction in scope and/or
quality, Additional change over and/or operation costs, Extensions of time claims, Loss of your client’s revenue, Contractual disputes and associated resolution costs, The loss of reputation of those involved in a project,
and Loss of a facility or asset in the event of a total project
failure.
P6 Version 8.2 to 8.4 EPPM Web Power Sample Point Slide Show
Copyright Eastwood Harris Pty Ltd 11
Page 63
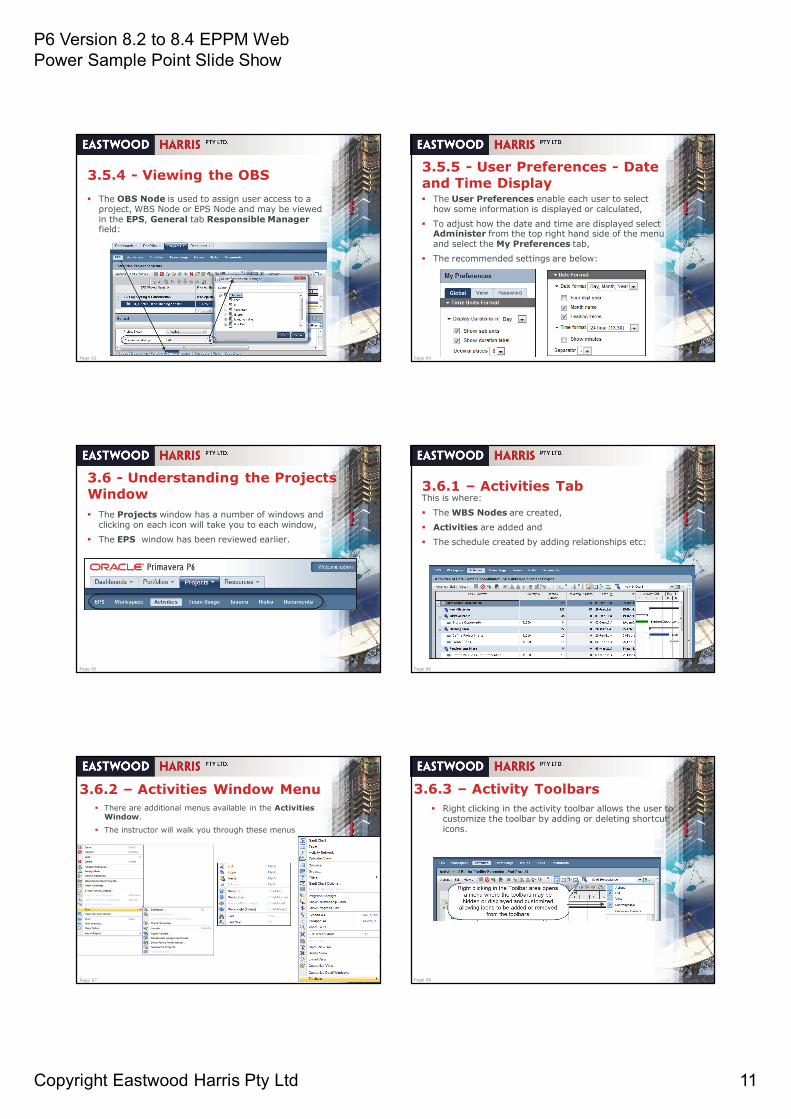
3.5.4 - Viewing the OBS The OBS Node is used to assign user access to a
project, WBS Node or EPS Node and may be viewed in the EPS, General tab Responsible Manager field:
Page 64
3.5.5 - User Preferences - Date and Time Display The User Preferences enable each user to select
how some information is displayed or calculated,
To adjust how the date and time are displayed select Administer from the top right hand side of the menu and select the My Preferences tab,
The recommended settings are below:
Page 65
3.6 - Understanding the Projects Window The Projects window has a number of windows and
clicking on each icon will take you to each window,
The EPS window has been reviewed earlier.
Page 66
3.6.1 – Activities Tab This is where:
The WBS Nodes are created,
Activities are added and
The schedule created by adding relationships etc:
Page 67
3.6.2 – Activities Window Menu There are additional menus available in the Activities
Window.
The instructor will walk you through these menus
Page 68
3.6.3 – Activity Toolbars Right clicking in the activity toolbar allows the user to
customize the toolbar by adding or deleting shortcut icons.
P6 Version 8.2 to 8.4 EPPM Web Power Sample Point Slide Show
Copyright Eastwood Harris Pty Ltd 20
Page 117
5.8.2 - Remove a Base Calendar from a Calendar To remove a Base Calendar from an existing you will
have to delete the text from the box.
Page 118
5.10 - Adjusting Calendar Working Hours It is strongly recommended that the working hours
per day are all the same and have the same start and finish time; otherwise, one-day activities may span two days and two-day activities may span three days, etc,
The instructor will demonstrate how to adjust the calendar working hours.
Page 119
5.11 - Calendars for Calculating Summary Durations The summary duration of bands are calculated by:
When all the activities in a band share the same calendar then the summary duration is calculated on the calendar of the activities in the band, and
When activity calendars for the are different the summary duration is calculated on the Project Default calendar:
Page 120
5.12 - Tips for Mixed Calendar Schedules When a project has mixed calendars with different
start and finish times then one day activities may span 2 days:
Techniques that may be considered to prevent this: Apply an appropriate lag to the relationship, or
Assign all the calendars the same Start and Finish time but adjust the duration of the lunch break so the days have the desired number of hours.
5.2 - Accessing Global, Resource and Project Calendars
5.3 - The Project Default Project Calendar
5.4 - Creating a New Global Calendar
5.5 - Creating a New Project Calendar
5.6 - Shared Resource Calendar
5.7 - Administer, My Calendar
5.8 - Promote, Copy, Rename and Delete a Calendar
5.9 - Base Calendars
5.10 - Adjusting Calendar Working Hours
5.11 - Calendars for Calculating Project, WBS and Other Summary Durations
5.12 - Tips for Mixed Calendar Schedules.
Page 122
5.13 - Workshop 3 - Maintaining the Calendars The normal working week at OzBuild Pty Ltd is
Monday through Friday, 8 hours per day excluding public holidays,
The installation staff works Monday through Saturday, 8 hours per day and the some holidays,
You will create two calendars, a 5 and a 6 day per week with some holidays.
P6 Version 8.2 to 8.4 EPPM Web Power Sample Point Slide Show
Copyright Eastwood Harris Pty Ltd 43
Page 257
Actual Dates This function operates when there is an activity with
Actual Dates in the future, which is not logical With this option the remaining duration of an in-
progress activity is calculated after the activity with actuals,
The pictures below is with Actual Dates and the Remaining Duration is after the completion of the activity in the future , the Windows Client picture is clearer :
Page 258
13.2.8 - Calculate start-to-start lag from: Scheduling OptionThe successor of an activity with a Start-to-Start and positive lag would start after the lag has expired. When the predecessor commences out of sequence the lag may be calculated from the predecessor calculated Remaining Early Start (the Data Data) or the Actual start, The Actual Start gives a less conservative schedule:
The Early Start gives a more conservative schedule:
Page 259
13.2.9 - Define critical activities as Total Float less than or equal to set to zero
Total Float less than or equal to 1 day or Longest Path would result in the picture below:
Longest path recommended for projects with multiple calendars.
Page 260
13.2.10 - Calculate float based on finish date of Each project
Page 261
Calculate float based on finish date of
• Opened projects
Page 262
13.2.11 - Compute Total Float as There are three options for the calculation of float on
WBS and LOE activities:
Start Float = Late Start – Early Start
Finish Float = Late Finish – Early Finish
Smallest of Start Float and Finish Float
Note: It can be seen from the pictures above that the Total Float bar only displays the Finish Float.
P6 Version 8.2 to 8.4 EPPM Web Power Sample Point Slide Show
Copyright Eastwood Harris Pty Ltd 55
Page 329
17.5 - Activities Window Resource Preferences and Defaults This form has a section titled Labor Units at the
right side as seen in the following picture.
The drop down menu enables you to select which data is to be displayed in this section of the form,
There is a link between the entries in this form and the values that are assigned to resources:
Page 330
17.6 - Assigning and Removing RolesTo assign a Role to an activity:
Select the one or more activity to be assigned the Role, either Click on the Assign Roles
icon on the Toolbar,
When only one activity has been selected click on the Assign Roles icon in the Assignments tab,
The Select Roles form will open:
Page 331
17.7 - Assigning and Removing ResourcesResources may be assigned directly to:
An activity that has an Assigned Role, or
An Activity without a Role.
Page 332
17.7.1 - Assigning a Resource to an Assigned Role To assign a Resource to a Role assigned to an activity:
Select the activity to be assigned a Resource,
Select the Role to be assigned a Resource from the Assignments tab,
Click in the Resource Name field in the Assignments tab,
Page 333
17.7.2 - Assigning a Resource to an Activity Without a RoleTo assign a Resource to an activity:
Select the activity to be assigned the Resource,
Click on the Assign Resource icon to open the Select Resource form:
Page 334
17.7.3 - Removing a Resource or Role Before you remove a Resource Role from an activity
that has more than one resource assigned to it, you must be aware of your Resource Assignment preferences,
These preferences determine if the total number of Units assigned to the activity (or work) will be reduced or remain constant as resources are deleted,
As each resource is removed you will be asked:
P6 Version 8.2 to 8.4 EPPM Web Power Sample Point Slide Show
Copyright Eastwood Harris Pty Ltd 56
Page 335
Removing a Resource or Role After the last resource is removed there will be the
same message,
If you select YES then the resource will be deleted,
But the resource Units values in the Activities Window, General tab will be left at the same value as before you deleted the resource,
You will not receive the option found in the Windows Client to Reset labor units to zero and you will have units Activities Window, General tab and costs against the activity will be calculated from the value entered in the Price/Unit field,
You will now have to delete the units from the Activities, General tab and delete the units if you are not going to assign more resources to this activity.
Page 336
17.7.4 - Assigning a Resource to an Activity More Than Once The option in the Defaults tab in the Projects
Preferences under the New Assignments heading enables a resource to be assigned more than once to an activity,
A resource could be assigned to work at the start of an activity and then in conjunction with Resource Lag work again at the end of an activity,
For example you may need a crane on the first day of an activity to lift up some formwork and on the last day to remove the formwork,
This may be achieved in the Windows Client but the Web does not have the option to assign a lag to a resource assignment so this type of resource modeling may not be achieved in the Web.
Page 337
17.7.5 - Selecting Multiple Items in Assign Dialog Forms P6 R8.3 provides the ability to assign multiple
resources, roles, predecessors and successors at the same time.
Page 338
17.8 - Request ResourcesA Demand Resource is a request for a resource:
A Resource or Role is requested by the Request Resources function in the Activities window, Assignment tab.
This Resource Request may be viewed by the manager in a Dashboard,
The manager then assigns a resource from the dashboard.
Page 339
17.9.1 Activity Duration An activity Planned Duration (or activity
Remaining Duration of an In-Progress activity) is adopted from the longest Resource Duration (or Resource Remaining Duration of an In-Progress activity) when more than one resource has been assigned to an activity.
Page 340
17.9.2 - Resource Lag – Windows Client Only In the Windows Client a Resource may be assigned
a Lag, the duration from the start of the activity to the point at which the Resource commences work,
In the Web it is not possible to access the Resource Lag field, but if when lag is assigned to a resource in the Windows Client it will be seen in the Web:
P6 Version 8.2 to 8.4 EPPM Web Power Sample Point Slide Show
Copyright Eastwood Harris Pty Ltd 63
Page 377
20.2 - Activity CodesActivity Codes may be used to Group, Sort, and Filter activities from one or more open projects,
Activity Codes, such as Phases, Trades, or Disciplines, are often defined in the Activity Codes Definition form,
Activity Code Values are defined in the in theAdminister, Enterprise Data, Activities, Activity Codes tabs, such as: Phases of Design, Procure, Install and Test,
Trades of Brickwork, Plumbing and Electrical, and
Disciplines of Concrete, Mechanical, Pipework,
Activity Codes are assigned from the Activities Window using the Codes tab in the lower pane or displaying the appropriate Activity Code column,
The instructor will demonstrate.Page 378
20.3 - User Defined Fields User Defined Fields are similar to Custom Data Items
in P3 or Custom Fields in Microsoft Project and provide the ability to assign additional information to database records,
They may be used for recording information about the data field as an alternative to Activity Codes and other predefined Primavera fields,
The type of data that may be assigned to User Defined Fields would be equipment number, order number, variation or scope number; road, railway or pipeline changes; address and additional costs data,
continued…
Page 379
User Defined Fields Activity data may be filtered, grouped, and sorted
using these User Defined Fields in a similar way to Activity Codes,
Data may be imported into the fields and, unlike Activity Codes, the data item does not have to exist in the database before importing,
There are a number of predefined fields that may be renamed and new ones may be created.,
The instructor will demonstrate UDFs.
Page 380
20 - OTHER METHODS OF ORGANIZING PROJECT DATA -SUMMARY 20.1 - Understanding Project Breakdown Structures
20.2 - Activity Codes
20.3 - User Defined Fields
Page 381
20.4 - Workshop 17 – Activity Codes and User Defined Fields (UDF) This workshop will look at creating an Activity Code
and some UDFs,
We will create an activity code to represent the departments’ responsibilities for the Project.
Page 382 TCC0205-TRG-TM-SP10\A2
Review Expectations
Any questions,
Complete Feedback Sheet,
Have we met your expectations?
P6 Version 8.2 to 8.4 EPPM Web Power Sample Point Slide Show
Copyright Eastwood Harris Pty Ltd 64
Page 383
Database Cleanup at end of course, if required:Please could you delete all: