35
PHP/MySQL Tutorial

PHP/MySQL Tutorial
PHP/MySQL Tutorialby Graeme Merrall
Unless you've been living on Mars for the last six to eight months, you've heard ofopen source software (OSS). This movement has got so much momentum that eventhe big boys are taking notice. Companies like Oracle, Informix, and a host of othersare releasing their flagship database products for that poster child of the OSSmovement, Linux.
Having a massively complex RDBMS (relational database management system) is allwell and good if you know what to do with it. But perhaps you are just getting intothe world of databases. You've read Jay's article and you want to put up your owndata-driven Web site. But you find you don't have the resources or desire for an ASPserver or some pricey database. You want something free, and you want it to workwith Unix.
Enter PHP and MySQL. These two make up what must be the best combination fordata-driven Web sites on the planet. You needn't take my word for it. An unofficialNetcraft survey shows that PHP usage has jumped from 7,500 hosts in June 1998 to410,000 in March 1999. That's not bad. The combination was also awarded Databaseof the Year at Webcon98, where it received a lovely tiara.
MySQL is a small, compact database server ideal for small - and not so small -applications. In addition to supporting standard SQL (ANSI), it compiles on a numberof platforms and has multithreading abilities on Unix servers, which make for greatperformance. For non-Unix people, MySQL can be run as a service on Windows NTand as a normal process in Windows 95/98 machines.
PHP is a server-side scripting language. If you've seen ASP, you'll be familiar withembedding code within an HTML page. Like ASP, PHP script is processed by the Webserver. After the server plays with the PHP code, it returns plain old HTML back tothe browser. This kind of interaction allows for some pretty complex operations.
In addition to being free (MySQL does have some licensing restrictions though), thePHP-MySQL combination is also cross-platform, which means you can develop inWindows and serve on a Unix platform. Also, PHP can be run as an external CGIprocess, a stand-alone script interpreter, or an embedded Apache module.
If you're interested, PHP also supports a massive number of databases, includingInformix, Oracle, Sybase, Solid, and PostgreSQL - as well as the ubiquitous ODBC.
PHP supports a host of other features right at the technological edge of Internetdevelopment. These include authentication, XML, dynamic image creation, WDDX,shared memory support, and dynamic PDF document creation to name but a few. Ifthat's not enough, PHP is easy to extend, so you can roll your own solution if you'reprogramming savvy.
Finally, since both efforts are collaborative in nature, there's always plenty of supportfrom documentation and mailing lists. Bugs are fixed rapidly, and requests forfeatures are always heard, evaluated, and if feasible, implemented.
Enough talk! Let's go over what we're going to cover in this tutorial.
Lesson 1 is going to cover the installation of these products on both Unix andWindows systems. If you don't need to worry about that (you're working onyour ISP's machine, perhaps), jump right to the first example scripts, wherethe magic starts.
In Lesson 2 we'll look at some more complex scripting goodies, includinglooping, form input, and sending data from and to the database.
Lesson 3 will cover validation and techniques for making your PHP scriptssmart and clean.
Let's roll.
Installing MySQL
Let's jump straight in, grab ourselves a copy of these great packages, and gethacking! This isn't simple stuff. There are lots of options available to you forobtaining, compiling, and installing the software. Let's deal with MySQL first, as we'llneed it before we get PHP going.
MySQL central is http://www.mysql.com/. As befits a program of its stature, thereare a zillion mirrors located all over the globe, so do the Internet a favor and pick theone closest to you.
You've got plenty of choices at this point. If you're a do-it-yourselfer, then grab thesource code. If you're not that brave, there are some precompiled binaries for otherplatforms already available for download.
In addition, there is a shareware version of MySQL for Windows users. It is an olderversion of MySQL. If you want the latest version, you'll have to purchase a license.There are also ODBC drivers that let your applications talk to MySQL. Various otherexciting bits and pieces are lurking about on the site, too, so take a look.
The precompiled Unix versions and the Windows version are as simple as unpackingand going, and they don't require much explanation. So let's compile from the sourcecode. Windows users, please keep in mind that you need to run mysqld in themysql/bin directory.
Download the compressed file into your source directory and uncompress and untarit using gzip and tar. The fast way of doing this is to type:
gunzip < mysql-xxxx.tar.gz | tar xvf -
The xxxx is where you put the version number. This will create a directory calledmysql-xxxx, which contains all the source files. Move to that directory by typing cdmysql-xxxx and check out the various README and INSTALL files. They're lifesaversin sticky situations.
MySQL comes with a handy configuration script. Simply type ./configure and letthings take care of themselves. If you need to specify what happens and where,typing ./configure --help gives you a list of options to choose from. For example,if you're compiling on a machine with little memory, you can opt for the --with-low-memory flag. I like MySQL to install in one handy directory tree rather then invarious locations on my machine, so I specify an install location with the --prefixflag.
You can also specify lots of other options, such as what to compile and what to skip.Let's assume that we want everything under /usr/local/mysql on our server. Thismeans we'd type ./configure --prefix=/usr/local/mysql.
The configure script will run and inspect your system and then build the necessaryfiles to successfully compile. If it fails, you'll usually get a helpful error messagesaying why. Quite often, you'll find the script will fail when it's looking for threadinglibraries. Check that you've got MIT-pthreads installed on your machine, and if not,add them. Linux users will have to download LinuxThreads. These are criticallibraries that allow MySQL to multithread (i.e., run multiple versions of itself). Recentdistributions of Linux may already have these libraries installed.
If everything goes according to plan, simply type make and go get a coffee. MySQL isa complex program and takes some time to compile. If you get an error, check thedocumentation to see if there is anything specific that you've missed for yourparticular OS.
Next, type make install and all the necessary files will be installed in all thenecessary spots. Now you're almost ready to roll! If you are a MySQL virgin andyou've never installed MySQL before, you need to create the default permissions, sotype ... scripts/mysql_install_db to set these up.
That's it. We're ready to roll. All we need to do is add the ability to start and stop theserver at boot-up and shutdown times. And yes, there's a script for that as well.Typing mysql.server start starts the server, and mysql.server stop stops theserver. It's kind of obvious, really. To start the server manually (so you can playwithout rebooting) enter the root directory in your MySQL installation(/usr/local/mysql) and type bin/safe_mysqld &.
You're halfway there. Now on to PHP.
Installing PHP
Phew! Hopefully you've got MySQL all up and running by now. That was almost fun!Now for PHP ... This process is slightly easier, but the array of options is dazzling.Don't be daunted, though. You can always go back later and recompile PHP to add orremove options as needed.
The home of PHP is http://www.php.net/. The PHP site is a mine of information, fromproject listings to bug reports. As with MySQL, you should choose a nearby mirror.Obviously you'll want the Downloads section to get PHP.
Your range of options here is a little more limited. A few precompiled binaries areavailable, but these are experimental. If you're on anything except a Windowsplatform, grab the source code and compile it yourself.
But first let's cover Windows. When using PHP, a common practice is to develop on aWindows machine and then run your site on a Unix server. It may end up that youwill do this yourself, which means you need to be proficient in installing on bothplatforms.
Let's grab the Windows binary and uncompress it using our favorite Zipdecompression tool into a directory on your C drive called php3. The suppliedREADME file deals with the installation in some detail, but here's the Reader's Digestversion: If you want to install PHP to a folder other than C:\php3, you'll need to editthe .inf file that comes with PHP.
In the php3 directory, you'll find a lot of .dll files. Take all the .dll files that don'tbegin with php_ and move them into your \windows\system directory. Then renamephp.ini-dist to php3.ini and move it into your \windows directory. If you open up thatfile, you'll see there are lots of interesting things to change. For now just"uncomment" the line:
extension=php3_mysql.dll
If you're using Apache for Win32, set up Apache to recognize and parse PHP files.Depending on the version of Apache you're using, you'll need to add the following toeither the httpd.conf or srm.conf file:
ScriptAlias /php3/"c:/path-to-php-dir/"AddType application/x-httpd-php3 .php3Action application/x-httpd-php3"/php3/php.exe"
Or if you're using IIS or PWS, right-click on php_iis_reg.inf and select 'Install'.You'll need to reboot for IIS to see this change.
OK, now that Windows is out of the way, let's get to Unix. Of course, we'll becompiling from source code. As with MySQL, download and unpack the source code.Again, PHP comes with a configure script. You can't get away with going for defaultshere, though. Run ./configure -help | more to see pages and pages of new andinteresting options. You have to decide between compiling as a CGI or as an Apachemodule. If you are using the Apache Web server and you are able to recompile it,use the module: It's faster and easier to use. Otherwise, you can go with the CGIversion. We also need to compile in MySQL support.
For now we'll assume that we're running the module with MySQL support. If youwant to add other options or other libraries, you can do this later. Type:
./configure --with-apache=/path/to/apache/dir --with-mysql=/usr/local/mysql
Skip the -with-apache option if you're creating a CGI version. The configure processwill run and produce the relevant system files. Now simply type make again.
It's time for another coffee. If you start feeling a bit nervous and shaky at this point,don't worry about it. We all get a little anxious during our first PHP install. Havesome more coffee.
If you've created a CGI version, you're now ready to roll. Simply copy the resultingexecutable file into your CGI file. For Apache module users, type make install tocopy files to your Apache directory. From there, follow the instructions to add amodule to Apache and recompile.
You'll need to tell your Web server how to process pages through the PHP programnow. If you're not using Apache, you'll need to check your Web serverdocumentation on how to get it to process documents with a .php3 extension.Apache 1.3.x users can simply add AddType application/x-httpd-php3 .php3 tothe httpd.conf or srm.conf file. If you're using the CGI version, you'll need to add thefollowing before AddType:
ScriptAlias /php3/"/path-to-php-dir/" AddType application/x-httpd-php3 .php3 Action application/x-httpd-php3"/php3/php"
That's it. With any luck, you've now got MySQL running and PHP functioning. Don'tforget to check the FAQs and documentation if you get stuck. Also try the mailinglists.
Now that we've managed all that, lets put this stuff in motion!
Your First Script
You'll be glad to know that the really tricky stuff is behind you. Installation ofsoftware is always a black hole because so much changes from system to system.But with any luck your database is up and running, and PHP is compiled and installedwith our Web server and able to recognize documents with .php3 extensions.
Let's dive right in and write our first script. Create a text file containing the following:
<html>
<body>
<?php
$myvar = "Hello World";
echo $myvar;
?>
</body>
</html>
Now call up the URL, for instance, http://myserver/test.php3. You should see a pagecontaining the text "Hello World." If you get an error message, check the PHPdocumentation to see if you set things up properly.
That's it! That's your first PHP script. If you view the HTML source for the page, you'llsee that there is only the text. Hello World
That's because the PHP engine has examined the page, processed any code blocksthat it found, and returned only HTML.
The first thing you'll notice about the script above are the delimiters. These are thelines that start <?php. This indicates the start of a block of PHP code, and ?>indicates the end of the block. The power of PHP is that these can be placedanywhere - and I mean anywhere - in your code in any number of ways. Later we'llsee some interesting uses for these, but for now let's keep it simple. If you wish, youcan also configure PHP to use short tags, <?, and ?>, but these are not XMLcompliant, so be careful. If you're making the switch from ASP, you can evenconfigure PHP to use the <% and %> delimiters.
Another thing you'll notice is the semicolon on the end of each line. These are knownas separators and serve to distinguish one set of instructions from another. It isfeasible to write an entire PHP script on one line and separate the portions withsemicolons. But that would be a mess, so we'll add a new line after each semicolon.Just remember that each line must end in a semicolon.
Finally, you see that the word myvar begins with a dollar sign. This symbol tells PHPthat this is a variable. We assigned the words "Hello World" to the variable $myvar.A variable can also contain numbers or an array. Either way, all variables start withthe dollar sign symbol.
The real power of PHP comes from its functions. These are basically processinginstructions. If you add up all of the optional add-ins to PHP, there are more than700 functions available. So there's quite a bit you can do.
Now let's add some MySQL to the picture.
Load Up a Database
So now we're ready to plug in MySQL. One handy way ofknowing what options are available in PHP and what's going on
in your server is to use the phpinfo() function. Create a scriptwith the following:
<html>
<body>
<?php
phpinfo();
?>
</body>
</html>
Save and view this script through your Web server. You'll seea page filled with useful and interesting information like this.This info tells all about your server, internal Web serverenvironment variables, the options that are compiled, and onand on. In the first section, Extensions, look for a linebeginning with MySQL. If this is missing, then for somereason MySQL hasn't made it into PHP. Go back and reviewthe installation steps and check the PHP documentation tosee if you missed anything.If MySQL is there, then you're ready to roll.Before we can get data out of MySQL, we have to put data init. There's really no easy way to do it at this stage. Most PHPscripts come with what's known as a dump file that containsall the data required to create and populate a MySQLdatabase. The ins and outs of this process are really outsidethe scope of this tutorial, so I'll just do it for you.MySQL uses its own user permissions table. At setup, adefault user (root) is automatically created with nopassword. It's up to the database administrator to add otherusers with various permissions, but I could write a wholeother article on that, so we'll stick with using the root user. Ifyou set up your own server and database, it's vital that youassign a password to the root user.Anyway, let's get on with the database. For Win32 users, I'msorry, but this requires some DOS work. You'll have to use aDOS window or type everything in the Run window. Don'tforget to type in the path to the location of the MySQL/bindirectory with your commands. Unix users can work from theMySQL bin directory, but you may have to start eachcommand with ./ so the programs run.The first thing we need to do is create the actual database.From the command line, type:
mysqladmin -u root create mydb
That creates a database called "mydb." The flag tells MySQLthat we're doing this as the root user.Next we'll add some data using everyone's favorite example,the employees database. We're going to need that dump fileI mentioned earlier. If you're interested in how it goes
together, review the manual that comes with MySQL orcheck out http://www.turbolift.com/mysql/.Copy and paste the following text to a file and save it inMySQL's bin directory. (I'll call the file mydb.dump.)
CREATE TABLE employees ( id tinyint(4) DEFAULT '0' NOT NULLAUTO_INCREMENT, first varchar(20), last varchar(20), addressvarchar(255), position varchar(50), PRIMARY KEY (id), UNIQUE id(id));INSERT INTO employees VALUES (1,'Bob','Smith','128 Here St,Cityname','Marketing Manager');
INSERT INTO employees VALUES (2,'John','Roberts','45 There St ,Townville','Telephonist');
INSERT INTO employees VALUES (3,'Brad','Johnson','1/34 Nowhere Blvd,Snowston','Doorman');
If the lines wrap, make sure that each insert statement is on anew line. Now we'll insert it into the mydb database. From thecommand line, type:
mysql -u root mydb < mydb.dump
You shouldn't get any errors doing this. If you do, check forincorrect line wrapping.
Pull It Back Out
OK, now we've got our data in the database. Let's do something with it. Copy andpaste the following into a text file and save it in your Web server document tree witha .php3 extension.
<html>
<body>
<?php
$db = mysql_connect("localhost", "root");
mysql_select_db("mydb",$db);
$result = mysql_query("SELECT * FROM employees",$db);
printf("First Name: %s<br>\n", mysql_result($result,0,"first"));
printf("Last Name: %s<br>\n", mysql_result($result,0,"last"));
printf("Address: %s<br>\n", mysql_result($result,0,"address"));
printf("Position: %s<br>\n", mysql_result($result,0,"position"));
?>
</body>
</html>
Let's explain what happens here. The mysql_connect() function opens a link to aMySQL server on the specified host (in this case it's localhost) along with a username(root). If you needed to specify a password, you'd add it here as well. The result ofthe connection is stored in the variable $db.
mysql_select_db() then tells PHP that any queries we make are against the mydbdatabase. We could create multiple connections to databases on different servers.But for now, let's leave it to this.
Next, mysql_query() does all the hard work. Using the database connectionidentifier, it sends a line of SQL to the MySQL server to be processed. The resultsthat are returned are stored in the variable $result.
Finally, mysql_result() is used to display the values of fields from our query. Using$result, we go to the first row, which is numbered 0, and display the value of thespecified fields.
The syntax of the printf function may seem a little odd if you haven't used Perl or Cbefore. In each of the lines above, %s indicates that the variable in the second half ofthe expression (e.g., mysql_result($result,0,"position")) should be treated asa string and printed. For more on printf, see the PHP documentation.
So there we have it. We successfully complied, installed, and configured MySQL andPHP, and we've executed a simple script to retrieve some information. In Lesson 2,we'll do some clever stuff to display multiple records and even send data to and fromthe database.
Come on back, now.

PHP/MySQL Tutorialby Graeme Merrall
In this lesson, we're going to dive right in and create some simple yet useful pagesusing PHP and MySQL. Let's start by displaying the database we created yesterday,but with a little more panache.
First, let's query our database using the following code.
<html>
<body>
<?php
$db = mysql_connect("localhost", "root");
mysql_select_db("mydb",$db);
$result = mysql_query("SELECT * FROM employees",$db);
echo "<table border=1>\n";
echo "<tr><td>Name</td><td>Position</tr>\n";
while ($myrow = mysql_fetch_row($result)) {
printf("<tr><td>%s %s</td><td>%s</td></tr>\n", $myrow[1],$myrow[2], $myrow[3]);
}
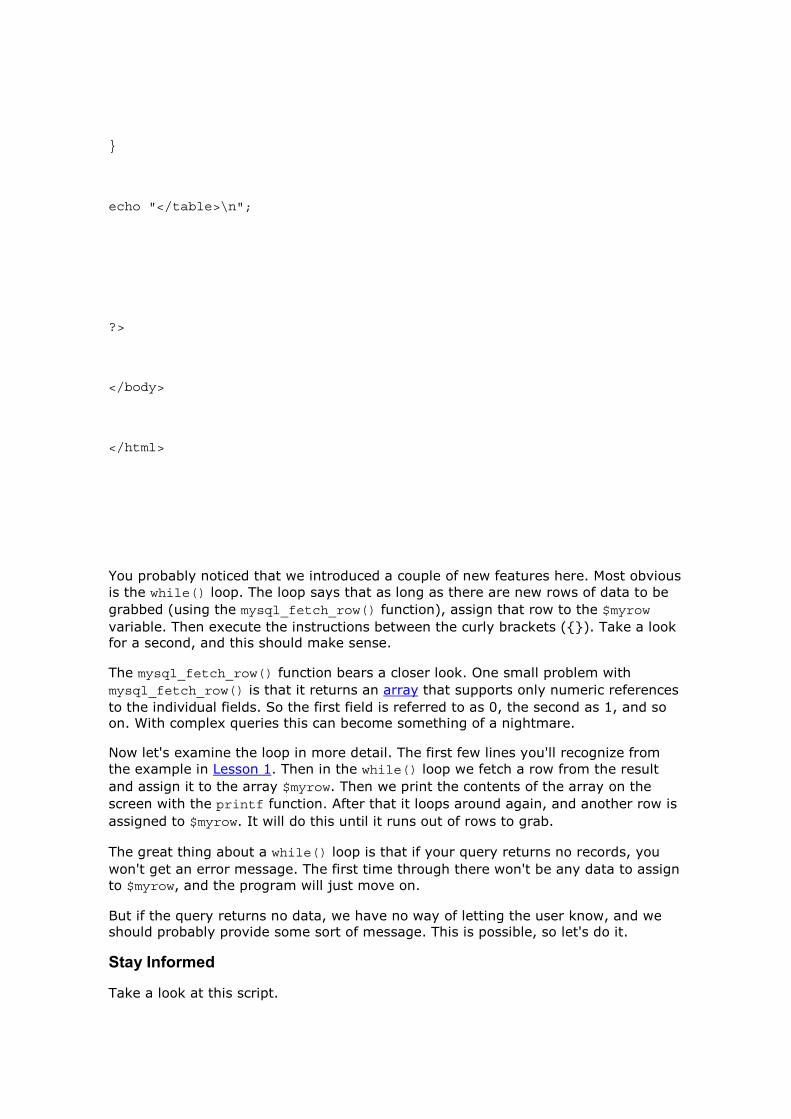
echo "</table>\n";
?>
</body>
</html>
You probably noticed that we introduced a couple of new features here. Most obviousis the while() loop. The loop says that as long as there are new rows of data to begrabbed (using the mysql_fetch_row() function), assign that row to the $myrowvariable. Then execute the instructions between the curly brackets ({}). Take a lookfor a second, and this should make sense.
The mysql_fetch_row() function bears a closer look. One small problem withmysql_fetch_row() is that it returns an array that supports only numeric referencesto the individual fields. So the first field is referred to as 0, the second as 1, and soon. With complex queries this can become something of a nightmare.
Now let's examine the loop in more detail. The first few lines you'll recognize fromthe example in Lesson 1. Then in the while() loop we fetch a row from the resultand assign it to the array $myrow. Then we print the contents of the array on thescreen with the printf function. After that it loops around again, and another row isassigned to $myrow. It will do this until it runs out of rows to grab.
The great thing about a while() loop is that if your query returns no records, youwon't get an error message. The first time through there won't be any data to assignto $myrow, and the program will just move on.
But if the query returns no data, we have no way of letting the user know, and weshould probably provide some sort of message. This is possible, so let's do it.
Stay Informed
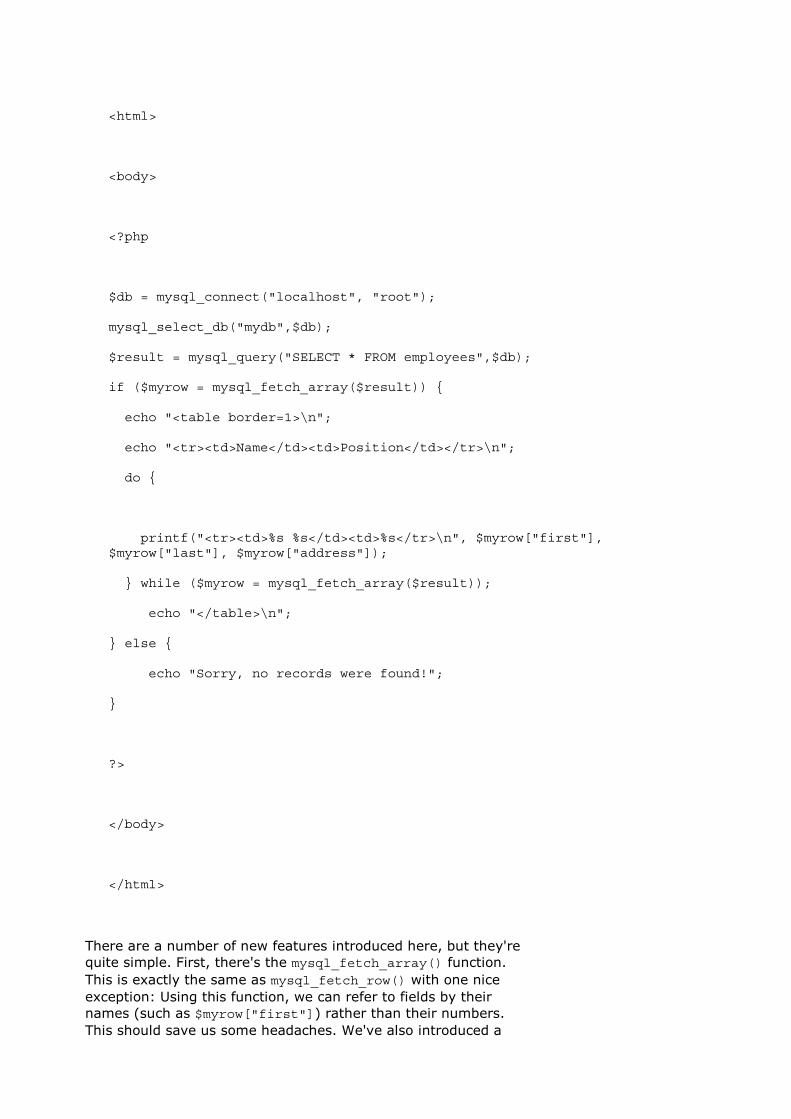
Take a look at this script.
<html>
<body>
<?php
$db = mysql_connect("localhost", "root");
mysql_select_db("mydb",$db);
$result = mysql_query("SELECT * FROM employees",$db);
if ($myrow = mysql_fetch_array($result)) {
echo "<table border=1>\n";
echo "<tr><td>Name</td><td>Position</td></tr>\n";
do {
printf("<tr><td>%s %s</td><td>%s</tr>\n", $myrow["first"],$myrow["last"], $myrow["address"]);
} while ($myrow = mysql_fetch_array($result));
echo "</table>\n";
} else {
echo "Sorry, no records were found!";
}
?>
</body>
</html>
There are a number of new features introduced here, but they'requite simple. First, there's the mysql_fetch_array() function.This is exactly the same as mysql_fetch_row() with one niceexception: Using this function, we can refer to fields by theirnames (such as $myrow["first"]) rather than their numbers.This should save us some headaches. We've also introduced a
do/while loop and an if-else statement.The if-else statement says that if we can assign a row to$myrow, then continue; otherwise skip to the else sectionand do what's in there.The do/while loop is a variation of the while() loop we usedon the last page. We need the do/while loop here for a verygood reason: With the initial if statement, we assigned thefirst row returned by the query to the variable $myrow. If atthis point we executed a regular while statement (such aswhile ($myrow = mysql_fetch_row($result)), we'd bekicking the first record out of the variable and replacing itwith the second record. But the do/while loop lets us test thecondition after the code has been run once. So there's nochance of us accidentally skipping a row.Finally, if there are no records returned at all, the statementscontained in the else{} portion will be executed. To see thisportion in action, change the SQL statement to SELECT *FROM employees WHERE id=6 or something else that willreturn no records.Now let's extend this looping and if-else code to make onefancy-schmancy page. You're going to love it.
Link Intelligently
We're going to take that looping power we just learned and useit in a more practical example. But before we proceed here, youshould know how to work with forms, the querystring, and theGET and POST methods. Jay covered this not long ago, so gotake a look at his article if this is unfamiliar to you.
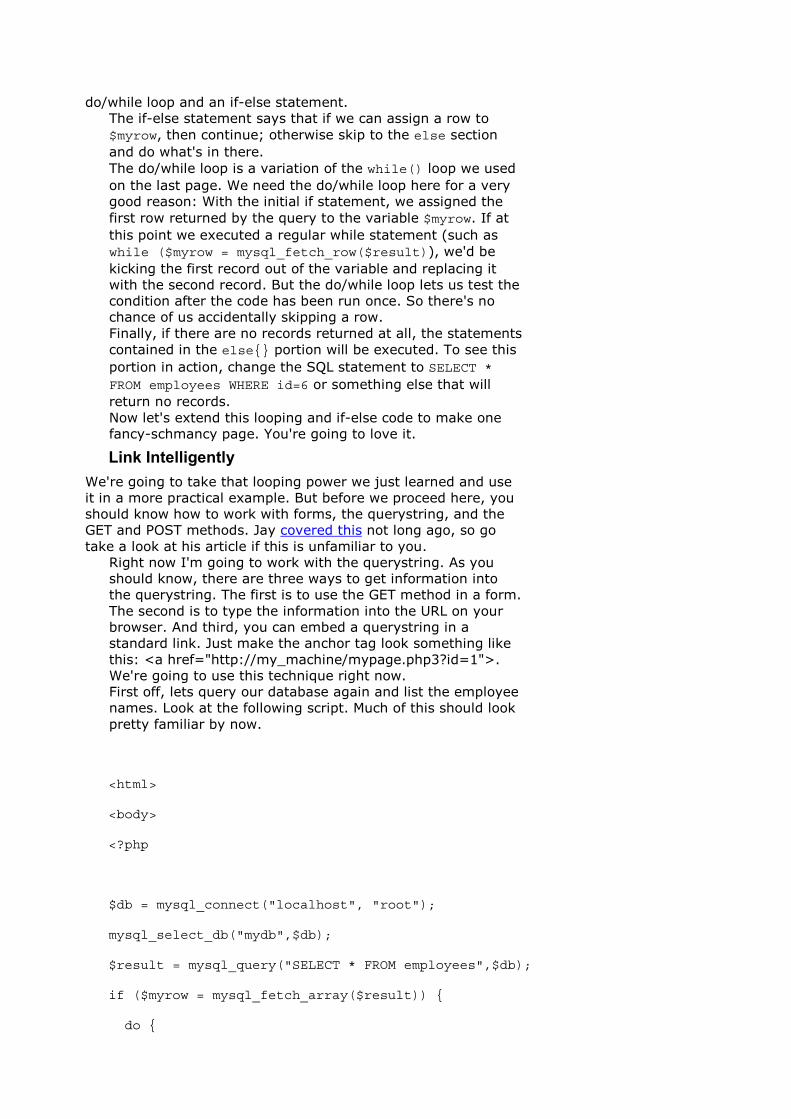
Right now I'm going to work with the querystring. As youshould know, there are three ways to get information intothe querystring. The first is to use the GET method in a form.The second is to type the information into the URL on yourbrowser. And third, you can embed a querystring in astandard link. Just make the anchor tag look something likethis: <a href="http://my_machine/mypage.php3?id=1">.We're going to use this technique right now.First off, lets query our database again and list the employeenames. Look at the following script. Much of this should lookpretty familiar by now.
<html>
<body>
<?php
$db = mysql_connect("localhost", "root");
mysql_select_db("mydb",$db);
$result = mysql_query("SELECT * FROM employees",$db);
if ($myrow = mysql_fetch_array($result)) {
do {

printf("<a href=\"%s?id=%s\">%s %s</a><br>\n", $PHP_SELF,$myrow["id"], $myrow["first"], $myrow["last"]);
} while ($myrow = mysql_fetch_array($result));
} else {
echo "Sorry, no records were found!";
}
?>
</body>
</html>
Everything's about the same except the printf function, so let'slook at it in some detail.
First notice that each quotation mark is preceeded by abackslash. The backslash tells PHP to display the characterfollowing it, rather than treat it as part of the code. Also notethe use of the variable $PHP_SELF. This variable, whichstores the script's name and location, is passed along withevery PHP page. It's helpful here because we just want thisfile to call itself. Using $PHP_SELF, we can be sure that willhappen, even if the file is moved to another directory - oreven another machine.As I just mentioned, these links will recall the page. On thesecond time through, however, some information will beadded to the querystring.PHP does a nifty thing when it sees a name=value pair in thequerystring. It automatically creates a variable with thename and value the querystring indicated. This featureallows us to test if it's the first or second time through thispage. All we have to do is ask PHP if the variable $id exists.Once I know the answer to that question, I can display adifferent set of information the second time through. Here'show:
<html>
<body>
<?php
$db = mysql_connect("localhost", "root");
mysql_select_db("mydb",$db);
// display individual record
if ($id) {
$result = mysql_query("SELECT * FROM employees WHERE id=$id",$db);
$myrow = mysql_fetch_array($result);
printf("First name: %s\n<br>", $myrow["first"]);
printf("Last name: %s\n<br>", $myrow["last"]);
printf("Address: %s\n<br>", $myrow["address"]);
printf("Position: %s\n<br>", $myrow["position"]);
} else {
// show employee list
$result = mysql_query("SELECT * FROM employees",$db);
if ($myrow = mysql_fetch_array($result)) {
// display list if there are records to display
do {
printf("<a href=\"%s?id=%s\">%s %s</a><br>\n", $PHP_SELF,$myrow["id"], $myrow["first"], $myrow["last"]);
} while ($myrow = mysql_fetch_array($result));
} else {
// no records to display
echo "Sorry, no records were found!";
}
}
?>
</body>
</html>
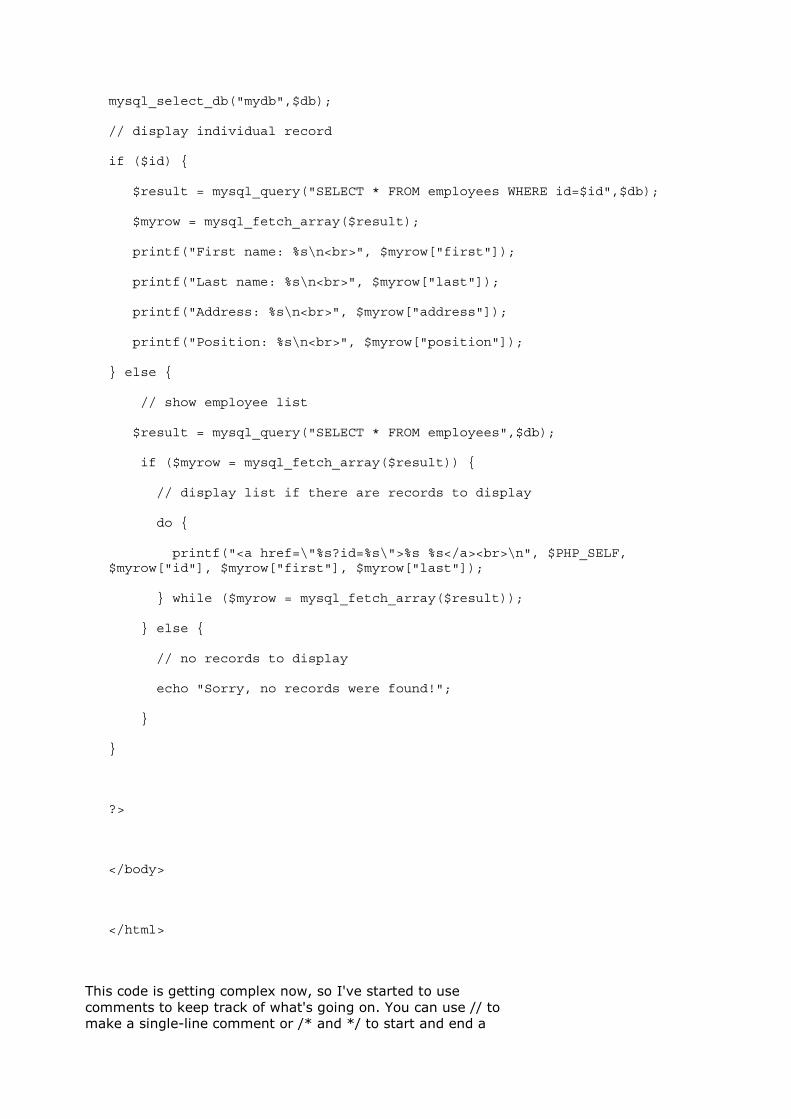
This code is getting complex now, so I've started to usecomments to keep track of what's going on. You can use // tomake a single-line comment or /* and */ to start and end a
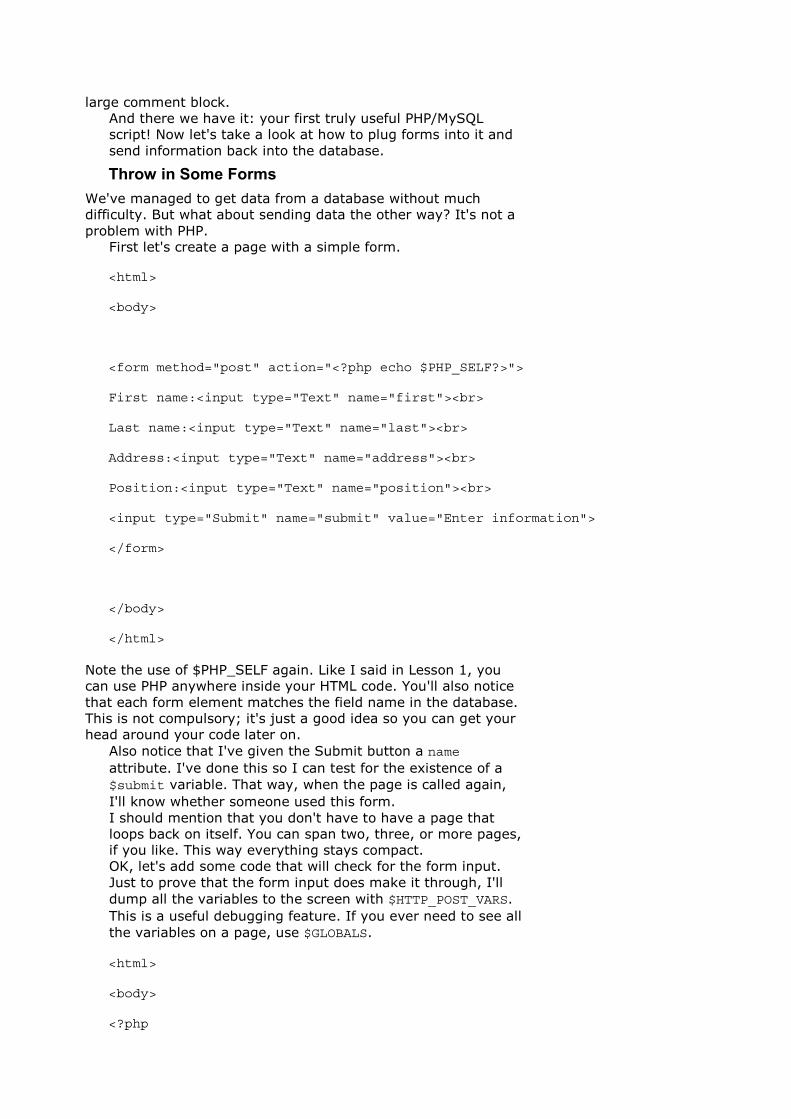
large comment block.And there we have it: your first truly useful PHP/MySQLscript! Now let's take a look at how to plug forms into it andsend information back into the database.
Throw in Some Forms
We've managed to get data from a database without muchdifficulty. But what about sending data the other way? It's not aproblem with PHP.
First let's create a page with a simple form.
<html>
<body>
<form method="post" action="<?php echo $PHP_SELF?>">
First name:<input type="Text" name="first"><br>
Last name:<input type="Text" name="last"><br>
Address:<input type="Text" name="address"><br>
Position:<input type="Text" name="position"><br>
<input type="Submit" name="submit" value="Enter information">
</form>
</body>
</html>
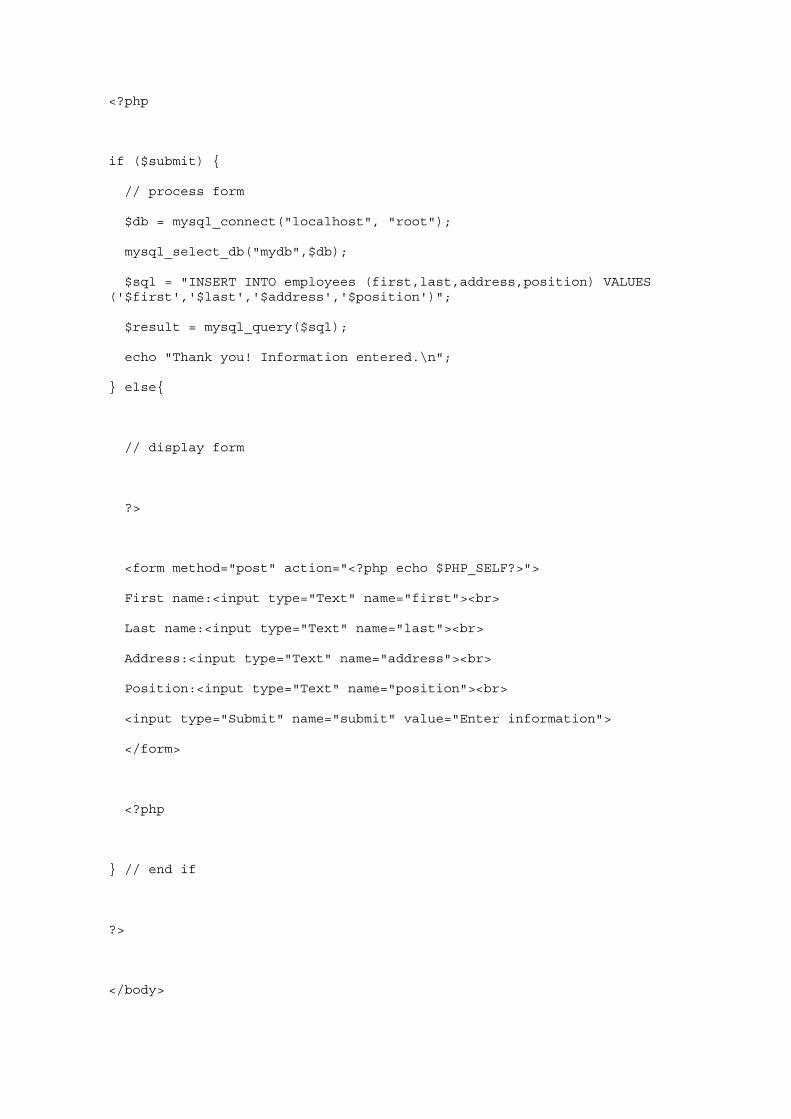
Note the use of $PHP_SELF again. Like I said in Lesson 1, youcan use PHP anywhere inside your HTML code. You'll also noticethat each form element matches the field name in the database.This is not compulsory; it's just a good idea so you can get yourhead around your code later on.
Also notice that I've given the Submit button a nameattribute. I've done this so I can test for the existence of a$submit variable. That way, when the page is called again,I'll know whether someone used this form.I should mention that you don't have to have a page thatloops back on itself. You can span two, three, or more pages,if you like. This way everything stays compact.OK, let's add some code that will check for the form input.Just to prove that the form input does make it through, I'lldump all the variables to the screen with $HTTP_POST_VARS.This is a useful debugging feature. If you ever need to see allthe variables on a page, use $GLOBALS.
<html>
<body>
<?php

if ($submit) {
// process form
while (list($name, $value) = each($HTTP_POST_VARS)) {
echo "$name = $value<br>\n";
}
} else{
// display form
?>
<form method="post" action="<?php echo $PHP_SELF?>">
First name:<input type="Text" name="first"><br>
Last name:<input type="Text" name="last"><br>
Address:<input type="Text" name="address"><br>
Position:<input type="Text" name="position"><br>
<input type="Submit" name="submit" value="Enter information">
</form>
<?php
} // end if
?>
</body>
</html>
Now that this is looking good, let's take the form informationand post it to the database.
<html>
<body>
<?php
if ($submit) {
// process form
$db = mysql_connect("localhost", "root");
mysql_select_db("mydb",$db);
$sql = "INSERT INTO employees (first,last,address,position) VALUES('$first','$last','$address','$position')";
$result = mysql_query($sql);
echo "Thank you! Information entered.\n";
} else{
// display form
?>
<form method="post" action="<?php echo $PHP_SELF?>">
First name:<input type="Text" name="first"><br>
Last name:<input type="Text" name="last"><br>
Address:<input type="Text" name="address"><br>
Position:<input type="Text" name="position"><br>
<input type="Submit" name="submit" value="Enter information">
</form>
<?php
} // end if
?>
</body>
</html>
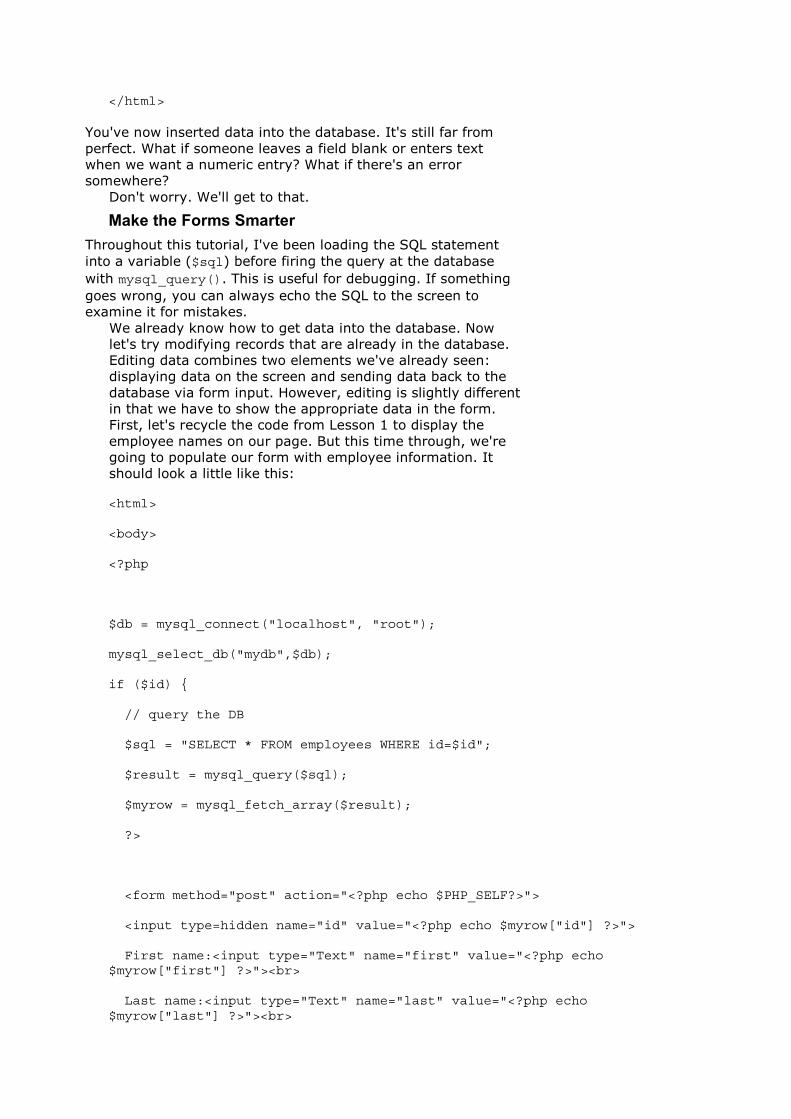
You've now inserted data into the database. It's still far fromperfect. What if someone leaves a field blank or enters textwhen we want a numeric entry? What if there's an errorsomewhere?
Don't worry. We'll get to that.
Make the Forms Smarter
Throughout this tutorial, I've been loading the SQL statementinto a variable ($sql) before firing the query at the databasewith mysql_query(). This is useful for debugging. If somethinggoes wrong, you can always echo the SQL to the screen toexamine it for mistakes.
We already know how to get data into the database. Nowlet's try modifying records that are already in the database.Editing data combines two elements we've already seen:displaying data on the screen and sending data back to thedatabase via form input. However, editing is slightly differentin that we have to show the appropriate data in the form.First, let's recycle the code from Lesson 1 to display theemployee names on our page. But this time through, we'regoing to populate our form with employee information. Itshould look a little like this:
<html>
<body>
<?php
$db = mysql_connect("localhost", "root");
mysql_select_db("mydb",$db);
if ($id) {
// query the DB
$sql = "SELECT * FROM employees WHERE id=$id";
$result = mysql_query($sql);
$myrow = mysql_fetch_array($result);
?>
<form method="post" action="<?php echo $PHP_SELF?>">
<input type=hidden name="id" value="<?php echo $myrow["id"] ?>">
First name:<input type="Text" name="first" value="<?php echo$myrow["first"] ?>"><br>
Last name:<input type="Text" name="last" value="<?php echo$myrow["last"] ?>"><br>
Address:<input type="Text" name="address" value="<?php echo$myrow["address"] ?>"><br>
Position:<input type="Text" name="position" value="<?php echo$myrow["position"] ?>"><br>
<input type="Submit" name="submit" value="Enter information">
</form>
<?php
} else {
// display list of employees
$result = mysql_query("SELECT * FROM employees",$db);
while ($myrow = mysql_fetch_array($result)) {
printf("<a href=\"%s?id=%s\">%s %s</a><br>\n", $PHP_SELF,$myrow["id"], $myrow["first"], $myrow["last"]);
}
}
?>
</body>
</html>
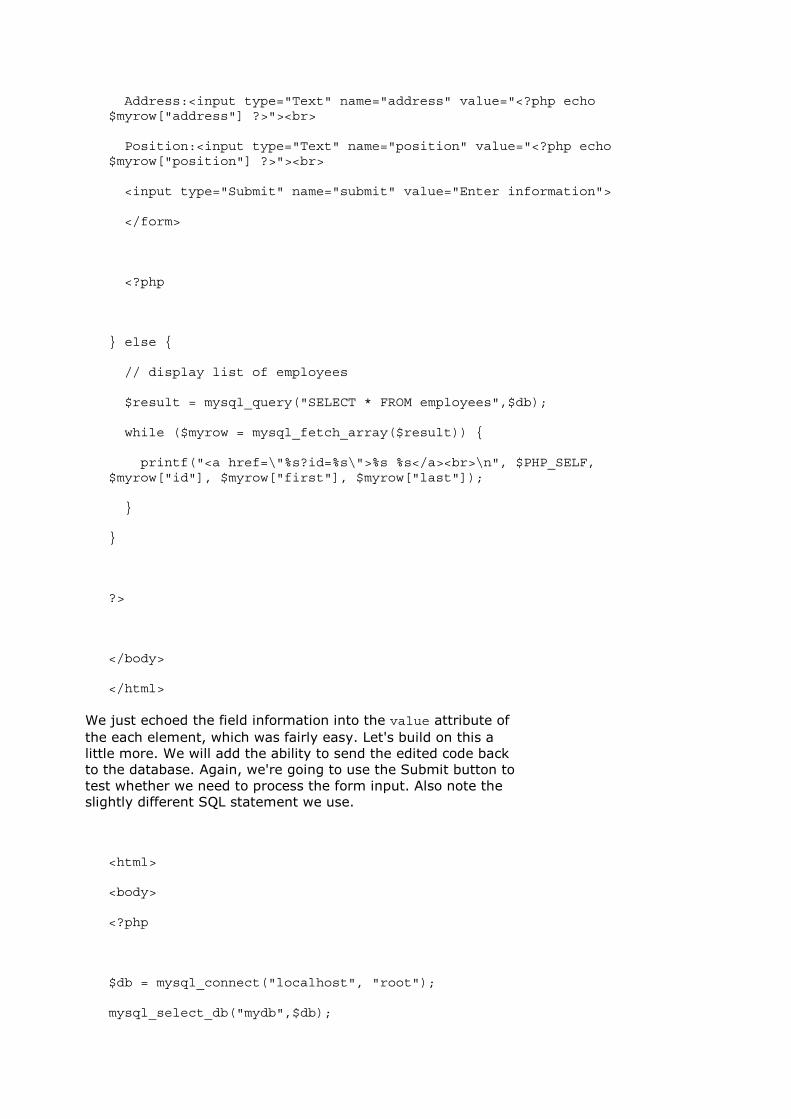
We just echoed the field information into the value attribute ofthe each element, which was fairly easy. Let's build on this alittle more. We will add the ability to send the edited code backto the database. Again, we're going to use the Submit button totest whether we need to process the form input. Also note theslightly different SQL statement we use.
<html>
<body>
<?php
$db = mysql_connect("localhost", "root");
mysql_select_db("mydb",$db);
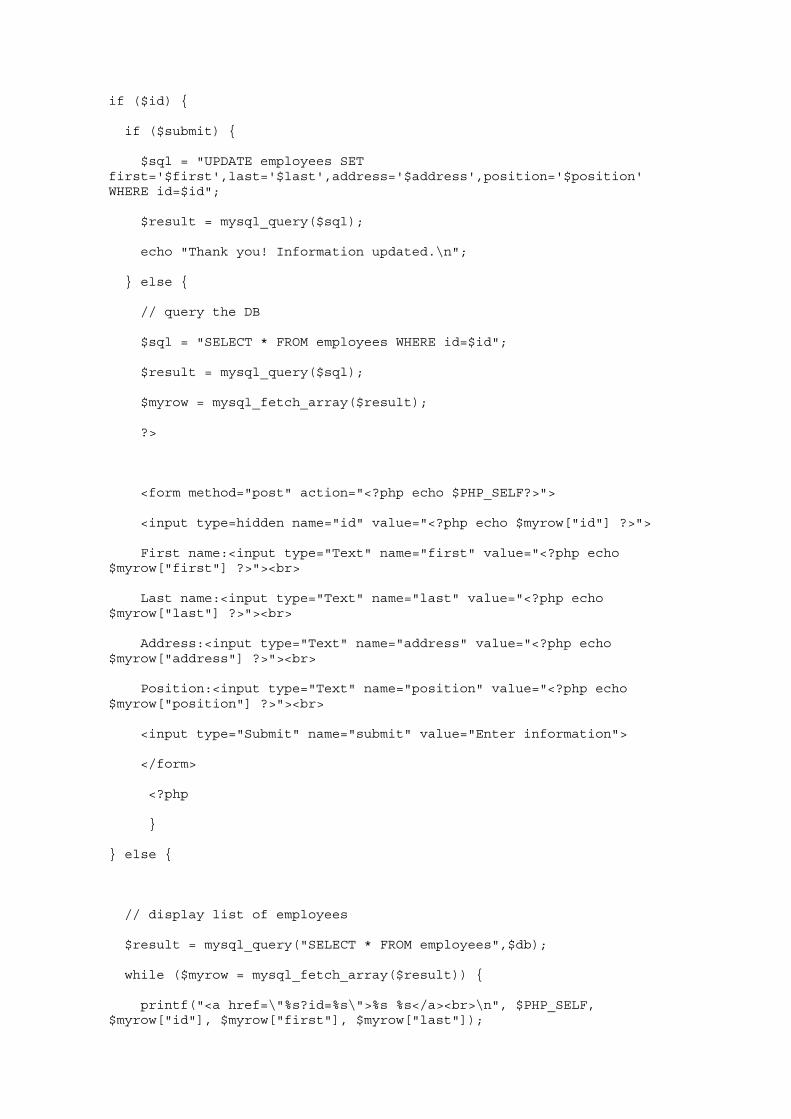
if ($id) {
if ($submit) {
$sql = "UPDATE employees SETfirst='$first',last='$last',address='$address',position='$position'WHERE id=$id";
$result = mysql_query($sql);
echo "Thank you! Information updated.\n";
} else {
// query the DB
$sql = "SELECT * FROM employees WHERE id=$id";
$result = mysql_query($sql);
$myrow = mysql_fetch_array($result);
?>
<form method="post" action="<?php echo $PHP_SELF?>">
<input type=hidden name="id" value="<?php echo $myrow["id"] ?>">
First name:<input type="Text" name="first" value="<?php echo$myrow["first"] ?>"><br>
Last name:<input type="Text" name="last" value="<?php echo$myrow["last"] ?>"><br>
Address:<input type="Text" name="address" value="<?php echo$myrow["address"] ?>"><br>
Position:<input type="Text" name="position" value="<?php echo$myrow["position"] ?>"><br>
<input type="Submit" name="submit" value="Enter information">
</form>
<?php
}
} else {
// display list of employees
$result = mysql_query("SELECT * FROM employees",$db);
while ($myrow = mysql_fetch_array($result)) {
printf("<a href=\"%s?id=%s\">%s %s</a><br>\n", $PHP_SELF,$myrow["id"], $myrow["first"], $myrow["last"]);
}
}
?>
</body>
</html>
And that's that. We've managed to combine most of the featureswe've seen into one script. You can also see how we've used anif() statement inside another if() statement to check formultiple conditions.
It's time to put it all together and make one killer script.
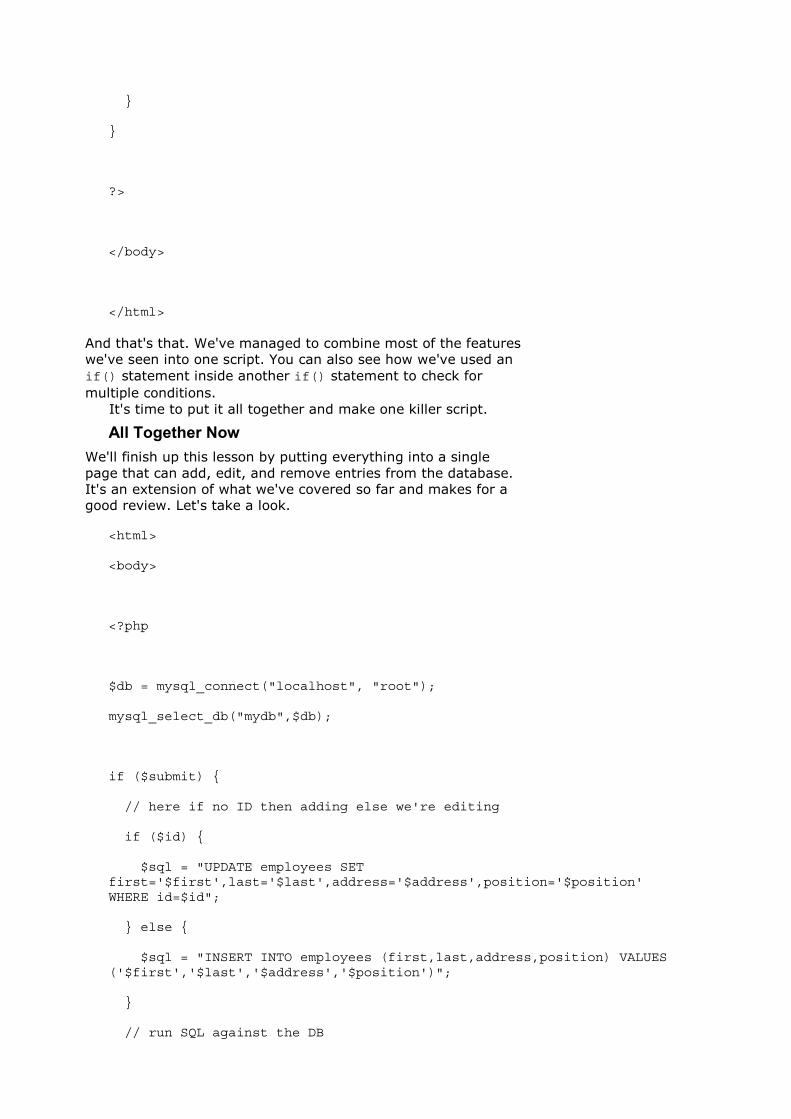
All Together Now
We'll finish up this lesson by putting everything into a singlepage that can add, edit, and remove entries from the database.It's an extension of what we've covered so far and makes for agood review. Let's take a look.
<html>
<body>
<?php
$db = mysql_connect("localhost", "root");
mysql_select_db("mydb",$db);
if ($submit) {
// here if no ID then adding else we're editing
if ($id) {
$sql = "UPDATE employees SETfirst='$first',last='$last',address='$address',position='$position'WHERE id=$id";
} else {
$sql = "INSERT INTO employees (first,last,address,position) VALUES('$first','$last','$address','$position')";
}
// run SQL against the DB
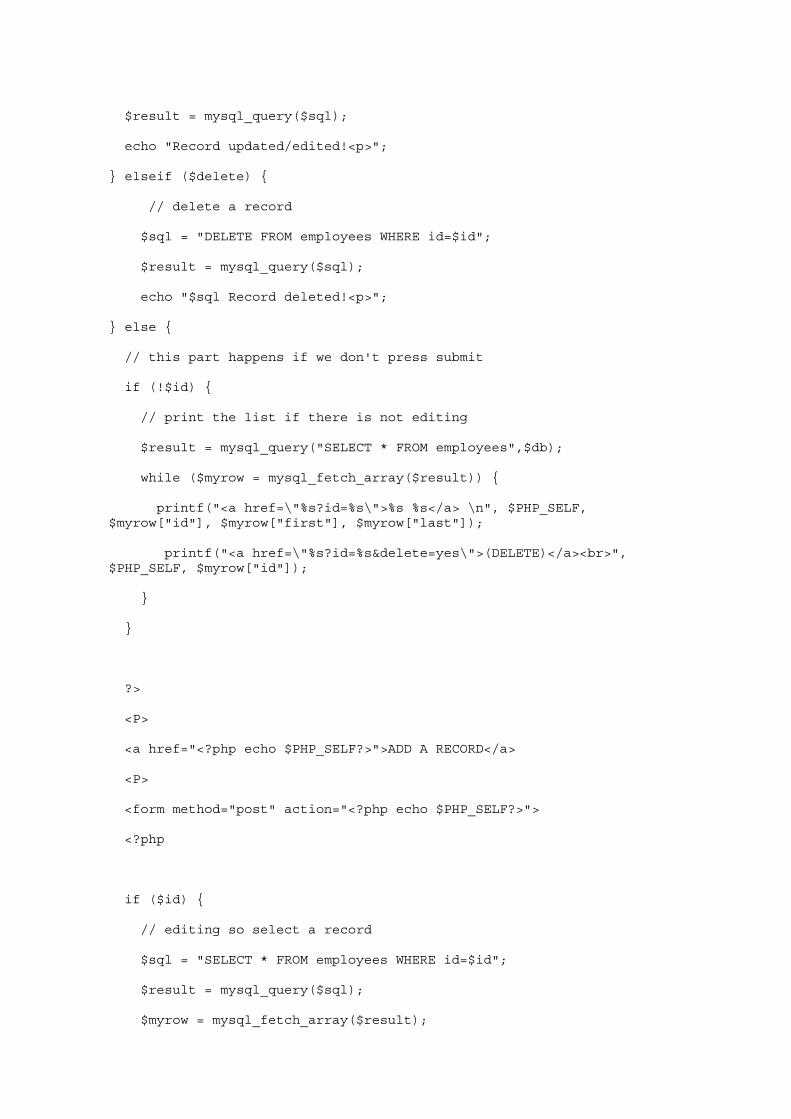
$result = mysql_query($sql);
echo "Record updated/edited!<p>";
} elseif ($delete) {
// delete a record
$sql = "DELETE FROM employees WHERE id=$id";
$result = mysql_query($sql);
echo "$sql Record deleted!<p>";
} else {
// this part happens if we don't press submit
if (!$id) {
// print the list if there is not editing
$result = mysql_query("SELECT * FROM employees",$db);
while ($myrow = mysql_fetch_array($result)) {
printf("<a href=\"%s?id=%s\">%s %s</a> \n", $PHP_SELF,$myrow["id"], $myrow["first"], $myrow["last"]);
printf("<a href=\"%s?id=%s&delete=yes\">(DELETE)</a><br>",$PHP_SELF, $myrow["id"]);
}
}
?>
<P>
<a href="<?php echo $PHP_SELF?>">ADD A RECORD</a>
<P>
<form method="post" action="<?php echo $PHP_SELF?>">
<?php
if ($id) {
// editing so select a record
$sql = "SELECT * FROM employees WHERE id=$id";
$result = mysql_query($sql);
$myrow = mysql_fetch_array($result);
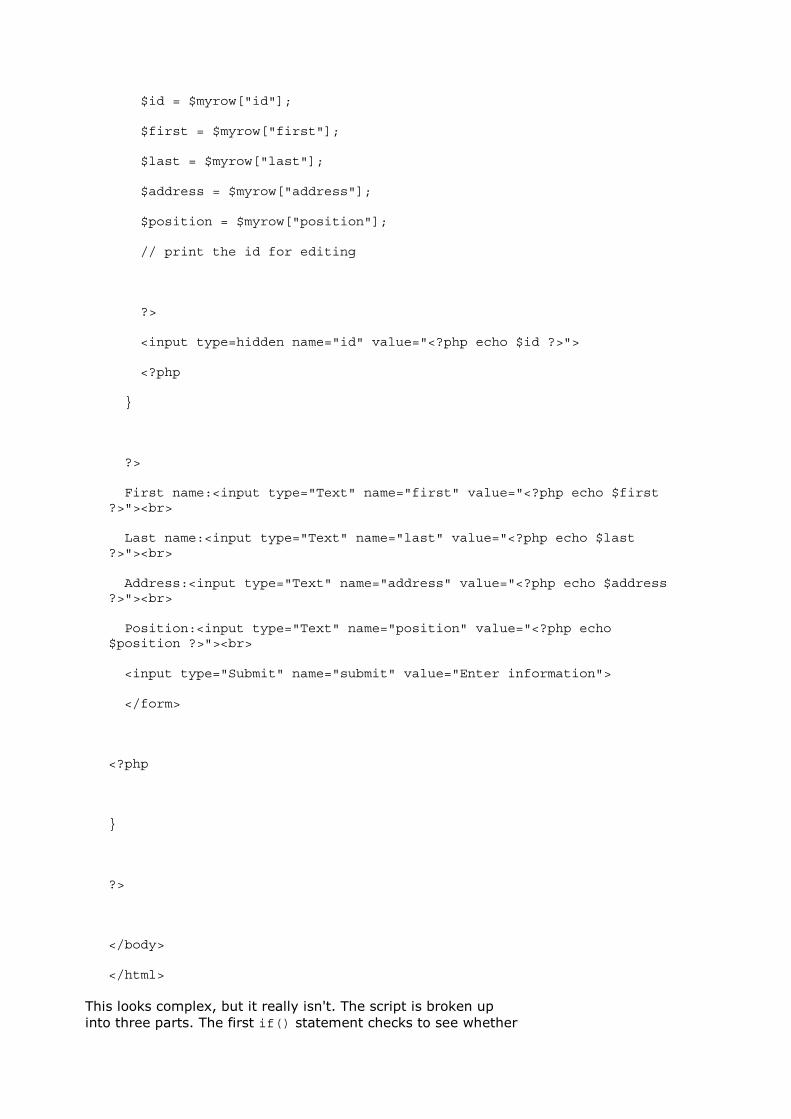
$id = $myrow["id"];
$first = $myrow["first"];
$last = $myrow["last"];
$address = $myrow["address"];
$position = $myrow["position"];
// print the id for editing
?>
<input type=hidden name="id" value="<?php echo $id ?>">
<?php
}
?>
First name:<input type="Text" name="first" value="<?php echo $first?>"><br>
Last name:<input type="Text" name="last" value="<?php echo $last?>"><br>
Address:<input type="Text" name="address" value="<?php echo $address?>"><br>
Position:<input type="Text" name="position" value="<?php echo$position ?>"><br>
<input type="Submit" name="submit" value="Enter information">
</form>
<?php
}
?>
</body>
</html>
This looks complex, but it really isn't. The script is broken upinto three parts. The first if() statement checks to see whether
the Submit button has been pressed, and if it has, it checks tosee whether the variable $id exists. If doesn't, then we'readding a record. Otherwise, we're editing a record.
Next we check to see whether the variable $delete exists. Ifit does, we delete a record. Note that with the first if()statement we checked for a variable that came through as aPOST, and in this one, the variable would be part of a GET.Finally, we take the default action that displays the list ofemployees and the form. Again we check for the existence ofthe $id variable. If it exists, we query the database todisplay the relevant record. Otherwise, we display a blankform.We've now put all we've learned into one script. We usedwhile() loops and if() statements, and we ran the gamutof the basic SQL statements - SELECT, INSERT, UPDATE, andDELETE. Lastly, we've looked at how we can pass informationfrom one page to another using URLs and form input.In Lesson 3 we'll look at how to make the page moreintelligent.
PHP/MySQL Tutorialby Graeme MerrallWelcome to the third and final lesson for this tutorial. If you'vegone through Lesson 1 and Lesson 2, you already know theessentials for installing and writing useful scripts with MySQLand PHP. We're going to look at some useful PHP functions thatshould make your life a lot easier. First, let's look at include files.
We all know the basics of includes, right? Contents of anexternal file are referenced and imported into the main file.It's pretty easy: You call a file and it's included. When we dothis in PHP there are two functions we need to talk about:include() and require(). The difference between these twofunctions is subtle but important, so let's take a closer look.The require() function works in a XSSI-like way; files areincluded as part of the original document as soon as that fileis parsed, regardless of its location in the script. So if youdecide to place a require() function inside a conditionalloop, the external file will be included even if that part of theconditional loop is false.The include() function imports the referenced file each timeit is encountered. If it's not encountered, PHP won't botherwith it. This means that you can use include in loops andconditional statements, and they'll work exactly as planned.Finally, if you use require() and the file you're includingdoes not exist, your script will halt and produce an error. Ifyou use include(), your script will generate a warning, butcarry on. You can test this yourself by trying the followingscript. Run the script, then replace include() withrequire() and compare the results.
<html>
<body>
<?php
include("emptyfile.inc");
echo "Hello World";
?>
</body>
</html>
I like to use the suffix .inc with my include files so I can separatethem from normal PHP scripts. If you do this, make sure thatyou set your Web server configuration file to parse .inc files asPHP files. Otherwise, hackers might be able to guess the nameof your include files and display them through the browser astext files. This could be bad if you've got sensitive information -
such as database passwords - contained in the includes.So what are you going to do with include files? Simple! Placeinformation common to all pages inside them. Things likeHTML headers, footers, database connection code, and user-defined functions are all good candidates. Paste this text intoa file called header.inc.
<?php
$db = mysql_connect("localhost", "root");
mysql_select_db("mydb",$db);
?>
<html>
<head>
<title>
<?php echo $title ?>
</title>
</head>
<body>
<center><h2><?php echo $title ?></h2></center>
Then create another file called footer.txt that contains someappropriate closing text and tags.
Now let's create a third file containing the actual PHP script.Try the following code, making sure that your MySQL serveris running.
<?php
$title = "Hello World";
include("header.inc");
$result = mysql_query("SELECT * FROM employees",$db);
echo "<table border=1>\n";
echo "<tr><td>Name</td><td>Position</tr>\n";
while ($myrow = mysql_fetch_row($result)) {
printf("<tr><td>%s %s</td><td>%s</tr>\n", $myrow[1], $myrow[2],$myrow[3]);
}
echo "</table>\n";
include("footer.inc");
?>
See what happens? The include files are tossed into the main fileand then the whole thing is executed by PHP. Notice how thevariable $title was defined before header.inc is referenced. Itsvalue is made available to the code in header.inc; hence, thetitle of the page is changed. You can now use header.inc acrossall your PHP pages, and all you'll have to do is change the valueof $title from page to page.
Using a combination of includes, HTML, conditionalstatements, and loops, you can create complex variationsfrom page to page with an absolute minimum of code.Includes become especially useful when used with functions,as we'll see down the road.On to the exciting world of data validation.
Simple Validation
Imagine for a moment that we've got our database nicely laid out and we're nowrequesting information from users that will be inserted into the database. Further,let's imagine that you have a field in your database waiting for some numeric input,such as a price. Finally, imagine your application falling over in a screaming heapbecause some smart aleck put text in that field. MySQL doesn't want to see text inthat portion of your SQL statement - and it complains bitterly.
What to do? Time to validate.
Validation simply means that we'll examine a piece of data, usually from an HTMLform, and check to make sure that it fits a certain model. This can range fromensuring that a element is not blank to validating that an element meets certaincriteria (for example, that a numeric value is stipulated or that an email addresscontains an @ for an email address).
Validation can be done on the server side or on the client side. PHP is used forserver-side validation, while JavaScript or another client-based scripting languagecan provide client-side validation. This article is about PHP, so we're going toconcentrate on the server end of things. But if you're looking for some ready-made,client-side validation scripts, check out the Webmonkey code library.
Let's ignore our database for the moment and concentrate on PHP validation. If youwish, you can add additional fields to our employee database quite simply by usingthe MySQL ALTER statement - that is, if you want to commit to the values that we'llvalidate.
There are several useful PHP functions we can use to validate our data, and theyrange from simple to highly complex. A simple function we could use might bestrlen(), which tells us the length of the variable.
A more complex function would be ereg(), which uses full regular expressionhandling for complex queries. I won't delve into the complexities of regex here, asentire books have been written on the subject, but I will provide some examples onthe next page.
Let's start with a simple example. We'll check to see whether a variable does or doesnot exist.
<html>
<body>
<?php
if ($submit) {
if (!$first || !$last) {
$error = "Sorry! You didn't fill in all the fields!";
} else {
// process form
echo "Thank You!";
}
}
if (!$submit || $error) {
echo $error;
?>
<P>
<form method="post" action="<?php echo $PHP_SELF ?>">
FIELD 1: <input type="text" name="first" value="<?php echo $first?>"><br>
FIELD 2: <input type="text" name="last" value="<?php echo $last?>"><br>
<input type="Submit" name="submit" value="Enter Information">
</form>
<?php
} // end if
?>
</body>
</html>
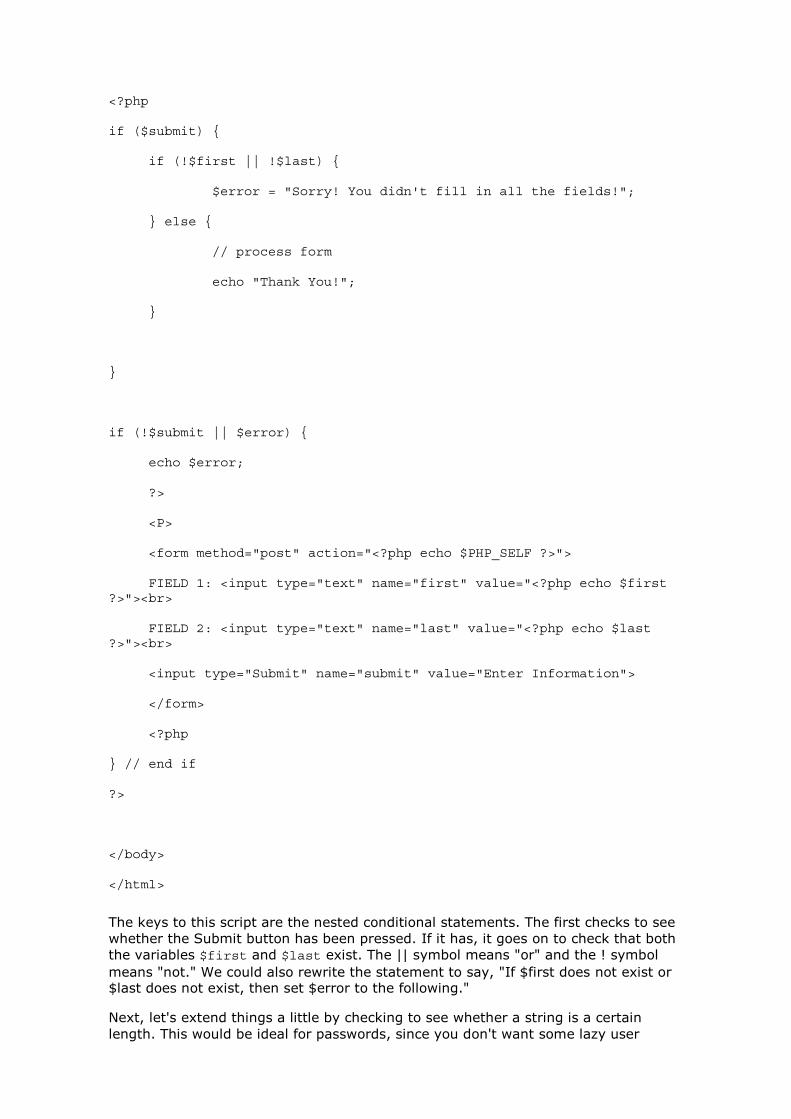
The keys to this script are the nested conditional statements. The first checks to seewhether the Submit button has been pressed. If it has, it goes on to check that boththe variables $first and $last exist. The || symbol means "or" and the ! symbolmeans "not." We could also rewrite the statement to say, "If $first does not exist or$last does not exist, then set $error to the following."
Next, let's extend things a little by checking to see whether a string is a certainlength. This would be ideal for passwords, since you don't want some lazy user

entering a password of only one or two letters. You'd rather it be, say, six or morecharacters.
The function for this is, as you already know, strlen(). It simply returns a numberequal to the number of characters in the variable being tested. Here, I modified thescript above to check the length of $first and $last.
<html>
<body>
<?php
if ($submit) {
if (strlen($first) < 6 || strlen($last) < 6) {
$error = "Sorry! You didn't fill in all the fields!";
} else {
// process form
echo "Thank You!";
}
}
if (!$submit || $error) {
echo $error;
?>
<P>
<form method="post" action="<?php echo $PHP_SELF ?>">
FIELD 1: <input type="text" name="first" value="<?php echo $first?>"><br>
FIELD 2: <input type="text" name="last" value="<?php echo $last?>"><br>
<input type="Submit" name="submit" value="Enter Information">
</form>
<?php
} // end if
?>
</body>
</html>
Run this script and try entering six or fewer letters to see what happens. It's simpleyet quite effective.
Not-So-Simple Validation
Let's talk a bit about using regular expressions with the ereg() and eregi()functions. As I said earlier, these can be either quite complex or very simple,depending on what you need.
Using regular expressions, you can examine a string and intelligently search forpatterns and variations to see whether they match the criteria you set. The mostcommon of these involves checking whether an email address is valid (although, ofcourse, there's no fail-safe way of doing this).
Rather than delve into the mysteries of regular expressions, I'll provide someexamples. You can use the same form we created on the previous page - just pastein the lines below to see how they work.
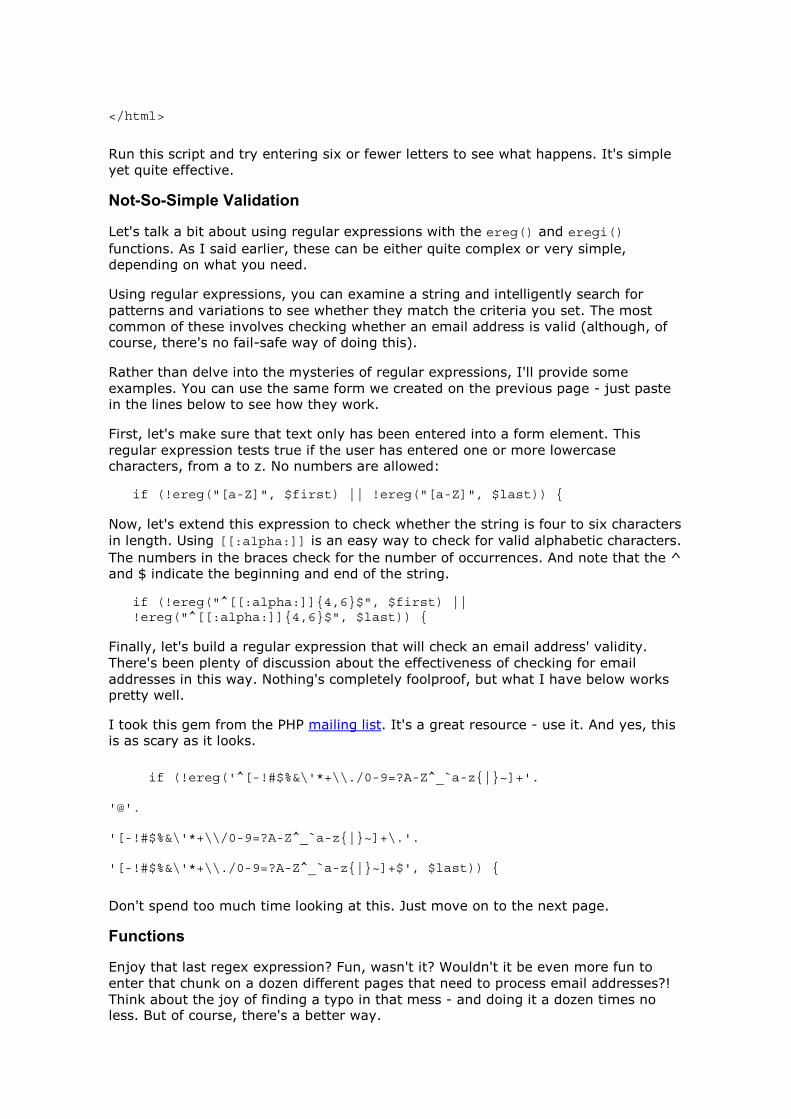
First, let's make sure that text only has been entered into a form element. Thisregular expression tests true if the user has entered one or more lowercasecharacters, from a to z. No numbers are allowed:
if (!ereg("[a-Z]", $first) || !ereg("[a-Z]", $last)) {
Now, let's extend this expression to check whether the string is four to six charactersin length. Using [[:alpha:]] is an easy way to check for valid alphabetic characters.The numbers in the braces check for the number of occurrences. And note that the ^and $ indicate the beginning and end of the string.
if (!ereg("^[[:alpha:]]{4,6}$", $first) ||!ereg("^[[:alpha:]]{4,6}$", $last)) {
Finally, let's build a regular expression that will check an email address' validity.There's been plenty of discussion about the effectiveness of checking for emailaddresses in this way. Nothing's completely foolproof, but what I have below workspretty well.
I took this gem from the PHP mailing list. It's a great resource - use it. And yes, thisis as scary as it looks.
if (!ereg('^[-!#$%&\'*+\\./0-9=?A-Z^_`a-z{|}~]+'.
'@'.
'[-!#$%&\'*+\\/0-9=?A-Z^_`a-z{|}~]+\.'.
'[-!#$%&\'*+\\./0-9=?A-Z^_`a-z{|}~]+$', $last)) {
Don't spend too much time looking at this. Just move on to the next page.
Functions
Enjoy that last regex expression? Fun, wasn't it? Wouldn't it be even more fun toenter that chunk on a dozen different pages that need to process email addresses?!Think about the joy of finding a typo in that mess - and doing it a dozen times noless. But of course, there's a better way.
Remember when we talked about include files earlier in this lesson? They'll allow usto create a piece of code like the email checker and include it multiple times acrossseveral pages. This way, when we want to change the code, we need edit only onefile, not many.
But if we want to get this done, we'll have to use functions.
We've already used functions plenty of times. Every time we query the database orcheck the length of a string we're using functions. These functions are built into PHP.If you're a keen coder, you can extend PHP with your own customized functions. Butthat's a bit advanced for this tutorial. Instead we'll create functions that will residewithin our PHP script.
A function is simply a block of code that we pass one or more values to. The functionthen processes the information and returns a value. The function can be as simple orcomplex as we like, but as long as we can pass a value in and get one out, we don'treally care how complex it is. That's the beauty of functions.
Functions in PHP behave similarly to functions in C. When we define the functions,we must specify what values the function can expect to receive. It's tricky to get ahandle on at first, but it prevents weird things from happening down the road. This isdone because the variables inside a function are known as private variables. That is,they exist only inside the function. You may, for instance, have a variable in yourscript called $myname. If you created a function and expected to use the same$myname variable (with the same value), it wouldn't work. Alternatively, you couldhave the variable $myname in your script and also create another variable called$myname in your function, and the two would co-exist quite happily with separatevalues. I do not recommend doing this, however! When you come back and edit itsix months later, you'll be breaking things left and right. There are exceptions to thisrule as with all things, but that's outside the scope of this article.
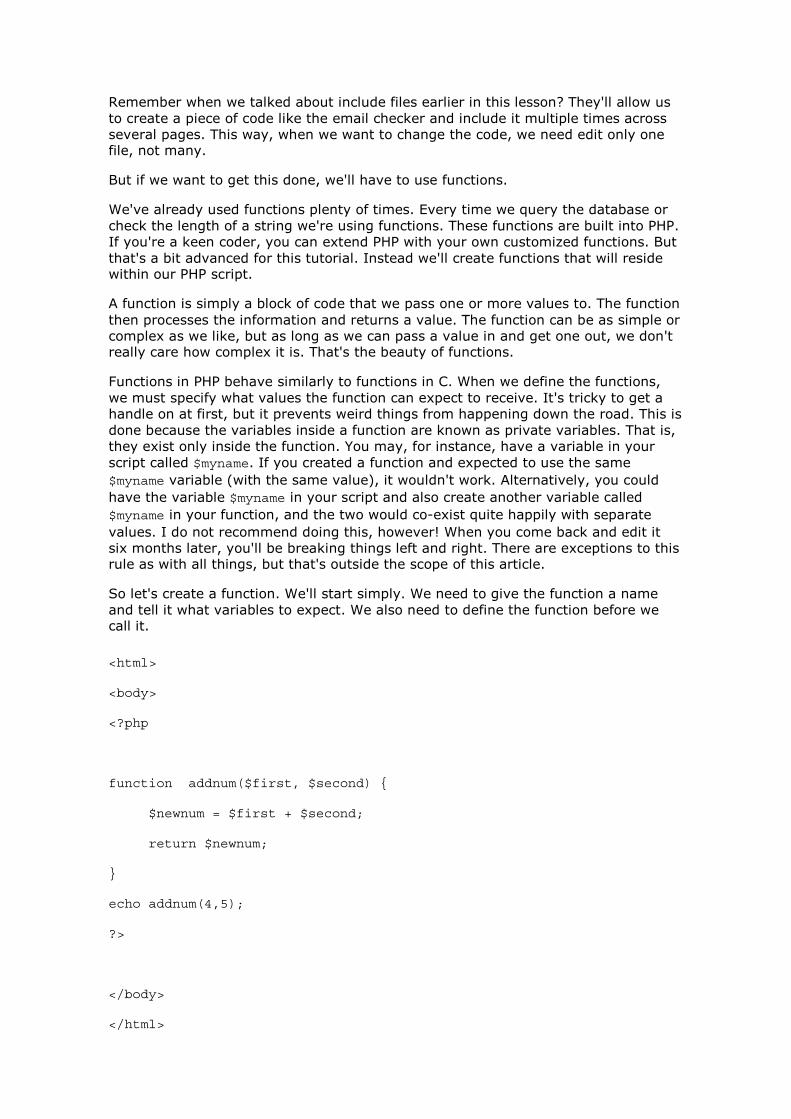
So let's create a function. We'll start simply. We need to give the function a nameand tell it what variables to expect. We also need to define the function before wecall it.
<html>
<body>
<?php
function addnum($first, $second) {
$newnum = $first + $second;
return $newnum;
}
echo addnum(4,5);
?>
</body>
</html>
That's it! First, we created our function. Notice how we defined two new variables,called $first and $second. When we call the function, each variable is assigned avalue based on the order in which it appears in the list - 4 goes to $first, 5 to$second. Then we simply added the two numbers together and returned the result."Return" here simply means to send the result back. At the end of the script we printthe number 9.
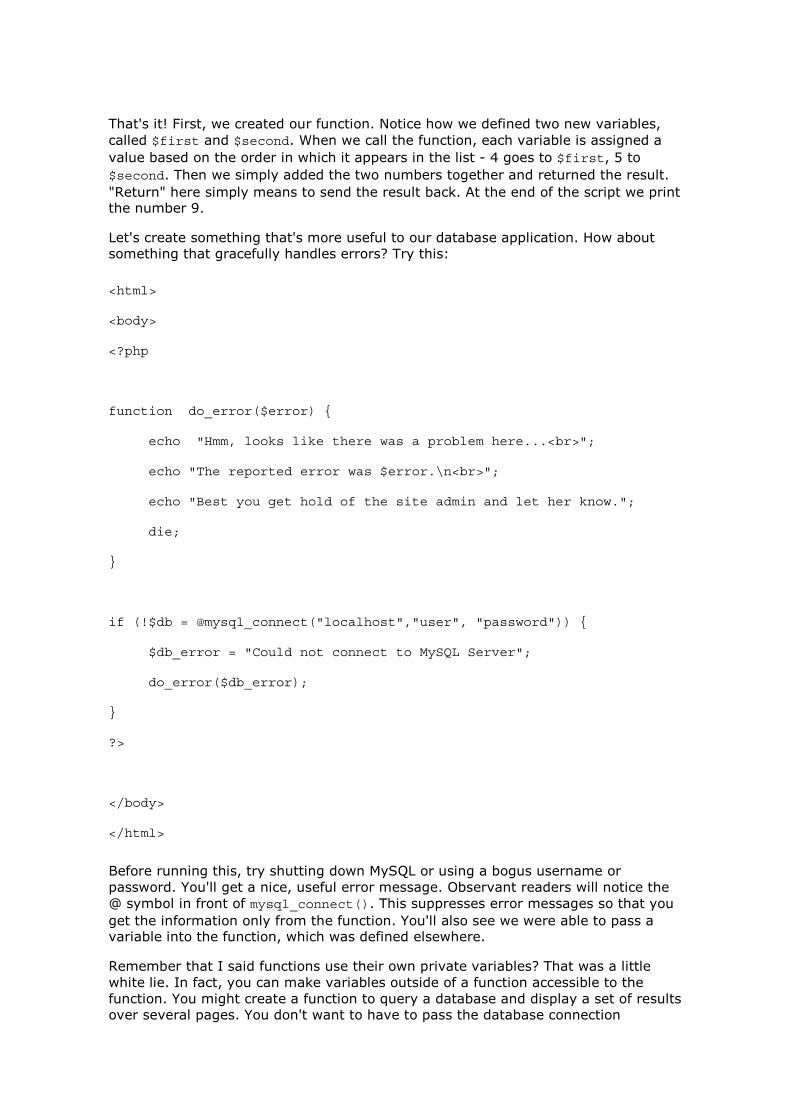
Let's create something that's more useful to our database application. How aboutsomething that gracefully handles errors? Try this:
<html>
<body>
<?php
function do_error($error) {
echo "Hmm, looks like there was a problem here...<br>";
echo "The reported error was $error.\n<br>";
echo "Best you get hold of the site admin and let her know.";
die;
}
if (!$db = @mysql_connect("localhost","user", "password")) {
$db_error = "Could not connect to MySQL Server";
do_error($db_error);
}
?>
</body>
</html>
Before running this, try shutting down MySQL or using a bogus username orpassword. You'll get a nice, useful error message. Observant readers will notice the@ symbol in front of mysql_connect(). This suppresses error messages so that youget the information only from the function. You'll also see we were able to pass avariable into the function, which was defined elsewhere.
Remember that I said functions use their own private variables? That was a littlewhite lie. In fact, you can make variables outside of a function accessible to thefunction. You might create a function to query a database and display a set of resultsover several pages. You don't want to have to pass the database connection
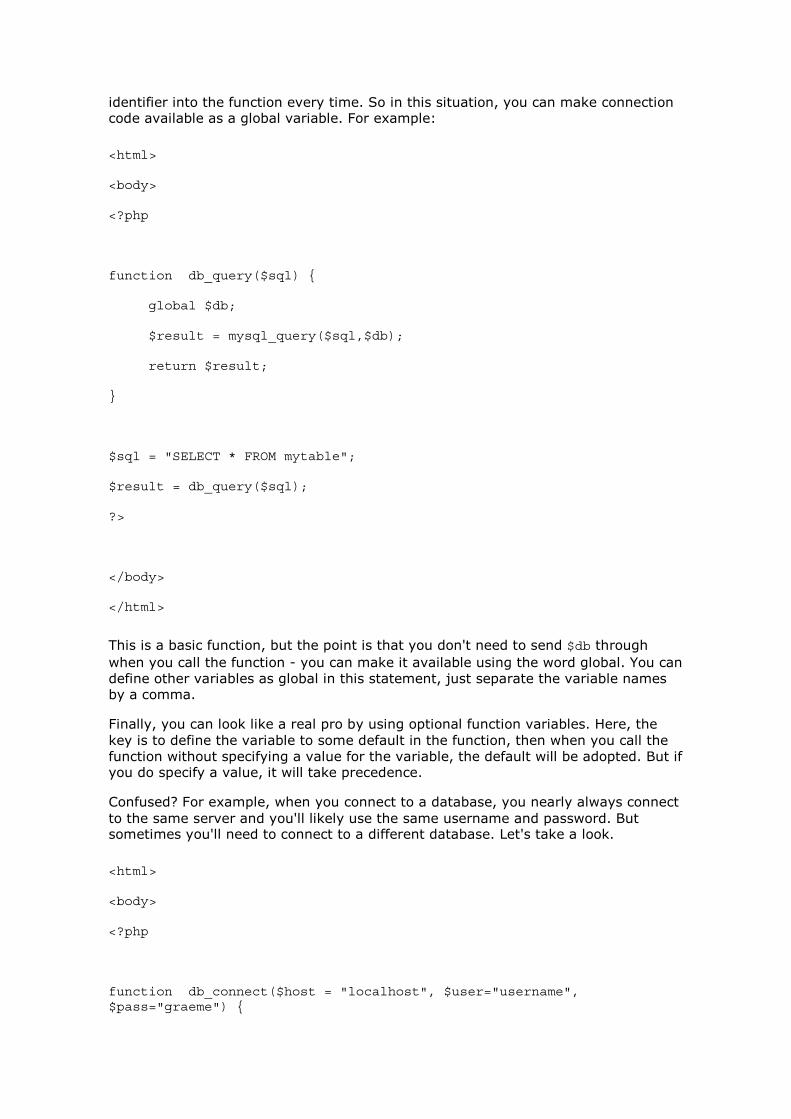
identifier into the function every time. So in this situation, you can make connectioncode available as a global variable. For example:
<html>
<body>
<?php
function db_query($sql) {
global $db;
$result = mysql_query($sql,$db);
return $result;
}
$sql = "SELECT * FROM mytable";
$result = db_query($sql);
?>
</body>
</html>
This is a basic function, but the point is that you don't need to send $db throughwhen you call the function - you can make it available using the word global. You candefine other variables as global in this statement, just separate the variable namesby a comma.
Finally, you can look like a real pro by using optional function variables. Here, thekey is to define the variable to some default in the function, then when you call thefunction without specifying a value for the variable, the default will be adopted. But ifyou do specify a value, it will take precedence.
Confused? For example, when you connect to a database, you nearly always connectto the same server and you'll likely use the same username and password. Butsometimes you'll need to connect to a different database. Let's take a look.
<html>
<body>
<?php
function db_connect($host = "localhost", $user="username",$pass="graeme") {

$db = mysql_connect($host, $username, $password);
return $db;
}
$old_db = db_connect();
$new_host = "site.com";
$new_db = db_connect($new_host);
?>
</body>
</html>
Isn't that cool? The variables used inside the function were defined when the functionwas defined. The first time the function is called, the defaults are used. The secondtime, we connect to a new host, but with the same username and password. Greatstuff!
Think about where you could use other functions in your code. You could use themfor data checking, performing routine tasks, and so on. I use them a lot whenprocessing text for display on a Web page. I can check, parse, and modify the text toadd new lines and escape HTML characters in one fell swoop.
Now all that's left to do is to impart some words of wisdom.
Closing Advice
When it comes to databasing, there's a lot to learn. If you haven't done it already,find a good book about database design and learn to put together a solid database -on any platform. It's an invaluable skill and it will save you plenty of time andheadache in the long run. Also, learn about MySQL. It's a complex but interestingdatabase with a wealth of useful documentation. Learn about table structure, datatypes, and SQL. You can actually achieve some pretty impressive stuff if you knowenough SQL.
Finally, there's PHP. The PHP Web site has nearly everything you need, from acomprehensive manual to mailing-list archives to code repositories. An excellent wayto learn about PHP is to study the examples used in the manual and to check out thecode archives. Many of the posted scripts consist of functions or classes that you canuse for free in your own scripts without having to reinvent the wheel. Additionally,the mailing list is an excellent spot to check out if you get stuck. The developersthemselves read the list and there are plenty of knowledgeable people there who canhelp you along the way.
Good luck and good coding!


