24
Pitching. So simple, but yet so complex

Pitching. So simple, but yet so complex

The Next Clayton Kershaw

The Set Position

The Set Up
• Relaxed
• Hands together in the middle of your body
• Feet around shoulder width apart
• 75% of weight into the back leg
• Weight on the inside part of the back foot
• Back knee inside the back foot

Leg Lift or Balance Point?

Leg Lift • Lift Front Leg into the centre of your body (lift leg
through Quad)
• Hands move up as leg comes up
• As Knee gets to the top of lift, sit into back heal and drive back hip pocket to the catcher
• Upper body stays over back foot creating upper body and lower body separation
• This is the beginning of the speed and momentum of our delivery
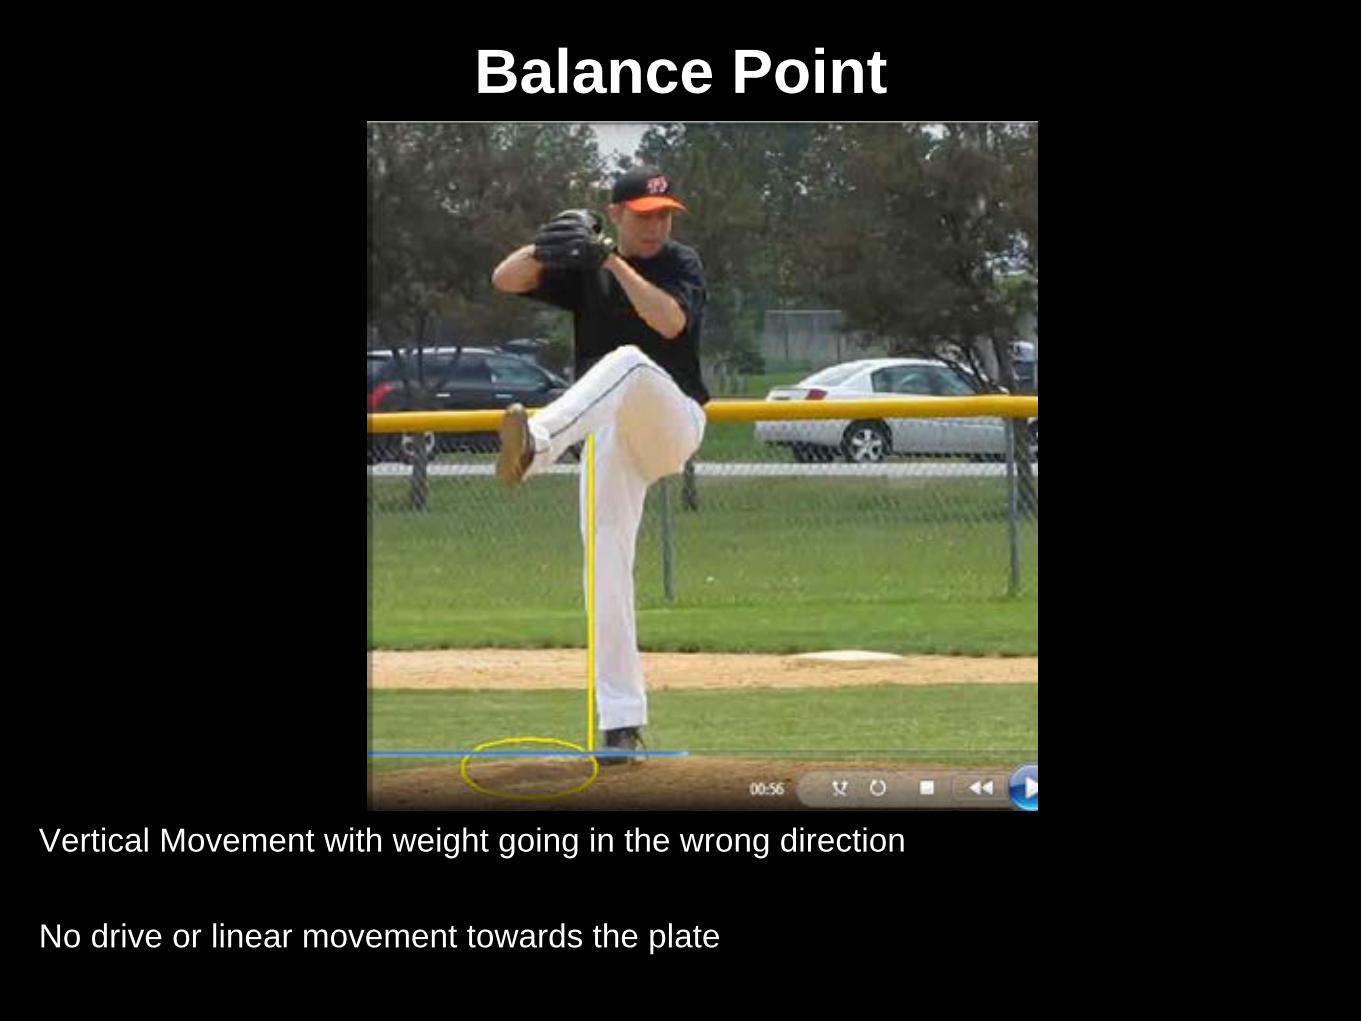
Balance Point
Vertical Movement with weight going in the wrong direction
No drive or linear movement towards the plate
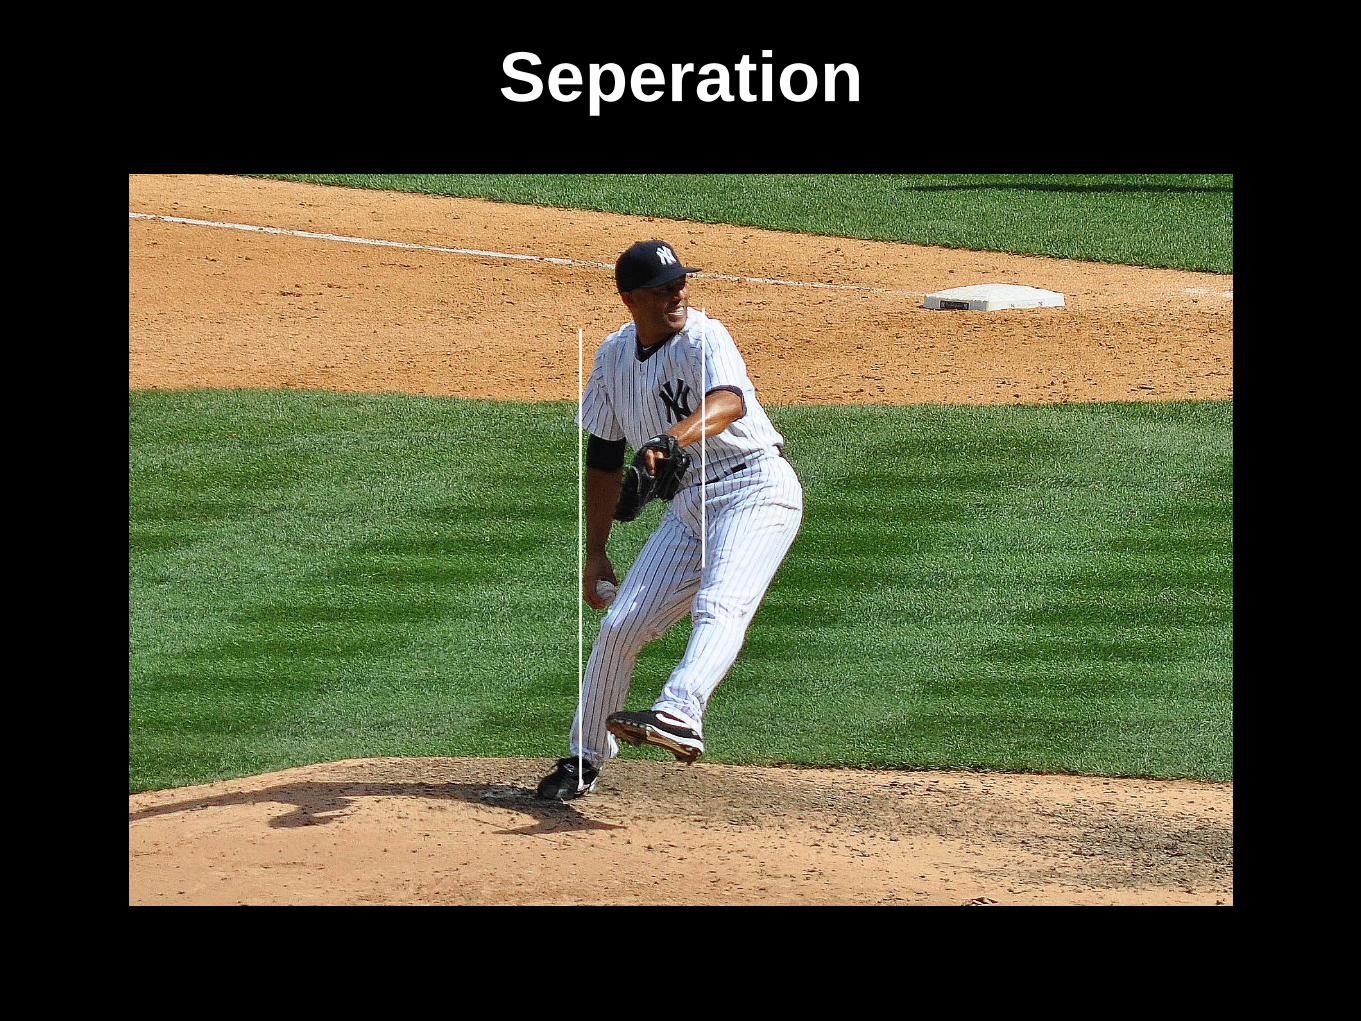
Seperation

Seperation • Hands separate around the belt as front leg starts down
• Weight on back leg is felt through the quad (slight sitting action)
• Slight flexion in back knee
• Upper body lags behind as lower drives in a linear direction towards the catcher
• Front shoulder is slightly closed as hands begin to separate
• Back heal remains on the ground with body weight on the inside part of the back foot

Early Separation & Upper Body Drift
• Forward lean gets body ahead of your arm
• Early or high hand separation gets our arm ahead of our body
• TIMING!!!!

Stride & Arm Path

Stride & Arm Path • Continue to drive the inside of the back foot (Heal still on the ground)
• Still flexion in the back knee and knee is facing the same direction as the chest
• Arms separate on a similar path (Equal and Opposites at the elbows)
• Shoulders are still closed to the target
• Head is still behind the centre line of the body
• Front foot reaches towards the plate
• Extend back leg & drive hip to the plate right before the front foot lands

Red Flags!!!
• It’s all connected. Early back heal disengagement (weight to Quad)
• Early rotation of back leg
• Upper body drift
• Elevated back elbow (inverted W)

Front Foot Strike

Front Foot Strike • This is the Key Snap Shop for coaches!!!
• Back leg extends through ankle, knee & hip which drives hip to plate and back foot turns all by itself
• Upper body makes its way back to centre line and shoulder are still in line with target as hips open (Reverse Spring Action)
• Ball needs to be up in the cocked position
• Elbows are below the shoulders and start to go back & down

Hip & Shoulder Separation

Scap Load & Beginning of Rotation
• Arms will disconnect for an instant to initiate rotation of upper body
• Glove starts making its way into body
• Faster you rotate front side the faster your trunk and arm rotate
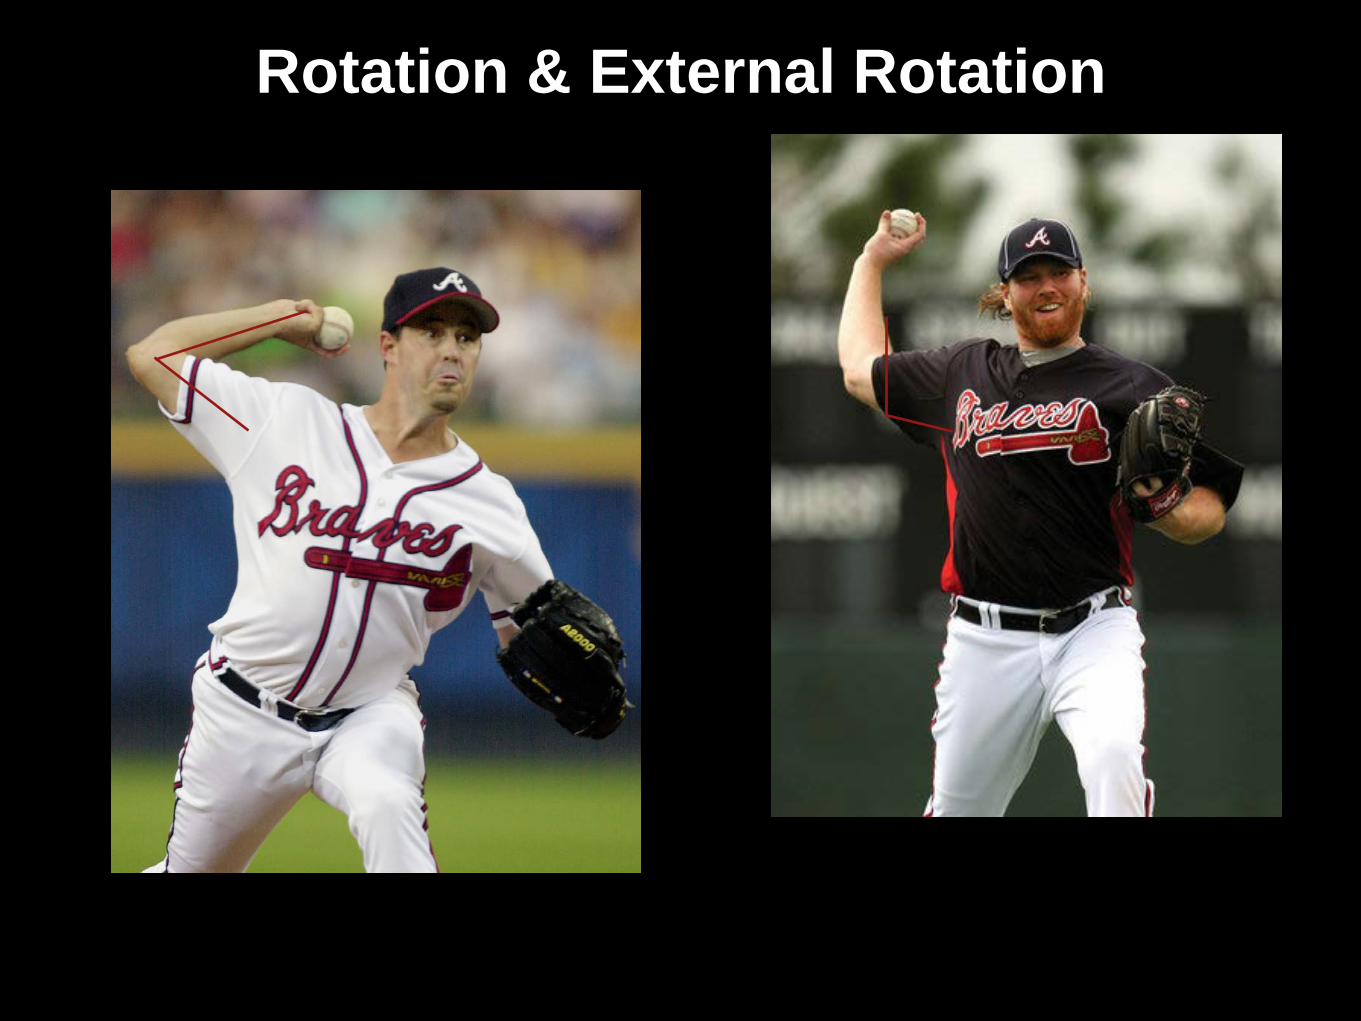
Rotation & External Rotation

Rotation & External Rotation • Glove side elbow continues to pull back into the body and glove makes its way to
the glove side chest
• Ball lays back behind the head and arm rotates within the shoulder socket which lessens the stress on the elbow
• Throwing elbow will get above the throwing side shoulder through rotation
• Humerus should be in line with the shoulder blades through rotation
• Upper body (chest & chin) make their way towards the catcher by getting over the front leg

Release
• Elbow is above the shoulder
• Ball is released out in front of front foot for maximum extension
• Front leg braces forward momentum for maximum force

Follow Through • Complete the rotation to allow the maximum amount of time for the
arm to decelerate. Back of throwing shoulder to target
• Hand and arm should work in a north to south motion. Never east to west

Comparison

Comparison
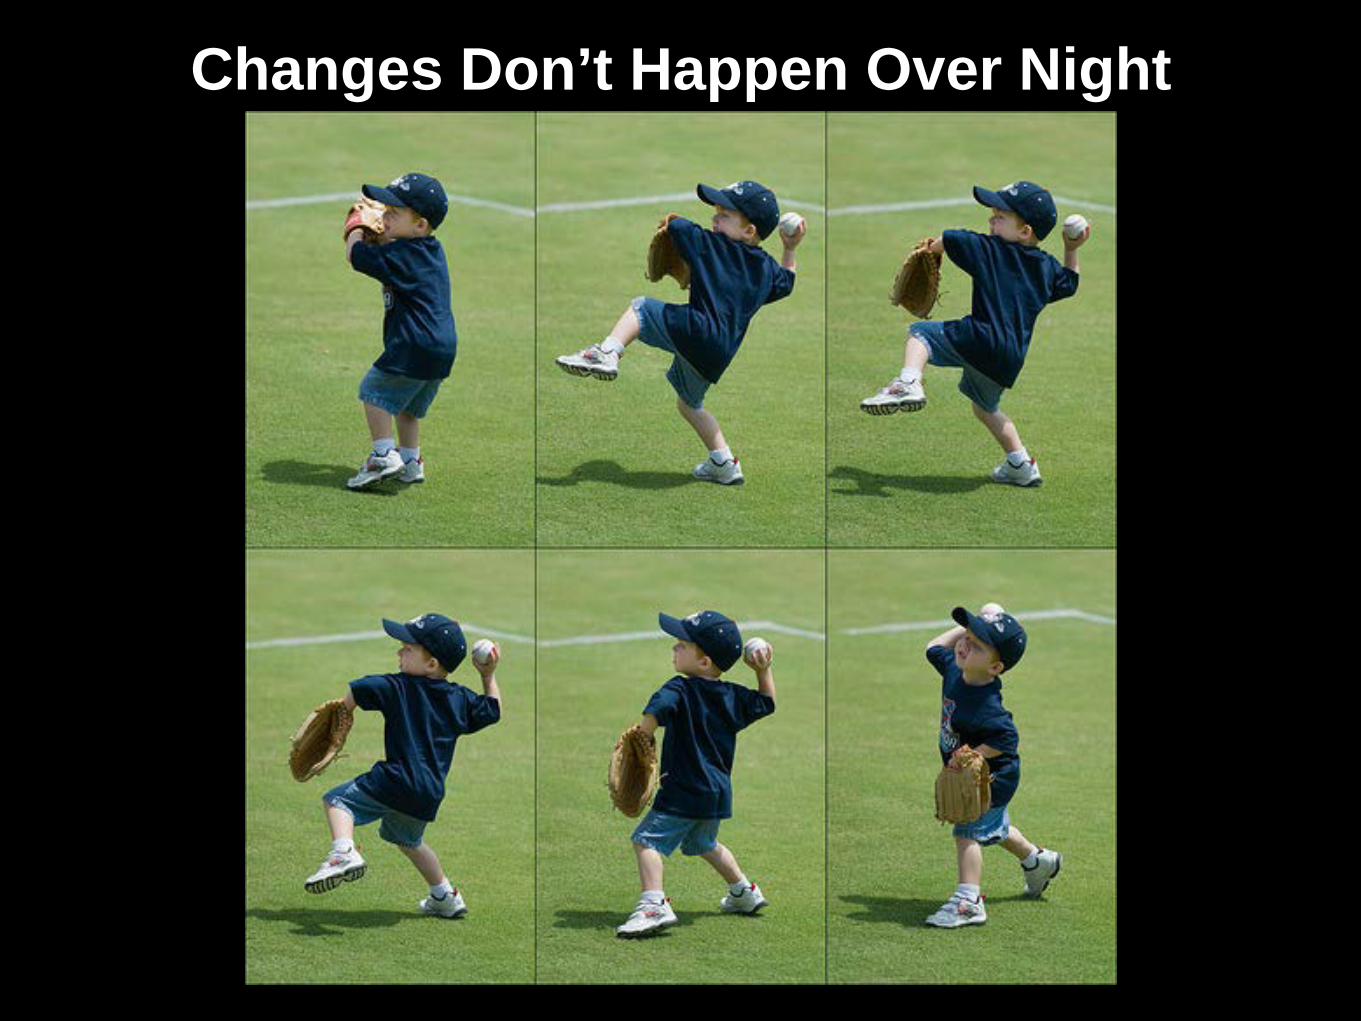
Changes Don’t Happen Over Night


