58
Private Wells & Septic Systems Troy Bauder Department of Soil and Crop Sciences Colorado State University [email protected] www.csuwater.info

Private Wells & Septic Systems
Troy Bauder
Department of Soil and Crop Sciences
Colorado State University
www.csuwater.info

Outline
– Well and septic components
– Predicting and preventing problems
– Resources

Private Well/Septic = Homeowner Responsibility
Municipal
Water

The Well
Pipeline / conduit to aquifer
Cased hole
(Type III)
(Type I)

Well type
Drilled
– Most common, modern standard
Driven (sand point) – Shallow, more
common for garden
Dug – Dangerous and
impossible to keep clean

Hand Dug and/or Abandoned Wells

Basic components

The well – casing
Type – Concrete
– Galvanized Steel
– Steel
– PVC - Allowed until 1988 at surface
– PVC with Steel at surface
Size: 4 – 12 inches
Perforations or well screen in aquifer of choice


Inspecting well cap/seal

Cap/seal on casing
Water tight, removable
cap
Several types in use

The well – casing grout
Well casing sealed with
grout
– At surface
Prevents contamination
from surface to aquifer
Extends 10 to 40 feet
depending upon aquifer
type
– At confining layers
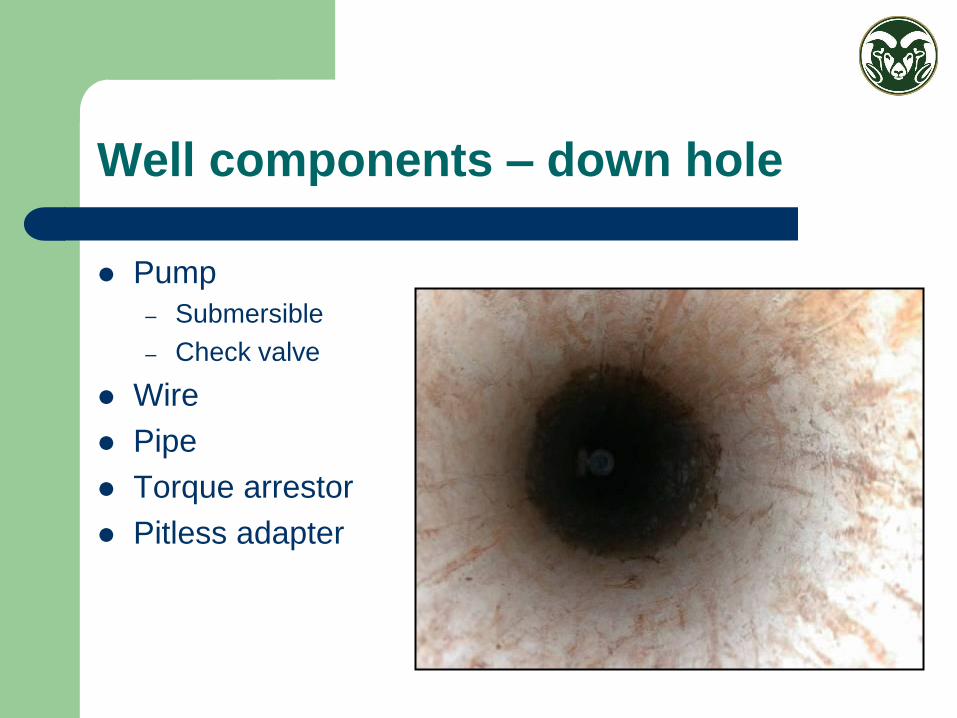
Well components – down hole
Pump
– Submersible
– Check valve
Wire
Pipe
Torque arrestor
Pitless adapter

Well components – down hole Submersible pump
Pump size/type
dependant upon:
– Well capacity
– Depth
– Casing size
Two or Three wire
models

Pumps

Well components – down hole Pipe,
torque arrestors
Pipe
– Sch 80 PVC or
galvanized
– 1” to 2 ½” ID
Torque arrestors
– Deep wells
– Prevent wear to wire and
pipe from vibration

Well components – down hole Pitless adapter
Connects vertical pipe
inside casing to
horizontal pipe leading
to rest of system
Installed below frost line
(3-5’)
Supports all Pipe,
pump, wire down hole

Well components – above hole
Pump
– Centrifugal
– Jet
– Pumpjack/windmill
Casing seal
Electrical controls
Storage tank
Check Valve
Plumbing

Well components – Out of hole
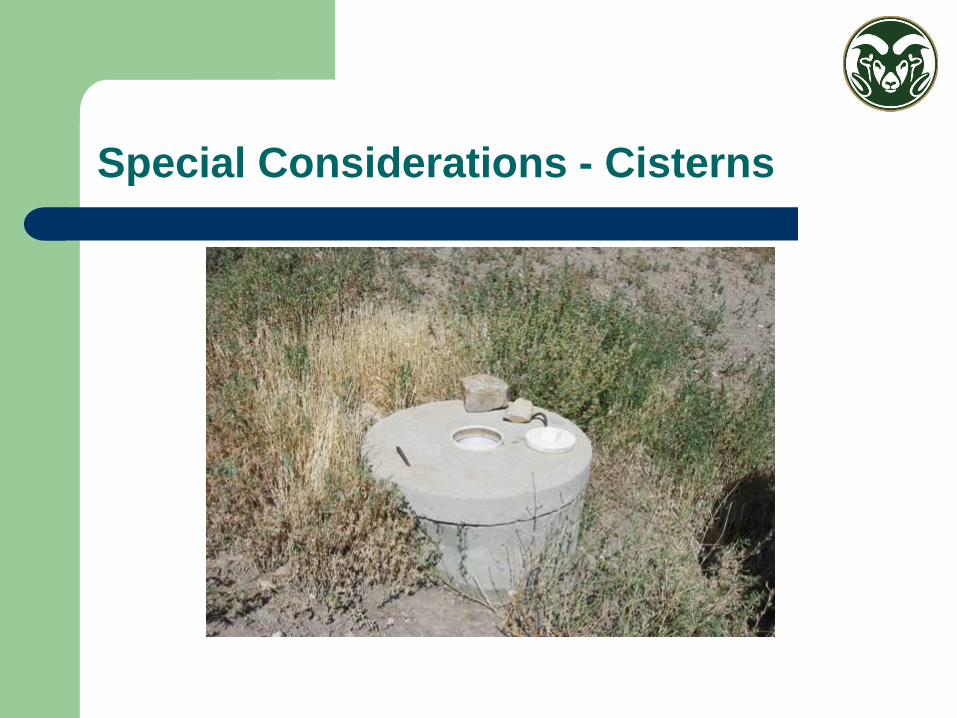
Special Considerations - Cisterns

Existing Wells – special problem, pits
If have pit, watch for ANYTHING stored in pit that could contaminate well.

Potential Problems for Existing Wells
Location
Above ground vs. in pit
Aspect of land – slope & drainage
Potential sources of contamination
Access
Materials
Age and condition
PVC vs Steel
Cap and seal
Condition
Cracks
Settling
Last service date

New wells
Location, location,
location
Where to drill:
– Water present
– Power source & close to
use
– Accessible for equipment
– Away from Potential
Sources of Contamination

Drilling a Well
Hire a licensed
driller
Obtain correct
permit
Get a copy of
the well log –
keep on record
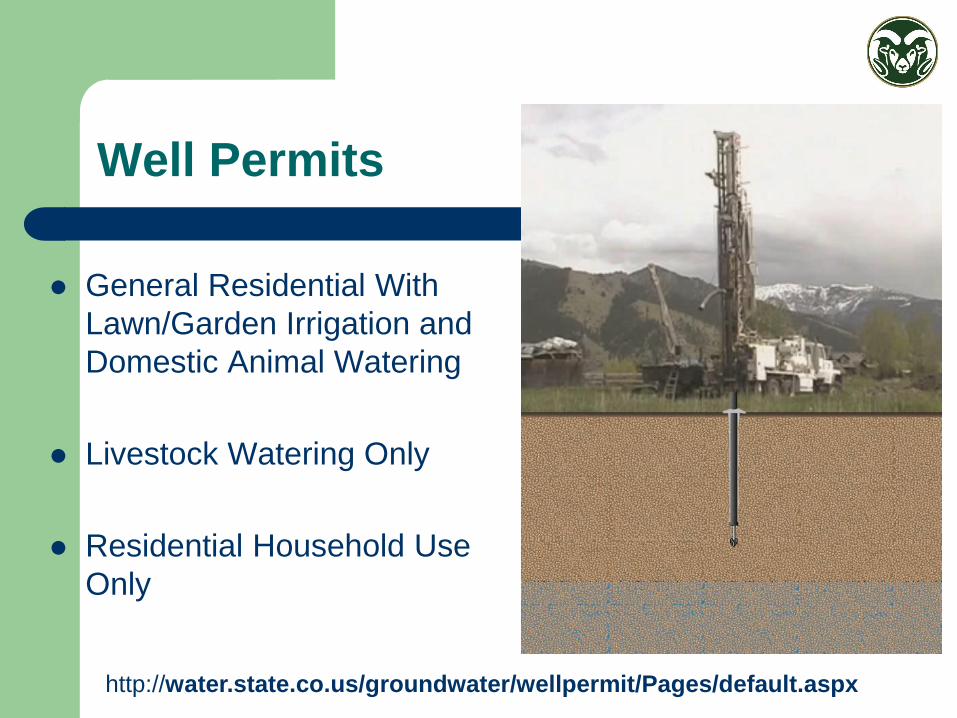
Well Permits
General Residential With
Lawn/Garden Irrigation and
Domestic Animal Watering
Livestock Watering Only
Residential Household Use
Only
http://water.state.co.us/groundwater/wellpermit/Pages/default.aspx

Well Construction and Test Report

Pump Installation And Test Report

Potential Sources of Contamination

Potential Sources of Contamination
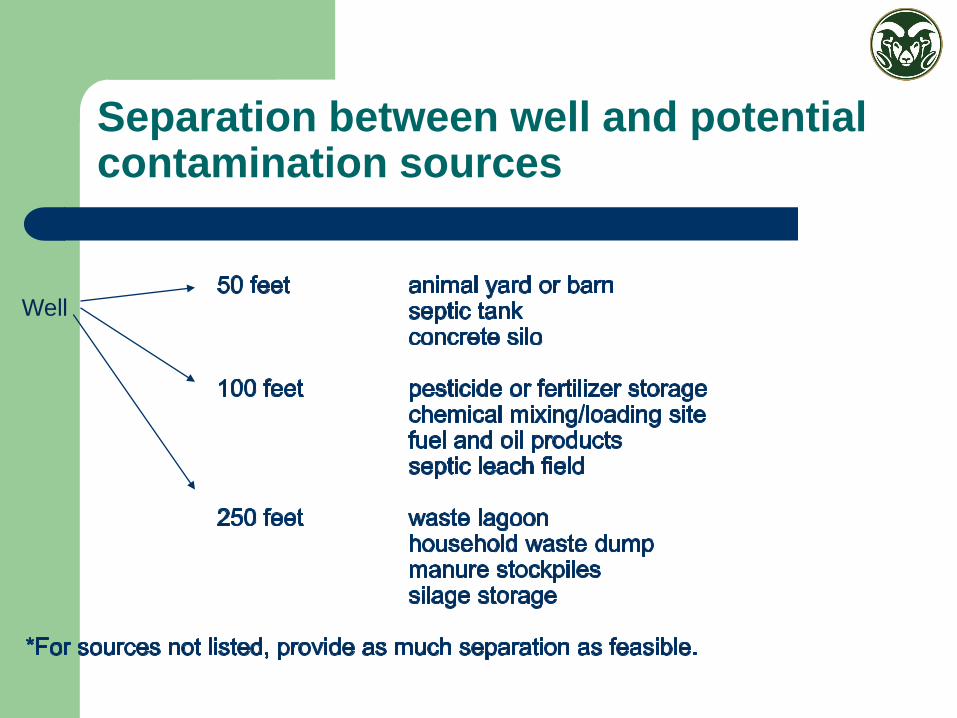
Separation between well and potential contamination sources
Well

UNCE, Reno, NV
Corral/livestock >50’ Separation

Diagnosing Water Quality Problems
How old is the well?
How deep is the well?
Have neighbors had problems?
Do you have a recent water test?
Is the well located near:
– Underground storage tanks
– Feedlots
– Dumps
– Leach fields – septic system
– Abandoned wells
– Mines

Diagnosing Water Quality Problems
Symptoms: – Taste
– Odor
– Appearance
– Feel
Many problems have none of these symptoms!

Diagnosing problems
Starts with a GOOD water sample
ALL new, prospective, and current well owners should sample well water to get baseline quality!! – And keep records!!!
Complete or routine – pH, TDS, hardness, sulfate, nitrate, chloride, sodium, calcium, magnesium, metals, etc.
Bacteria – total coliform, fecal coliform, and/or E. coli.
Sample location depends: – What do you want to know?
– Water treatment equipment
– Site conditions
– Nature of the problem
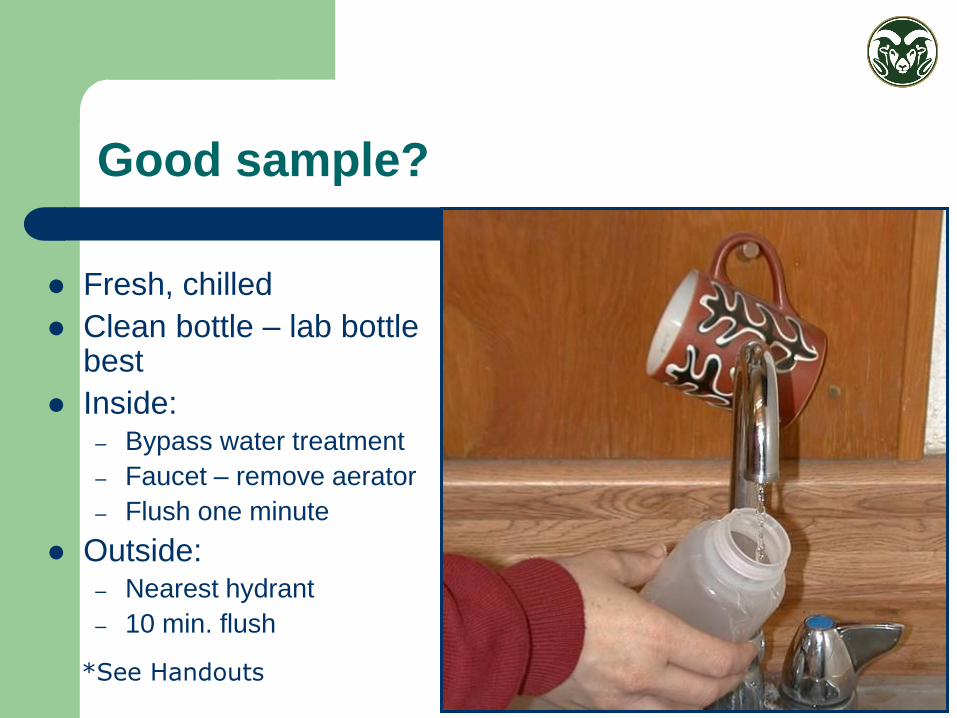
Good sample?
Fresh, chilled
Clean bottle – lab bottle best
Inside: – Bypass water treatment
– Faucet – remove aerator
– Flush one minute
Outside: – Nearest hydrant
– 10 min. flush
*See Handouts

Sample interval
Annual – Bacteria + nitrate
Five to ten – Complete – pH, TDS, hardness, sulfate, sodium, chloride,
metals
Sample interval depends upon: – Well construction
– Well depth
– Previous problems
– Location – proximity to contaminants
Keep records!!!

Understanding Water Test Reports
http://region8water.colostate.edu/

Treating Water Quality Problems
Start with independent lab test
Talk with the lab
Make sure treatment fits problem
Choose a reputable dealer

Treatment Categories
Physical
– Filtration
– Reverse Osmosis
– Activated carbon
Chemical
– Chlorination
– Ion Exchange (softening)
Point of Entry
Point of Use
Both

Septic Systems in Colorado
There are over 600,000 Septic Systems in Colorado
¼ of wastewater in Colorado treated by septic systems
10-20% of systems fail each year (nationally)
Septic systems are regulated and permitted by the local/county health department

Septic Systems – Main Points
A properly designed and maintained septic system is a safe, reliable wastewater treatment system
Septic systems are NOT static, self maintaining units – they require owner action
Like a well, an individual wastewater disposal system is the owner’s responsibility

Basic components
Cleanout
Septic
tank
Leach field
Junction box House
Inspection ports

Septic Tank

Single Chamber and Baffled Tanks

Septic Tank Effluent Filter

Drainfield

Designs
Conventional systems may not always be appropriate
Thin topsoil or shallow ground water or bedrock may necessitate an engineered system: – (recirculating) sand filters
– low-dose drip irrigation
– mounded systems
– aerobic systems
– trickling filter systems

Leach lines with Gravelless Chambers

Pressure Dosed Systems

Existing Systems – Questions to Ask
Location? – Map or permit
– Cleanout, tank, or vegetation signals
– Proximity to well?
Age?
Type – conventional or advanced treatment
Capacity – is it correct for size of home?
Service/maintenance records?

Septic Effects on Drinking Water
Proper design, installation, location, and
maintenance of septic and well systems should
result in healthy systems for the lifetime of each

Well Contamination Risk
If the wastewater treatment system is not designed or installed properly, or if the tank is not regularly pumped, the system will malfunction
Well proximity to septic system increases significant risk for contamination

Taking Care of yOur Groundwater: A homeowner’s guide to well and septic systems

Preview - DVD

Downloadable at:
www.region8water.org
Click on ‘highlighted projects’
Montana State University Extension:
http://www.msuextension.org/publications.asp
Obtaining Copies

Causes of Septic Failure and How to Avoid It
Common causes of failure: – improper design, installation, or placement
– not pumping the septic tank solids
System overload – space out your laundry loads
during the week
– practice water conservation
Keep solids and toxins out of your tank

Septic Failure (cont.)
Leach field compaction – do not build or drive
on top of your leach field
Placement in poor drainage area
Pouring kitchen grease into drains
Flushing of inorganic solids such as cigarette
butts, sanitary napkins, or other trash
Tree roots clogging the leach field and/or pipes

Summary Points
Private/septic well owner has
responsibility of clean drinking water
and waste disposal
Maintenance of both systems critical
to your family’s health
Best to understand what this means
before you purchase the property


