I was tasked with creating an animation of my choice in NewTek Lightwave, the animation had to be at least a minute long and it had to have some decent detail in it. I decided on creating an animation with a vehicle, specifically, with a spacecraft. I went onto TurboSquid and had a look at some good models that I could go off on and create my animation with. This one was the one that caught my eye and I decided to use it. While looking for a model there were of course certain criteria that had to be met. I needed a model that is detailed, but not detailed a lot so that there wouldn’t be that many polygons which could extend the rendering times greatly. I also had to look for elements within the model that would be used in the animation itself, the model I chose, in a perfect world, had to have landing gears as well as a set of weapons. Unforunately this one didn’t have those, but it had a low polygon count as well as the general shape and look that I wanted, so I went with it anyway.
Transcript
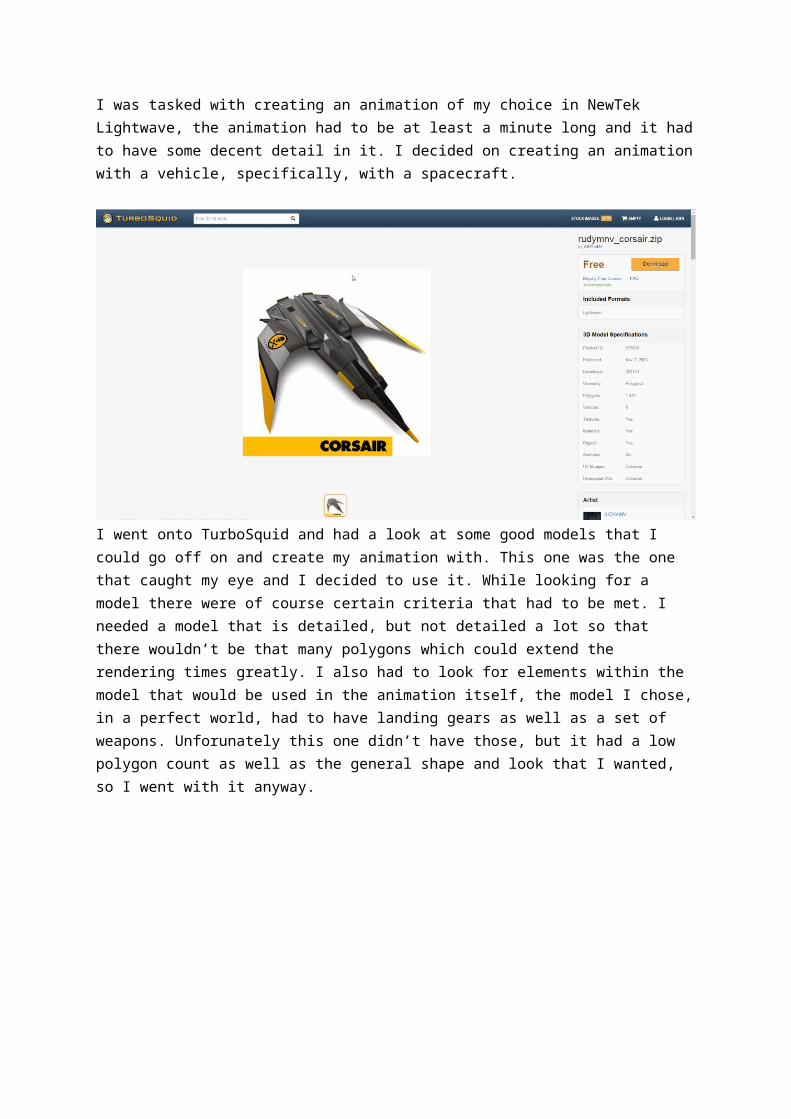
I was tasked with creating an animation of my choice in NewTek Lightwave, the animation had to be at least a minute long and it had to have some decent detail in it. I decided on creating an animation with a vehicle, specifically, with a spacecraft.
I went onto TurboSquid and had a look at some good models that I could go off on and create my animation with. This one was the one that caught my eye and I decided to use it. While looking for a model there were of course certain criteria that had to be met. I needed a model that is detailed, but not detailed a lot so that there wouldn’t be that many polygons which could extend the rendering times greatly. I also had to look for elements within the model that would be used in the animation itself, the model I chose, in a perfect world, had to have landing gears as well as a set of weapons. Unforunately this one didn’t have those, but it had a low polygon count as well as the general shape and look that I wanted, so I went with it anyway.
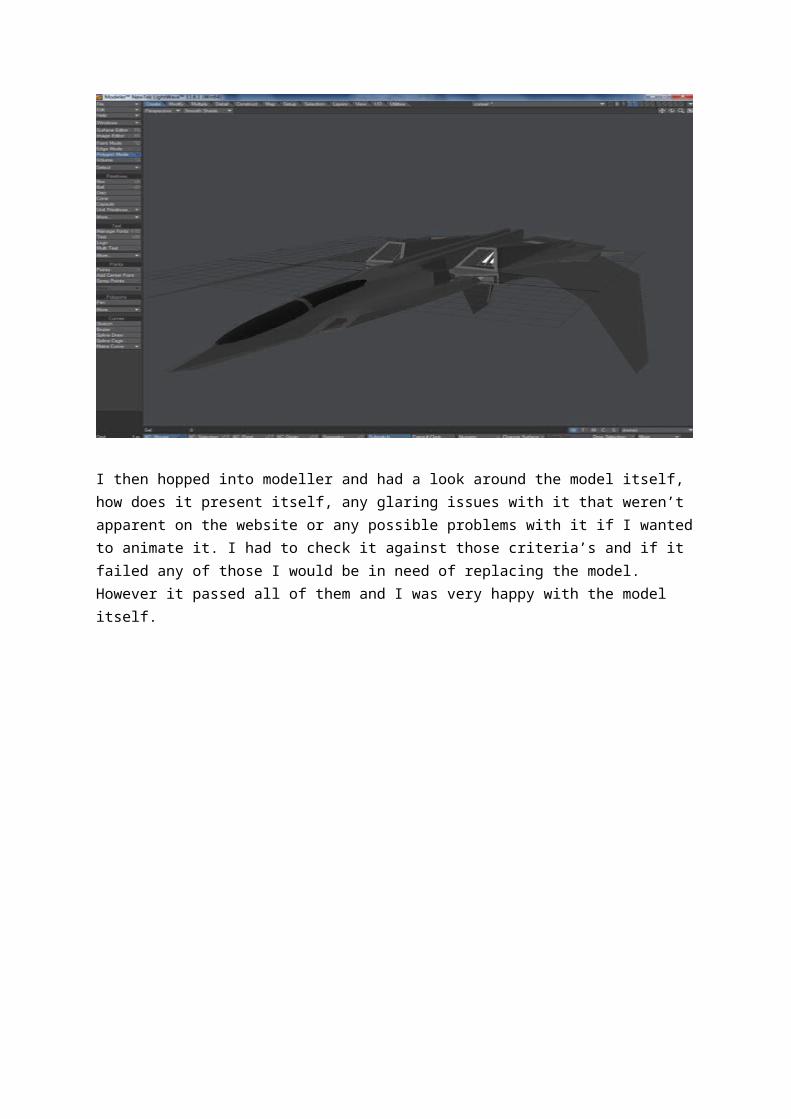
I then hopped into modeller and had a look around the model itself, how does it present itself, any glaring issues with it that weren’t apparent on the website or any possible problems with it if I wanted to animate it. I had to check it against those criteria’s and if it failed any of those I would be in need of replacing the model. However it passed all of them and I was very happy with the model itself.
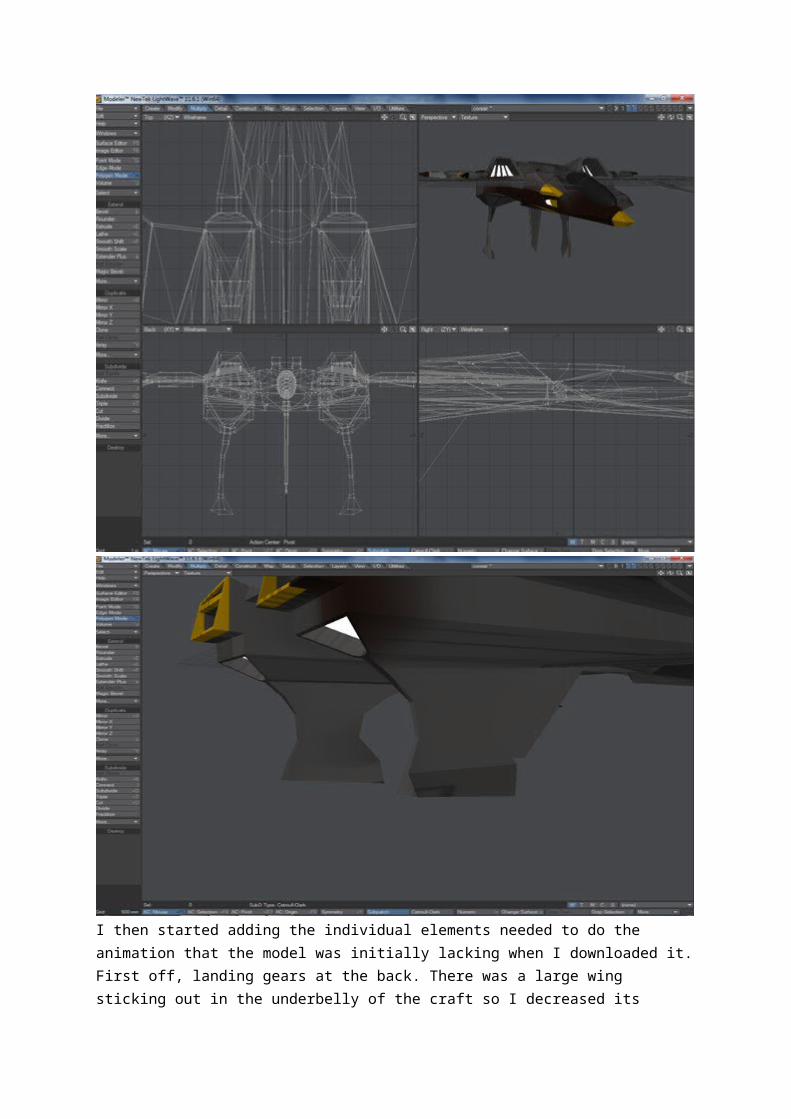
I then started adding the individual elements needed to do the animation that the model was initially lacking when I downloaded it. First off, landing gears at the back. There was a large wing sticking out in the underbelly of the craft so I decreased its height a little bit so that the landing gears wouldn’t be excessively oversized. I then extended them using the bevel and extrude tools, as well as edited their size later on with resize tools.
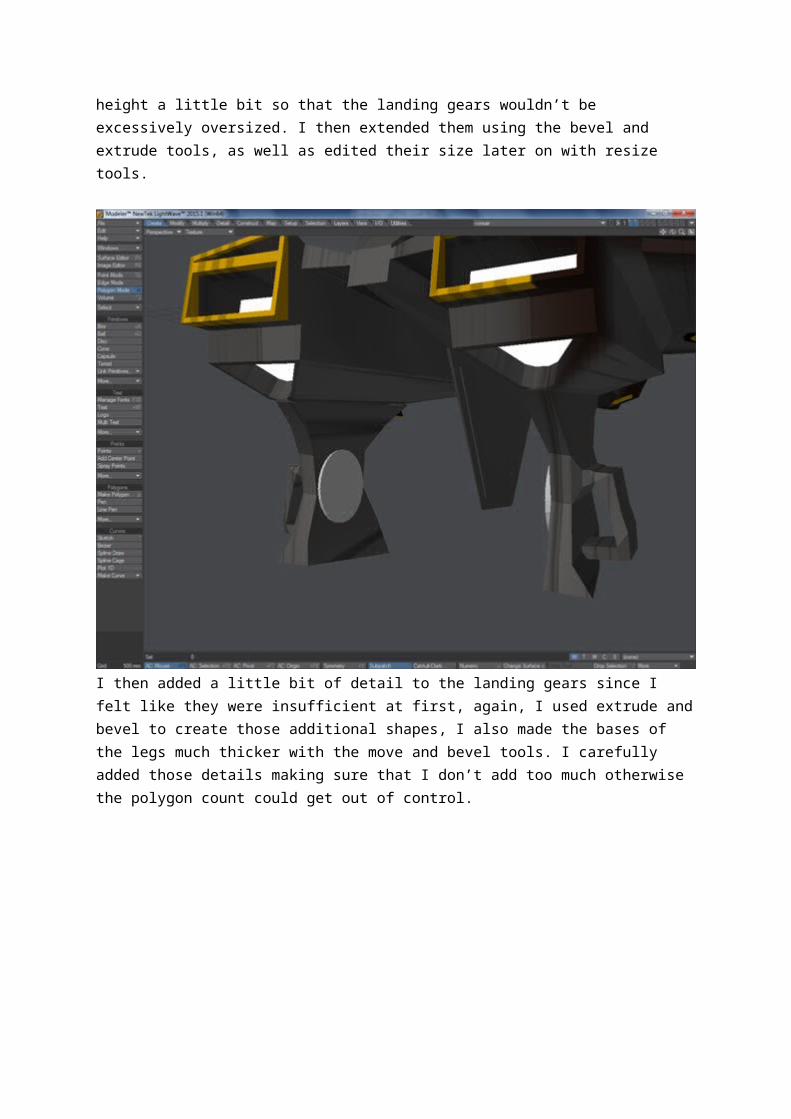
I then added a little bit of detail to the landing gears since I felt like they were insufficient at first, again, I used extrude and bevel to create those additional shapes, I also made the bases of the legs much thicker with the move and bevel tools. I carefully added those details making sure that I don’t add too much otherwise the polygon count could get out of control.
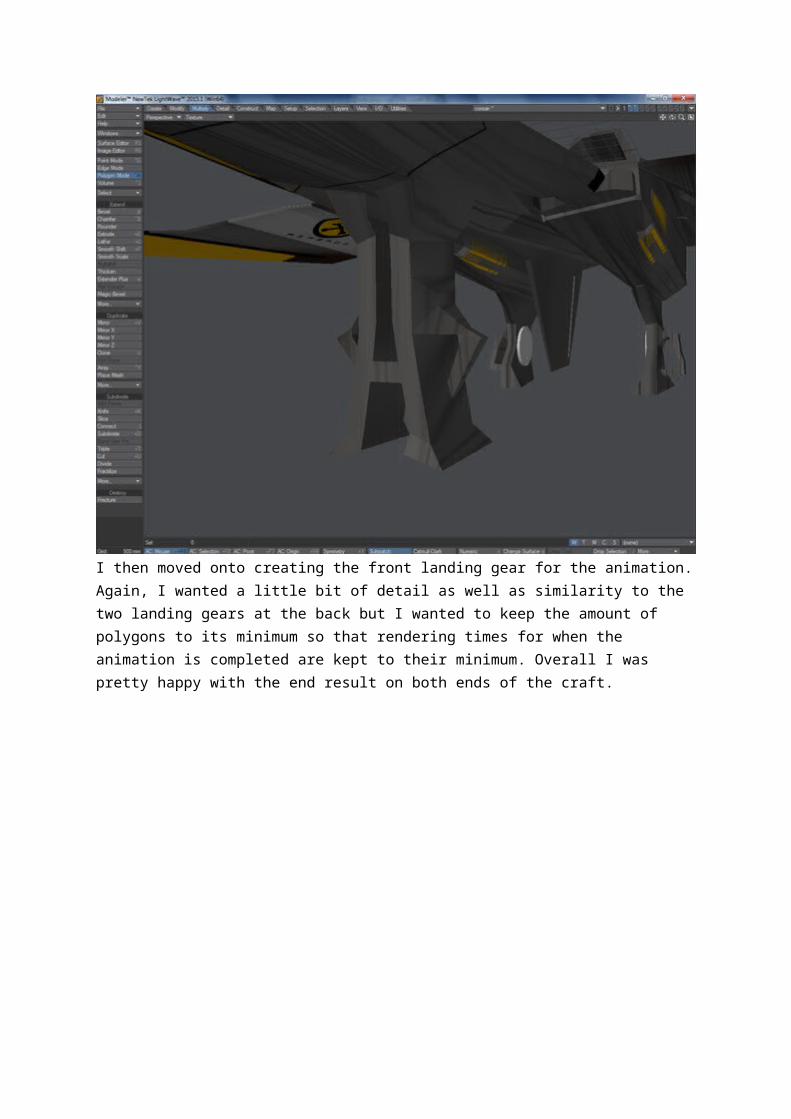
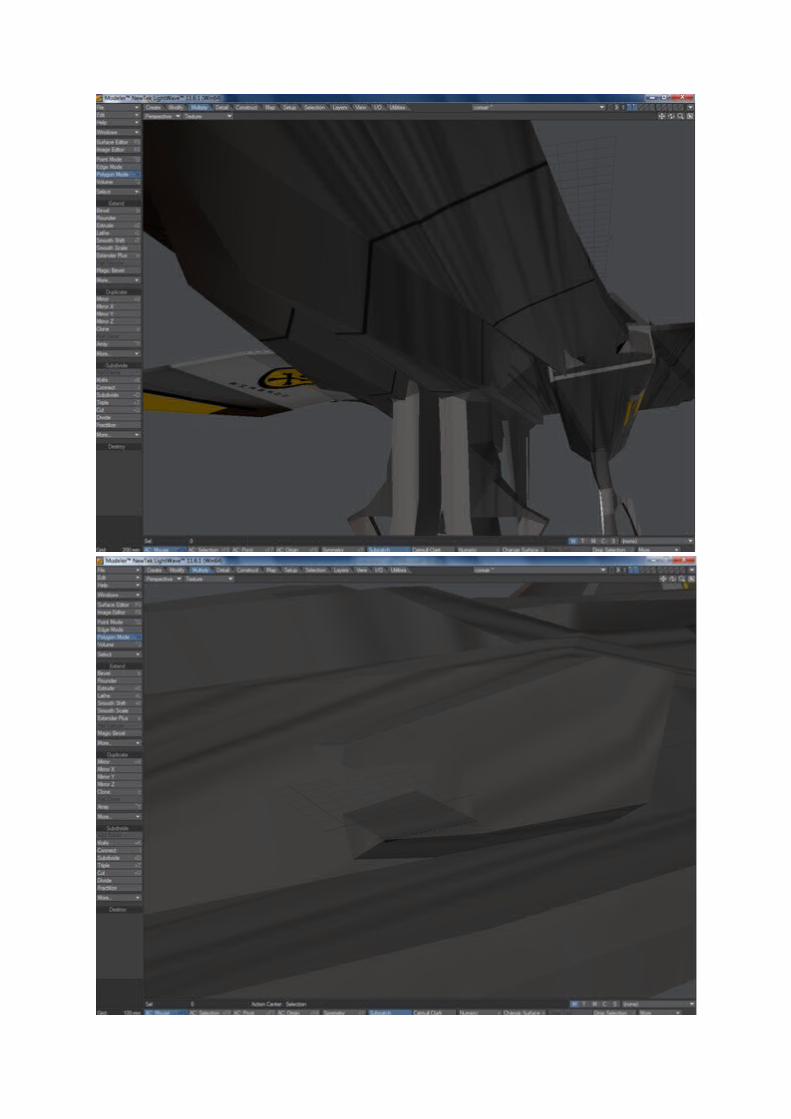
I then moved onto creating the front landing gear for the animation. Again, I wanted a little bit of detail as well as similarity to the two landing gears at the back but I wanted to keep the amount of polygons to its minimum so that rendering times for when the animation is completed are kept to their minimum. Overall I was pretty happy with the end result on both ends of the craft.
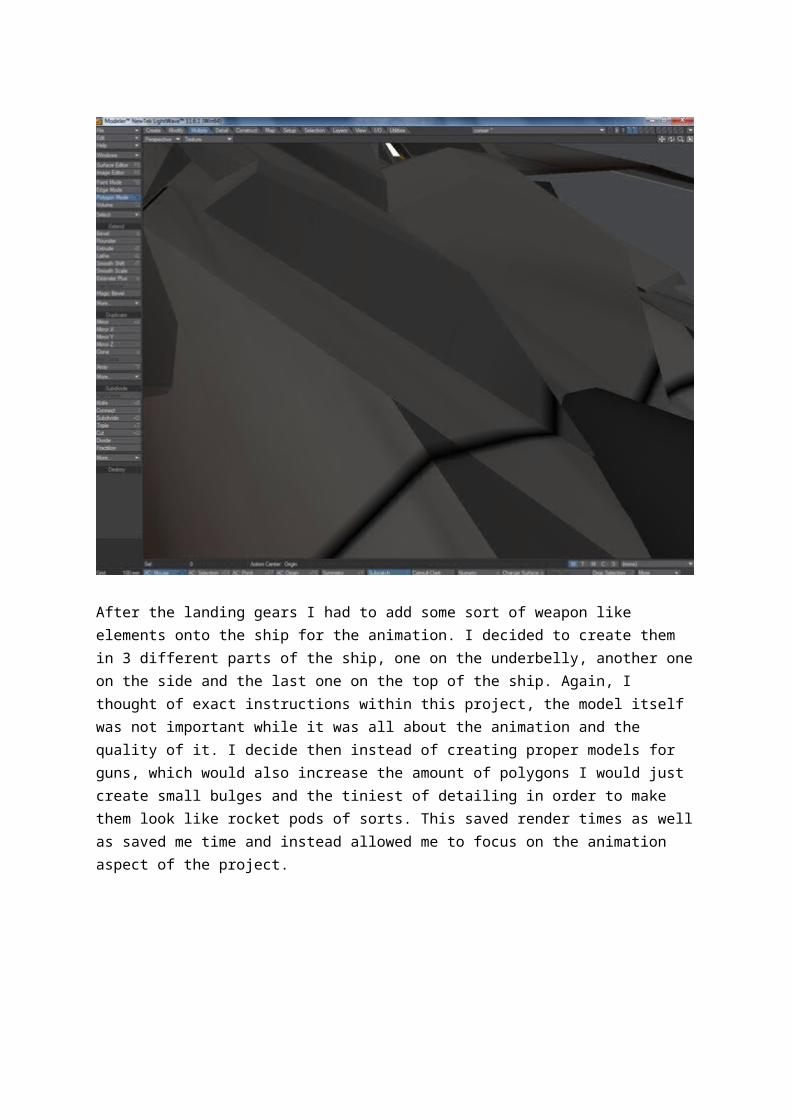
After the landing gears I had to add some sort of weapon like elements onto the ship for the animation. I decided to create them in 3 different parts of the ship, one on the underbelly, another one on the side and the last one on the top of the ship. Again, I thought of exact instructions within this project, the model itself was not important while it was all about the animation and the quality of it. I decide then instead of creating proper models for guns, which would also increase the amount of polygons I would just create small bulges and the tiniest of detailing in order to make them look like rocket pods of sorts. This saved render times as well as saved me time and instead allowed me to focus on the animation aspect of the project.
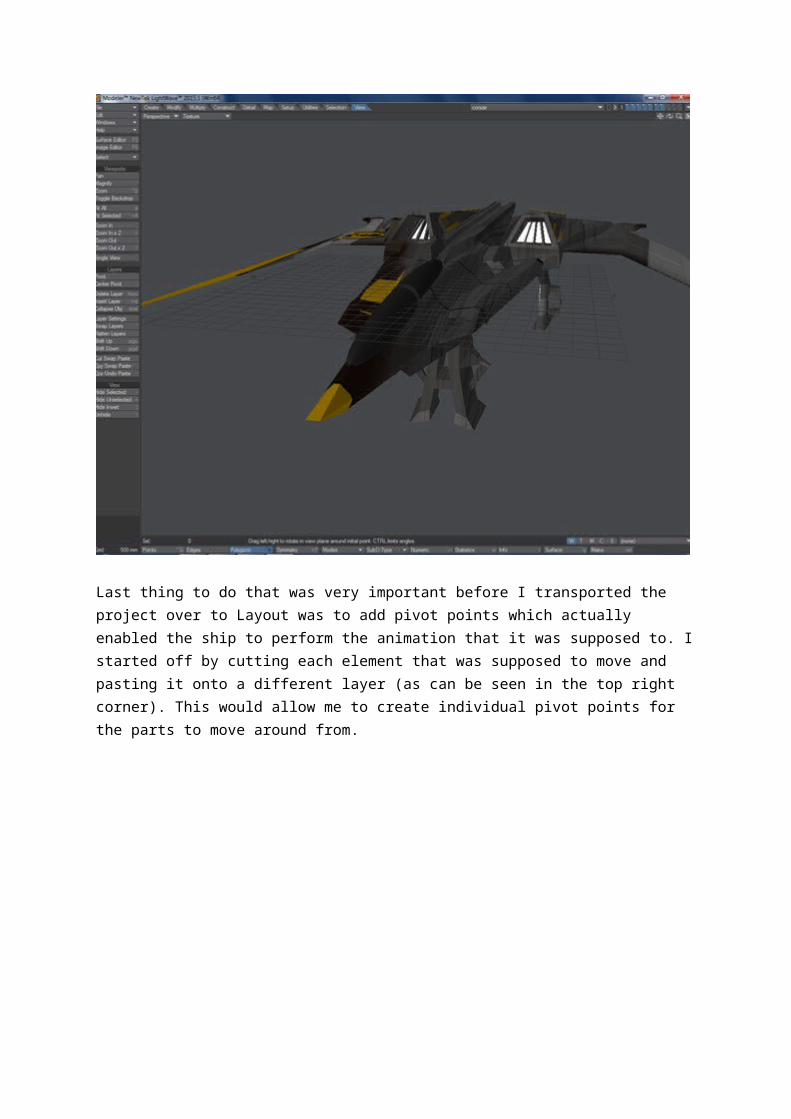
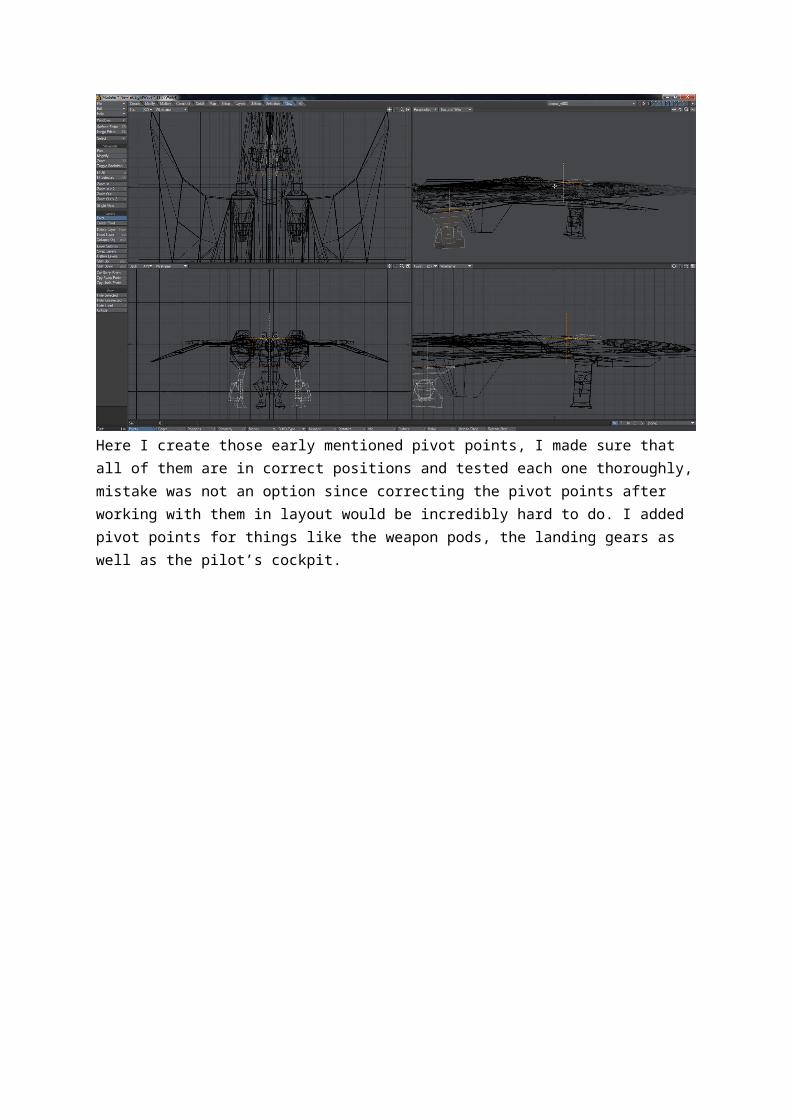
Last thing to do that was very important before I transported the project over to Layout was to add pivot points which actually enabled the ship to perform the animation that it was supposed to. I started off by cutting each element that was supposed to move and pasting it onto a different layer (as can be seen in the top right corner). This would allow me to create individual pivot points for the parts to move around from.
Here I create those early mentioned pivot points, I made sure that all of them are in correct positions and tested each one thoroughly, mistake was not an option since correcting the pivot points after working with them in layout would be incredibly hard to do. I added pivot points for things like the weapon pods, the landing gears as well as the pilot’s cockpit.
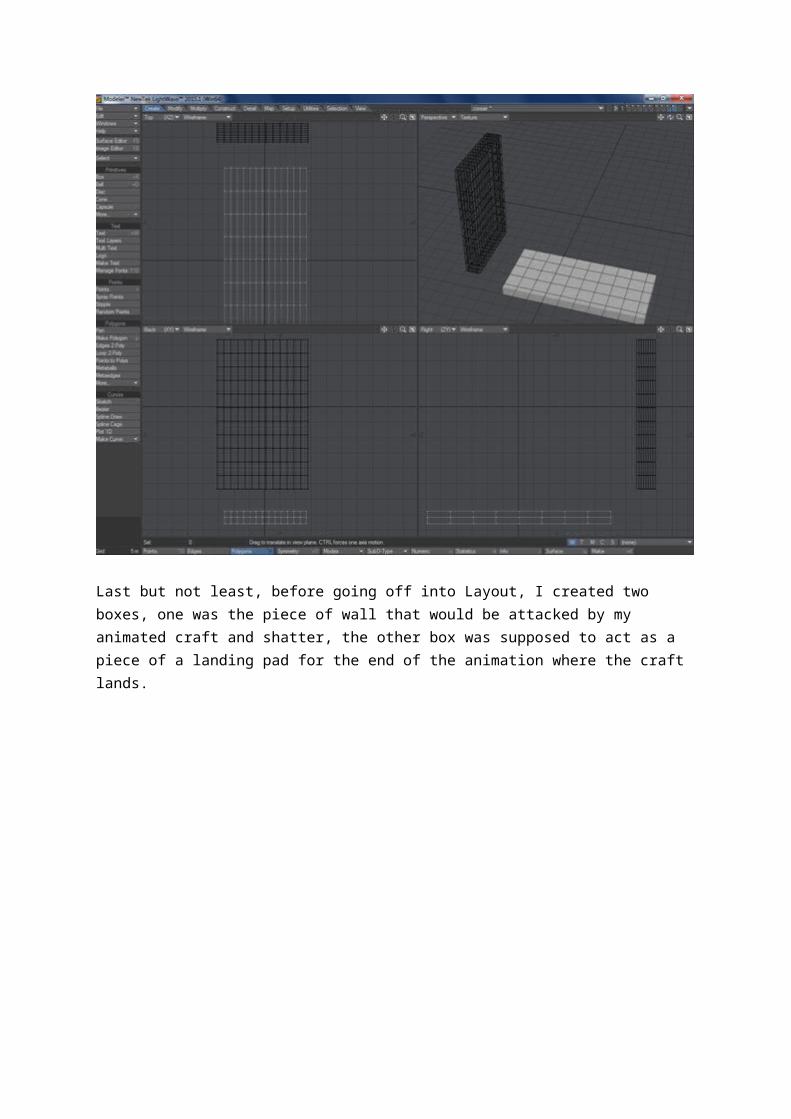
Last but not least, before going off into Layout, I created two boxes, one was the piece of wall that would be attacked by my animated craft and shatter, the other box was supposed to act as a piece of a landing pad for the end of the animation where the craft lands.
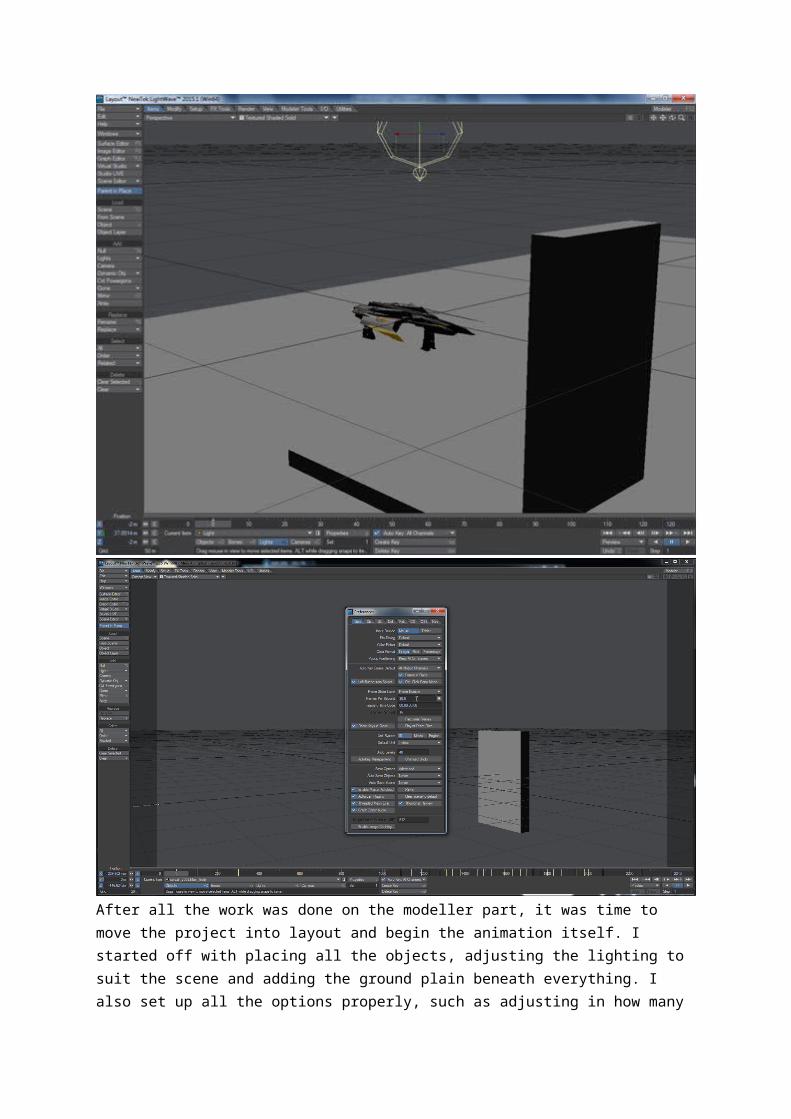
After all the work was done on the modeller part, it was time to move the project into layout and begin the animation itself. I started off with placing all the objects, adjusting the lighting to suit the
scene and adding the ground plain beneath everything. I also set up all the options properly, such as adjusting in how many frames per second the animation will be going at as well as the exact resolution that it’s going to go off from.
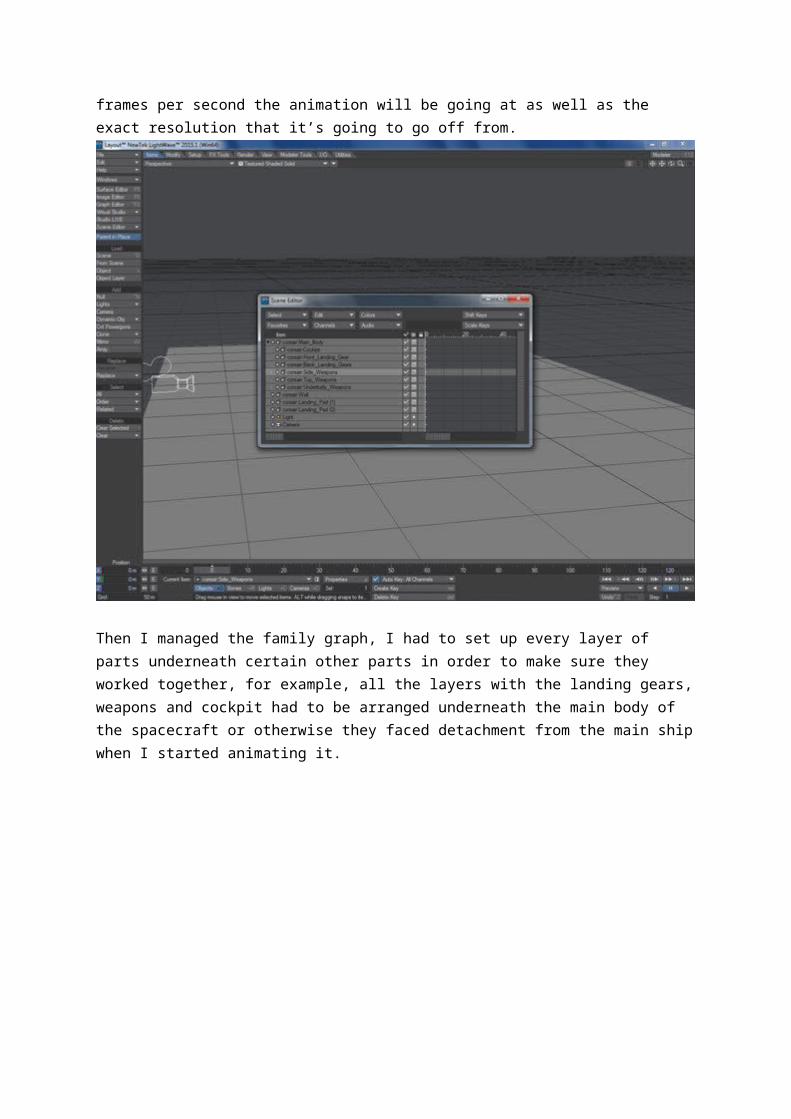
Then I managed the family graph, I had to set up every layer of parts underneath certain other parts in order to make sure they worked together, for example, all the layers with the landing gears, weapons and cockpit had to be arranged underneath the main body of the spacecraft or otherwise they faced detachment from the main ship when I started animating it.
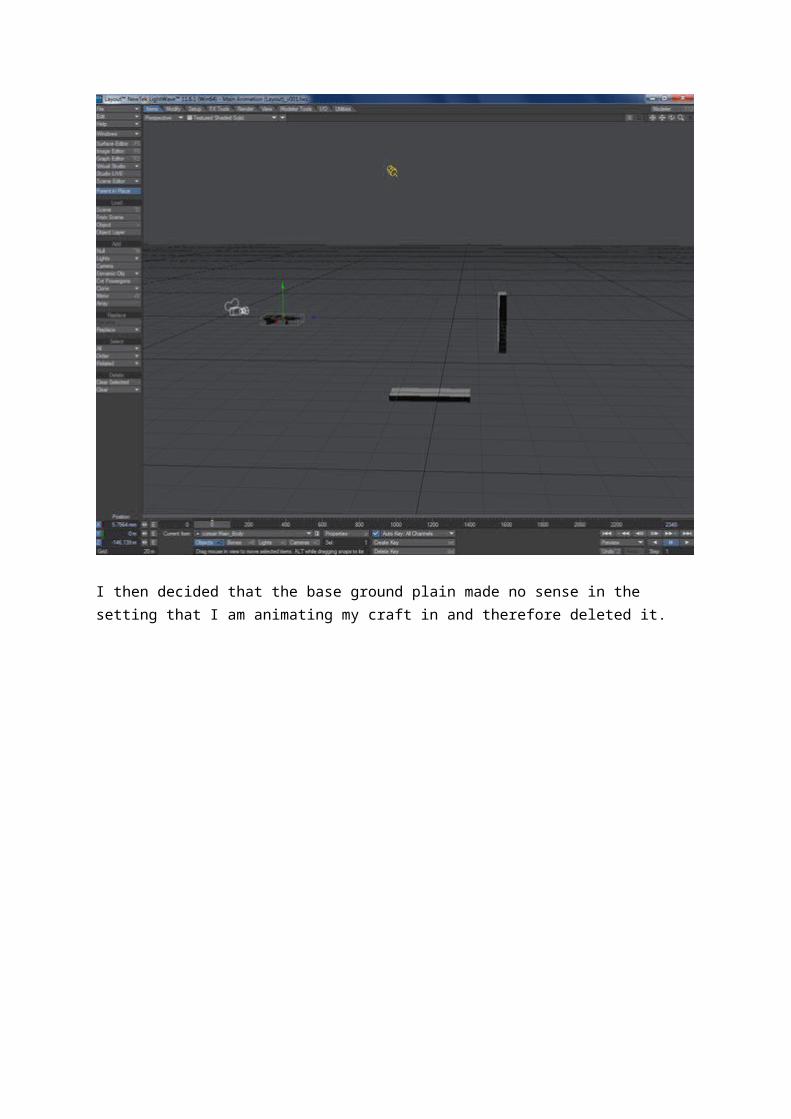
I then decided that the base ground plain made no sense in the setting that I am animating my craft in and therefore deleted it.
I then had a slight problem with the wall that was supposed to be destroyed, it seemeed that the origin point of the object was calculated falsely and thus I had to delete it and create a new one on its place, this one work without an issue with everything working okay.
This is a screenshot showing the settings for the new wall and how it supposed to fall apart, it is set as a “parts” body and is specifically ordered to only fracture on the last key frame, 610, at which point the ball hits the wall, this therefore looks like it shatters from the impact of the ball.
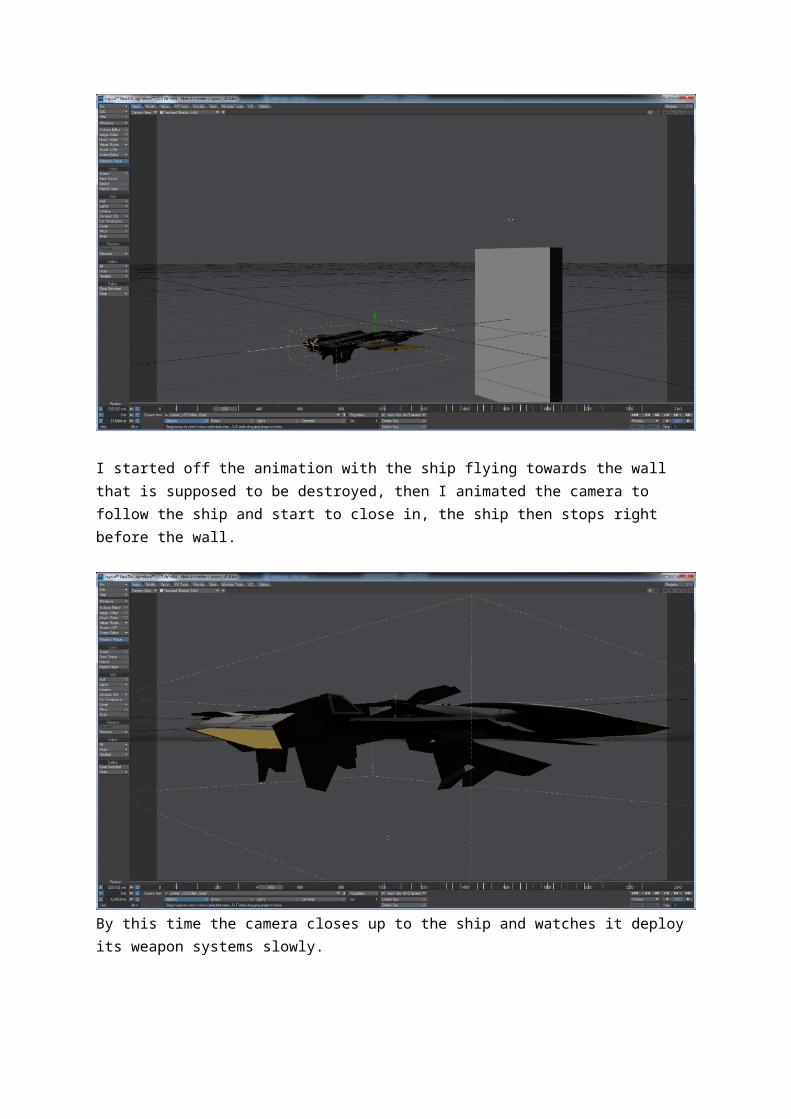
I started off the animation with the ship flying towards the wall that is supposed to be destroyed,
then I animated the camera to follow the ship and start to close in, the ship then stops right before the wall.
By this time the camera closes up to the ship and watches it deploy its weapon systems slowly.
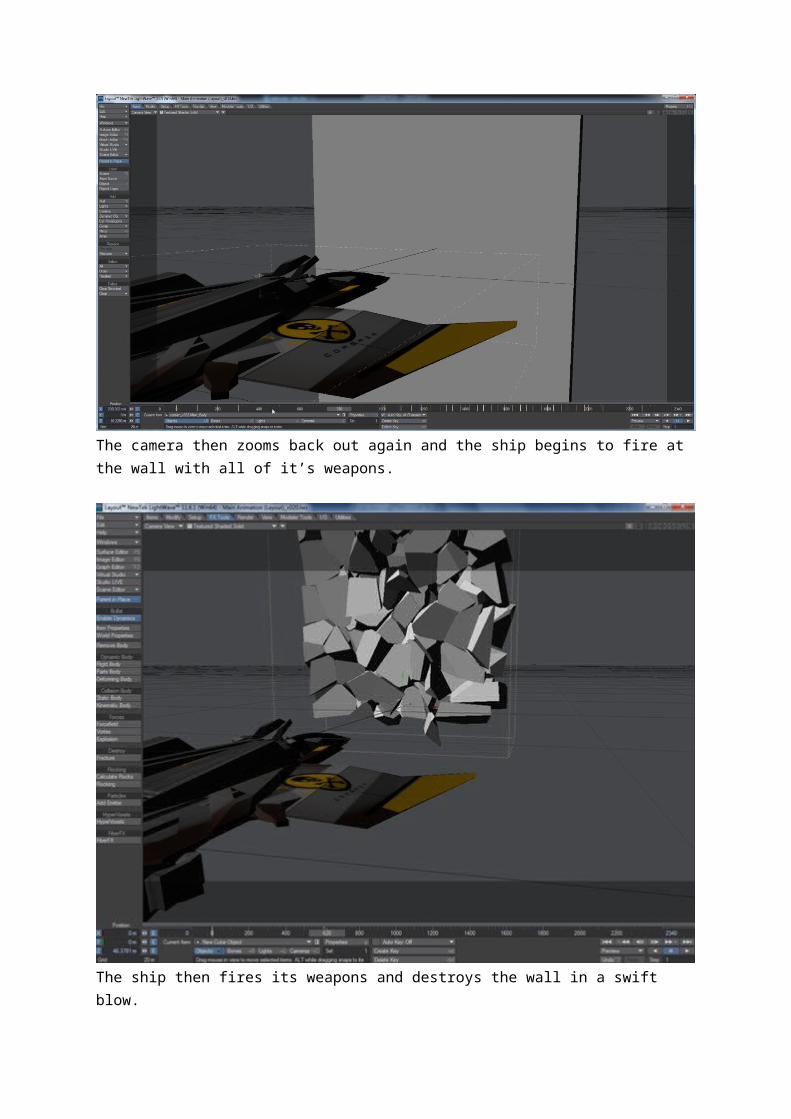
The camera then zooms back out again and the ship begins to fire at the wall with all of it’s weapons.
The ship then fires its weapons and destroys the wall in a swift blow.
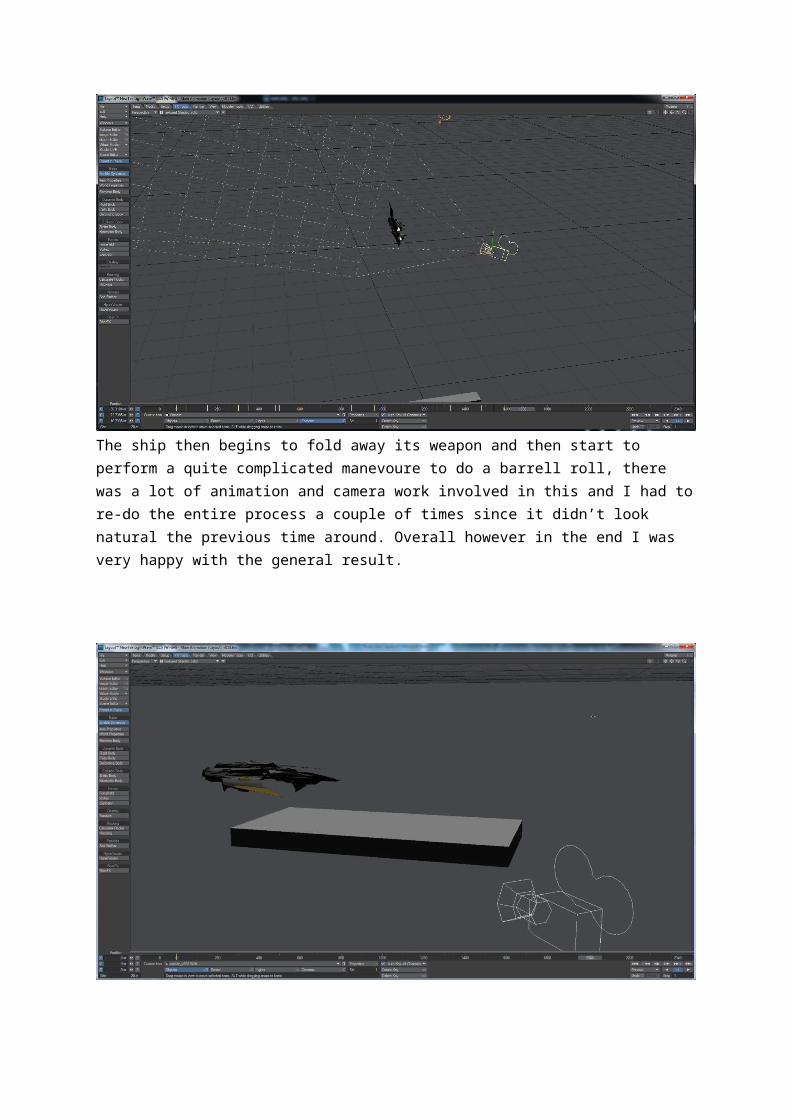
The ship then begins to fold away its weapon and then start to perform a quite complicated manevoure to do a barrell roll, there was a lot of animation and camera work involved in this and I had to re-do the entire process a couple of times since it didn’t look natural the previous time around. Overall however in the end I was very happy with the general result.
Lastly, the ship landed on the landing pad after the menvoure, deploying it’s landing gear, with the camera zoomed in on the underbelly on the craft and then zooming out to reveal a perspective shot of the entire spacecraft as the cockpit opened.
Here is a graph showing the movements that were animated, overall I am quite pleased with the results and I think that the animation is effective and well done. It took some time to make, as well as some trials and errors especially with the camera work but I think it was worth it in the end.
Overall I am quite happy with how the production for this project went, I feel like I’ve learned a lot and applied that knowledge as I went. I am also very well pleased with how the general animation came out, how it looks and how it feels.