Abstract Digital photography is a constantly evolving medium that can be used in daily practice for a number of applications, including documentation and patient education. There is no “mystery” to taking quality images when simple rules are followed. The three most important steps in successful dental photography are selecting the right equipment, selecting the right settings, and improving basic photographic set-ups. Following these rules provides the ability to take photographs at a high level of quality on a daily basis. This article highlights some of these points to motivate readers to start taking pictures. A PICTURE is Worth... A Three-Step Process for Taking Better Photographs Alessandro Devigus, Dr.Med.Dent. 82 Spring 2012 • Volume 28 • Number 1
Transcript
Abstract
Digital photography is a constantly evolving medium
that can be used in daily practice for a number of
applications, including documentation and patient
education. There is no “mystery” to taking quality
images when simple rules are followed. The three
most important steps in successful dental photography
are selecting the right equipment, selecting the right
settings, and improving basic photographic set-ups.
Following these rules provides the ability to take
photographs at a high level of quality on a daily basis.
This article highlights some of these points to motivate
readers to start taking pictures.
A Picture is Worth...A Three-Step Process for Taking Better Photographs
Alessandro Devigus, Dr.Med.Dent.
82 Spring 2012 • Volume 28 • Number 1
A Picture is Worth...
Devigus
83 Journal of Cosmetic Dentistry
84 Spring 2012 • Volume 28 • Number 1
introductionImagine that you have just completed a clinical case,and you and the patient are both very pleased withthe esthetic outcome. The restoration looks beautiful.Suddenly,youthink:“Whydidn’tItakepicturesbeforeIstarted?Thiswouldhavebeenanicecasetopresentorpublish.”Unfortunately,thereisnowaytoturnbacktheclockandobtaintheseimages.
Taking pictures is still not considered a standardprocedure in daily practice. Yes, we do take picturesofextensivecases forourpublications,presentations,lectures,andlegalmatters.1Butthisisnotenough.
Furthermore, the author does not see manypublishedarticlesinwhichaphotographicprotocolhasbeenestablishedor is strictly followed.2Certainly, thenumberofarticlesonclinicalphotographyhasgrownsince digital photography became affordable and,therefore, has become more popular.3,4 However, nouniform procedures for producing high-quality dentalphotographscurrentlyexistforauthorsandpublishers.
Establishing effective and consistent methods for capturing images is critical to faithfully recording and conveying clinical results.
85 Journal of Cosmetic Dentistry
Devigus
Establishing effective and consistent methods forcapturing images is critical to faithfully recording andconveyingclinicalresults.5,6Varyinganglesofviewanddifferentdegreesofcroppingcannotonlymakeitdiffi-culttocomparebefore-and-afterimages,butitmayalsohaveaneffectonthephotograph’saccuracy.
Theauthorhasreviewedmanyarticlessubmittedforpublication to The European Journal of Esthetic Den-tistry.Theyrangeinqualityfromverypoortoexcellent,especiallyregardingtheimages.
Itseemstobeachallengetocombineclinicalskillswithanappropriate levelofphotographicdocumenta-tion. Nevertheless, the author encourages readers totakemoreimages.Withdigitalphotography,additionalimagesdonotcreateadditionalcost,butthe informa-tiontheyprovideispriceless.
choose the correct AngleThe most common error in dental photography ischoosing an incorrect angle of view that leads todis-tortedandunnatural-lookingimages.
Toavoidorcorrectthismistake,trytopositionthepatient inthechairtogetastraighthorizontalview.Ifnecessary,letthepatientmovehisorherheadtolookatyou.Ifyoutakeaphotoofasmile,aimatthecenterof thepapillaeof thecentral incisors.Thiscreates theappearancethatyouhavetakenan“upsidedown”pho-tograph,whichwillputtheimageonahorizontalplane.Inaddition, it is importantnot tochangetheangleofviewwhiledocumentingaclinicalcase.Keepthesameangle throughout the shooting (Fig 1). This small cor-rectionwillmakeeventhesimplestofcaseslookmuchmoreprofessional.
Before starting documentation, think about thepossibleanglesofviewavailable.Askyourselfifthereis a constant angle of view throughout the wholephotosession.
Three-Step Process
Taking great images is part of a three-step process:
• choosing the right equipment
• selecting the right settings
• improving the photographic set-up.
consider taking pictures as a standard procedure in your daily practice.
Anothercommonmistakeindentalphotographyistak-ingimagesthatareoutoffocus.Whentakingintraoralimages,youshoulduseamacrolens,berelativelyclosetothesubject,7andworkwithasmallaperture(higherf-stopnumber=smallaperture).Thisleadstoadeeperdepthoffieldinthisphotographicsetting.Whenwork-ingwitha close focusingdistance, try focusingat theoptimal plane in the canine and premolar area of thepatient’smouthtoachieveabetterimageresult.
Gettingclosertothepatienthasanotheradvantage.Most cameras showonly95%ofwhatwillbeshownontheviewfinder.Movingcloseralsocropsunwantedstructures and tissues and makes the images appearevenbetterwithouttheneedtomanuallycroplater.
Avoid using autofocus when taking intraoral pic-tures, which wastes precious depth of field in frontof the patient’s mouth. Focus on the front and moveslightlyclosertothelevelofthecaninesorpremolars.Thispreventsblurring(Fig 5).Almostall theteethwillbeinfocusifyoufollowthisrule. Figure 4: Considertakingaphotographfromanevenhigher
Two small and efficient tools that can help to obtainconsistently great portrait images are light diffusersand reflectors. By adding a light diffuser to the flash,youcreateauniform,softilluminationofthepatient’sface.Additionally,usingareflector(silverwhenthepa-tientsaretanandgoldwhentheylookalittlepale)canachievebetterlightflowandilluminationofthepatient,which eliminates “dark shadows” below the eyes. Agoldreflectorcanalsomakepatientslookhealthier.
Attach a small light diffuser cup on top of theflash.Thishelpsdiffusetheflash’slightsoastoavoiddirect light, which creates shadows and red eyes(Fig 6).
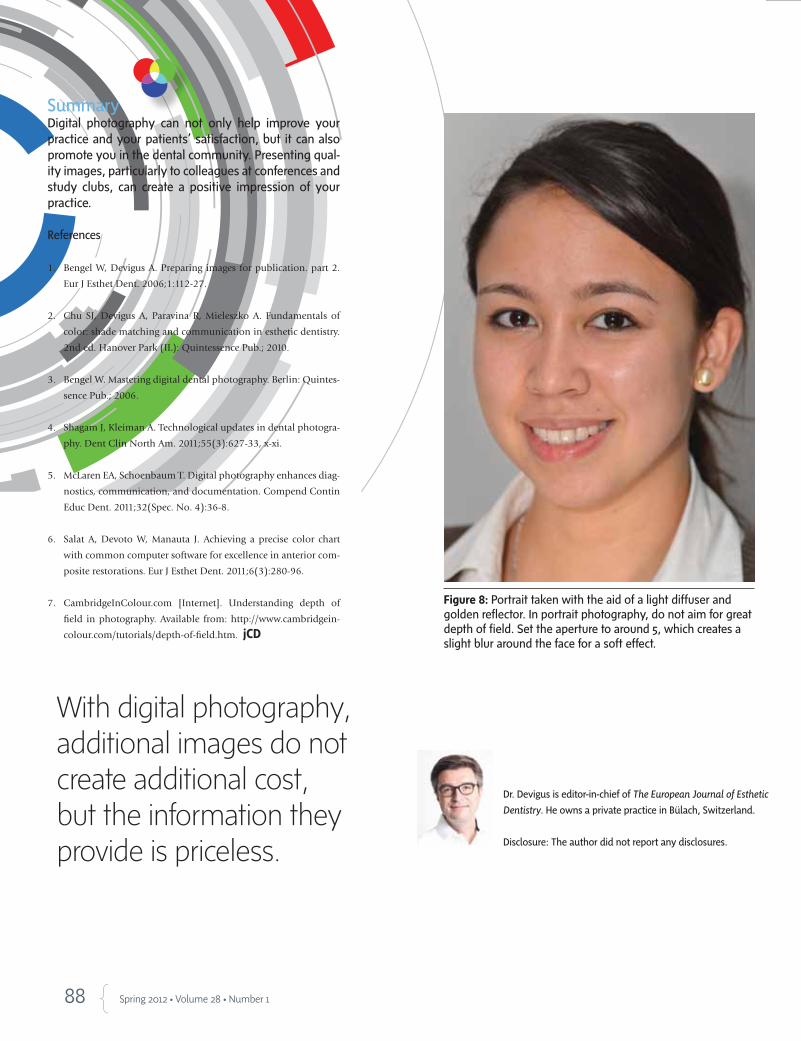
While continuing to use manual exposure mode,changetheaperturesettingtoaround5,whichcreatesaslightbluraroundtheface.Positionthepatientinfrontofawhiteorgraybackground(nottooclose,toavoidshadows)(Fig 8).
SummaryDigital photography can not only help improve yourpracticeandyourpatients’satisfaction,but itcanalsopromoteyouinthedentalcommunity.Presentingqual-ityimages,particularlytocolleaguesatconferencesandstudy clubs, can create a positive impression of yourpractice.