CZ30RIP11S CAMERA SECURITY SET NIGHT VISION Quick Start Guide EN Symbols: Recycling and disposal: The WEEE symbol (a) means that this product and baeries must be disposed separately from other household waste. When it reaches its end of life, take it to a designated waste collecon point in your area to guarantee a safe disposal or recycling. Protect the environment, human health and natural resources! Read the manual (b) before use and store it in a safe place for future use and maintenance. ELRO Europe | www.elro.eu Postbus 9607 - Box E800 1006 GC Amsterdam - The Netherlands ü GARANTUEE Visit www.elro.eu (a) (b) V3 Home is not a place, it’s a feeling General safety instrucons All warranty claims will be void in the event of damage or loss caused by failure to follow this operaon instrucons/quick start guide. We accept no liability for personal injury or damage to property caused by improper use or failure to observe the safety instrucons. In these cases, the warranty will lapse. For safety and authorisaon purposes, it is not permied to modify or convert the device. 1. Keep all parts out of reach of young children. 2. Do not install near other electronic equipment such as computers, TV, VCRs, as this can transmit interference. 3. Do not disassemble or open. 4. Do not spray water on the indoor unit. 5. Do not overload wall outlets or extension cords. 6. Do not drop or shock the system. 7. Unplug the power cord from the wall outlet when the system has not been operang for a long period of me is used. 8. Do not place an open flame (e.g. burning candles) on/near the system. 9. Do not place water-filled objects (e.g. vases) on/near the system. 10. Do not cover venlaon holes. 11. If supplied, keep baeries out of the reach of children. Baeries not swallow. If a cell or baery is swallowed, immediately contact a physician. Cauon, risk of explosion if Baery is replaced by an incorrect type. Dispose of used baeries according to the instrucons Maintenance The units are maintenance-free, so never open them. The guarantee is void when the unit is opened. Clean the outside of the unit only with a so, dry cloth or brush. Prior to cleaning, the units must be removed from all sources of voltage. Do not use carboxylic cleaning agents, petrol, alcohol or the like. These will damage the surfaces of the units. In addion, the vapours are dangerous to health and explosive. Do not use tools with sharp edges, screwdrivers, metal brushes or the like for cleaning. General warning: Protect the baeries (if supplied) from fire, excessive heat and sunlight. Home is not a place, it’s a feeling Home is not a place, it’s a feeling Home is not a place, it’s a feeling
Transcript
CZ30RIP11S
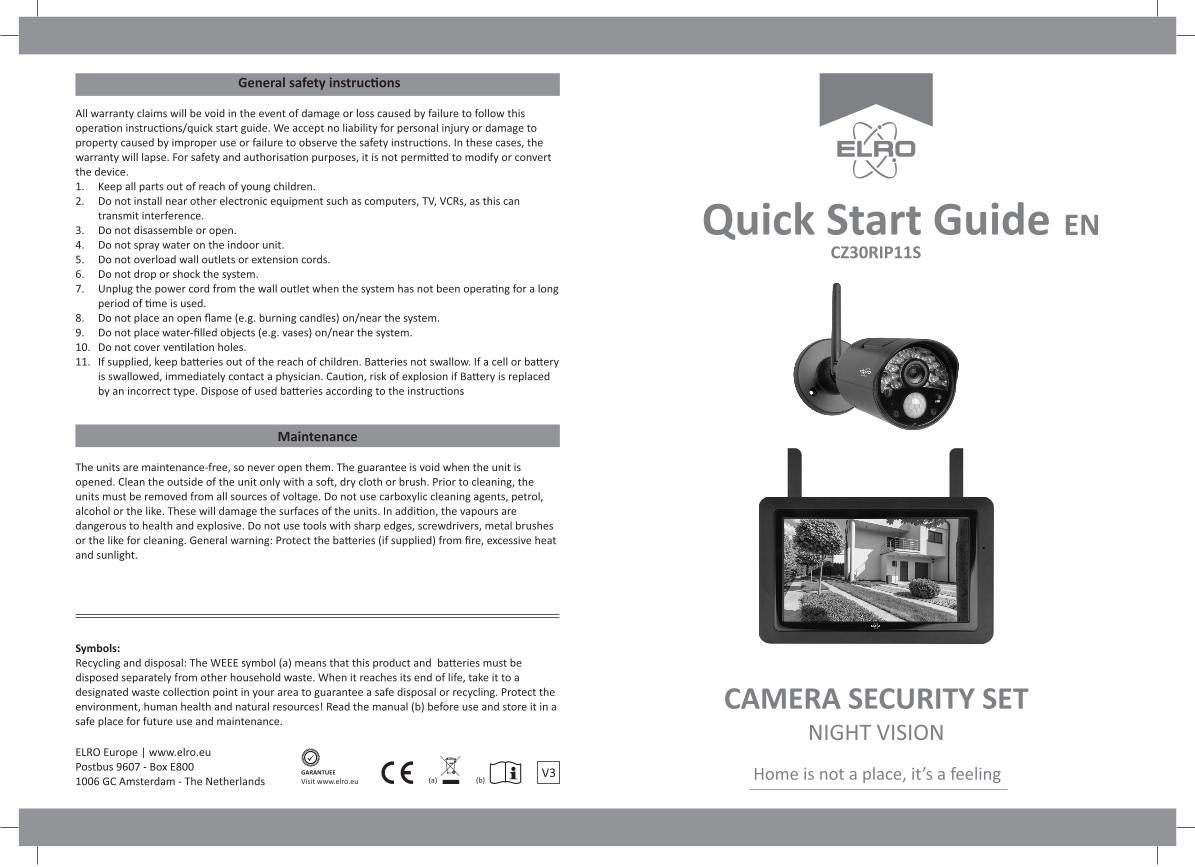
CAMERA SECURITY SETNIGHT VISION
Quick Start Guide EN
Symbols:Recycling and disposal: The WEEE symbol (a) means that this product and ba�eries must be disposed separately from other household waste. When it reaches its end of life, take it to a designated waste collec�on point in your area to guarantee a safe disposal or recycling. Protect the environment, human health and natural resources! Read the manual (b) before use and store it in a safe place for future use and maintenance.
ELRO Europe | www.elro.euPostbus 9607 - Box E8001006 GC Amsterdam - The Netherlands
üGARANTUEE
Visit www.elro.eu (a) (b)V3
Home is not a place, it’s a feeling
General safety instruc�ons
All warranty claims will be void in the event of damage or loss caused by failure to follow this opera�on instruc�ons/quick start guide. We accept no liability for personal injury or damage to property caused by improper use or failure to observe the safety instruc�ons. In these cases, the warranty will lapse. For safety and authorisa�on purposes, it is not permi�ed to modify or convert the device.1. Keep all parts out of reach of young children.2. Do not install near other electronic equipment such as computers, TV, VCRs, as this can transmit interference.3. Do not disassemble or open.4. Do not spray water on the indoor unit.5. Do not overload wall outlets or extension cords.6. Do not drop or shock the system.7. Unplug the power cord from the wall outlet when the system has not been opera�ng for a long period of �me is used.8. Do not place an open flame (e.g. burning candles) on/near the system.9. Do not place water-filled objects (e.g. vases) on/near the system.10. Do not cover ven�la�on holes.11. If supplied, keep ba�eries out of the reach of children. Ba�eries not swallow. If a cell or ba�ery is swallowed, immediately contact a physician. Cau�on, risk of explosion if Ba�ery is replaced by an incorrect type. Dispose of used ba�eries according to the instruc�ons
Maintenance
The units are maintenance-free, so never open them. The guarantee is void when the unit is opened. Clean the outside of the unit only with a so�, dry cloth or brush. Prior to cleaning, the units must be removed from all sources of voltage. Do not use carboxylic cleaning agents, petrol, alcohol or the like. These will damage the surfaces of the units. In addi�on, the vapours are dangerous to health and explosive. Do not use tools with sharp edges, screwdrivers, metal brushes or the like for cleaning. General warning: Protect the ba�eries (if supplied) from fire, excessive heat and sunlight.
Home is not a place, it’s a feelingHome is not a place, it’s a feelingHome is not a place, it’s a feeling
-1-
Introduc�on
Congratula�ons with your new ELRO camera Set, featuring 7“ (18 cm) colour screen plus PIR ac�vated 720P HD Resolu�on camera with Infra-Red LEDs to give Nightview, including SD Card recording feature. We want that you enjoy this ELRO product without having to read extensive paperwork, so this quick start guide will help you to get started, make camera and monitor work together and indicate the most important features. You will also learn which APP you can use for remote access. If you need more detailed informa�on, visit our website www.elro.eu for a more detailed manual, where all features of the system and the APP are described in full!
Besides the moun�ng materials (dowels and srews), the set contains the following parts:* Monitor 7“/18cm* 720P HD wireless camera* AC adaptor 9V (camera)* AC adaptor 5V (monitor)* Network cable* Quick Start Guide
Up to 3 addi�onal cameras can be added to this 4-Channel sytem. The compa�bel extra camera for this kit is: 720P HD Night Vision Camera with mo�on detectorCC30RXX11
Get started
(Default password 000000)1. Connect the 9V power adapter tot he camera and plug it into power2. Connect the 5V power adapter into the monitor and plug it into power. To turn ON and OFF the monitor, push and hold the power bu�on that is located in the middle on top of the monitor for at least 5 seconds! Pushing this bu�on shortly will enter the Scan Mode to find paired cameras.3. The camera is already pre-paired to the monitor; if you find this not working, or you want to change to another channel, go to: Screen menu General Se�ngs Camera Se�ngs Pairing
Choose and tab the channel to which you want to add or change the camera to and follow the on-screen instruc�on to press the „pair“ bu�on at the back of the camera within 30 seconds! You will now see the camera picture on the screen.
Before Moun�ng the camera to the wall, check if the intended moun�ng posi�on gives the wanted surveillance area and has good wireless connec�on to the monitor.
-2-
1. SIGNAL INDICATOR Shows how strong the camera's signal is.
2. SD CARD SD card is inserted into the monitor. Blue; recording space is available. Red; SD card is full.
3. NEW RECORD INDICATOR New recordings are saved on the SD card.
4. RECORDING INDICATOR Recording is in progress.
5. NETWORK STATUS INDICATOR Green; connected to internet. Yellow; not connected to the internet. Red; no connec�on monitor and camera
6. LED LIGHT CONTROL INDICATOR Not available for this model.
7. SD CARD OVERWRITE Overwrite files when SD-card is full.
8. CHANNEL INDICATOR Displays the current channel you are viewing.
17. POP-UP MENU TAB Tap to access the pop up menu system.
VOLUME
- 5 +
SEQ
Explana�on monitor icons ELRO Monitoring App
1
1. Download and install the free ELRO Monitoring app. (App Store / Google Playstore)
2. Your Monitor must be connected to your home router with included network cable!
3. For adding a camera, just follow the instruc�ons from the APP and use either the UID below the QR- Code on the monitor or you simply scan the QR-Code itself.
NKCZEJJ11L3MB272111A
QR-code
UID-code
Add Device
Device Setting
Scan Search
Name: ELRO Monitoring
000000
UID:
OK Cancel
NKCZEJJ11L3MB272111A
Password:
Enter the Default password here 000000 in. You can later in the app Create your own password.