The 3D Printing Solutions Company DOC-09874 Rev. C1 Rigur TM RGD450 TM — Simulated Polypropylene Material Overview Rigur TM RGD450 TM is a white, model material that simulates polypropylene in appearance and functionality. Rigur RGD450 offers excellent durability, dimensional stability and surface quality. This Application Note describes recommendations and tips for achieving optimum quality and advanced mechanical properties when printing parts with Rigur RGD450. A. Cleaning Printer Components B. Preparing Trays for Printing C. Printing Preferences (Objet1000 Plus printers only) D. Removing Support Material E. Drying Parts F. Photobleaching Parts (Objet1000 Plus printers only) Printing Recommendations and Tips A. Cleaning Printer Components Rigur RGD450 leaves more residue on the print heads than Vero™ materials. For best results and to maintain print heads in optimum condition: Desktop printers— After a print job is completed, run the Head Cleaning wizard. Eden/Connex printers— After every print job, run the Head Cleaning wizard and the Wiper Cleaning wizard. If the Head Cleaning wizard is not run for 33 hours of printing, the wizard automatically opens when starting or resuming printing. If this occurs when a print job is interrupted, cancel the wizard to resume printing. Run the Head Cleaning wizard after the print job is completed. Note: You cannot cancel the Head Cleaning wizard to resume printing if head cleaning has not been performed for 99 hours. Every 15 minutes of printing, several sequences of purge are automatically performed. Figure 1: Model made of Rigur RGD450 Figure 2: Material selection in Objet Studio 9
Transcript
The 3D Printing Solutions Company DOC-09874 Rev. C1
RigurTM RGD450TM— Simulated Polypropylene Material
Overview
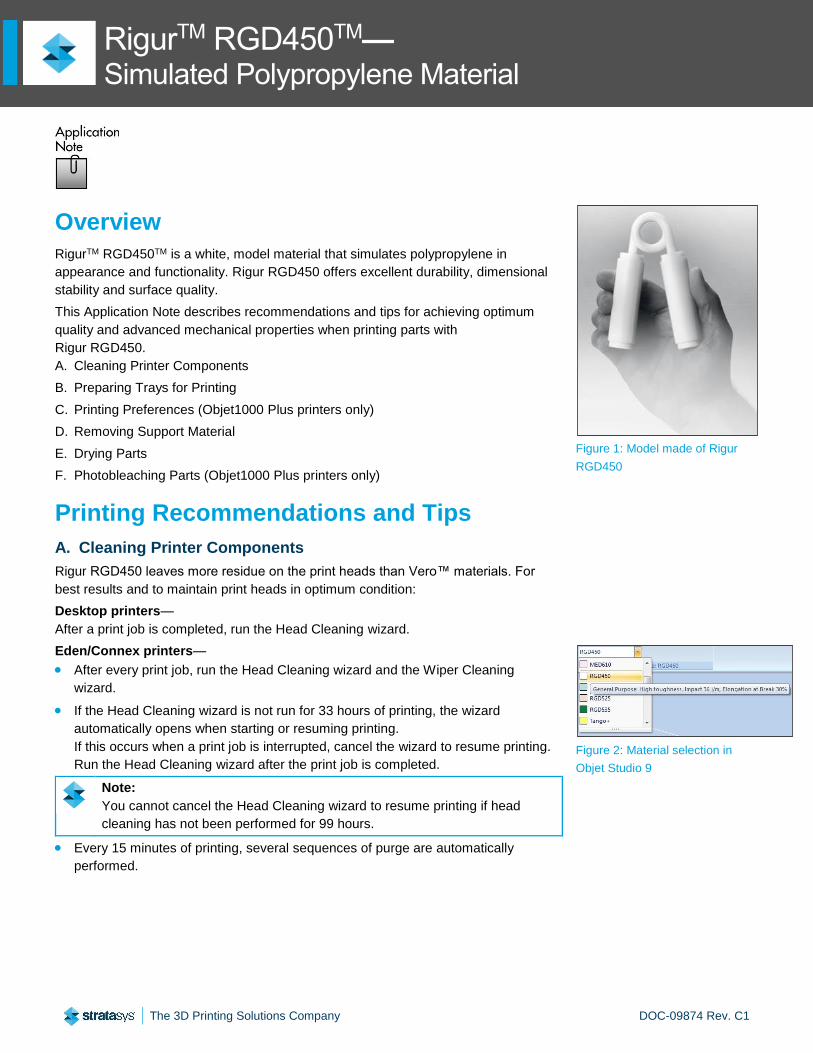
RigurTM RGD450TM is a white, model material that simulates polypropylene in
appearance and functionality. Rigur RGD450 offers excellent durability, dimensional
stability and surface quality.
This Application Note describes recommendations and tips for achieving optimum
quality and advanced mechanical properties when printing parts with
Rigur RGD450.
A. Cleaning Printer Components
B. Preparing Trays for Printing
C. Printing Preferences (Objet1000 Plus printers only)
D. Removing Support Material
E. Drying Parts
F. Photobleaching Parts (Objet1000 Plus printers only)
Printing Recommendations and Tips
A. Cleaning Printer Components
Rigur RGD450 leaves more residue on the print heads than Vero™ materials. For
best results and to maintain print heads in optimum condition:
Desktop printers—
After a print job is completed, run the Head Cleaning wizard.
Eden/Connex printers—
After every print job, run the Head Cleaning wizard and the Wiper Cleaning
wizard.
If the Head Cleaning wizard is not run for 33 hours of printing, the wizard
automatically opens when starting or resuming printing.
If this occurs when a print job is interrupted, cancel the wizard to resume printing.
Run the Head Cleaning wizard after the print job is completed.
Note:
You cannot cancel the Head Cleaning wizard to resume printing if head
cleaning has not been performed for 99 hours.
Every 15 minutes of printing, several sequences of purge are automatically
performed.
Figure 1: Model made of Rigur
RGD450
Figure 2: Material selection in
Objet Studio 9
Application Note Rigur RGD450
The 3D Printing Solutions Company 2
Objet1000 Plus printers—
After every print job, run the Cleaning Wizard.
If the Cleaning Wizard was not run for 99 printing hours and printing was
interrupted, you must run the wizard before resuming printing.
Every 15 minutes of printing, several sequences of purge are automatically
performed.
B. Preparing Trays for Printing
Internal stress may cause parts to curve upwards and detach from the tray. The
arrangement of Rigur RGD450 parts on the build tray can reduce this possibility.
When printing parts that have a high aspect ratio (X:Y), position the longer side along
the Y-axis (see figure 3).
C. Printing Preferences (Objet1000 Plus printers only)
On Objet1000 Plus printers, prolonged exposure to UV radiation during printing
causes a yellowish tint in Rigur RGD450 parts. For this reason, the printing mode and
surface finish you choose can affect the color of the parts.
High Speed mode / matte surface finish
When printing Rigur RGD450 parts, always prefer the High Speed printing mode and
a matte surface finish to achieve good color results.
In High Speed mode, fewer print-head and UV lamp passes (along the X-axis) are
needed to complete the part. Furthermore, the support material that covers matte
surfaces helps protect the part’s layers from excessive UV radiation, thereby
preventing or reducing the tinting.
Printing parts with a glossy surface finish
When printing glossy parts, arrange them so they have similar heights. This ensures
that the parts are not exposed to unnecessary UV radiation, since parts with similar
heights require the same number of print-head and UV-lamp passes.
D. Removing Support Material
Proper handling and cleaning of parts printed with RGD450 and its digital materials is
required for best results.
Important:
Do not use a cleaning station, such as CleanStation DT3 and CleanStation
CSIIP, to remove the Support material from RGD450 parts.
Remove the support material immediately after printing is completed.
Use special care when cleaning parts with delicate elements.
Excessive contact of parts with water or caustic soda (sodium hydroxide) can
adversely affect dimensional stability and cause deformations.
When removing support material with the WaterJet, keep cleaning time to a
minimum.
When removing support material with a 1-percent caustic soda solution, soak
parts with walls thinner than 2 mm for no more than one hour. Soak all other
parts for no more than two hours.
Figure 3: Longer side of the part along
the Y-axis
Figure 4: Longer side of the part along
the Y-axis
Application Note Rigur RGD450
The 3D Printing Solutions Company 3
E. Drying Parts
Drying Rigur RGD450 parts thoroughly is essential for achieving optimum quality.
To dry parts thoroughly, use the following methods, as necessary:
Use an air blower to remove excess water from parts.
Place parts on a dry surface or on a drying rack.
Orientate parts so that they dry effectively, making sure that areas that trap water
are exposed.
Orientate parts so that there is minimal strain on thin walls (see Figure 4).
F. Photobleaching Parts (Objet1000 Plus printers only)
If parts printed with Rigur RGD450 Plus have a yellowish tint, the tint will fade
naturally over time. You can greatly accelerate this process by using a suitable
photobleaching treatment. This involves exposing parts to intense fluorescent light.
Two photobleaching methods are recommended by Stratasys—
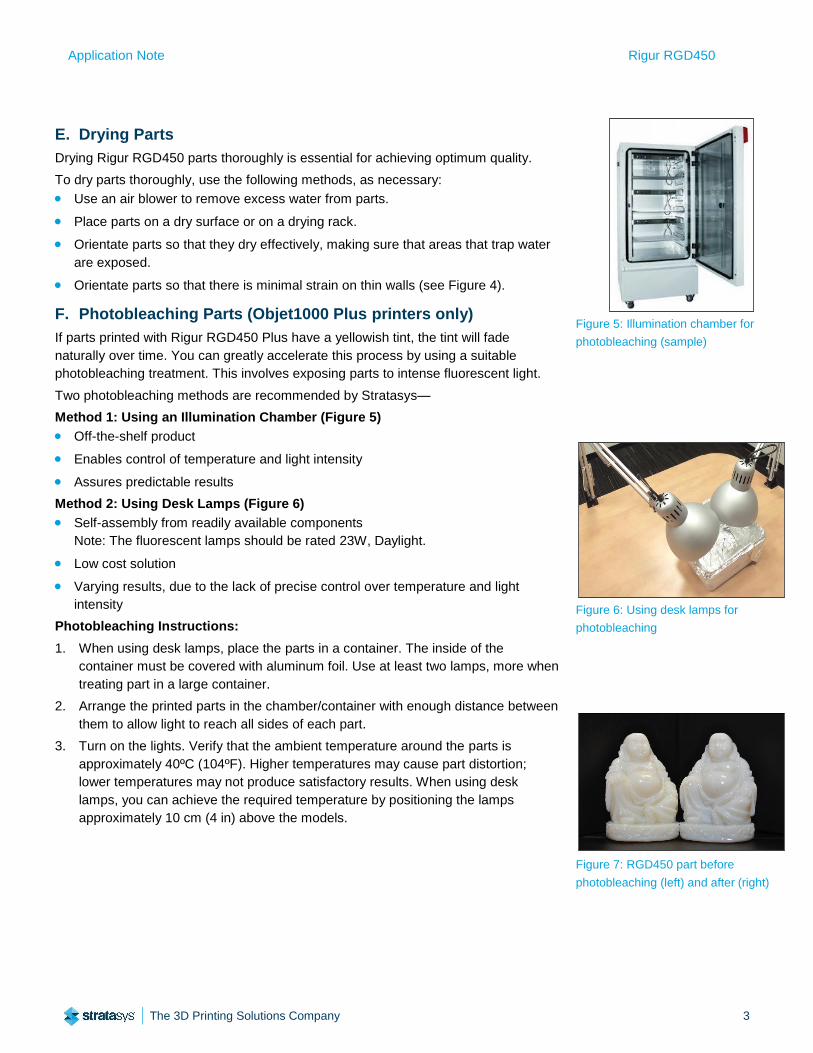
Method 1: Using an Illumination Chamber (Figure 5)
Off-the-shelf product
Enables control of temperature and light intensity
Assures predictable results
Method 2: Using Desk Lamps (Figure 6)
Self-assembly from readily available components
Note: The fluorescent lamps should be rated 23W, Daylight.
Low cost solution
Varying results, due to the lack of precise control over temperature and light
intensity
Photobleaching Instructions:
1. When using desk lamps, place the parts in a container. The inside of the
container must be covered with aluminum foil. Use at least two lamps, more when
treating part in a large container.
2. Arrange the printed parts in the chamber/container with enough distance between
them to allow light to reach all sides of each part.
3. Turn on the lights. Verify that the ambient temperature around the parts is
approximately 40ºC (104ºF). Higher temperatures may cause part distortion;
lower temperatures may not produce satisfactory results. When using desk
lamps, you can achieve the required temperature by positioning the lamps
approximately 10 cm (4 in) above the models.
Figure 5: Illumination chamber for
photobleaching (sample)
Figure 6: Using desk lamps for
photobleaching
Figure 7: RGD450 part before
photobleaching (left) and after (right)
Application Note Rigur RGD450
Disclaimer Customer acknowledges the contents of this document and that Stratasys parts, materials, and supplies are subject to its standard terms and conditions, available on http://stratasys.com/legal/terms-and-conditions-of-sale, which are incorporated herein by reference.