54
Rocks Cluster Administration Learn how to manage your Rocks Cluster Effectively

Rocks Cluster Administration
Learn how to manage your Rocks Cluster Effectively

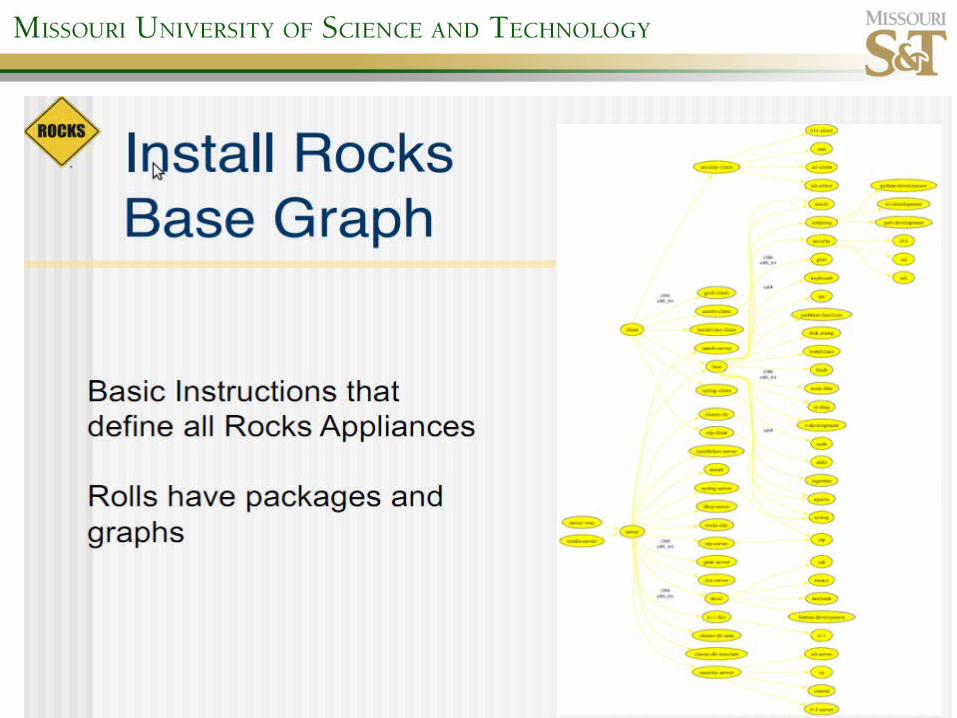
Module 1: Customizing Your Cluster

Customizing Nodes
• Using built in node attributes and the Rocks Command line
• Using extend-node.xml files.• Creating custom appliance types.

Attributes• Attributes are settings within the
rocks database to enable and disable features.
• Attributes are controlled by the rocks command line. You will need to become familiar with this utility before beginning any Rocks customization.

Example Attributes• “rocks list attr” returns
system wide attributes.
– Info_ClusterName
– rocks_version
– Kickstart_Timezone
– Kickstart_Lang
– ssh_use_dns
– And many others.
• Changing these allows you to reconfigure a running cluster.

Appliance Attributes• Appliance attributes are settings
within the rocks database to enable and disable features on nodes based on the selected appliance type.
• You can create custom appliances that are as simple as compute nodes with modified default attributes.
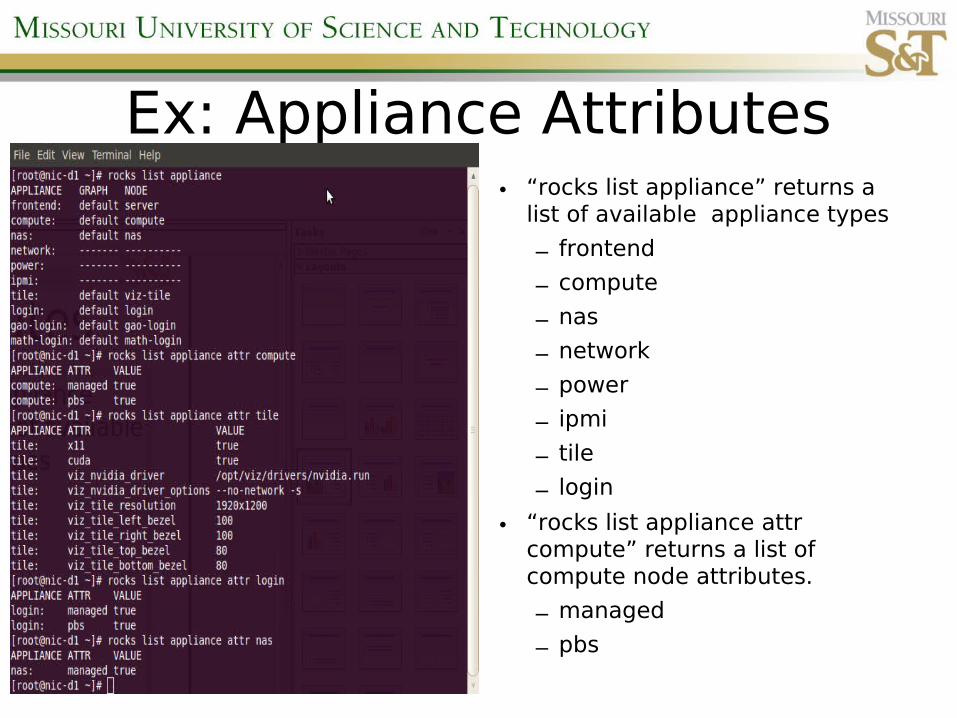
Ex: Appliance Attributes• “rocks list appliance” returns a
list of available appliance types
– frontend
– compute
– nas
– network
– power
– ipmi
– tile
– login
• “rocks list appliance attr compute” returns a list of compute node attributes.
– managed
– pbs

Node Attributes• Node attributes are settings for
individual nodes of the cluster. They default to the appliance attributes, but can be modified node to node.
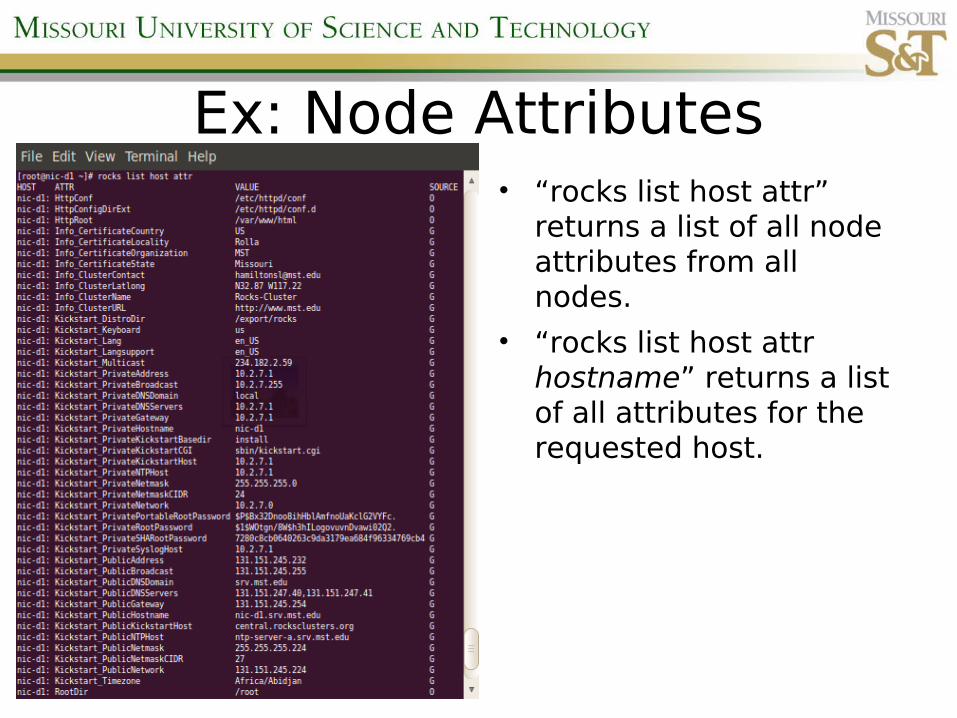
Ex: Node Attributes• “rocks list host attr”
returns a list of all node attributes from all nodes.
• “rocks list host attr hostname” returns a list of all attributes for the requested host.
Rocks command line• The rocks command line has limited
documentation, but decent on-line help. To get help with the rocks command line simply type “rocks” and hit enter. You will get a full list of available rocks commands.
• The most widely used are:– rocks list
– rocks set
– rocks sync
– rocks report

LAB 1:Customizing with the Rocks Command
line.

In our example we will create a custom appliance that adds X11 to the node
and makes it a submit host.This would be a good fit for installing
Rocks on lab PCs to use them as submission and job hosts.

First you will need to create the node profile. This is done using a new node
XML file. Start by copying
/export/rocks/install/site-profiles/5.4.3/nodes/skeleton.xml
To/export/rocks/install/site-profiles/5.4.3/nodes/yourname.xml
Note: Substitute 5.4.3 for your rocks version and your first name for yourname.xml.$ cd /export/rocks/install/site-profiles/5.4.3/nodes
$ cp skeleton.xml yourname.xml
For our simple example we do not need to edit the file as we are not adding
anything extra to the node. We will use the rocks attributes for that. However, let's take a look inside the file anyway.

The node XML file contains the following sections:• <description>•<changelog>•<main>•<pre>•<package>•<post>
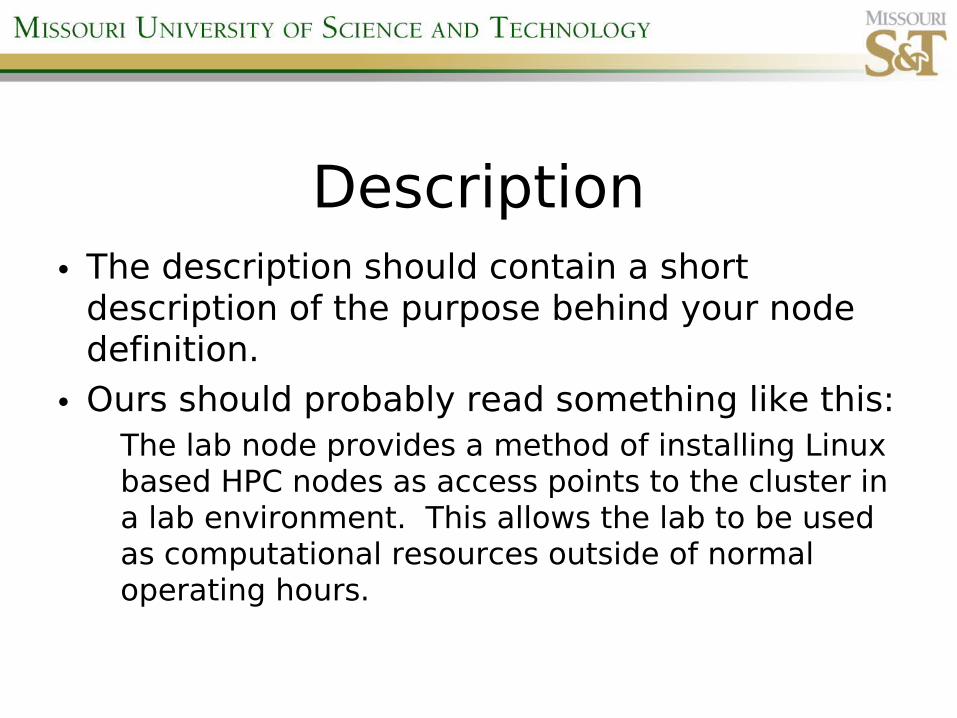
Description• The description should contain a short
description of the purpose behind your node definition.
• Ours should probably read something like this:The lab node provides a method of installing Linux based HPC nodes as access points to the cluster in a lab environment. This allows the lab to be used as computational resources outside of normal operating hours.

Main• This section will rarely be used in
custom appliances. It is used to control the main commands within the kickstart system.
• For example setting a root password.– <rootpw>--iscrypted encryptedpassword</rootpw>

Pre section• This section is mainly used for
custom partitioning of nodes.• It uses standard shell scripting
directives as well as standard kickstart variables.
• We will not cover custom partitioning in this class unless someone requests it.

Package section• This is not so much a section as a series of tags. These tags tell a
package to install based on the internal package name.
• For example you can have an rpm file named john.rpm but it contains a package definition for vim. You would install it using <package>vim</package> not <package>john</package>
• One strange thing to keep in mind is that this will install the newest package of a given name based on the time stamp of the rpm file name, not the internal version number.

Post section• This section contains any post installation scripting. These
scripts run after all RPMs have been installed, but before the system boots for the first time.
• It is possible to write a post install script that works correctly on an already running system, but fails when installed during the initial cluster installation. If you plan on sharing your roll be sure to test it in both scenarios.
• Wrapping <eval> tags around a section of the post install causes it to execute on the head node after a node installs.

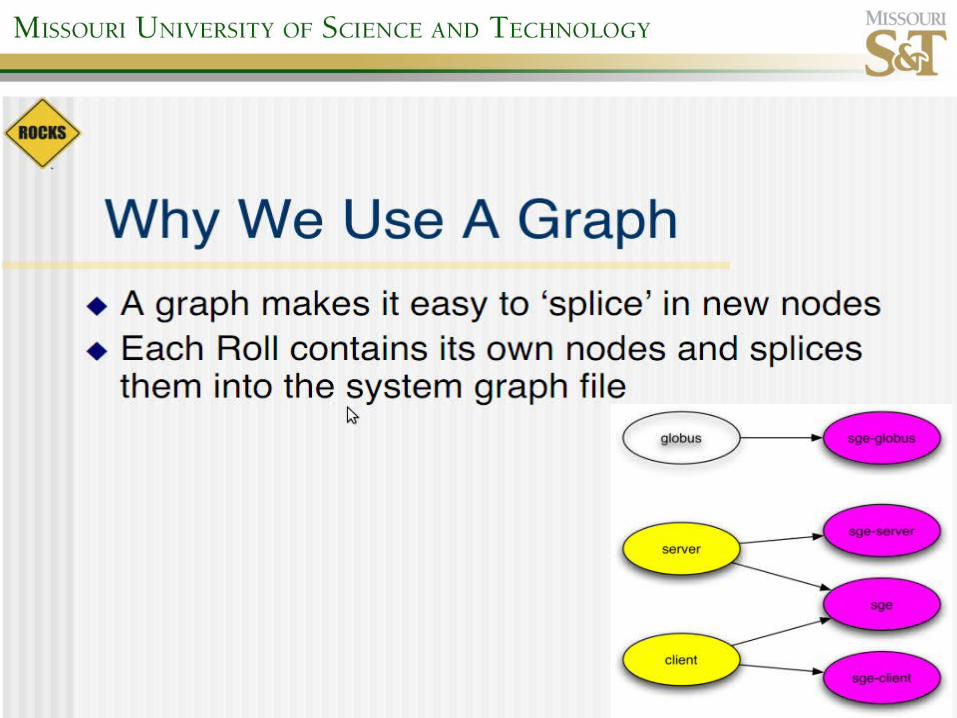
Next you will need to link your new appliance into the Rocks appliance graph. Since we are simply extending a standard compute appliance this is fairly easy.You will need to create a graph XML file in the /export/rocks/install/site-profiles/5.4.3/graphs/default directory.
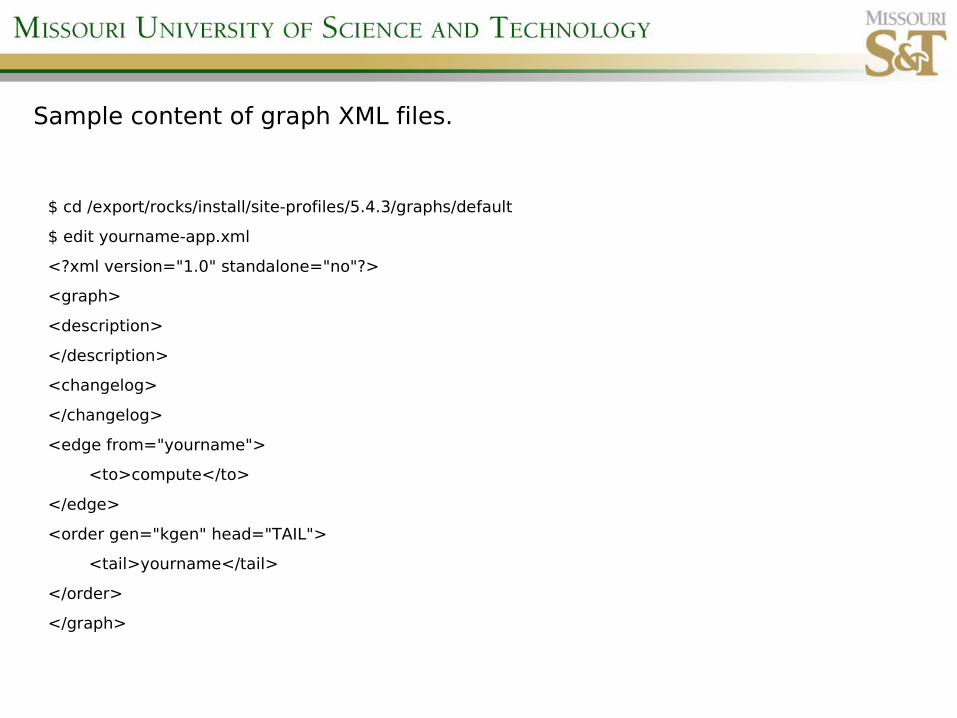
$ cd /export/rocks/install/site-profiles/5.4.3/graphs/default
$ edit yourname-app.xml
<?xml version="1.0" standalone="no"?>
<graph>
<description>
</description>
<changelog>
</changelog>
<edge from="yourname">
<to>compute</to>
</edge>
<order gen="kgen" head="TAIL">
<tail>yourname</tail>
</order>
</graph>
Sample content of graph XML files.

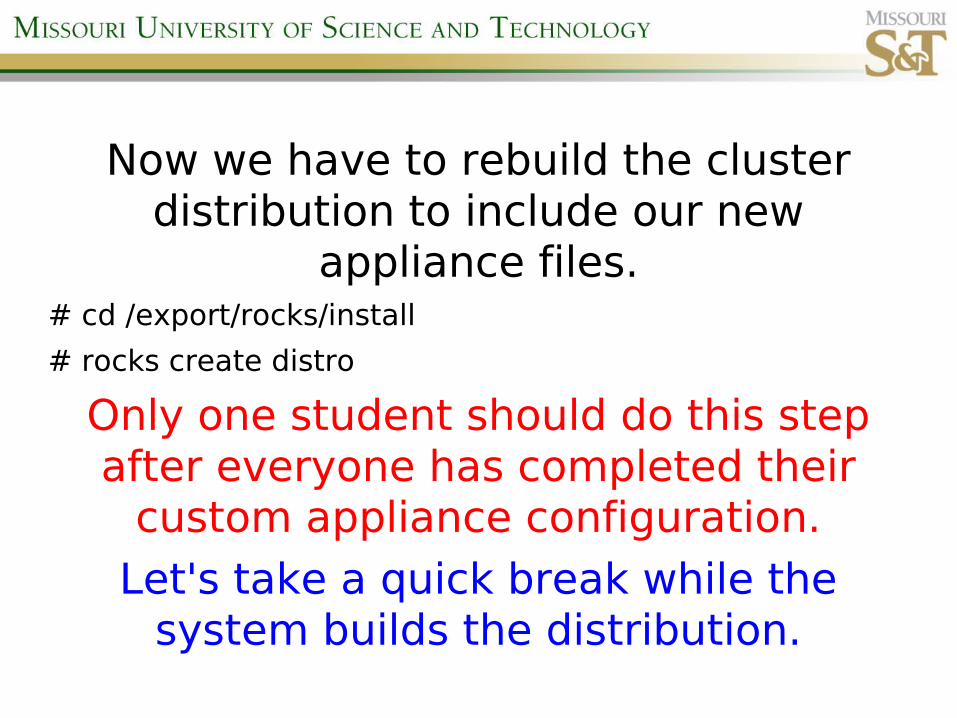
Now we have to rebuild the cluster distribution to include our new
appliance files.# cd /export/rocks/install
# rocks create distro
Only one student should do this step after everyone has completed their
custom appliance configuration.Let's take a quick break while the
system builds the distribution.
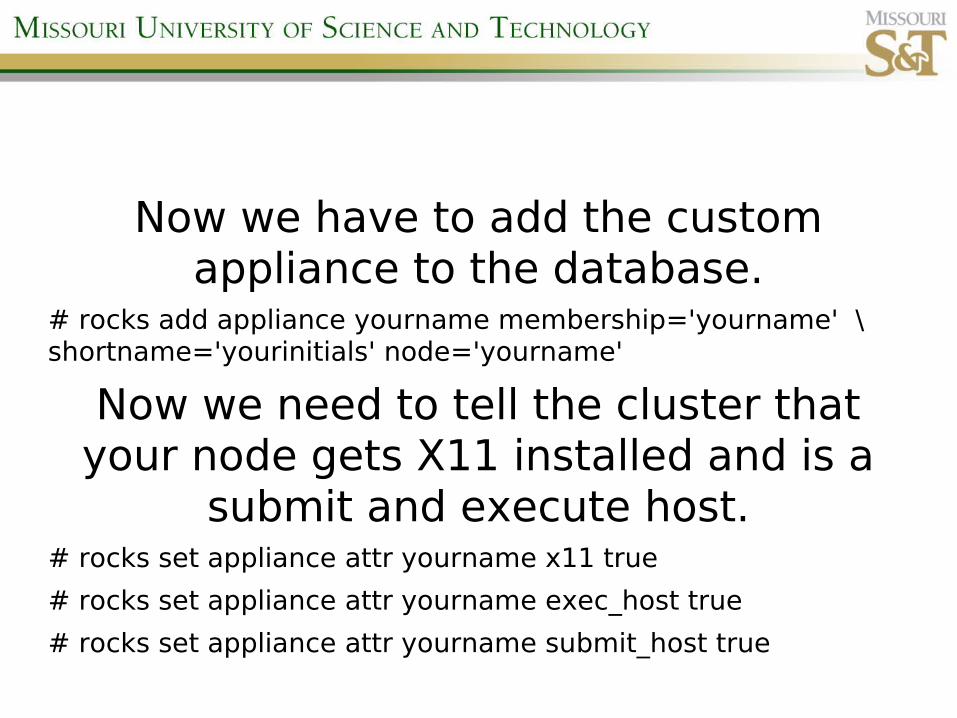
Now we have to add the custom appliance to the database.
# rocks add appliance yourname membership='yourname' \ shortname='yourinitials' node='yourname'
Now we need to tell the cluster that your node gets X11 installed and is a
submit and execute host.# rocks set appliance attr yourname x11 true
# rocks set appliance attr yourname exec_host true
# rocks set appliance attr yourname submit_host true
Module 2: Adding Custom Applications

There are two basic ways to add applications to a Rocks Cluster.
• NFS Mounted•Locally Installed
There are also three different types of custom applications you can install.
• From Source Code• From Commercial Media
• From RPM Packages
NFS MountedThe simplest method of adding software to the cluster is by using the already existing NFS mounted applications folder “/share/apps”
1) Install the software on the head node following manufacturer instructions. Pick /share/apps/application_name as the installation location.2) Add any custom environment settings to /etc/profile.d/appname.sh3) Add /etc/profile.d/appname.sh to the 411 Service configuration
1) Add the file name to the list in /var/411/Files.mk2)Execute make restart in /var/411
4)If there are no custom environment settings needed you do not have to update the 411 service definitions.

The 411 ServiceThe 411 Service is an important part of the Rocks Cluster management suite and it is important that we cover a little of how it works here.1)411 keeps configuration files consistent across the cluster.2)The list of files that are the same everywhere is contained in /var/411/Files.mk3)The 411 service makes provisions for various configurations by node type.
1)These node type configurations are stored in the /var/411/Group.mk file.2)Each group has its own subfolder that contains common configuration files under /var/411/groups/groupname
4) Modifications to any file managed by the 411 service automatically get pushed to the nodes in the cluster. It is important to look at this configuration when doing customization.
Let's log into the cluster and look around the 411 configuration directory now.
Locally InstalledInstalling applications locally on the nodes is a lot harder, but has the advantage of lower network impact.1) Install the software on the head node following manufacturer instructions. This can be installed anywhere. On our campus we choose to use /opt/appname for our custom packages.2) Add any custom environment settings to /etc/profile.d/appname.sh3) No comes the tricky part, you have to figure out a method of mirroring this application to the rest of the cluster nodes.
1)A simple way is to use the tentakel command along with an rsync command to replicate the software to the other nodes. (It works, but does not guarantee that all the nodes remain in sync over time)2)The best method is to create an RPM of the installed files and add your custom RPM to the configuration scripts.
Deploying RPM Software
• This is the easiest to deploy, mainly because it already has a mostly automated installation.
• To deploy RPM software you simply copy the RPM into the contrib folder of the Rocks install directory and add it to a node.xml file.
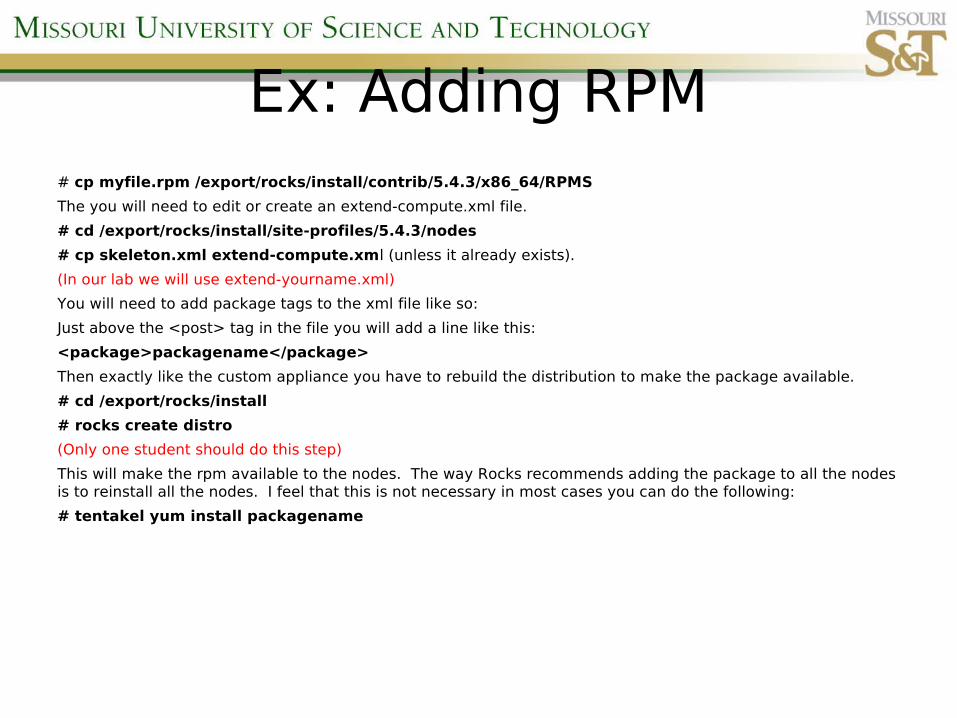
Ex: Adding RPM# cp myfile.rpm /export/rocks/install/contrib/5.4.3/x86_64/RPMS
The you will need to edit or create an extend-compute.xml file.
# cd /export/rocks/install/site-profiles/5.4.3/nodes
# cp skeleton.xml extend-compute.xml (unless it already exists).
(In our lab we will use extend-yourname.xml)
You will need to add package tags to the xml file like so:
Just above the <post> tag in the file you will add a line like this:
<package>packagename</package>
Then exactly like the custom appliance you have to rebuild the distribution to make the package available.
# cd /export/rocks/install
# rocks create distro
(Only one student should do this step)
This will make the rpm available to the nodes. The way Rocks recommends adding the package to all the nodes is to reinstall all the nodes. I feel that this is not necessary in most cases you can do the following:
# tentakel yum install packagename
Installing Commercial Software
• This is best done either as an NFS deployment, or as a custom roll.
• In our final lab we will build a custom roll.

Installing Software from Source
• This is best done either as an NFS deployment, or as a custom roll.
• If the source code has options for building RPM files you can follow the procedures for installing RPM based software.
• In our final lab we will build a custom roll.

Lab 2: Installing a Custom Application
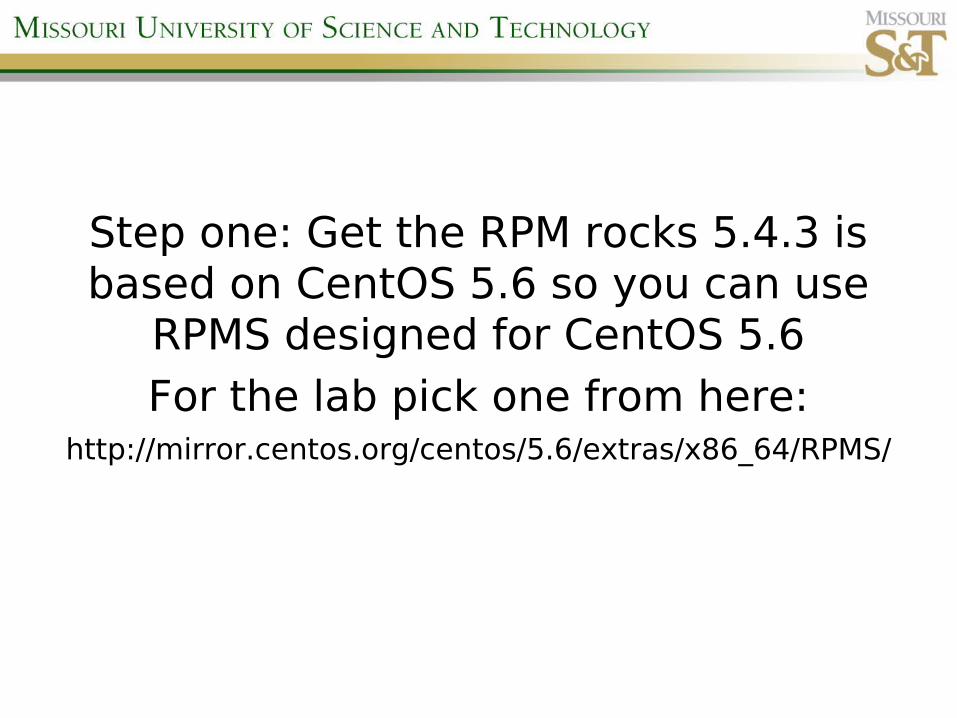
Step one: Get the RPM rocks 5.4.3 is based on CentOS 5.6 so you can use
RPMS designed for CentOS 5.6For the lab pick one from here:
http://mirror.centos.org/centos/5.6/extras/x86_64/RPMS/

Step two: Copy your RPM to right place:# cp yourrpm.rpm /export/rocks/install/contrib/5.4.3/x86_64/RPMS

Step three: Update node.xmlEdit /export/rocks/install/site-profiles/nodes/yourname.xml
Now we have to rebuild the cluster distribution to include our new
appliance files.# cd /export/rocks/install
# rocks create distro
Only one student should do this step after everyone has completed their
custom appliance configuration.Let's take a quick break while the
system builds the distribution.

Module 3: Rocks Rolls

What exactly is a Rocks Roll?It is a set of xml files and software distribution packages designed for easy deployment to Rocks clusters.What is the advantage of a Roll?The main advantage is portability to multiple clusters. If you only manage one cluster the processes we discussed so far will work fine.
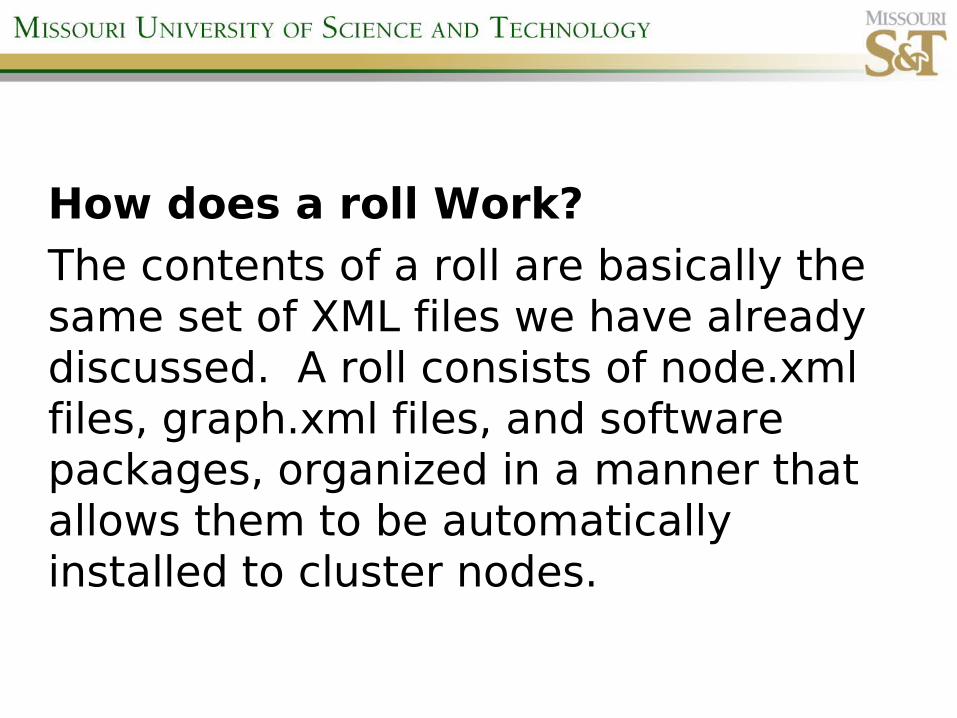
How does a roll Work?The contents of a roll are basically the same set of XML files we have already discussed. A roll consists of node.xml files, graph.xml files, and software packages, organized in a manner that allows them to be automatically installed to cluster nodes.

In newer version of Rocks the developers have made it very easy to create custom Rolls, but it still requires that you have an understanding of how they work, and a basic knowledge of xml. We will begin by examining the contents of a Rocks Roll source code directory.

Structure of a Roll
➔ Makefile
➔ graphs
➔ default➔ rollname.xml
➔ nodes
➔ rollname.xml
➔ RPMS
➔ src
➔ Makefile
➔ linux.mk
➔ rollname➔ Makefile
➔ version.mk
➔ sunos.mk
➔ Usersguide➔ Makefile
➔ copyrights.sgml
➔ Images➔ i-01.png
➔ index.sgml
➔ installing.sgml
➔ preface.sgml
➔ using.sgml
➔ version.mk
➔ version.mk
• The only files you need to worry about for simple rolls are the rollname.xml files under graphs and nodes.
• More complex rolls will require adding contents to the src folder.


Lab 3: Build a Custom Roll

Create a Roll Directory• On Rocks 5.3 System or newer# cd /export/site-roll/rocks/src/roll# rocks create new roll yournameThis will result in a roll called yourname. You can also specify a version number to match the version of a particular software package you are installing.

Part I: Packages•Rolls require packages to be in native OS format. (RPM for Linux PKG for Solaris)•Advantages to using packages:
•You can inspect software with native tools.•Can install by hand using OS tools.•Easy to track because OS knows about the package.
•Disadvantages•You have to create the package•Mechanisms can cause odd behavior.

Package build requirements:● All requirements are met by using a frontend node for the build process.● Faith
●There is a large set of included make rules that allow us to quickly package software.●You must trust what the system is doing.

Different Ways of Packaging Software:●Build or install the software by hand, then point “#rocks create package” at the installation directory.●Build an RPM spec file.●Use the Rocks-supplied Make infrastructure.●We will build a package using the first and last methods. Building packages using RPM spec files is beyond the scope of this course.
The remainder of the lab instructions will be in the form of a handout.


