29
1
1

Member:
Astronomers Without Borders (AWB)
Dhinakar Rajaram
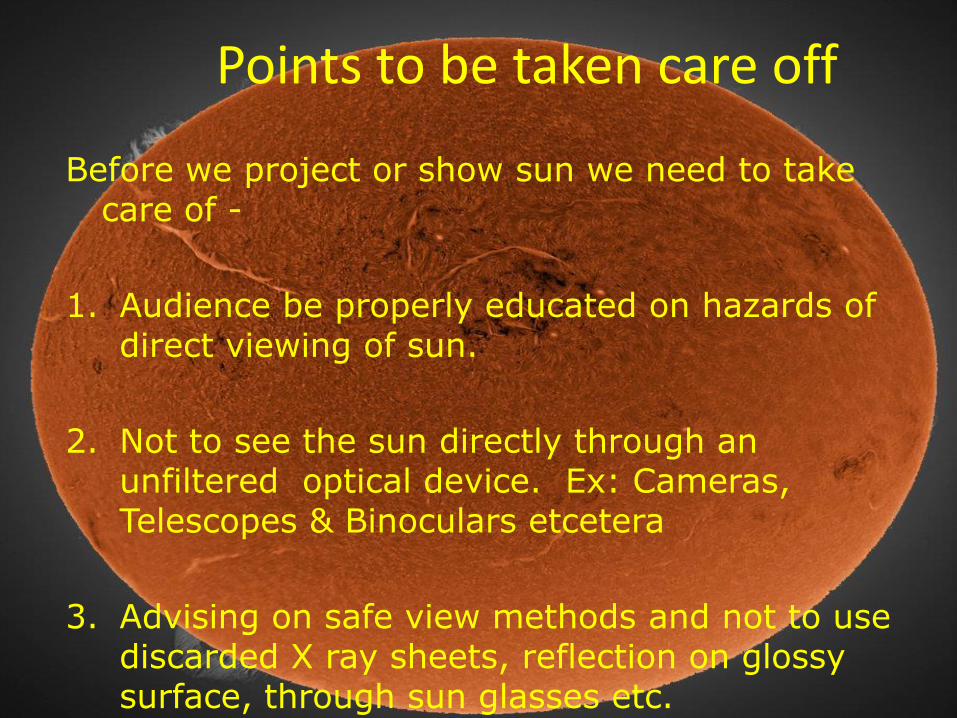
Points to be taken care off
Before we project or show sun we need to take care of -
1. Audience be properly educated on hazards of direct viewing of sun.
2. Not to see the sun directly through an unfiltered optical device. Ex: Cameras, Telescopes & Binoculars etcetera
3. Advising on safe view methods and not to use discarded X ray sheets, reflection on glossy surface, through sun glasses etc.
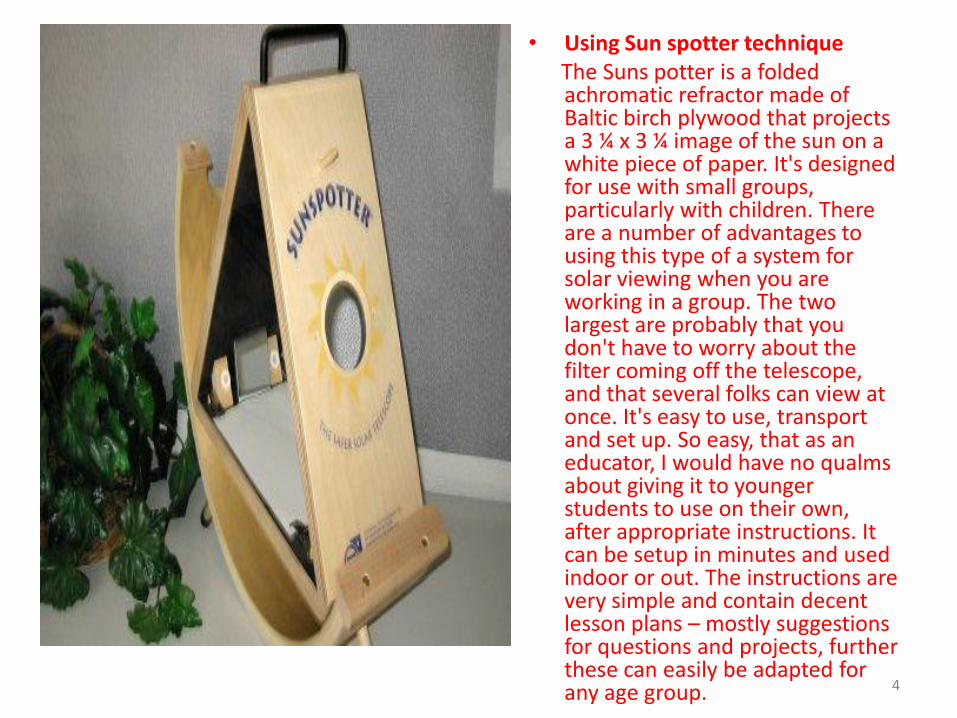
• Using Sun spotter technique The Suns potter is a folded
achromatic refractor made of Baltic birch plywood that projects a 3 ¼ x 3 ¼ image of the sun on a white piece of paper. It's designed for use with small groups, particularly with children. There are a number of advantages to using this type of a system for solar viewing when you are working in a group. The two largest are probably that you don't have to worry about the filter coming off the telescope, and that several folks can view at once. It's easy to use, transport and set up. So easy, that as an educator, I would have no qualms about giving it to younger students to use on their own, after appropriate instructions. It can be setup in minutes and used indoor or out. The instructions are very simple and contain decent lesson plans – mostly suggestions for questions and projects, further these can easily be adapted for any age group. 4

Projection of sun through the spotter
5
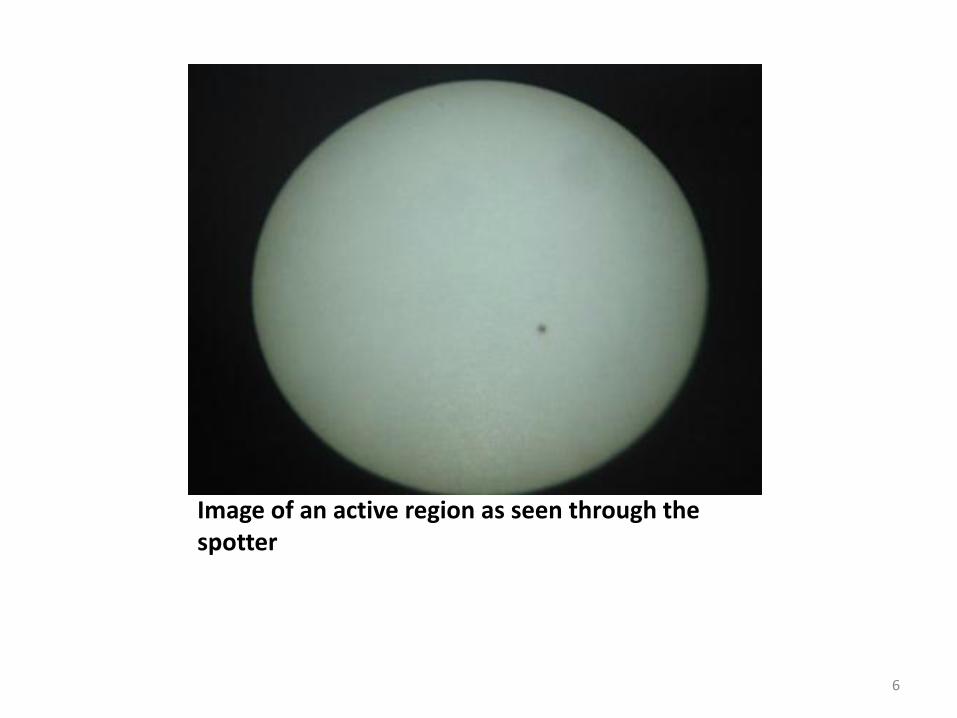
Image of an active region as seen through the spotter
6
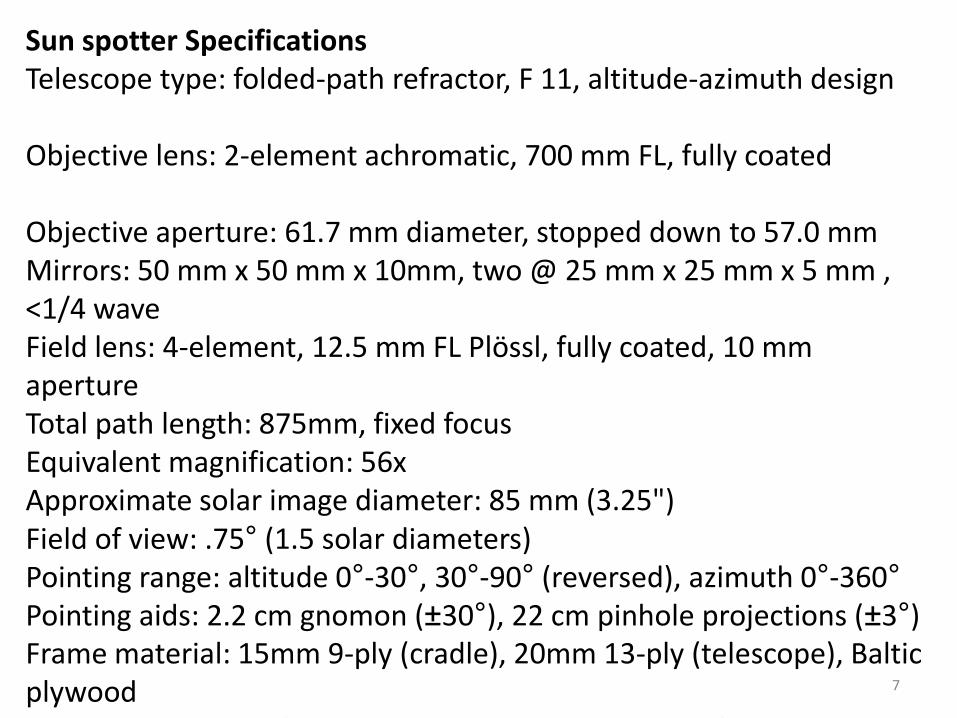
Sun spotter Specifications Telescope type: folded-path refractor, F 11, altitude-azimuth design Objective lens: 2-element achromatic, 700 mm FL, fully coated Objective aperture: 61.7 mm diameter, stopped down to 57.0 mm Mirrors: 50 mm x 50 mm x 10mm, two @ 25 mm x 25 mm x 5 mm , <1/4 wave Field lens: 4-element, 12.5 mm FL Plössl, fully coated, 10 mm aperture Total path length: 875mm, fixed focus Equivalent magnification: 56x Approximate solar image diameter: 85 mm (3.25") Field of view: .75° (1.5 solar diameters) Pointing range: altitude 0°-30°, 30°-90° (reversed), azimuth 0°-360° Pointing aids: 2.2 cm gnomon (±30°), 22 cm pinhole projections (±3°) Frame material: 15mm 9-ply (cradle), 20mm 13-ply (telescope), Baltic plywood Overall dimensions (H x L x W): 40cm x 37cm x 15 cm (16" x 15" x 6")
7

Solar Projection
8

SUN FUNNEL: A solar projection using tracing paper and a funnel by me 9

A Projection contraption
10
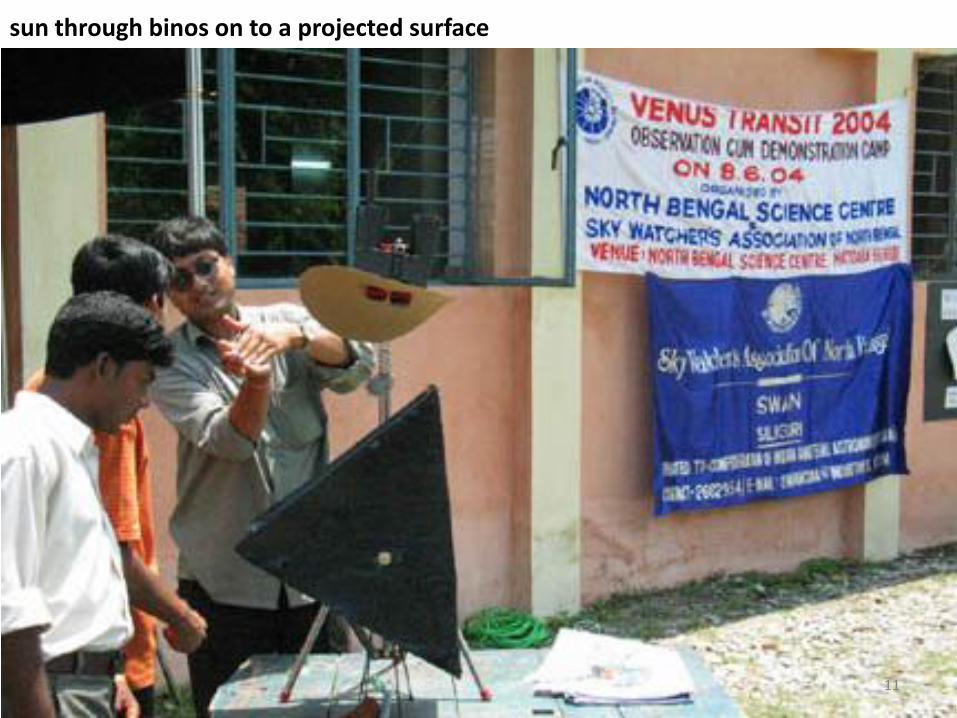
sun through binos on to a projected surface
11
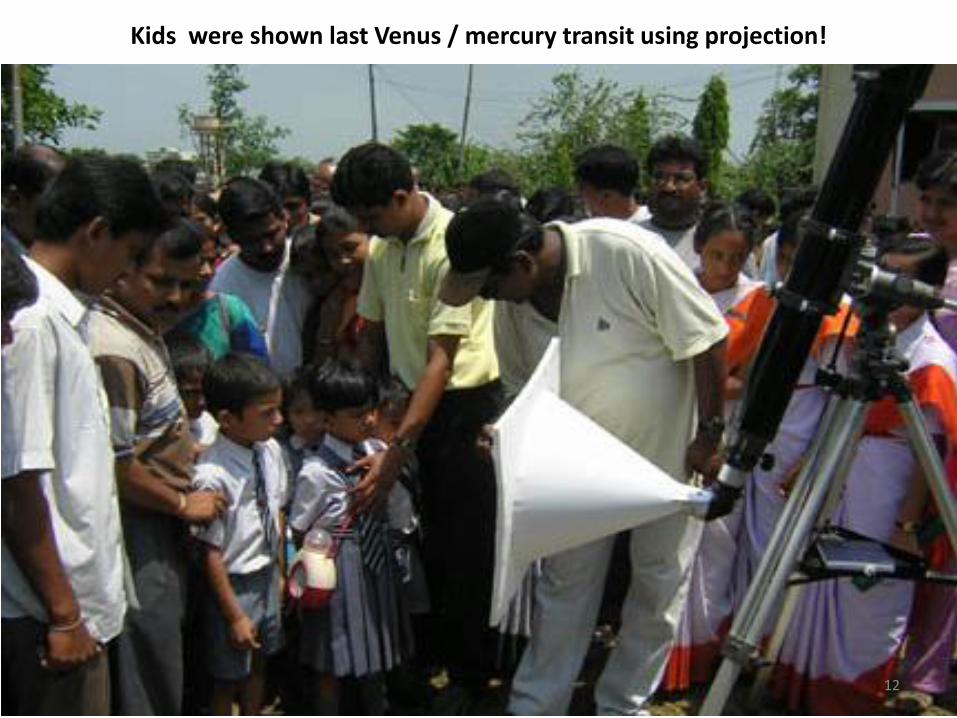
Kids were shown last Venus / mercury transit using projection!
12
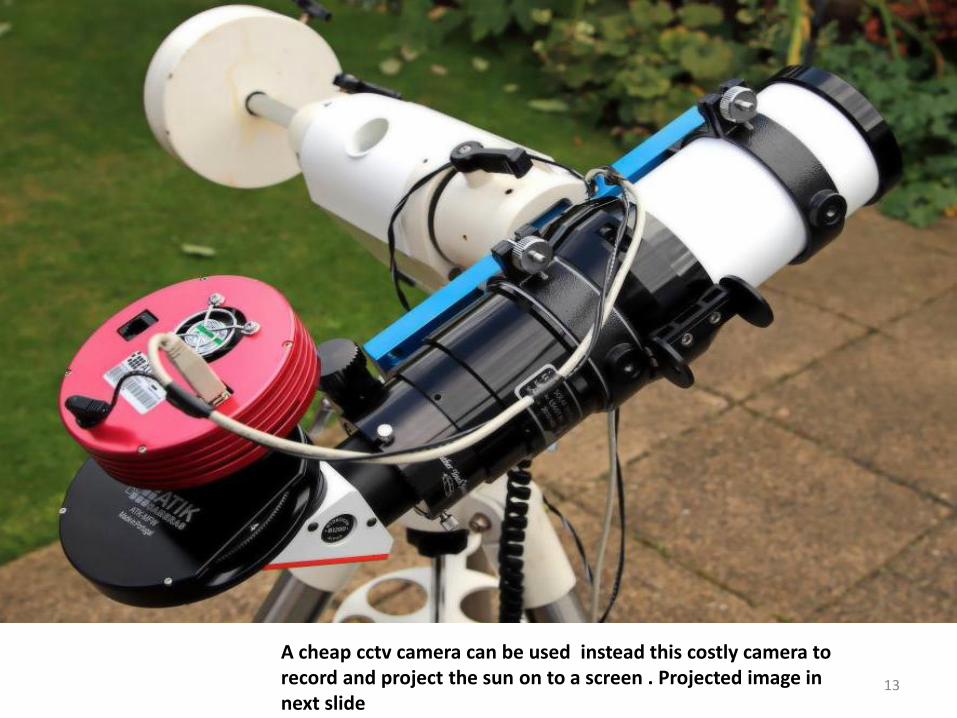
A cheap cctv camera can be used instead this costly camera to record and project the sun on to a screen . Projected image in next slide
13
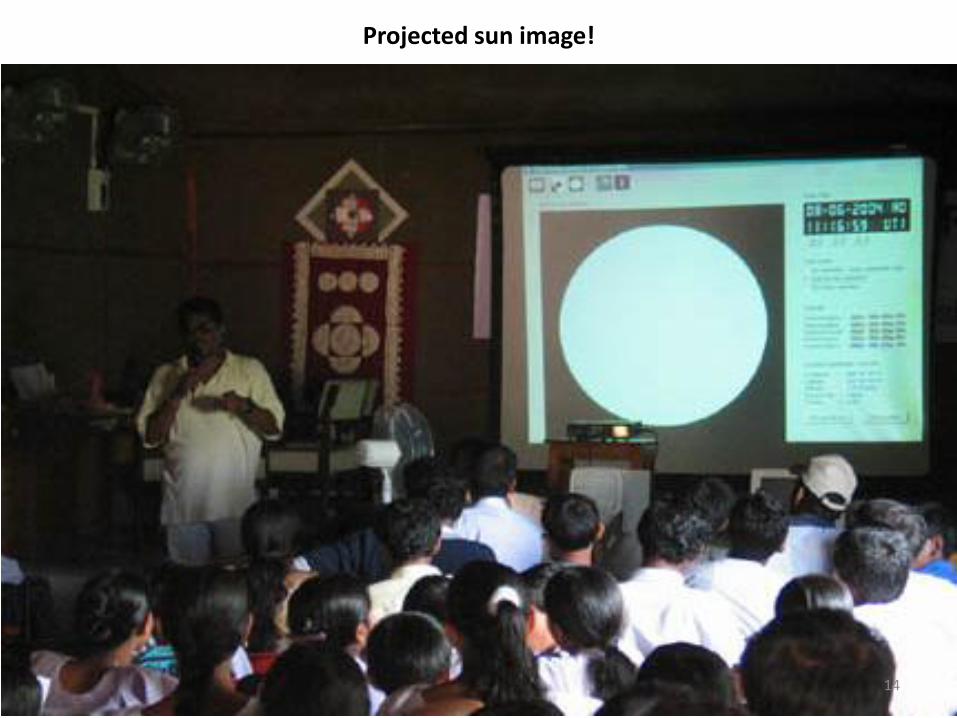
Projected sun image!
14
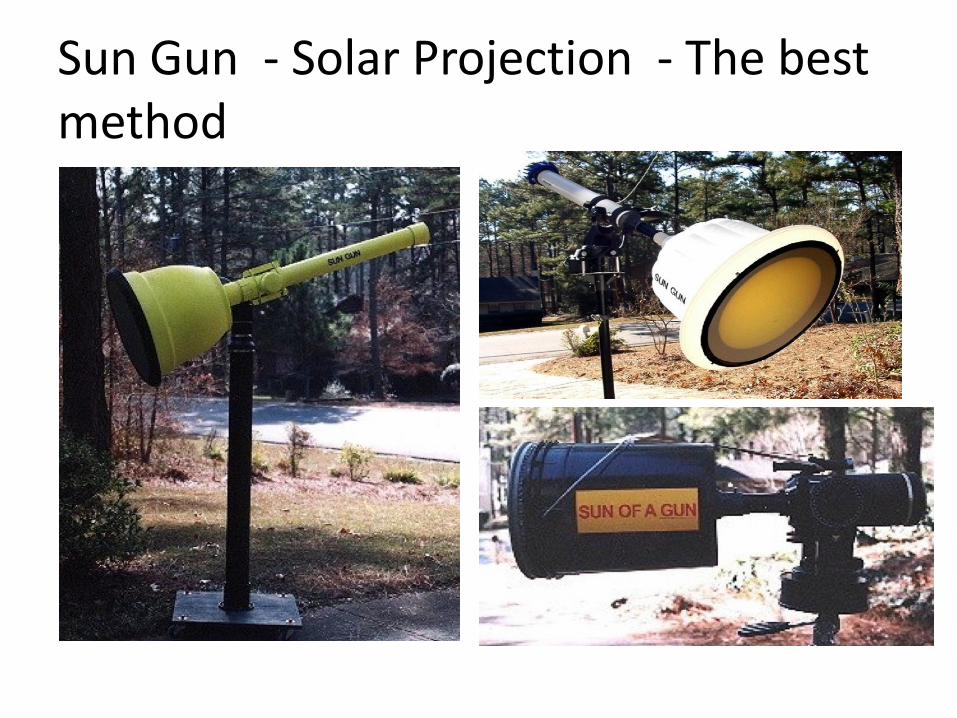
Sun Gun - Solar Projection - The best method

Sun Gun is a solar projection gizmo made by Mr. Bruce Hegerberg, USA for safe projection of solar disk so that many can see the events in sun also cheaper to make using few easily available materials.

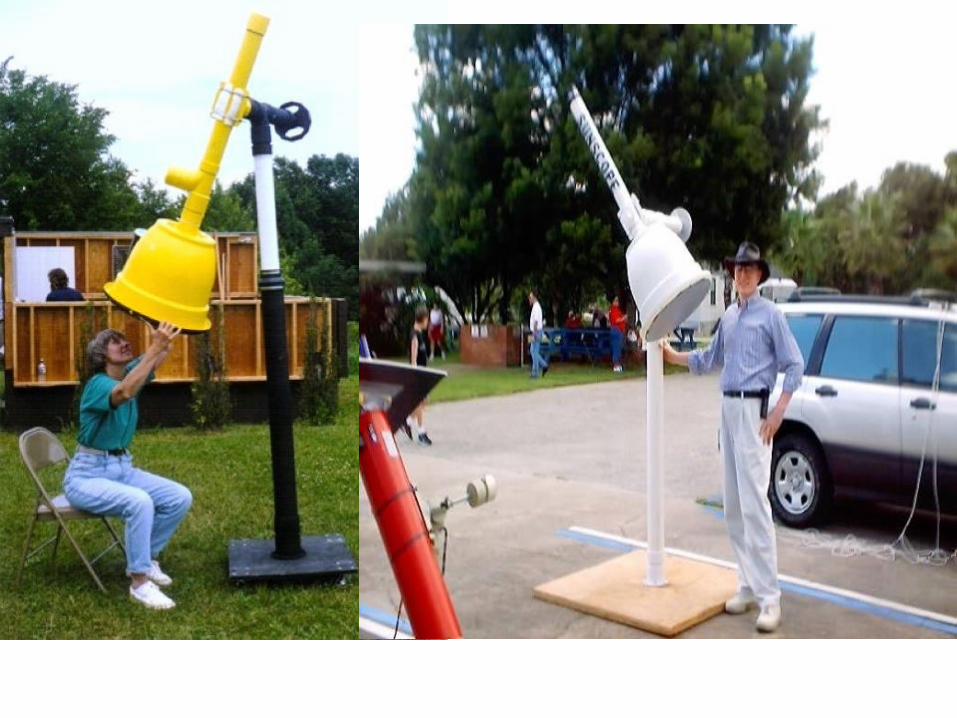
SUN OF A GUN ( scaled down edition)

The SUN OF A GUN is a smaller version of the of the SUN GUN will work with any telescope. It consists of a black plastic 5 Kg black paint bucket , if not black paint the interior flat black. A 2" insert male adapter, adapts polyethylene tubing to standard female pipe thread mounted in a 2 1/4" hole in the centre of the bottom of the paint bucket, with two 2" conduit lock nuts. One lock nut on the inside and the other on the outside of the bucket. Drill a 1/8" hole ½" in on the hose end of the male adapter. The adapter will slide over a standard universal camera adapter, using the eyepiece retaining screw, on the camera adapter, to hold the 2" male adapter and the eyepiece in place. A 15" square kadha cloth as it is cheaper. is mounted to the top of the paint bucket with a 48" wire tie or a large rubber band. Lay the rear projection screen on top of the bucket, polished side facing out. Connect the wire tie so it just fits over the rear projection screen and the top lip of the bucket. Tighten the wire tie under the lip of the bucket and adjust the rear projection screen tight across the top of the bucket, it should look like a drum when done. Cut the excess screen off, leave ½" below the wire tie for future adjustment. Loop a large rubber band through itself on to the handle, hooking the rubber band over the finder will give it extra support. Use on a telescope with a lens of 4" or less, or stop down a larger lens to 4" or less. With the SUN OF A GUN use a 17mm or a 20mm eyepiece, with a # 12 eyepiece filter, on a 4" SCT giving a 11" and a 10" image. If using a telescope with over a 4" lens stop it down to 4" or less. On a 8 SCT, stopped down to 2", a 25mm eyepiece was used. Also a #21 orange eyepiece filter can be used. Plossl eyepieces where used because they deliver sharper and better color corrected images than Ramsden or Huygenian eyepieces.”
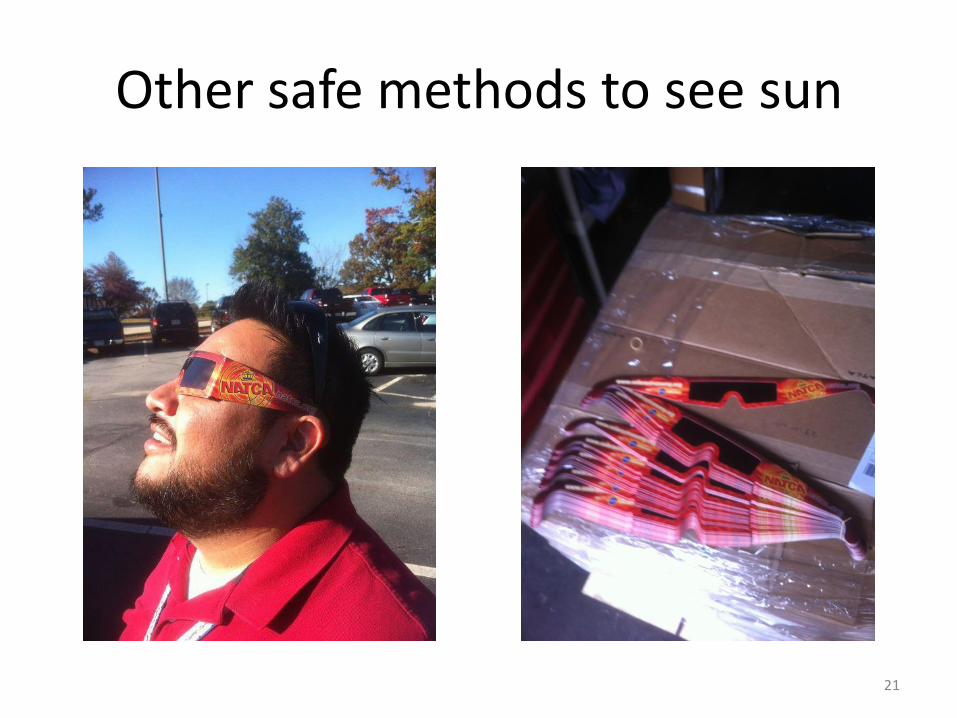
Other safe methods to see sun
21
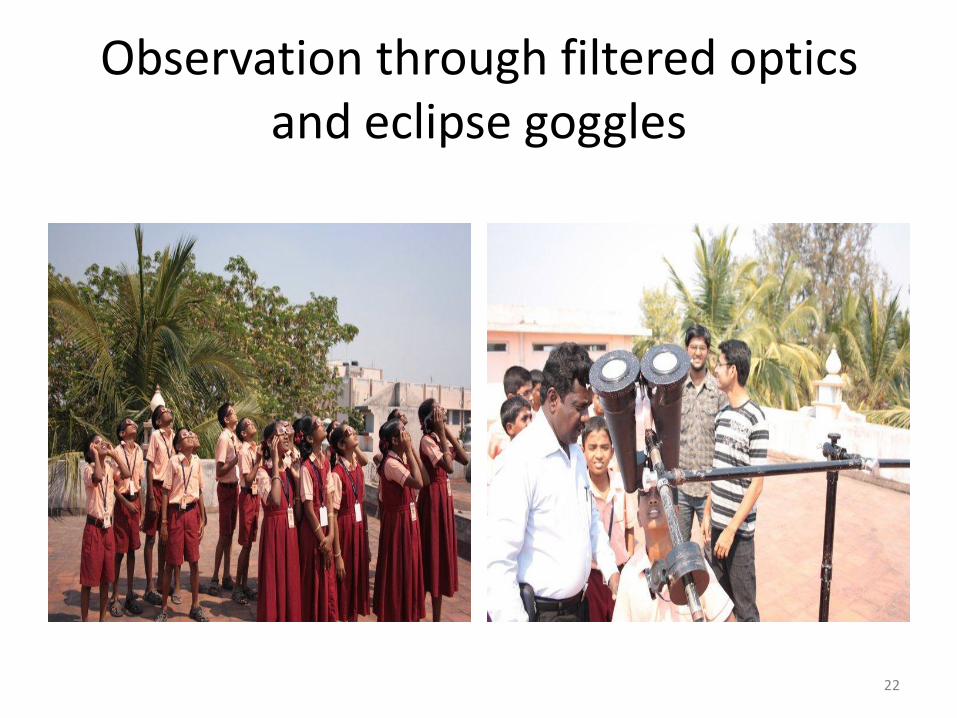
Observation through filtered optics and eclipse goggles
22
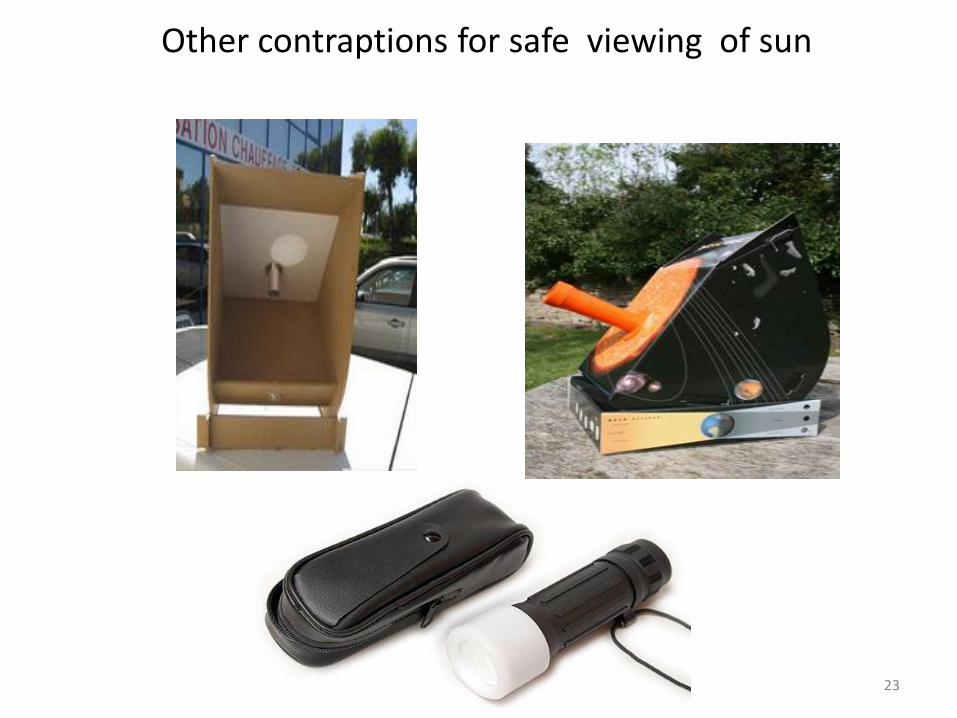
Other contraptions for safe viewing of sun
23

Projection of sun through a refractor telescope Best method and easy to set up and photograph
24
PIN HOLE METHOD
25

Simple Pin hole method using a used tin!
• Using a discarded cola tin • Take hard bodied cola tin or a cardboard barrel • Cut off the both ends, cover the holes on one end with
a thick paper or chart paper or card board while the other end with clear smudge free tracing paper
• On the end with thick paper or board, make a pin hole good enough to effortlessly allow the sunlight clearly
• View the sun via the tracing paper side, the paper will act as an screen. One can easily see the solar disk with spots and eclipse. Taller the can or barrel good the image.
• If possible place the contraption on to a adjustable holder to see freely
26

Home made pin hole camera
The Pinhole Projection Method
One safe way of enjoying the Sun during a partial eclipse-or anytime--is a "pinhole camera," which allows you to view a projected image of the Sun. There are fancy pinhole cameras you can make out of cardboard boxes, but a perfectly adequate (and portable) version can be made out of two thin but stiff pieces of white cardboard. Punch a small clean pinhole in one piece of cardboard and let the sunlight fall through that hole onto the second piece of cardboard, which serves as a screen, held below it. An inverted image of the Sun is formed. To make the image larger, move the screen farther from the pinhole. To make the image brighter, move the screen closer to the pinhole. Do not make the pinhole wide or you will only have a shaft of sunlight rather than an image of the crescent Sun. Remember, this instrument is used with your back to the Sun. The sunlight passes over your shoulder, through the pinhole, and forms an image on the cardboard screen beneath it. Do not look through the pinhole at the Sun.
27

A pinhole camera made from an discarded oatmeal can. The pinhole is in the centre. The black plastic which normally surrounds this camera has been removed.

Thanks….....
29


