68
Sandblaster - 3D printed sand buggy Created by Rick Winscot Last updated on 2016-11-20 07:08:39 AM UTC
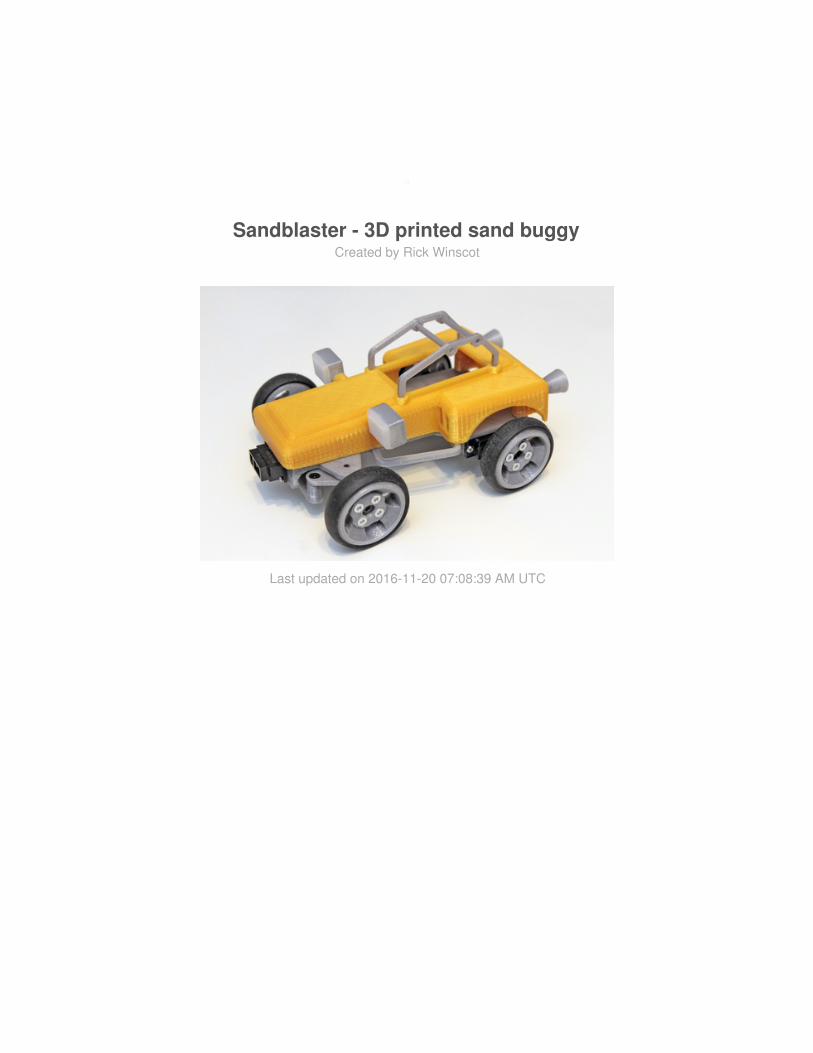
Sandblaster - 3D printed sand buggyCreated by Rick Winscot
Last updated on 2016-11-20 07:08:39 AM UTC
234678
121926314042495667
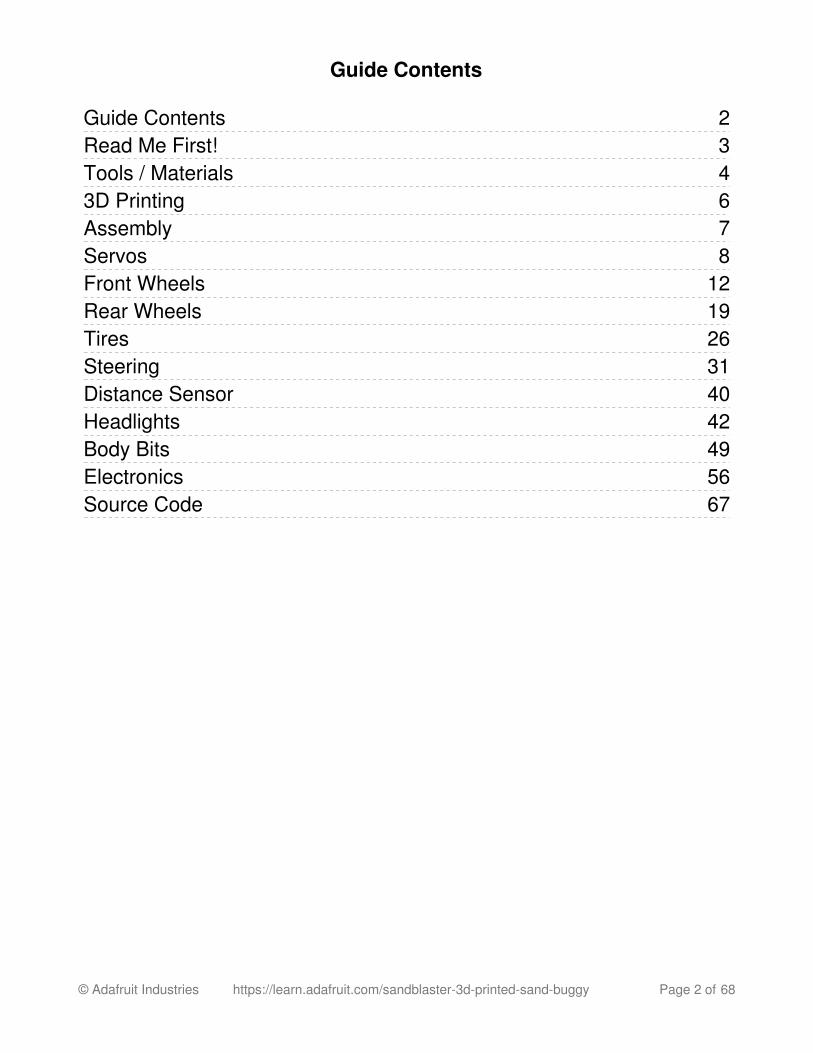
Guide Contents
Guide ContentsRead Me First!Tools / Materials3D PrintingAssemblyServosFront WheelsRear WheelsTiresSteeringDistance SensorHeadlightsBody BitsElectronicsSource Code
© Adafruit Industries https://learn.adafruit.com/sandblaster-3d-printed-sand-buggy Page 2 of 68
Read Me First!Sandblaster is a variation on Blue Buggy (http://adafru.it/kfp) remixing the original CoxInternational gas-powered sand buggy (http://adafru.it/kfq) - scaled-down, converted toelectric, and 3D printable!
You can use it to explore obstacle avoidance, autonomous navigation, driverless vehicledesign, or assisted Remote Control. Or… build in the morning and race in the afternoon!
Crazy fun for your local hackerspace / makerspace or family night!
Cost can be reduced significantly with a group-buy… what colors are you going to use?
I would recommend reading through the entire guide first... it's an advanced project and willtake at least a weekend to complete.
© Adafruit Industries https://learn.adafruit.com/sandblaster-3d-printed-sand-buggy Page 3 of 68

Tools / MaterialsGather your goodies!
Electronics
2X Continuous Rotation Micro Servos (http://adafru.it/kfr)1X Standard Micro Servo (http://adafru.it/kfs)1X Metro Mini (http://adafru.it/fto)1X Tiny Breadboard (http://adafru.it/kft)1X AAA Battery Holder (http://adafru.it/kfu) (Pololu)1X 5V Step-up Voltage Regulator (http://adafru.it/kfv) (Pololu)1X 2-AAA Battery Holder (http://adafru.it/kfu) (Pololu)2X AAA Batteries (http://adafru.it/617)1X Sharp Analog Distance Sensor - 10-80cm (http://adafru.it/164)Hook-up Wire (http://adafru.it/1311)Extra-long Breakaway Headers (http://adafru.it/kfw)Shrink Tubing (http://adafru.it/344)
Hardware
4X 2-inch 'Broccoli' Bands (http://adafru.it/kfx) (Grifiti)2X 3x10x4mm Bearings (http://adafru.it/kfy) (Amazon)4X 14mm M3 Socket Cap Screws (http://adafru.it/aLt) (McMaster-Carr)12X 3/8 inch Plastic Screws (http://adafru.it/aLt) (McMaster-Carr)12X 1/4 inch Plastic Screws (http://adafru.it/aLt) (McMaster-Carr)6X M3 Washers (http://adafru.it/aLt) (McMaster-Carr)3X #1 3/8 inch Servo Screws (http://adafru.it/kfz) (Micro Fasteners)
Tools
3D Printer (http://adafru.it/2673)Soldering Iron (http://adafru.it/1204)Torx Screwdrivers (http://adafru.it/822)Flush Diagonal Cutters (http://adafru.it/152)J-B Weld Black RTV Silicone Sealant and Adhesive (http://adafru.it/kfA) (Amazon)Gorilla Super Glue (http://adafru.it/kfB)
© Adafruit Industries https://learn.adafruit.com/sandblaster-3d-printed-sand-buggy Page 4 of 68

© Adafruit Industries https://learn.adafruit.com/sandblaster-3d-printed-sand-buggy Page 5 of 68
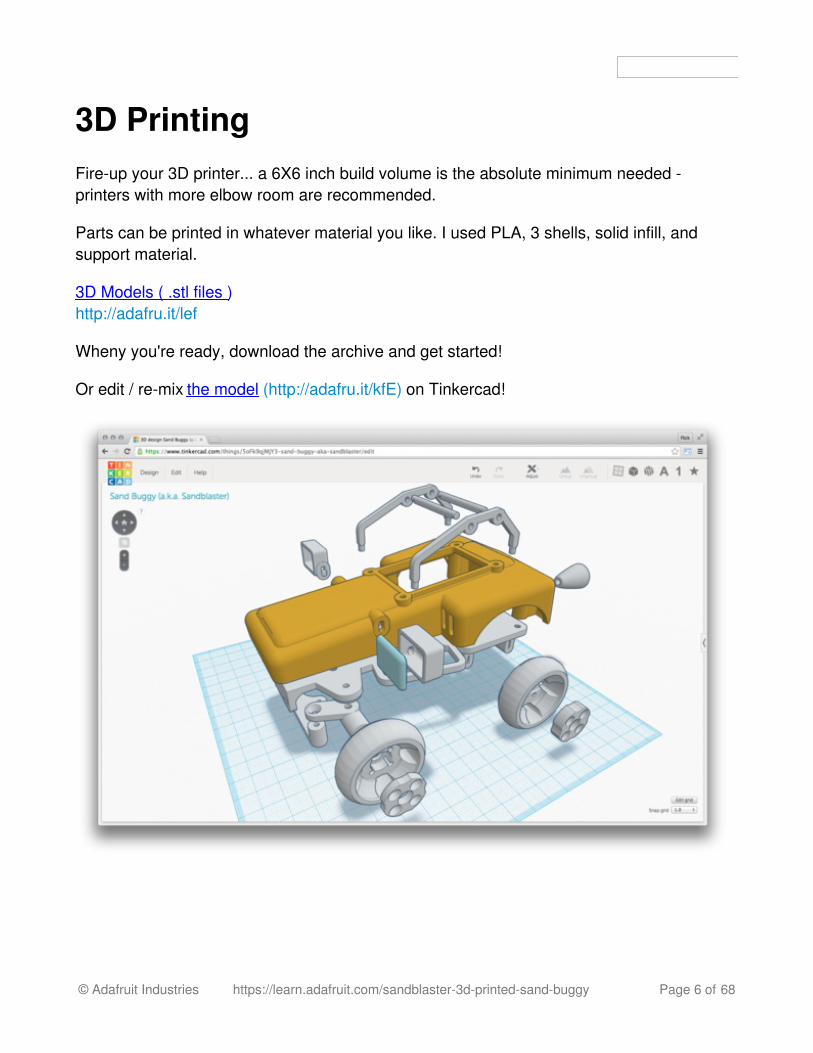
3D PrintingFire-up your 3D printer... a 6X6 inch build volume is the absolute minimum needed -printers with more elbow room are recommended.
Parts can be printed in whatever material you like. I used PLA, 3 shells, solid infill, andsupport material.
3D Models ( .stl files )http://adafru.it/lef
Wheny you're ready, download the archive and get started!
Or edit / re-mix the model (http://adafru.it/kfE) on Tinkercad!
© Adafruit Industries https://learn.adafruit.com/sandblaster-3d-printed-sand-buggy Page 6 of 68
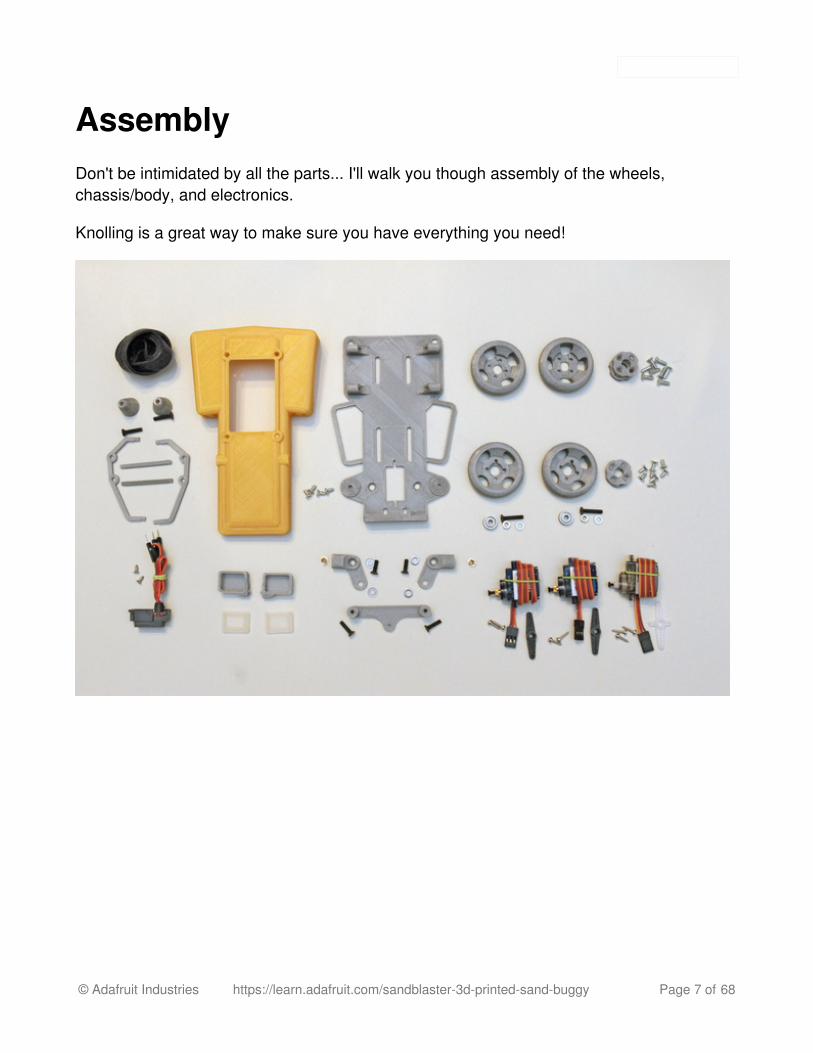
AssemblyDon't be intimidated by all the parts... I'll walk you though assembly of the wheels,chassis/body, and electronics.
Knolling is a great way to make sure you have everything you need!
© Adafruit Industries https://learn.adafruit.com/sandblaster-3d-printed-sand-buggy Page 7 of 68
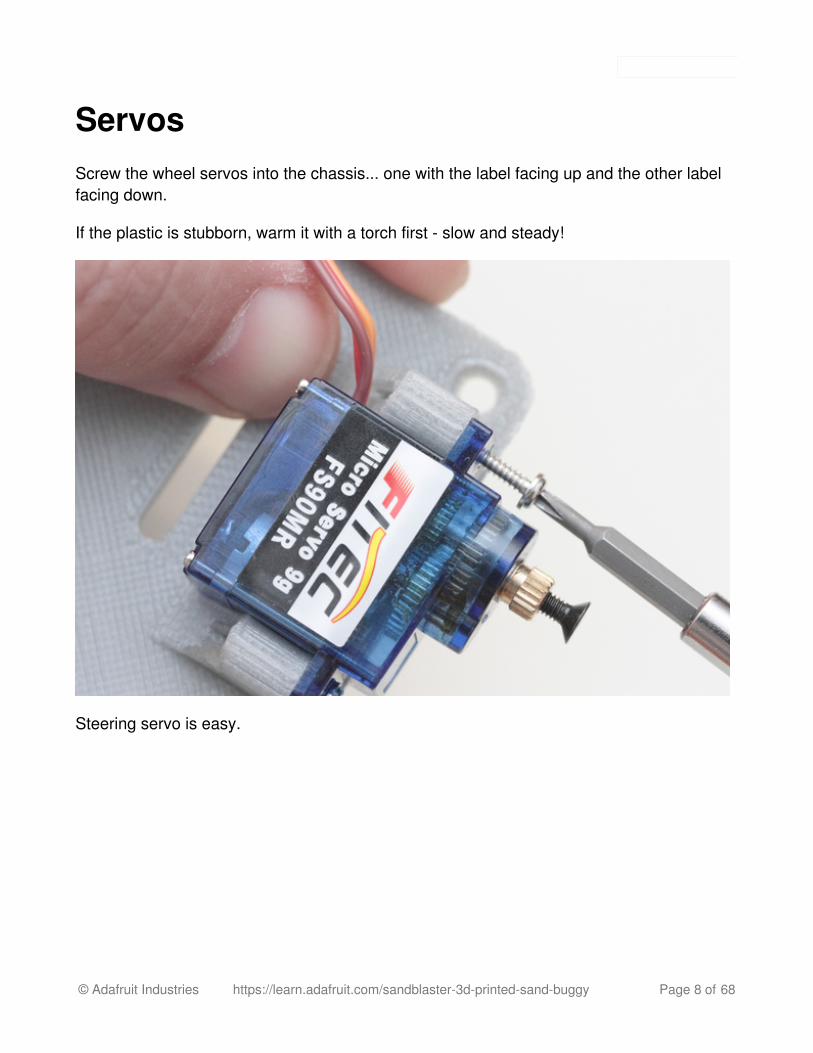
ServosScrew the wheel servos into the chassis... one with the label facing up and the other labelfacing down.
If the plastic is stubborn, warm it with a torch first - slow and steady!
Steering servo is easy.
© Adafruit Industries https://learn.adafruit.com/sandblaster-3d-printed-sand-buggy Page 8 of 68
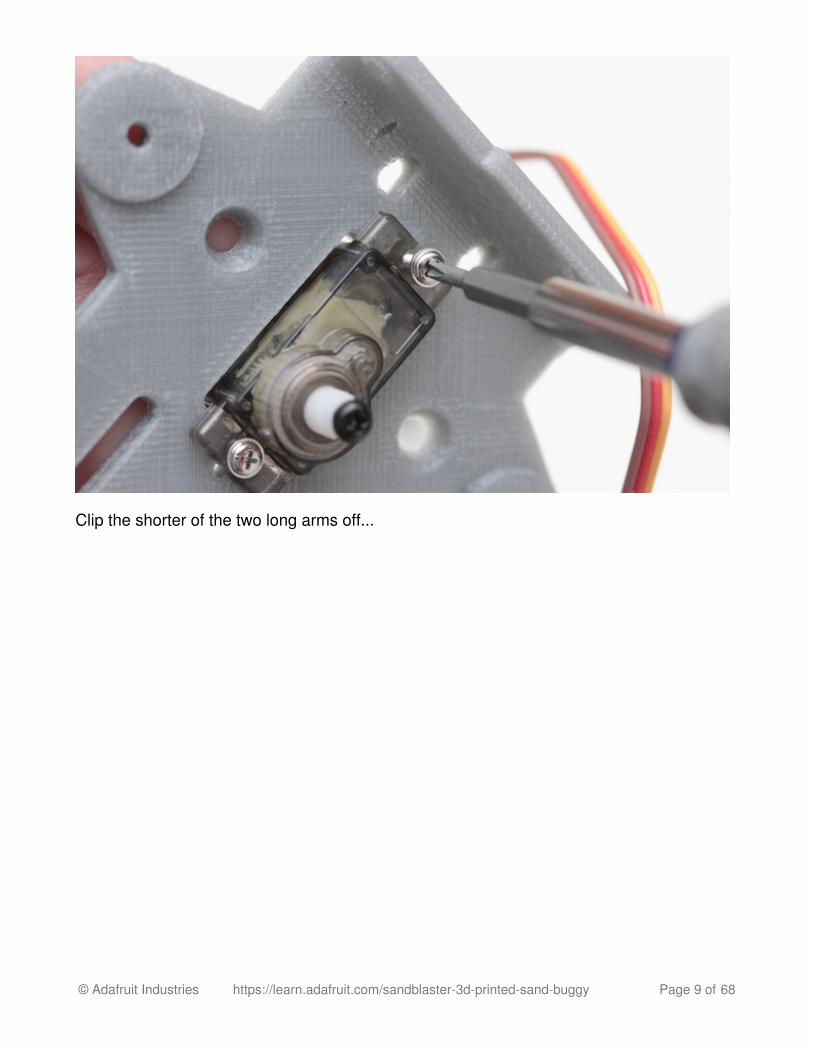
Clip the shorter of the two long arms off...
© Adafruit Industries https://learn.adafruit.com/sandblaster-3d-printed-sand-buggy Page 9 of 68
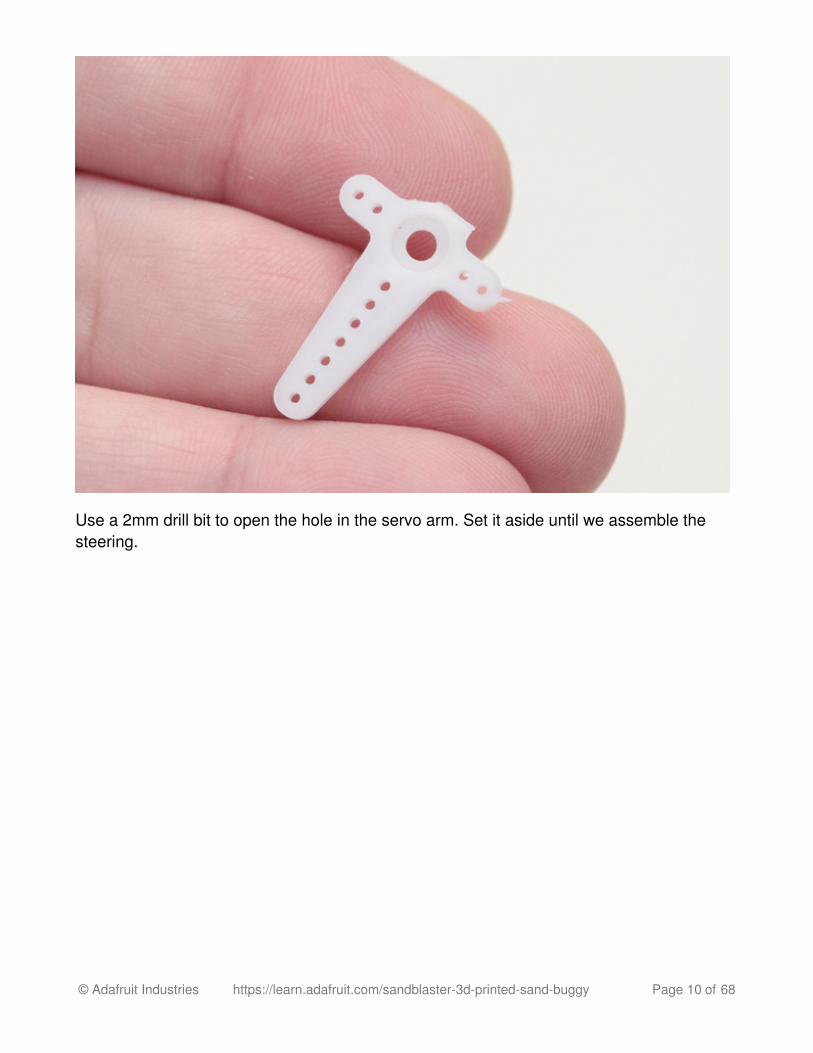
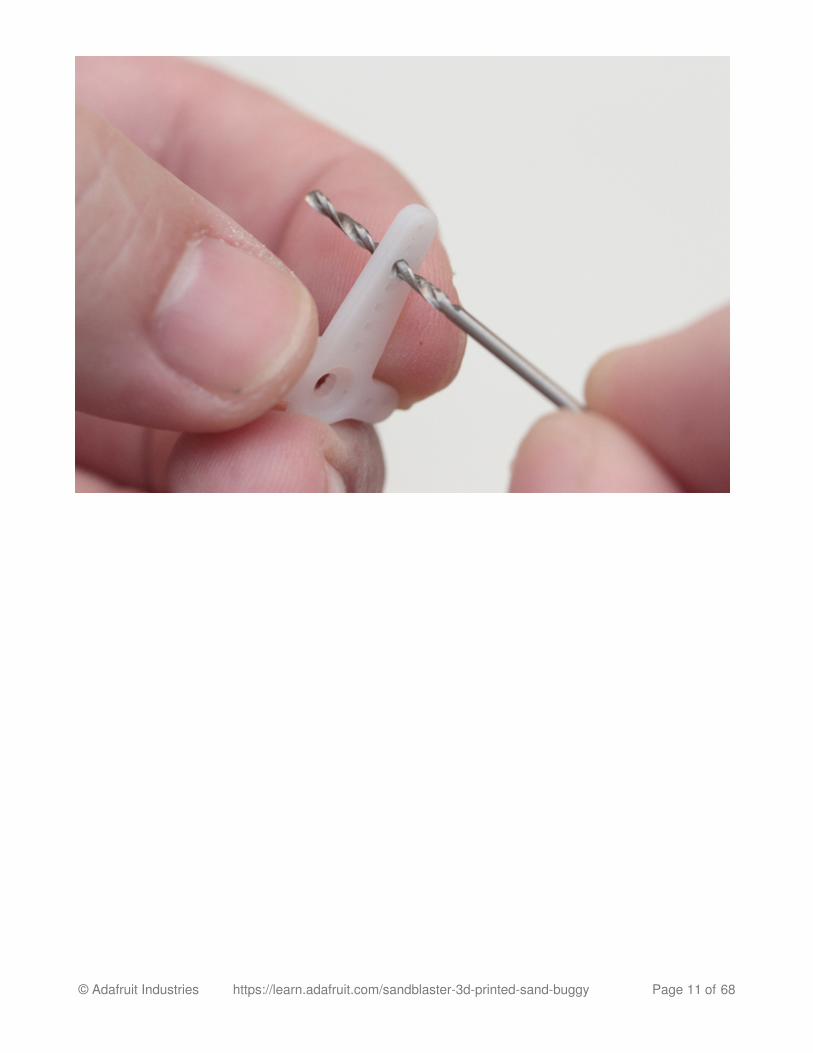
Use a 2mm drill bit to open the hole in the servo arm. Set it aside until we assemble thesteering.
© Adafruit Industries https://learn.adafruit.com/sandblaster-3d-printed-sand-buggy Page 10 of 68
© Adafruit Industries https://learn.adafruit.com/sandblaster-3d-printed-sand-buggy Page 11 of 68
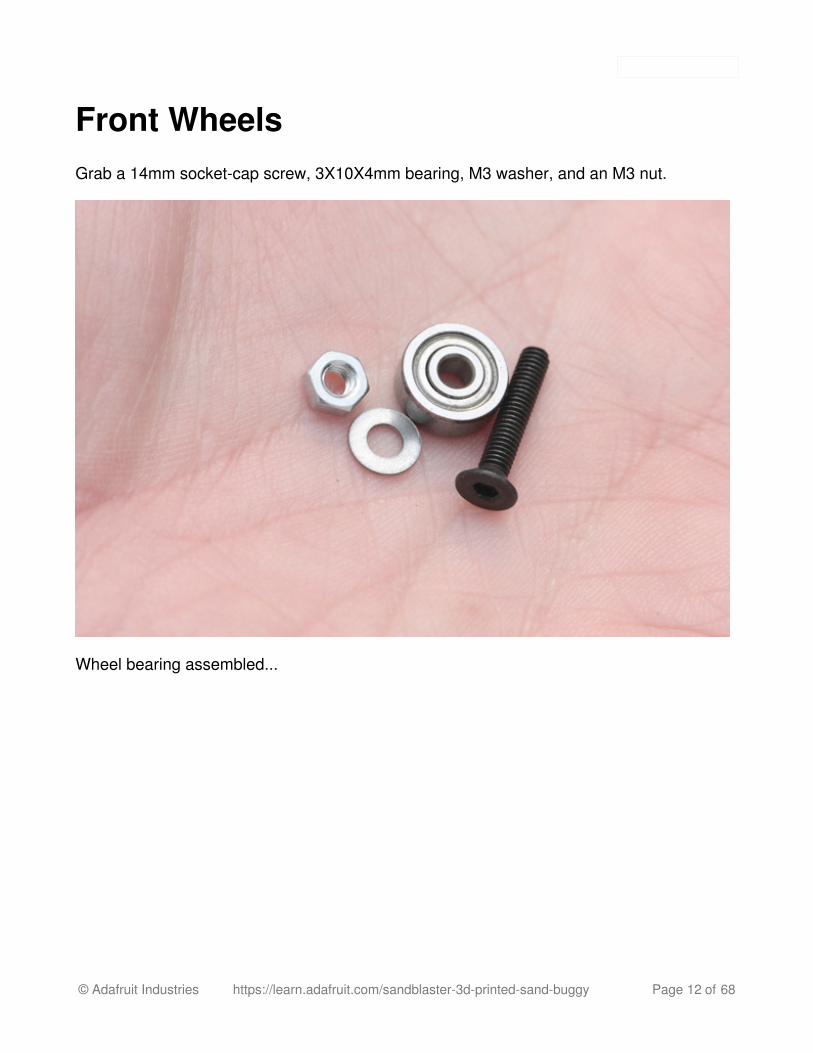
Front WheelsGrab a 14mm socket-cap screw, 3X10X4mm bearing, M3 washer, and an M3 nut.
Wheel bearing assembled...
© Adafruit Industries https://learn.adafruit.com/sandblaster-3d-printed-sand-buggy Page 12 of 68
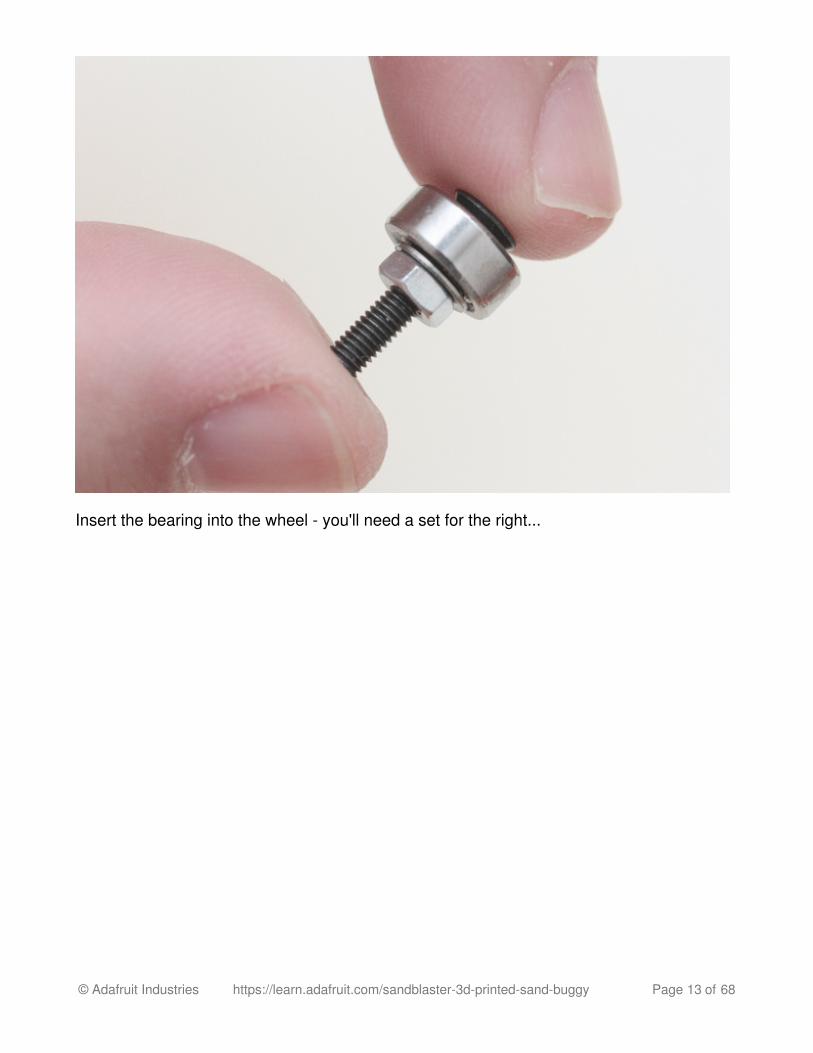
Insert the bearing into the wheel - you'll need a set for the right...
© Adafruit Industries https://learn.adafruit.com/sandblaster-3d-printed-sand-buggy Page 13 of 68
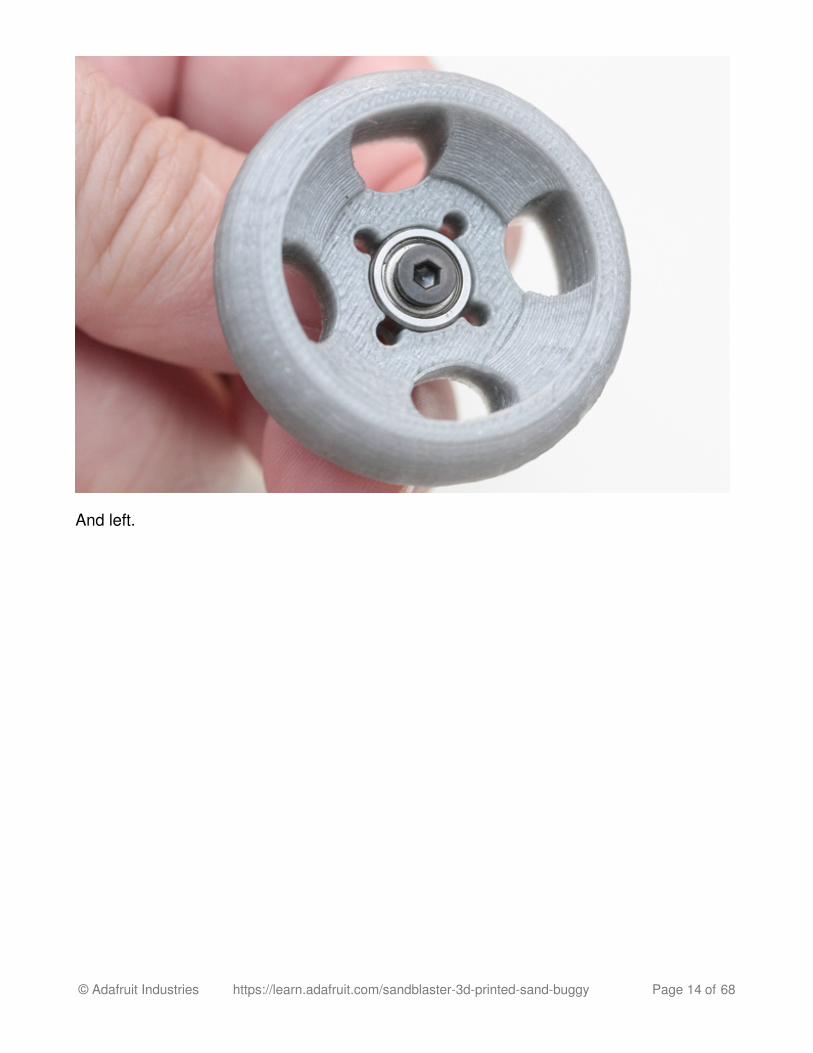
And left.
© Adafruit Industries https://learn.adafruit.com/sandblaster-3d-printed-sand-buggy Page 14 of 68

Grab a thin hub and four short plastic screws.
© Adafruit Industries https://learn.adafruit.com/sandblaster-3d-printed-sand-buggy Page 15 of 68
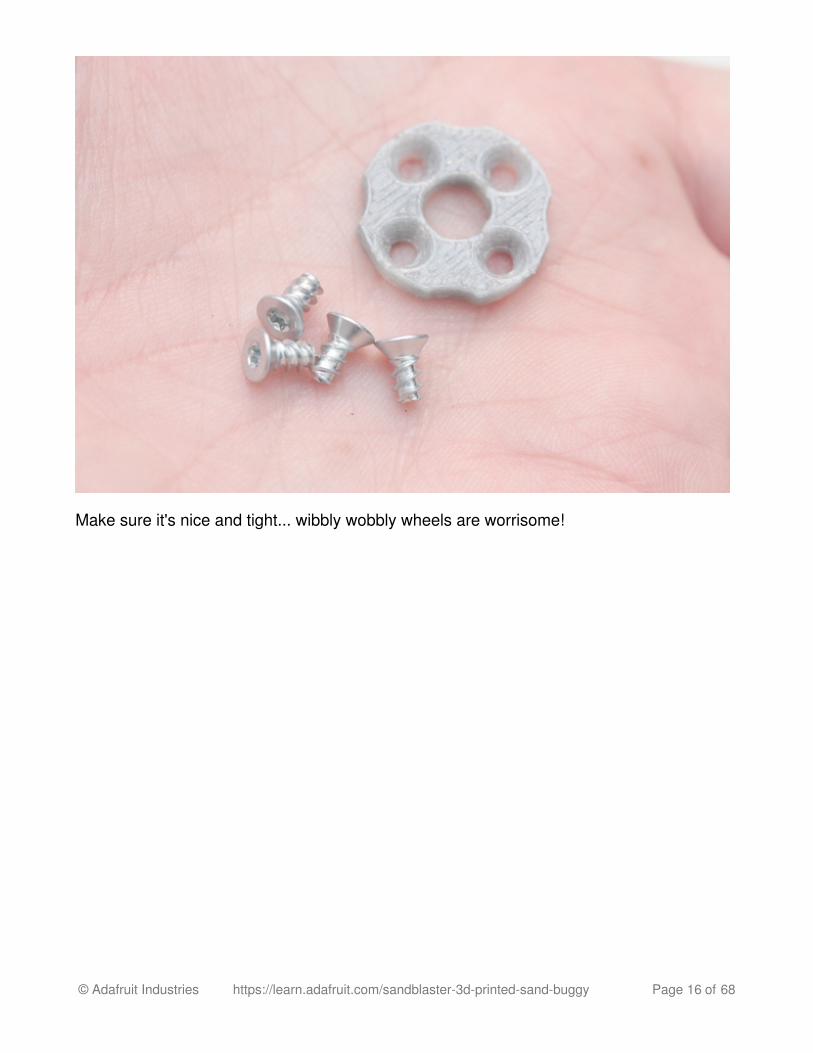
Make sure it's nice and tight... wibbly wobbly wheels are worrisome!
© Adafruit Industries https://learn.adafruit.com/sandblaster-3d-printed-sand-buggy Page 16 of 68
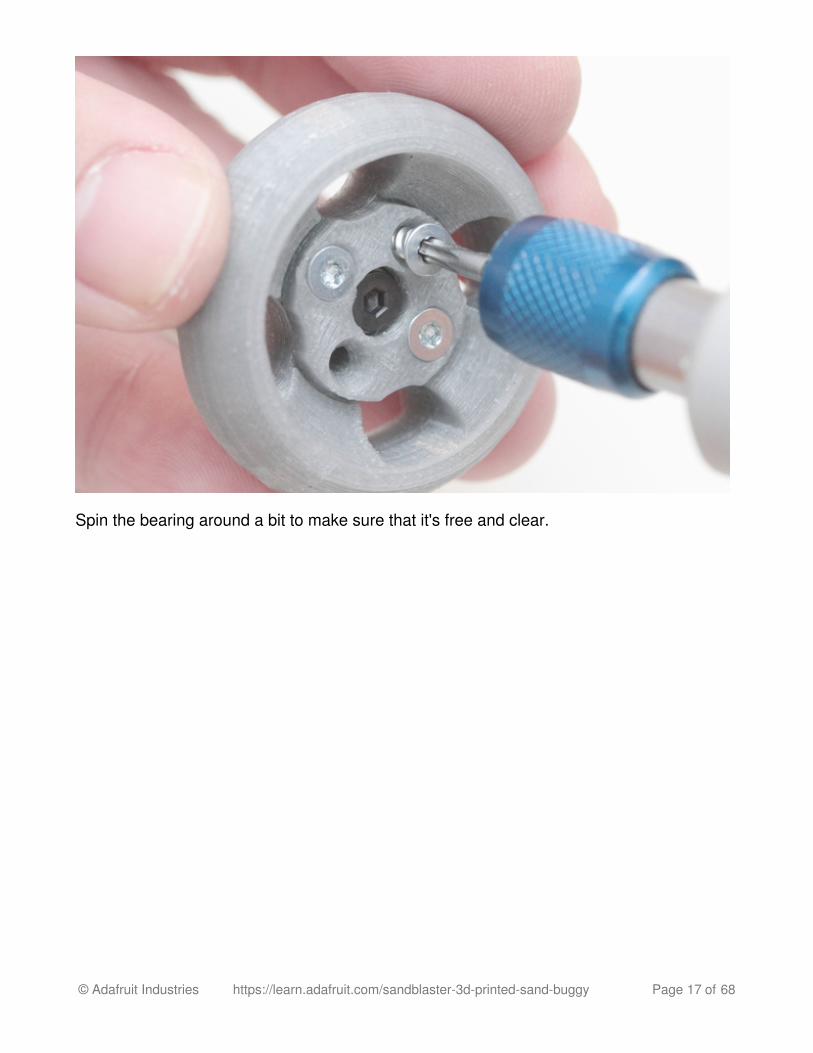
Spin the bearing around a bit to make sure that it's free and clear.
© Adafruit Industries https://learn.adafruit.com/sandblaster-3d-printed-sand-buggy Page 17 of 68
© Adafruit Industries https://learn.adafruit.com/sandblaster-3d-printed-sand-buggy Page 18 of 68
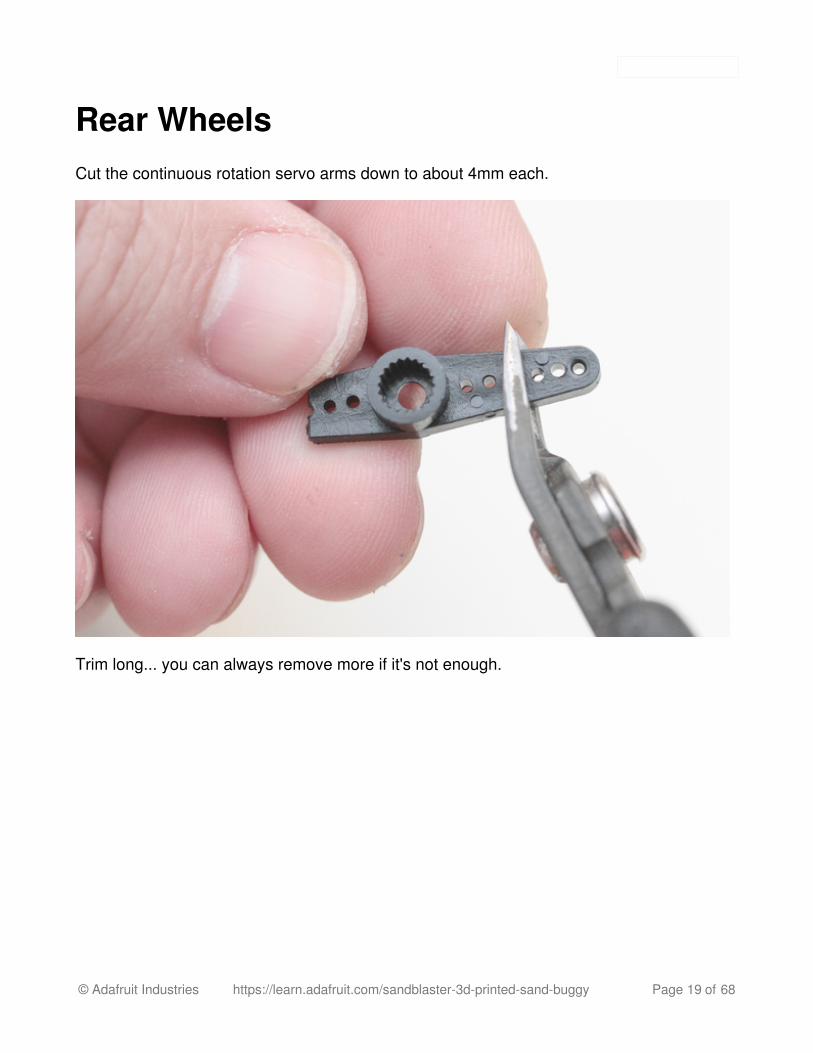
Rear WheelsCut the continuous rotation servo arms down to about 4mm each.
Trim long... you can always remove more if it's not enough.
© Adafruit Industries https://learn.adafruit.com/sandblaster-3d-printed-sand-buggy Page 19 of 68

If the fit of the servo horn is too tight, warm the wheel with a torch and press it into place.
© Adafruit Industries https://learn.adafruit.com/sandblaster-3d-printed-sand-buggy Page 20 of 68

Until the back of the servo horn is flush with the back of the wheel.
© Adafruit Industries https://learn.adafruit.com/sandblaster-3d-printed-sand-buggy Page 21 of 68
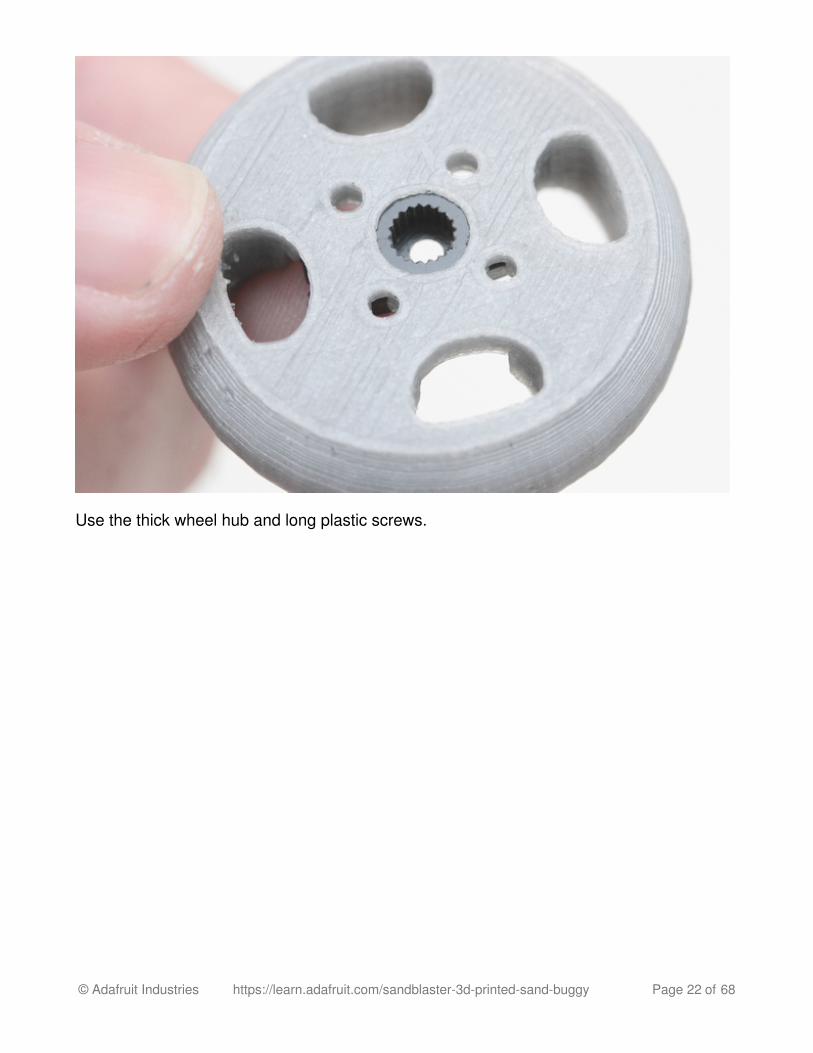
Use the thick wheel hub and long plastic screws.
© Adafruit Industries https://learn.adafruit.com/sandblaster-3d-printed-sand-buggy Page 22 of 68

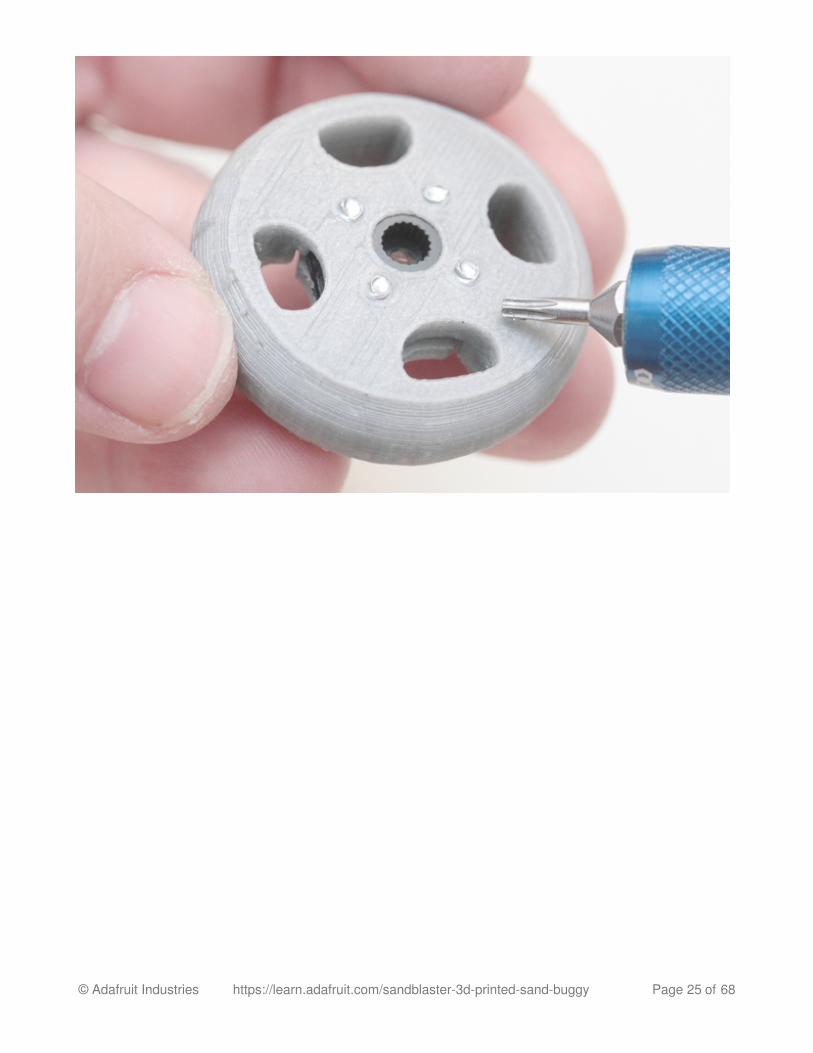
Tighten the screws evenly - keeping the wheel perpendicular to the servo.
© Adafruit Industries https://learn.adafruit.com/sandblaster-3d-printed-sand-buggy Page 23 of 68
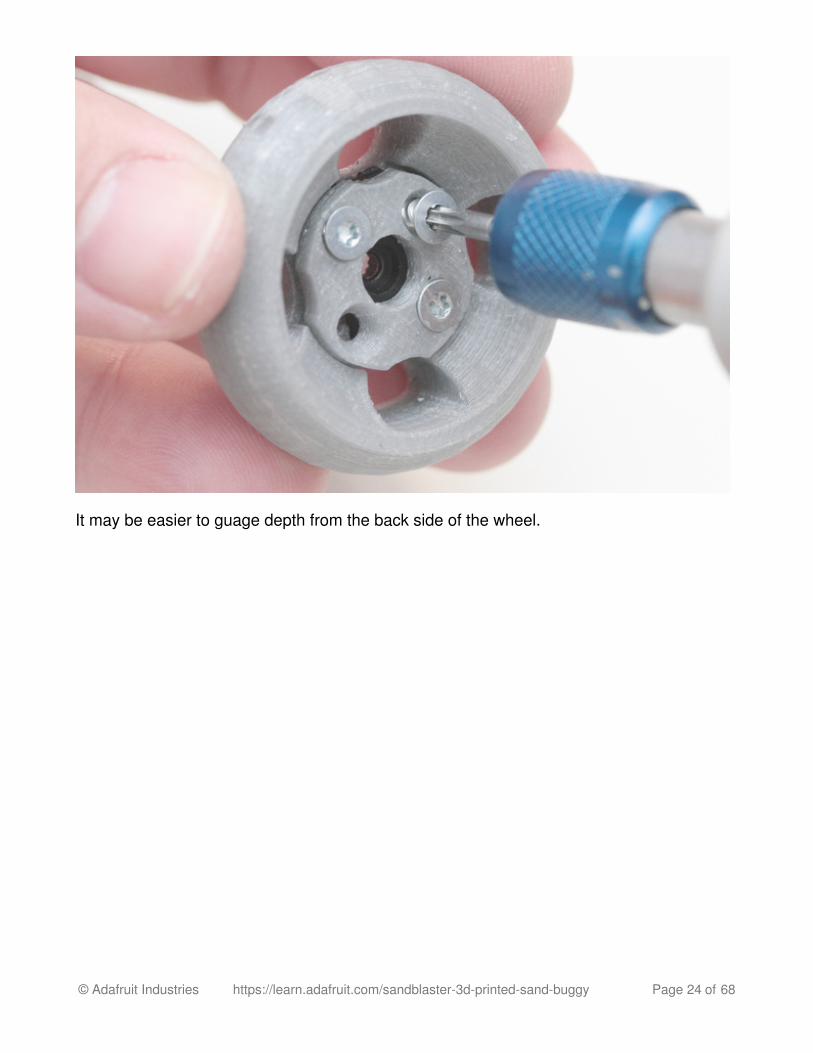
It may be easier to guage depth from the back side of the wheel.
© Adafruit Industries https://learn.adafruit.com/sandblaster-3d-printed-sand-buggy Page 24 of 68
© Adafruit Industries https://learn.adafruit.com/sandblaster-3d-printed-sand-buggy Page 25 of 68
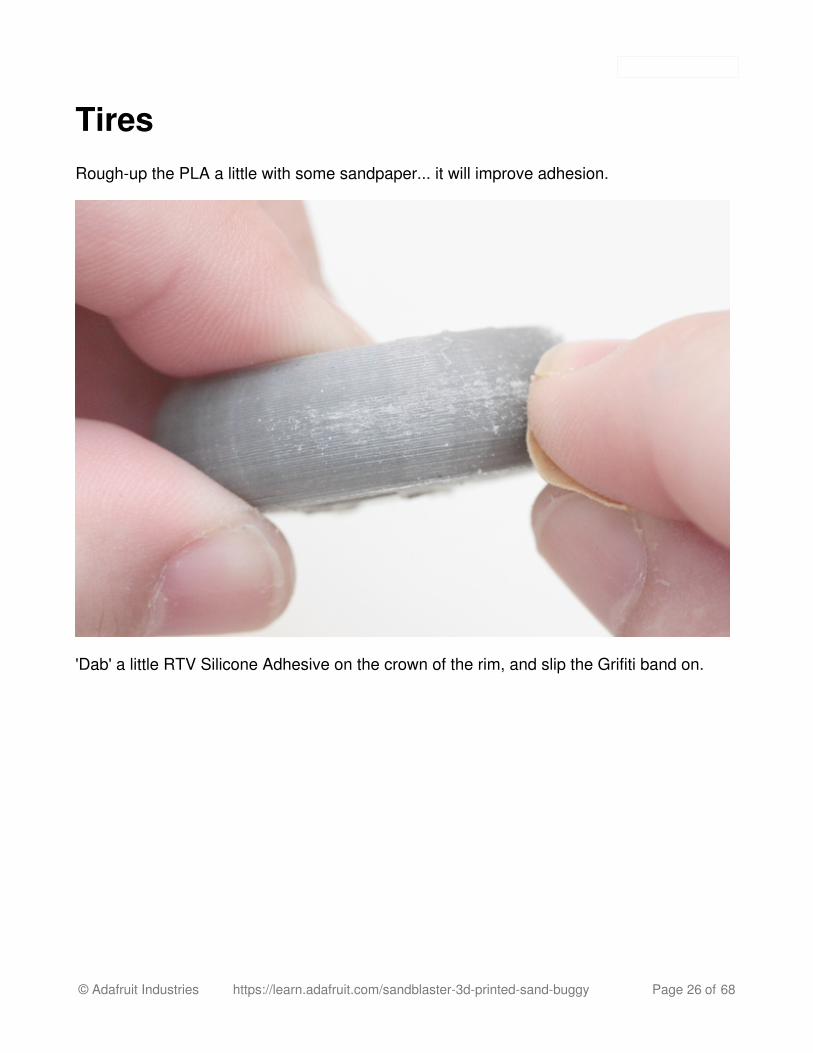
TiresRough-up the PLA a little with some sandpaper... it will improve adhesion.
'Dab' a little RTV Silicone Adhesive on the crown of the rim, and slip the Grifiti band on.
© Adafruit Industries https://learn.adafruit.com/sandblaster-3d-printed-sand-buggy Page 26 of 68
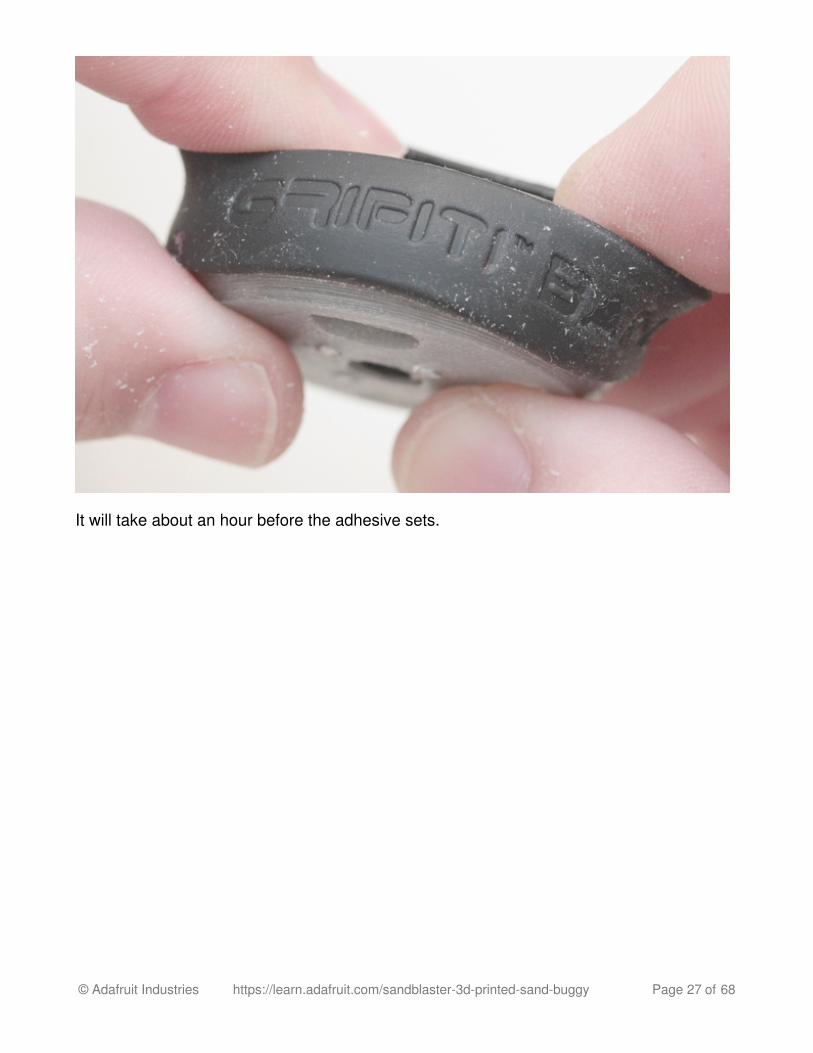
It will take about an hour before the adhesive sets.
© Adafruit Industries https://learn.adafruit.com/sandblaster-3d-printed-sand-buggy Page 27 of 68
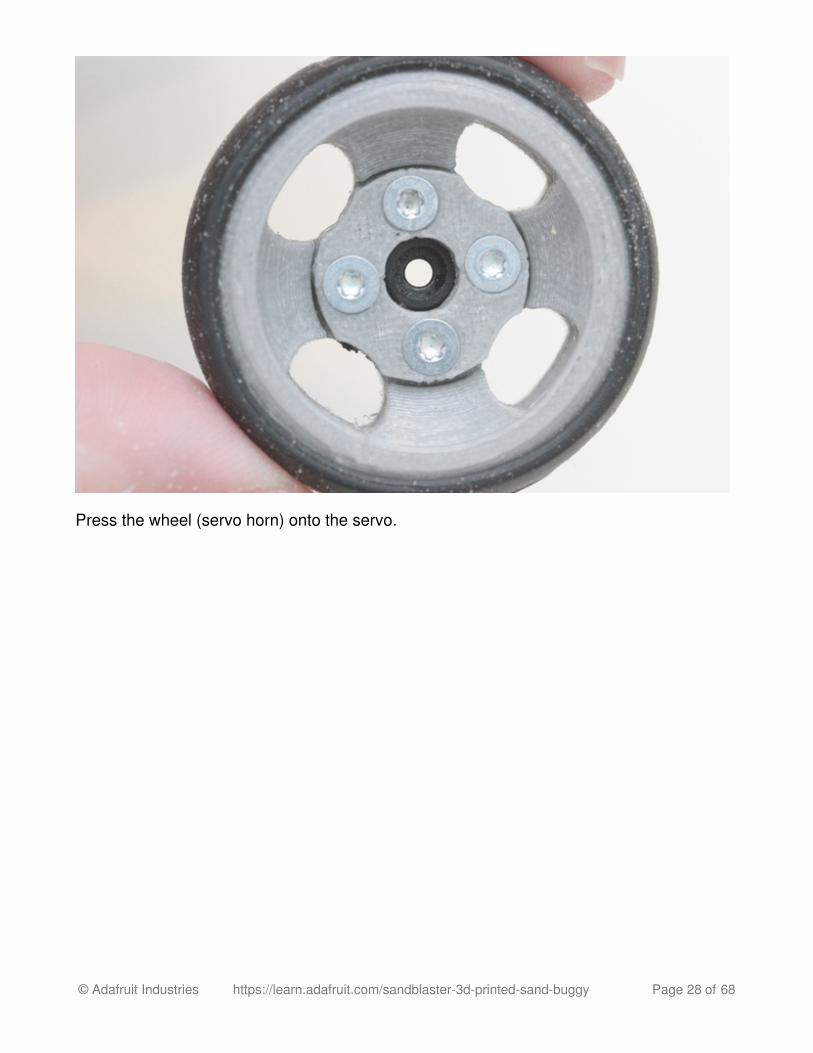
Press the wheel (servo horn) onto the servo.
© Adafruit Industries https://learn.adafruit.com/sandblaster-3d-printed-sand-buggy Page 28 of 68

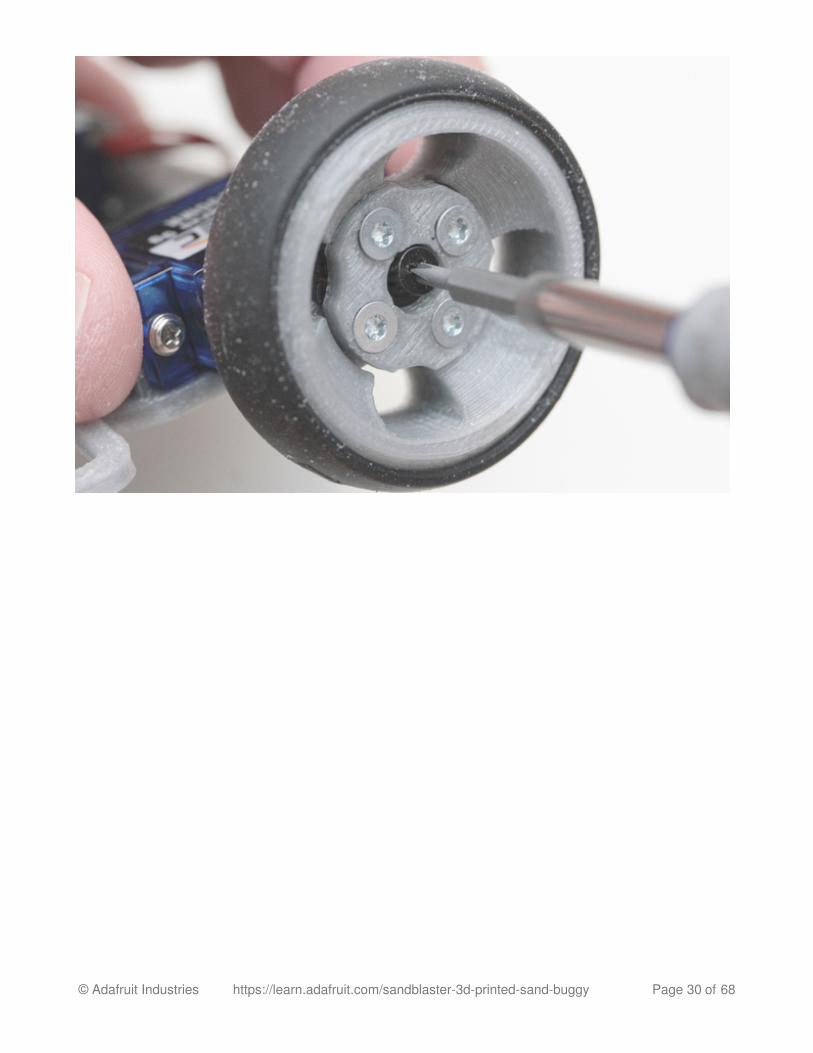
You could hook-up a servo tester at this point to make sure that the wheel rotates withoutwobbling.
When everything looks good, install the set-screw.
© Adafruit Industries https://learn.adafruit.com/sandblaster-3d-printed-sand-buggy Page 29 of 68
© Adafruit Industries https://learn.adafruit.com/sandblaster-3d-printed-sand-buggy Page 30 of 68
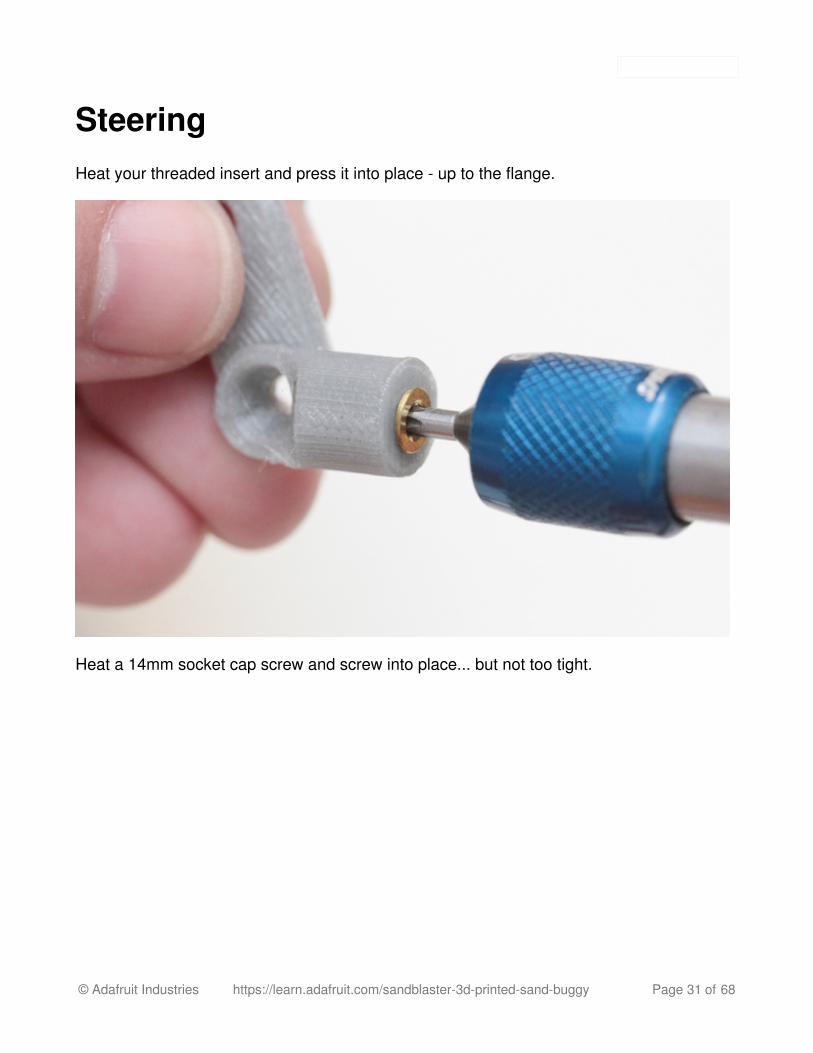
SteeringHeat your threaded insert and press it into place - up to the flange.
Heat a 14mm socket cap screw and screw into place... but not too tight.
© Adafruit Industries https://learn.adafruit.com/sandblaster-3d-printed-sand-buggy Page 31 of 68
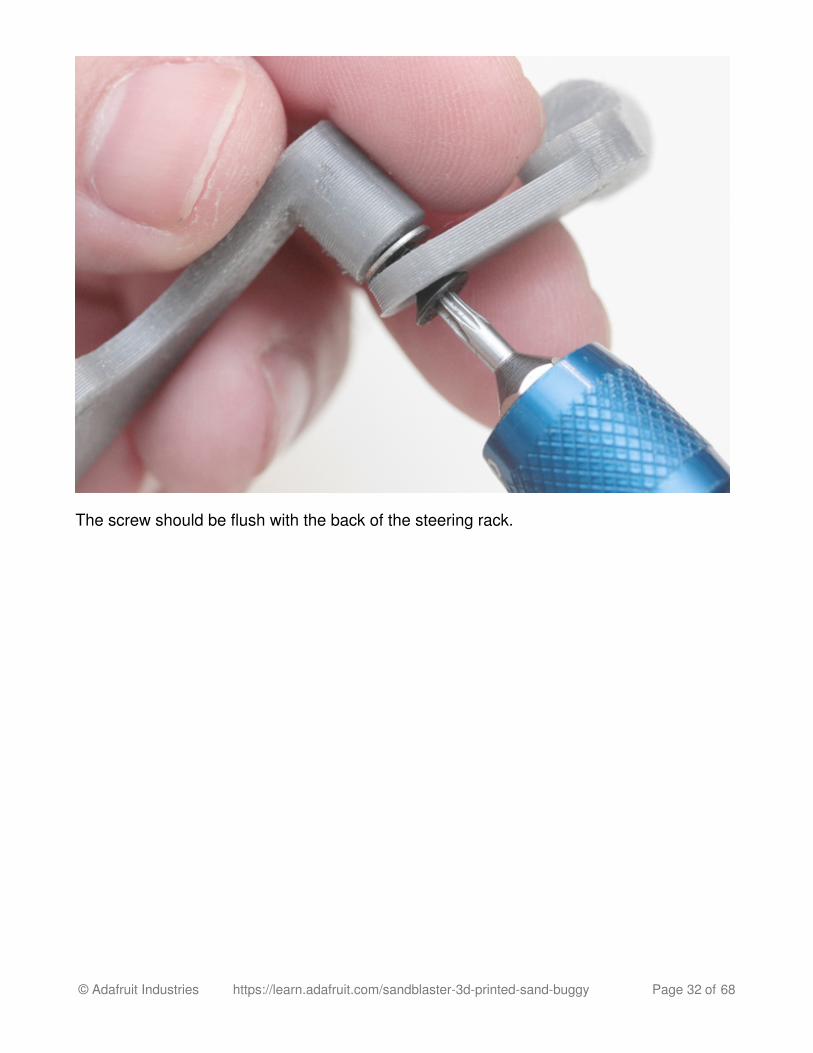
The screw should be flush with the back of the steering rack.
© Adafruit Industries https://learn.adafruit.com/sandblaster-3d-printed-sand-buggy Page 32 of 68
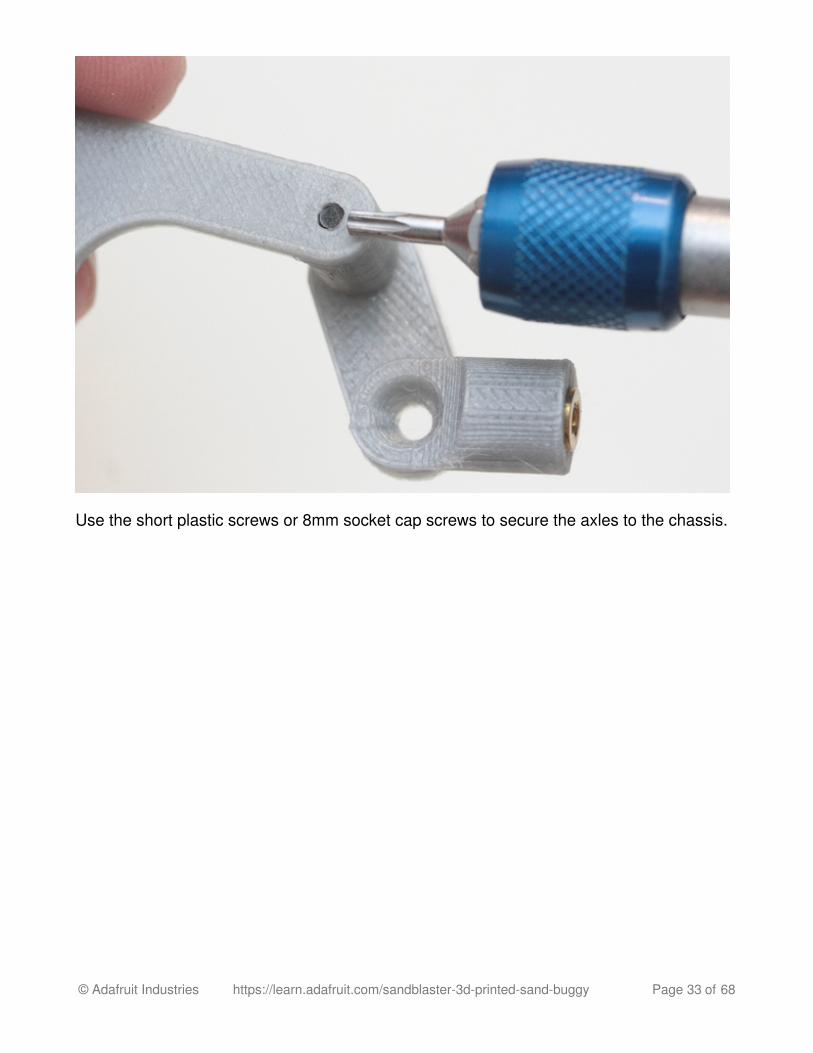
Use the short plastic screws or 8mm socket cap screws to secure the axles to the chassis.
© Adafruit Industries https://learn.adafruit.com/sandblaster-3d-printed-sand-buggy Page 33 of 68
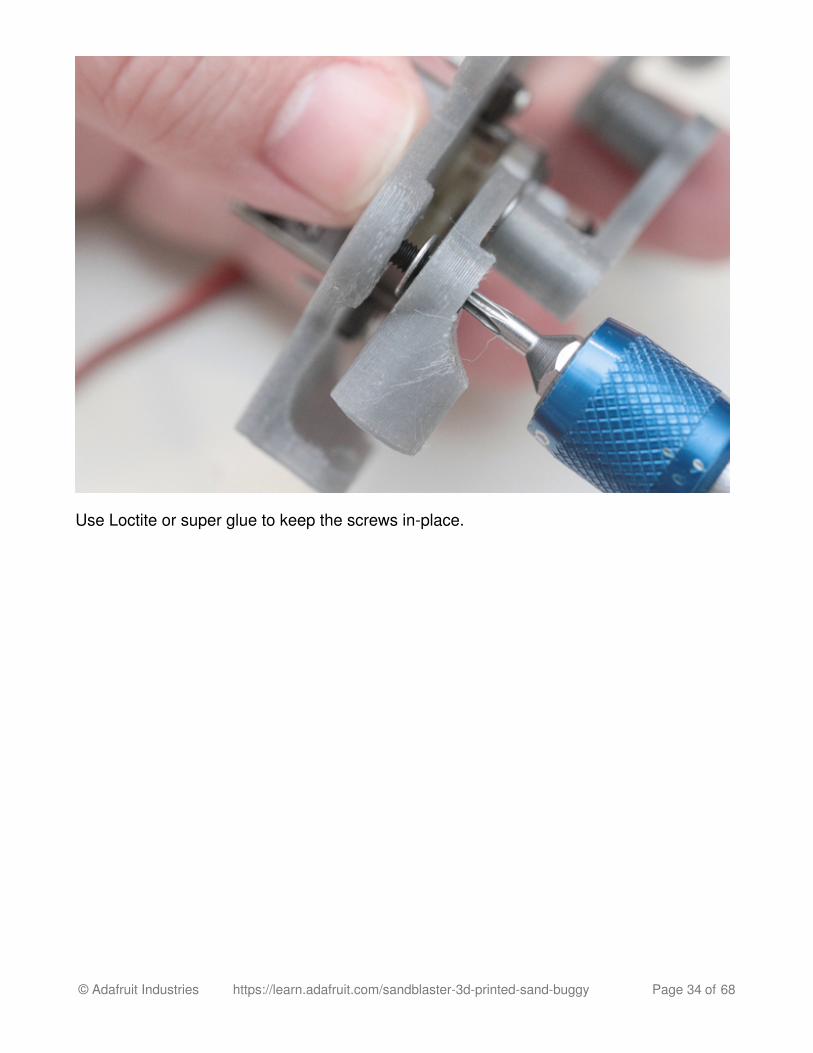
Use Loctite or super glue to keep the screws in-place.
© Adafruit Industries https://learn.adafruit.com/sandblaster-3d-printed-sand-buggy Page 34 of 68
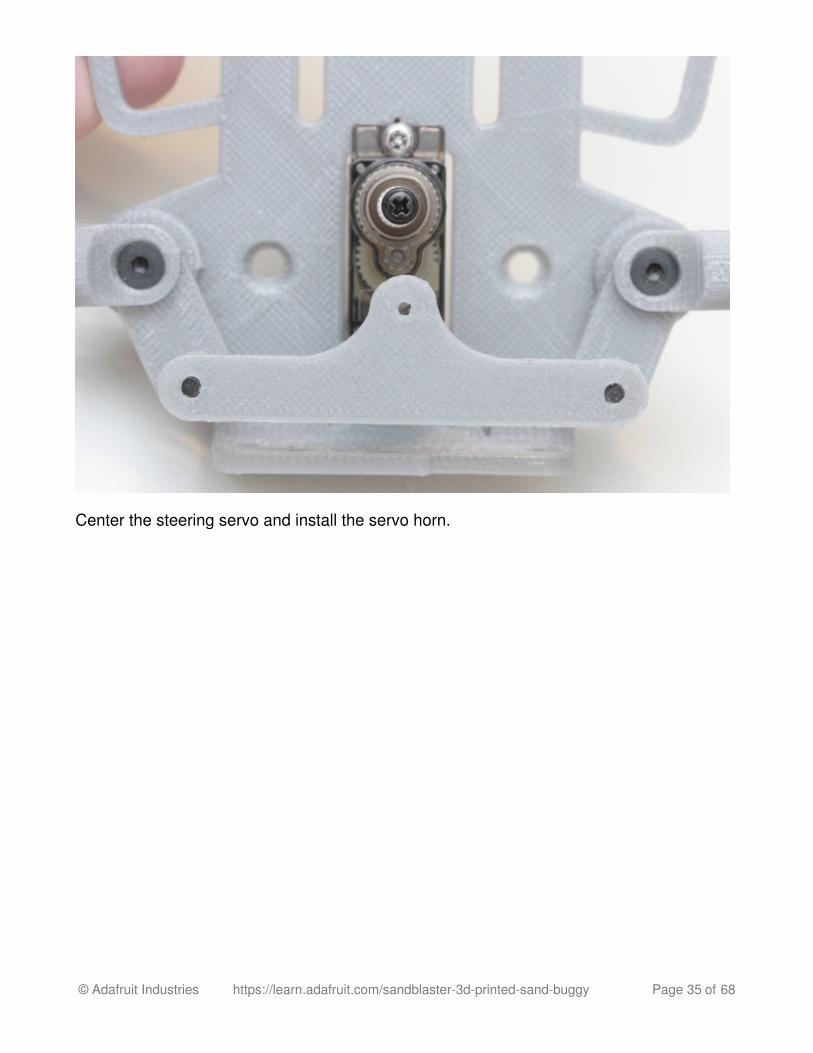
Center the steering servo and install the servo horn.
© Adafruit Industries https://learn.adafruit.com/sandblaster-3d-printed-sand-buggy Page 35 of 68

Set screw for the servo horn and one for the steering rack.
© Adafruit Industries https://learn.adafruit.com/sandblaster-3d-printed-sand-buggy Page 36 of 68
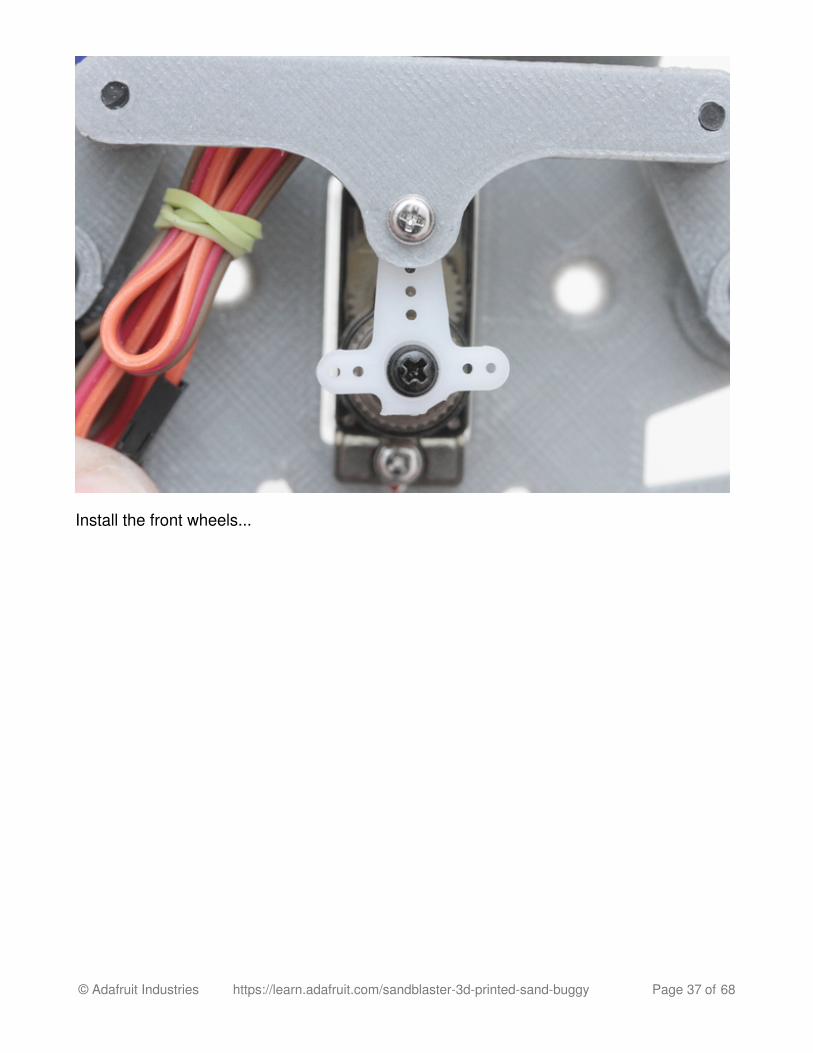
Install the front wheels...
© Adafruit Industries https://learn.adafruit.com/sandblaster-3d-printed-sand-buggy Page 37 of 68
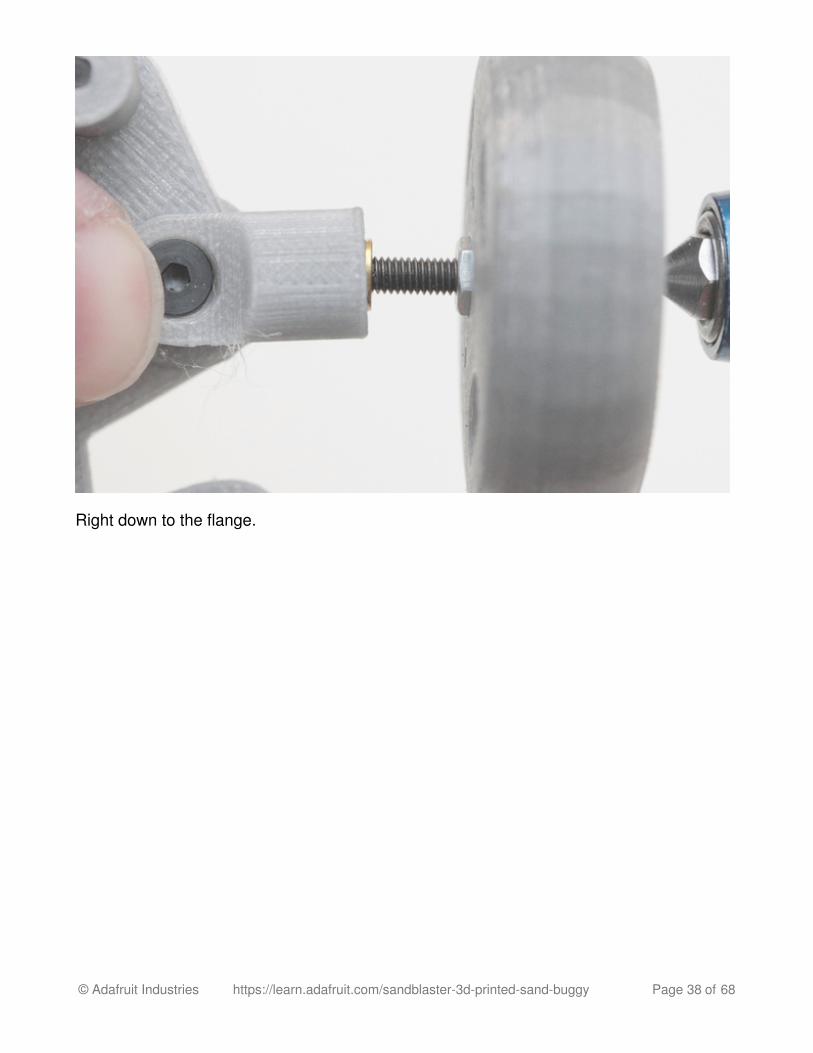
Right down to the flange.
© Adafruit Industries https://learn.adafruit.com/sandblaster-3d-printed-sand-buggy Page 38 of 68

© Adafruit Industries https://learn.adafruit.com/sandblaster-3d-printed-sand-buggy Page 39 of 68
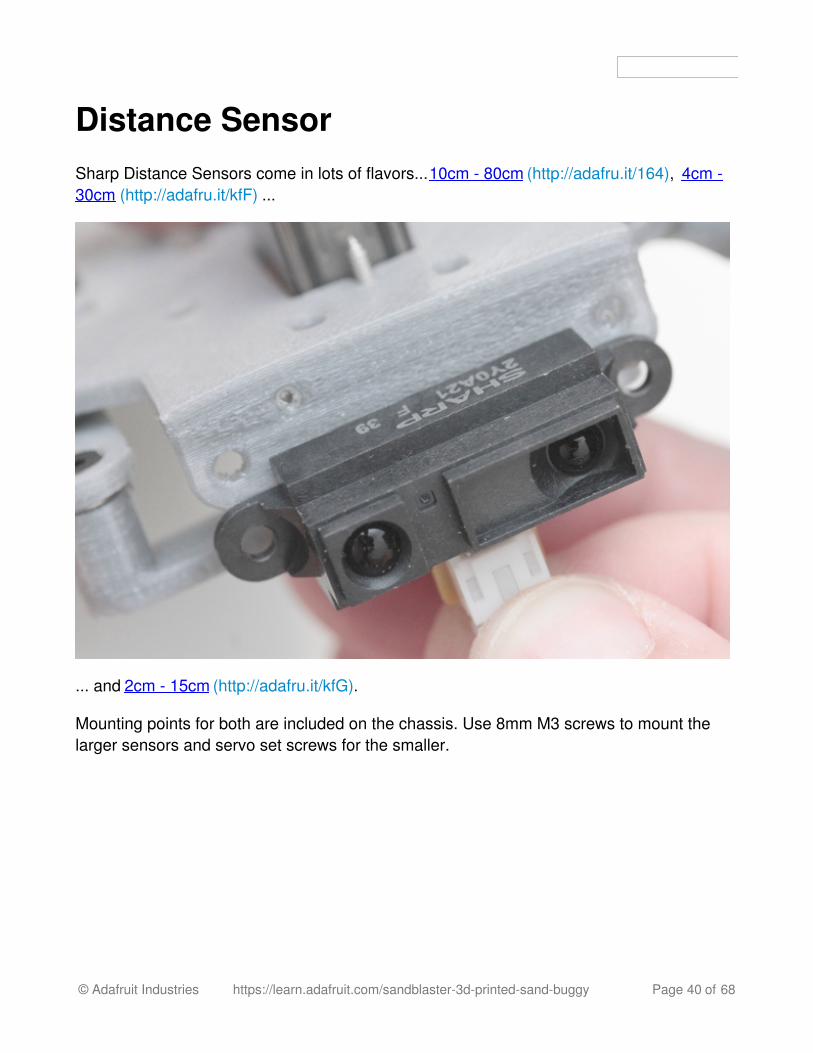
Distance SensorSharp Distance Sensors come in lots of flavors... 10cm - 80cm (http://adafru.it/164), 4cm -30cm (http://adafru.it/kfF) ...
... and 2cm - 15cm (http://adafru.it/kfG).
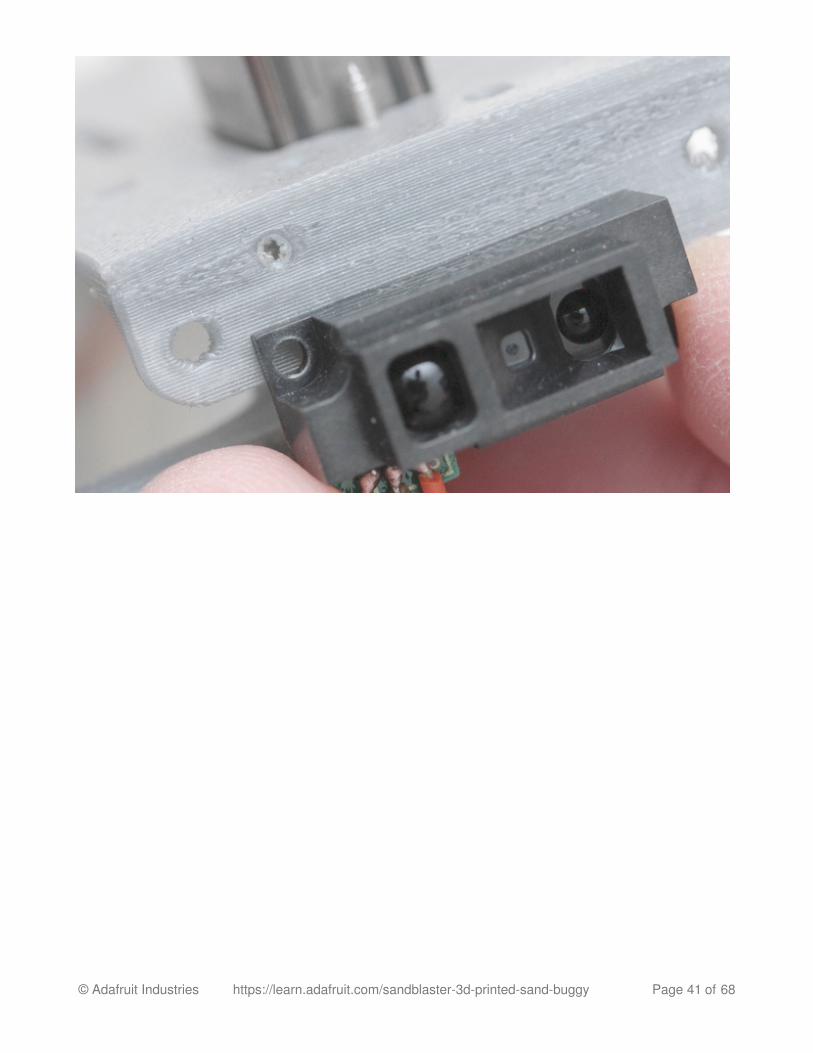
Mounting points for both are included on the chassis. Use 8mm M3 screws to mount thelarger sensors and servo set screws for the smaller.
© Adafruit Industries https://learn.adafruit.com/sandblaster-3d-printed-sand-buggy Page 40 of 68
© Adafruit Industries https://learn.adafruit.com/sandblaster-3d-printed-sand-buggy Page 41 of 68
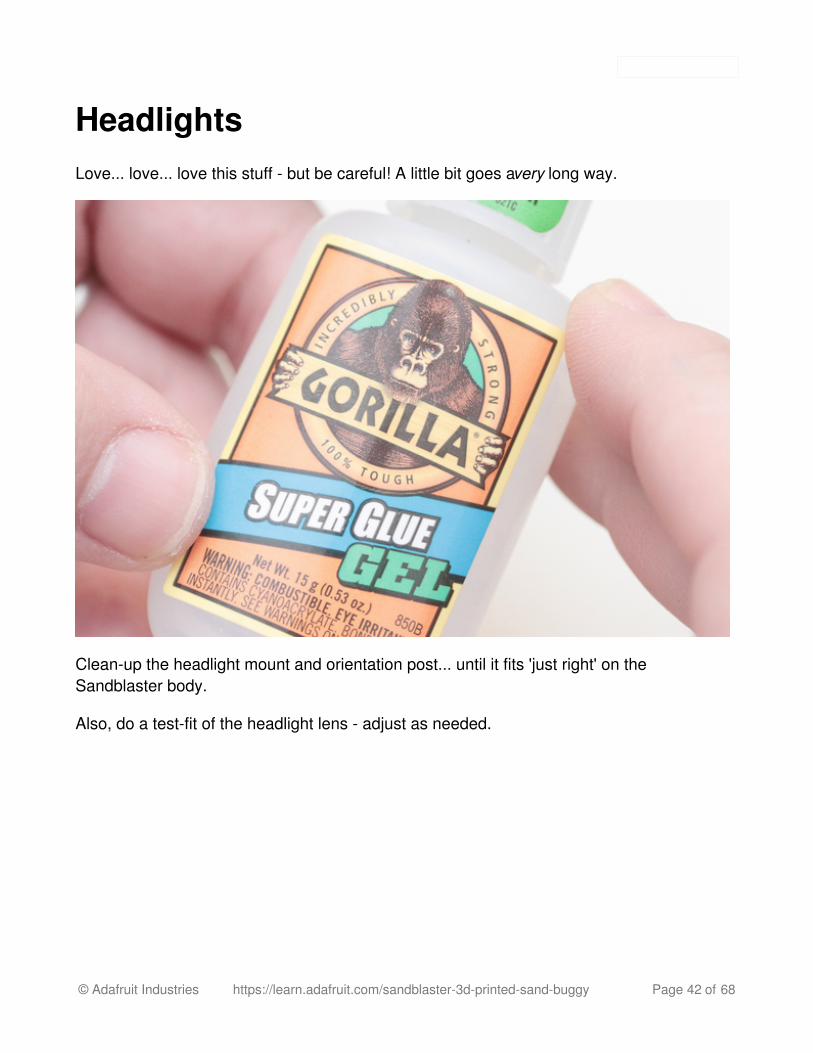
HeadlightsLove... love... love this stuff - but be careful! A little bit goes a very long way.
Clean-up the headlight mount and orientation post... until it fits 'just right' on theSandblaster body.
Also, do a test-fit of the headlight lens - adjust as needed.
© Adafruit Industries https://learn.adafruit.com/sandblaster-3d-printed-sand-buggy Page 42 of 68
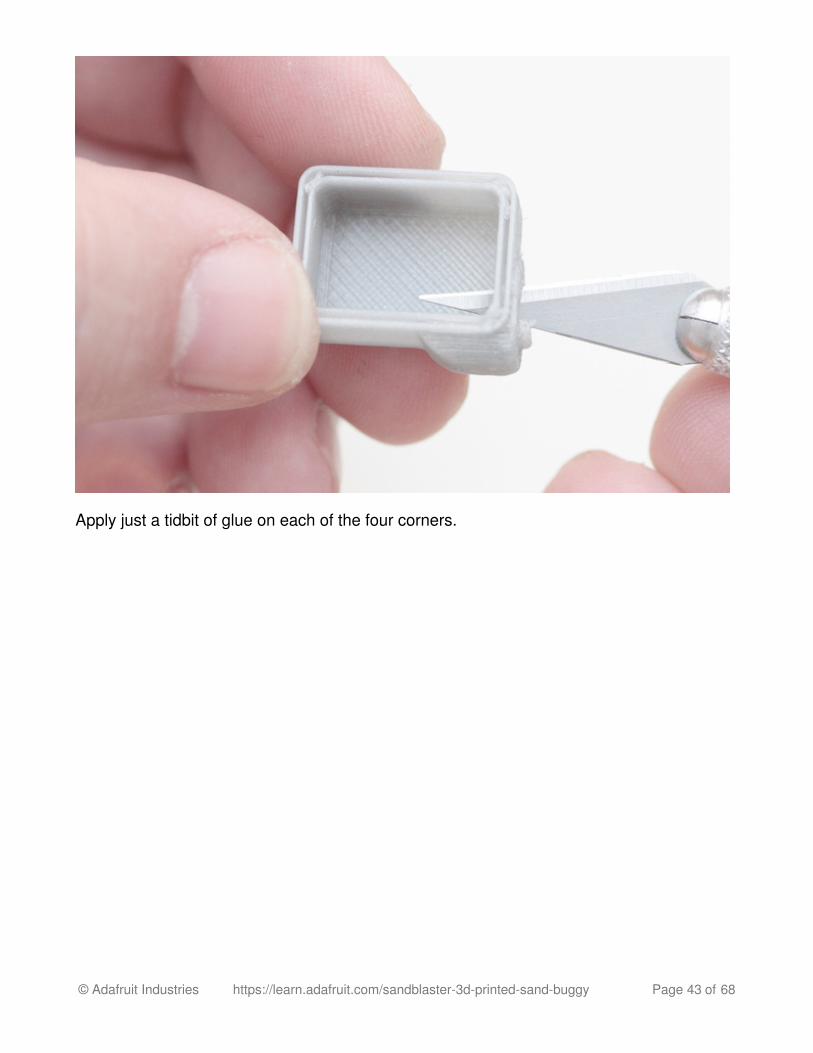
Apply just a tidbit of glue on each of the four corners.
© Adafruit Industries https://learn.adafruit.com/sandblaster-3d-printed-sand-buggy Page 43 of 68
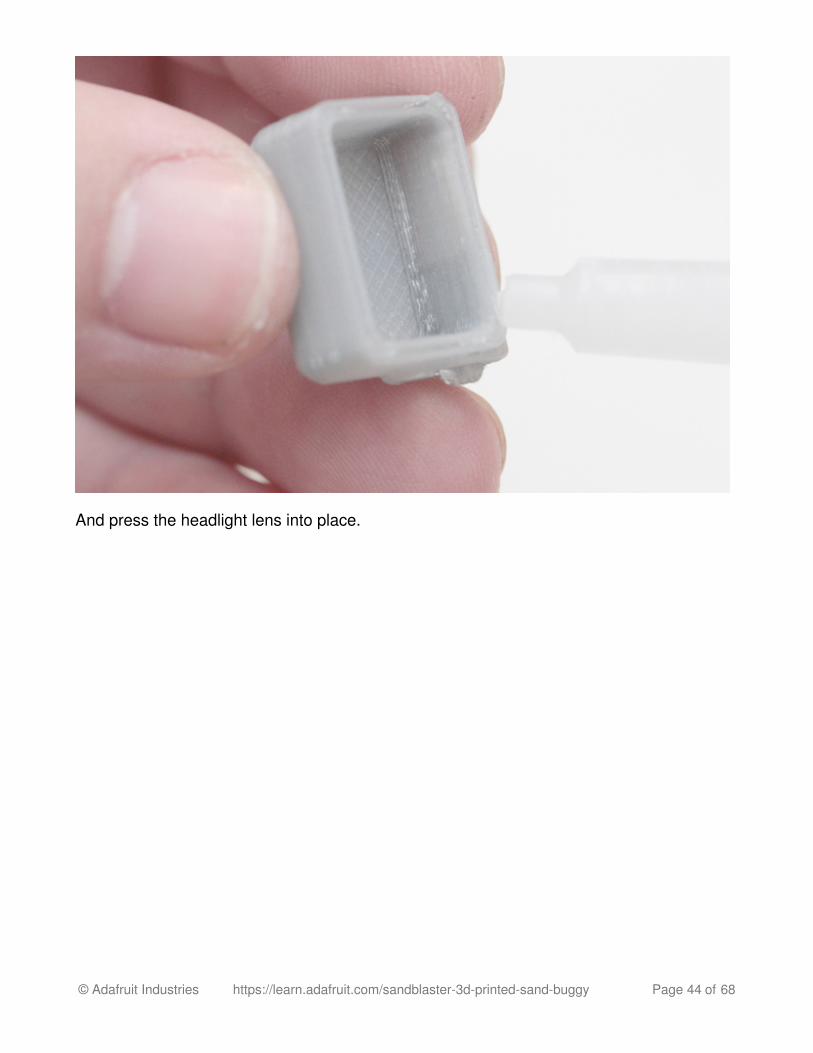
And press the headlight lens into place.
© Adafruit Industries https://learn.adafruit.com/sandblaster-3d-printed-sand-buggy Page 44 of 68
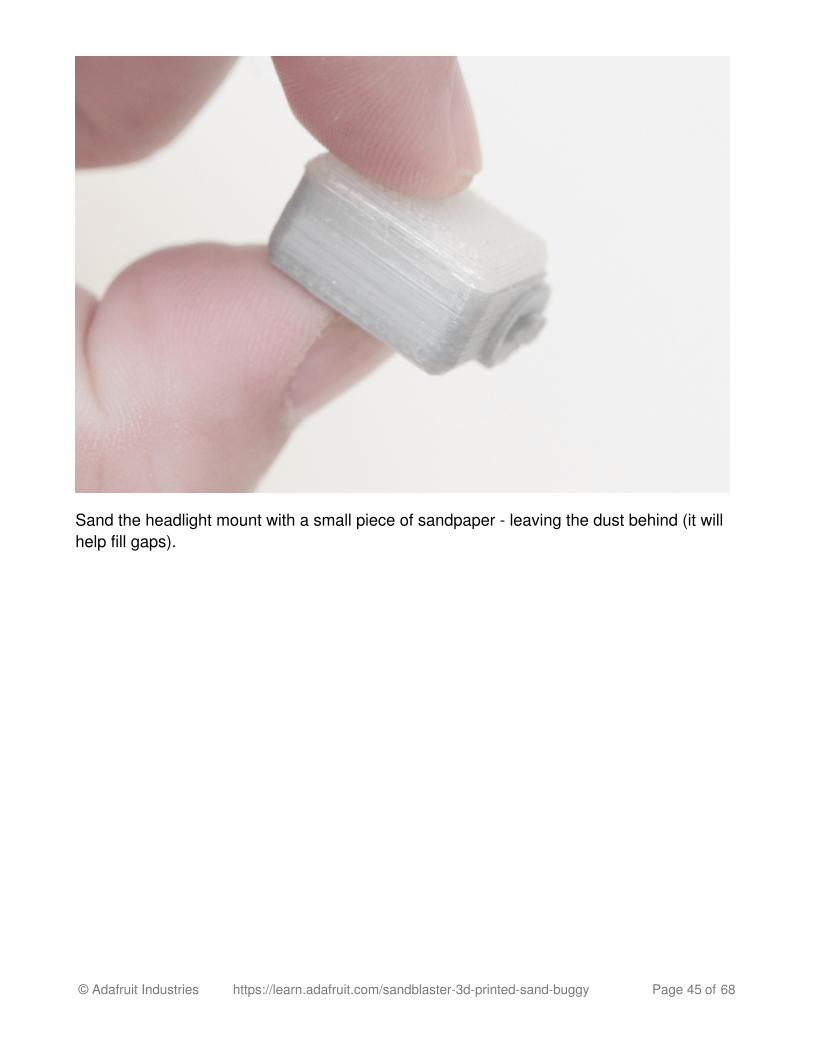
Sand the headlight mount with a small piece of sandpaper - leaving the dust behind (it willhelp fill gaps).
© Adafruit Industries https://learn.adafruit.com/sandblaster-3d-printed-sand-buggy Page 45 of 68
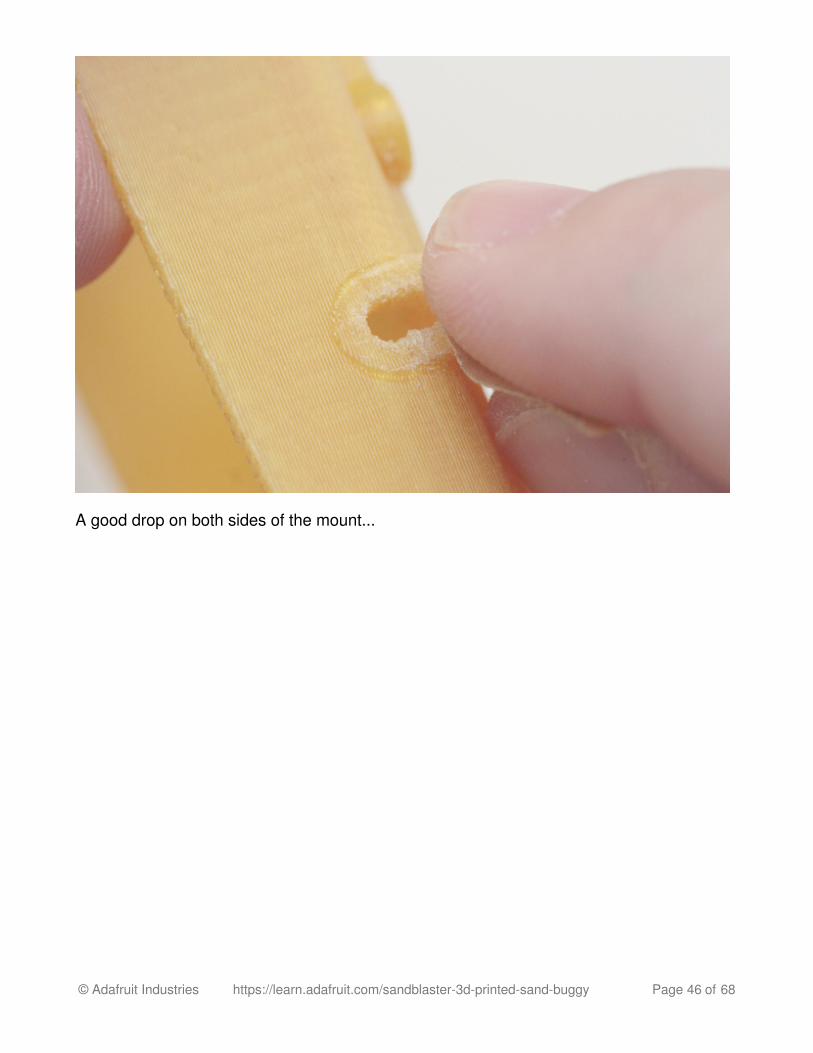
A good drop on both sides of the mount...
© Adafruit Industries https://learn.adafruit.com/sandblaster-3d-printed-sand-buggy Page 46 of 68
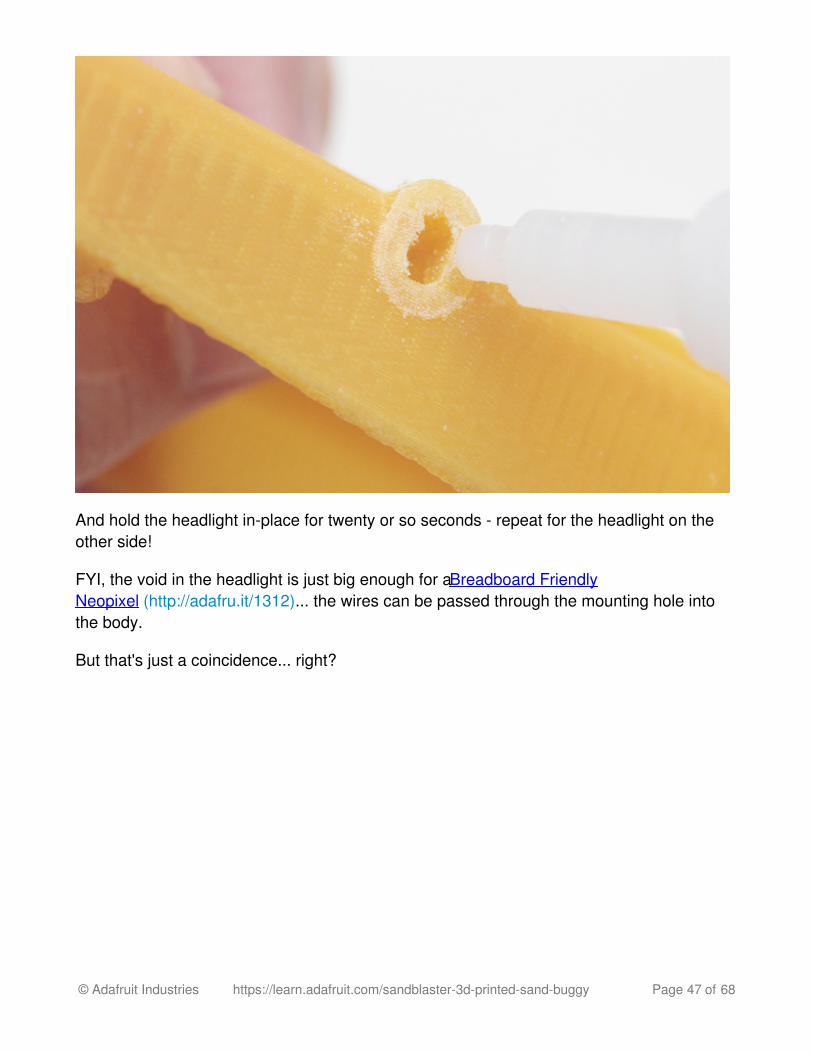
And hold the headlight in-place for twenty or so seconds - repeat for the headlight on theother side!
FYI, the void in the headlight is just big enough for a Breadboard FriendlyNeopixel (http://adafru.it/1312)... the wires can be passed through the mounting hole intothe body.
But that's just a coincidence... right?
© Adafruit Industries https://learn.adafruit.com/sandblaster-3d-printed-sand-buggy Page 47 of 68

© Adafruit Industries https://learn.adafruit.com/sandblaster-3d-printed-sand-buggy Page 48 of 68
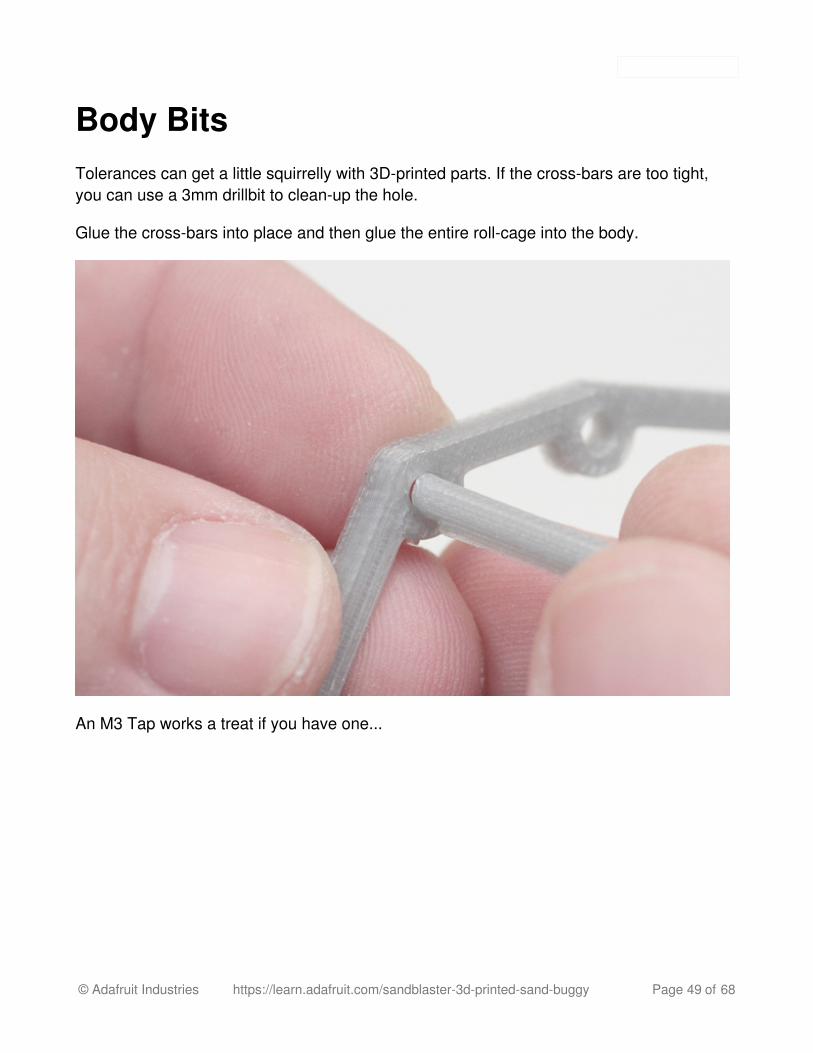
Body BitsTolerances can get a little squirrelly with 3D-printed parts. If the cross-bars are too tight,you can use a 3mm drillbit to clean-up the hole.
Glue the cross-bars into place and then glue the entire roll-cage into the body.
An M3 Tap works a treat if you have one...
© Adafruit Industries https://learn.adafruit.com/sandblaster-3d-printed-sand-buggy Page 49 of 68

Nice and slow - so that you don't crack the plastic.
© Adafruit Industries https://learn.adafruit.com/sandblaster-3d-printed-sand-buggy Page 50 of 68
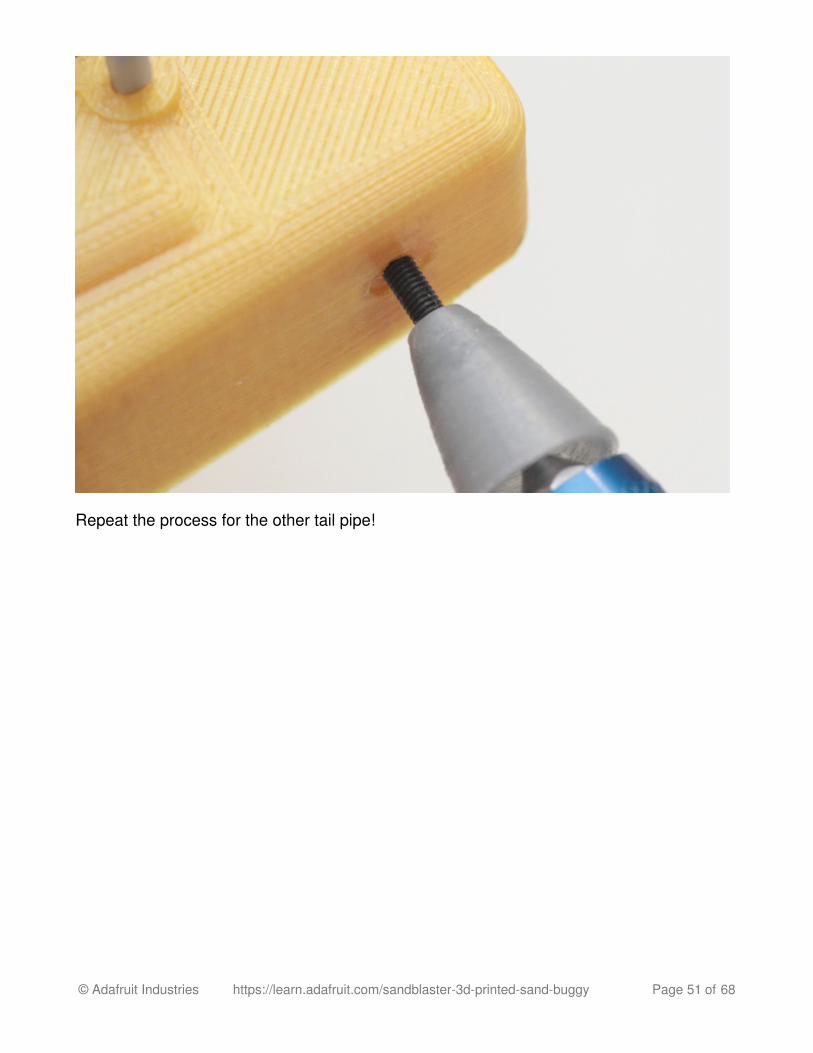
Repeat the process for the other tail pipe!
© Adafruit Industries https://learn.adafruit.com/sandblaster-3d-printed-sand-buggy Page 51 of 68
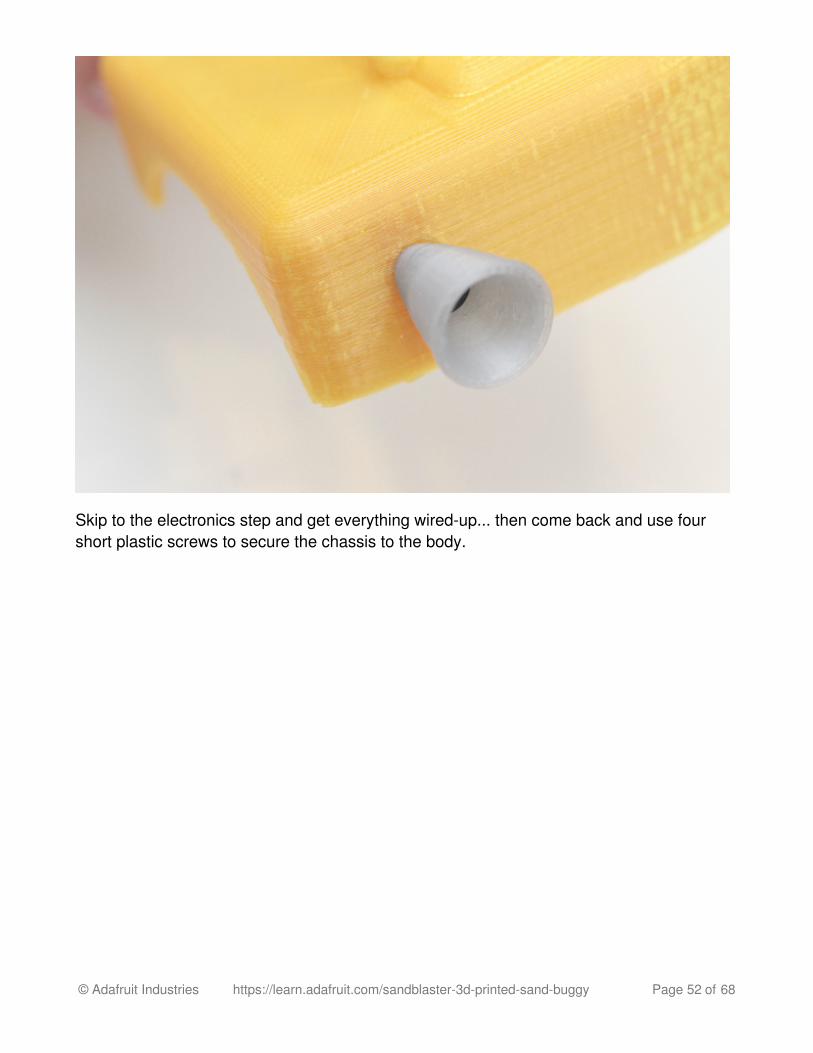
Skip to the electronics step and get everything wired-up... then come back and use fourshort plastic screws to secure the chassis to the body.
© Adafruit Industries https://learn.adafruit.com/sandblaster-3d-printed-sand-buggy Page 52 of 68
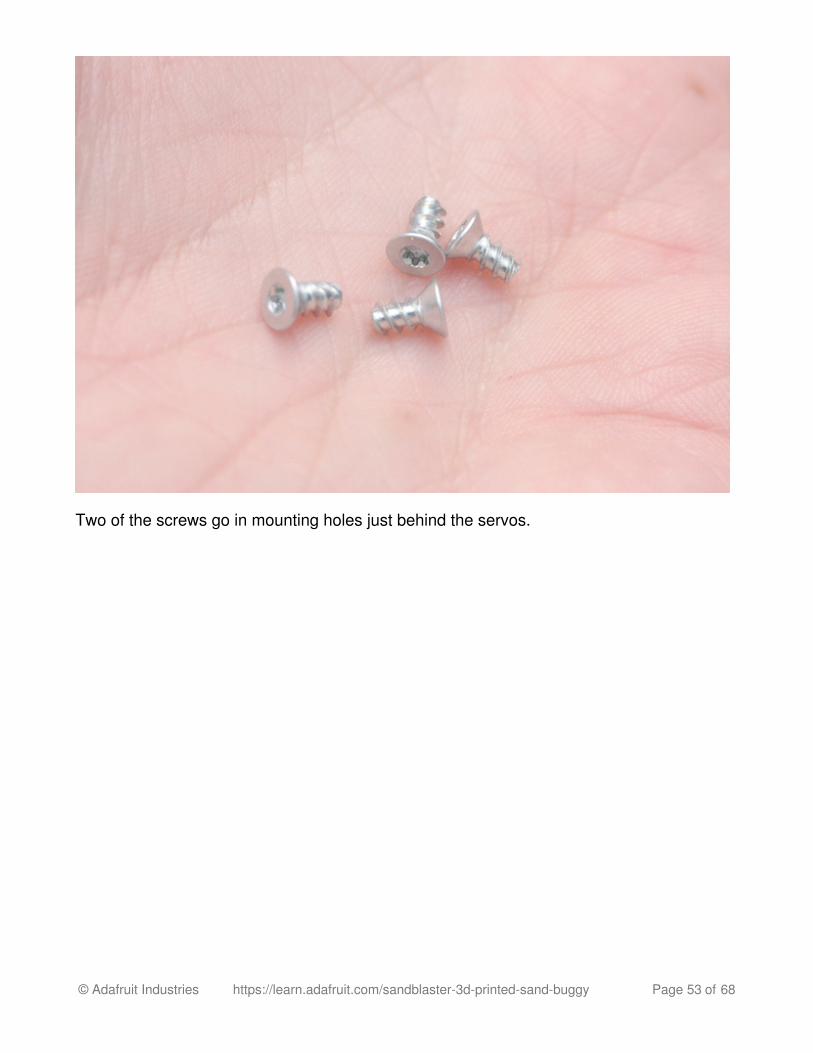
Two of the screws go in mounting holes just behind the servos.
© Adafruit Industries https://learn.adafruit.com/sandblaster-3d-printed-sand-buggy Page 53 of 68
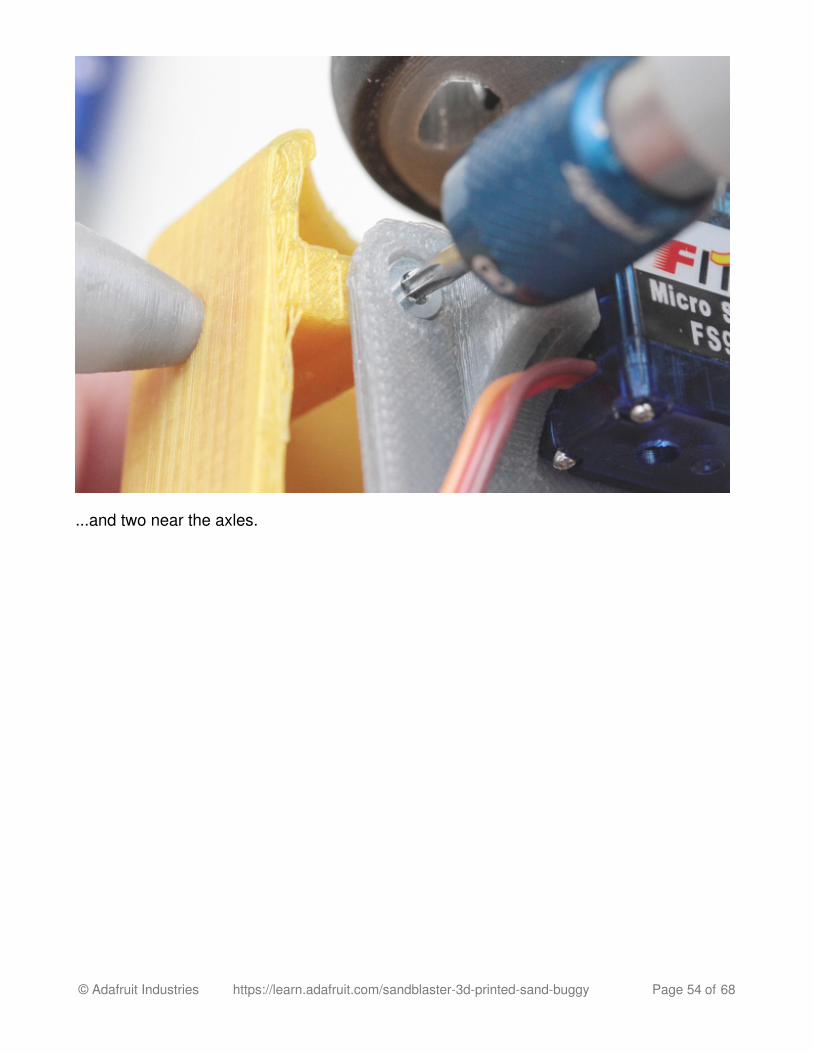
...and two near the axles.
© Adafruit Industries https://learn.adafruit.com/sandblaster-3d-printed-sand-buggy Page 54 of 68

© Adafruit Industries https://learn.adafruit.com/sandblaster-3d-printed-sand-buggy Page 55 of 68
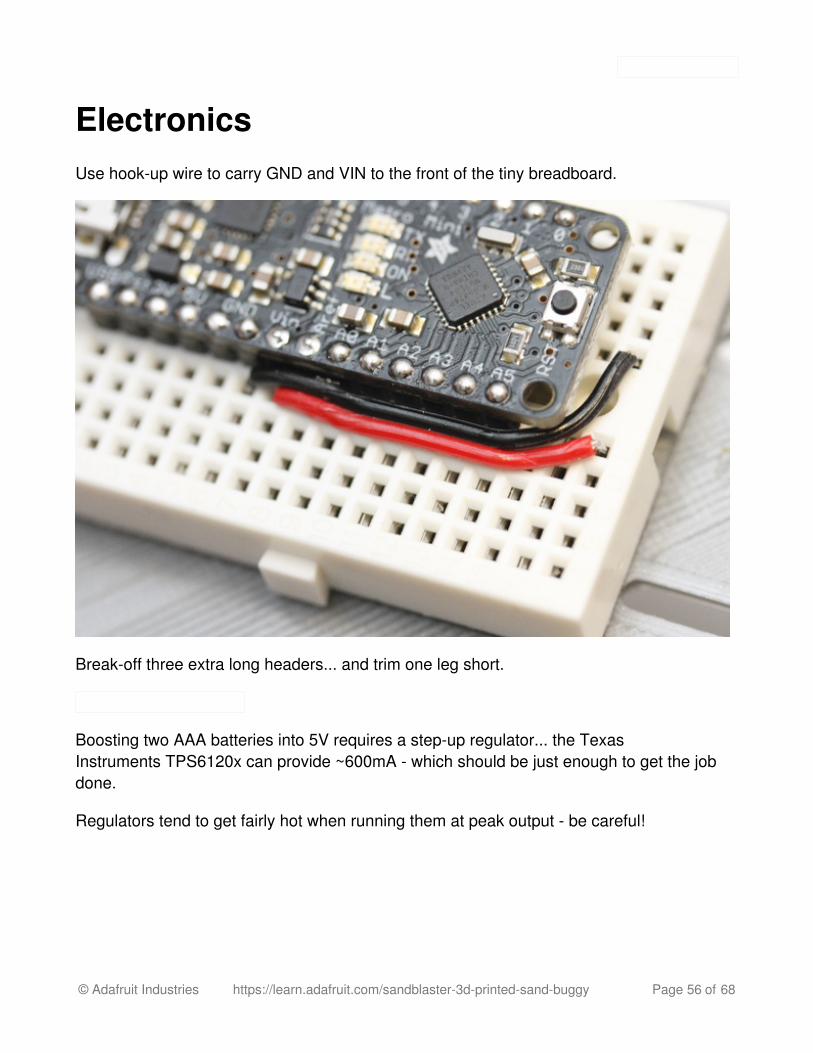
ElectronicsUse hook-up wire to carry GND and VIN to the front of the tiny breadboard.
Break-off three extra long headers... and trim one leg short.
Boosting two AAA batteries into 5V requires a step-up regulator... the TexasInstruments TPS6120x can provide ~600mA - which should be just enough to get the jobdone.
Regulators tend to get fairly hot when running them at peak output - be careful!
© Adafruit Industries https://learn.adafruit.com/sandblaster-3d-printed-sand-buggy Page 56 of 68
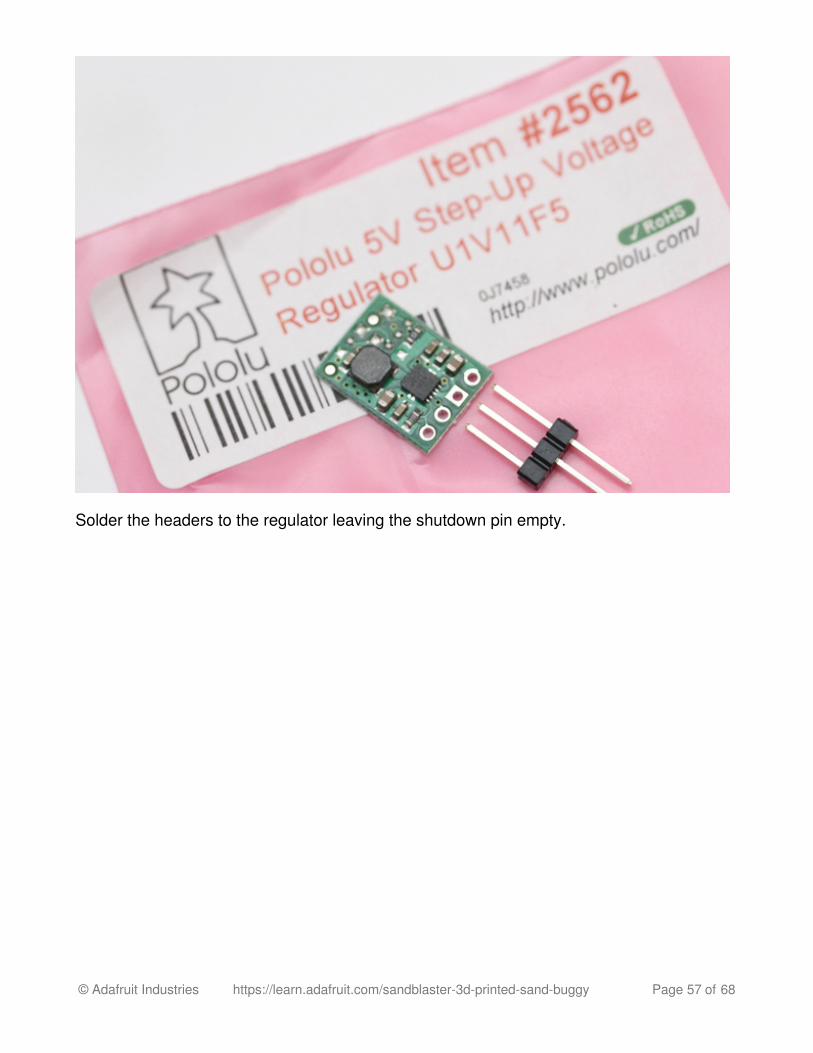
Solder the headers to the regulator leaving the shutdown pin empty.
© Adafruit Industries https://learn.adafruit.com/sandblaster-3d-printed-sand-buggy Page 57 of 68
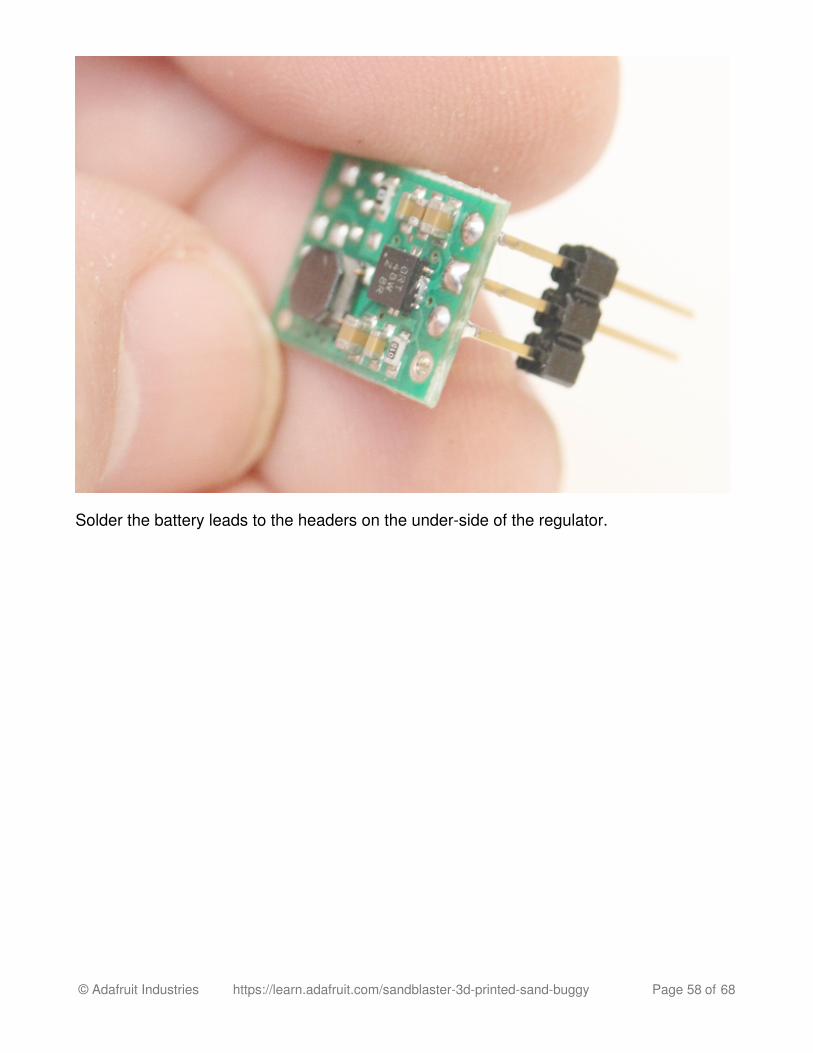
Solder the battery leads to the headers on the under-side of the regulator.
© Adafruit Industries https://learn.adafruit.com/sandblaster-3d-printed-sand-buggy Page 58 of 68
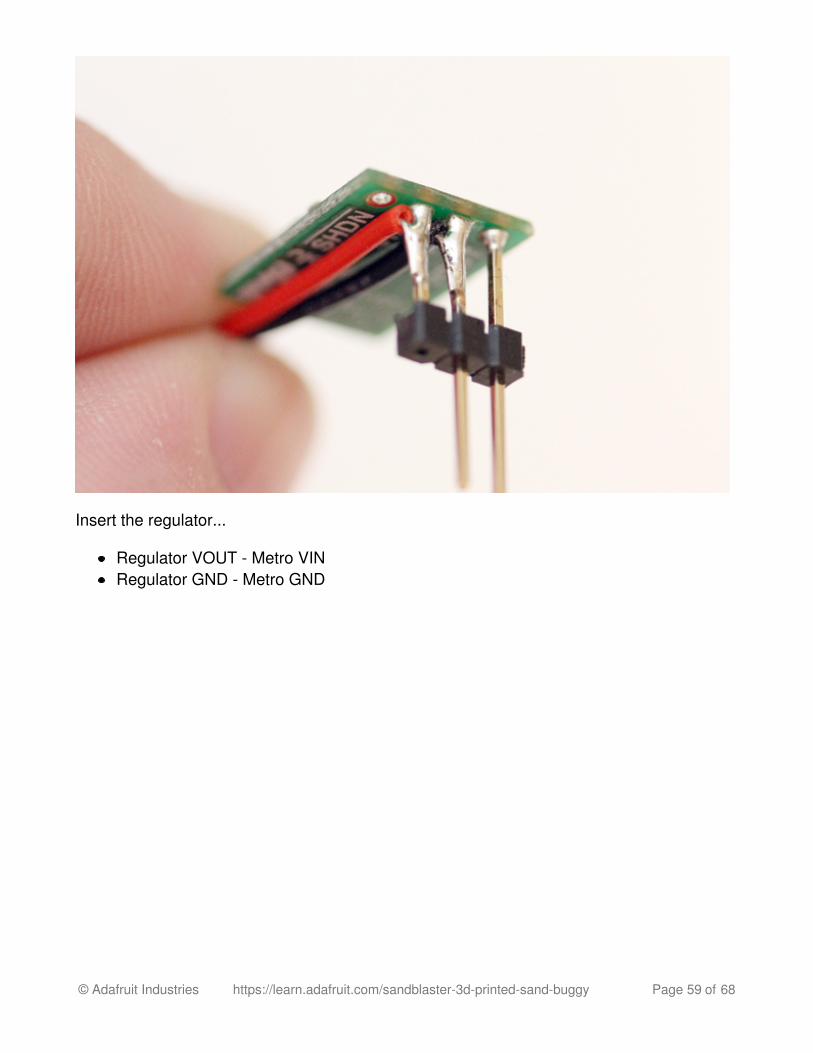
Insert the regulator...
Regulator VOUT - Metro VINRegulator GND - Metro GND
© Adafruit Industries https://learn.adafruit.com/sandblaster-3d-printed-sand-buggy Page 59 of 68
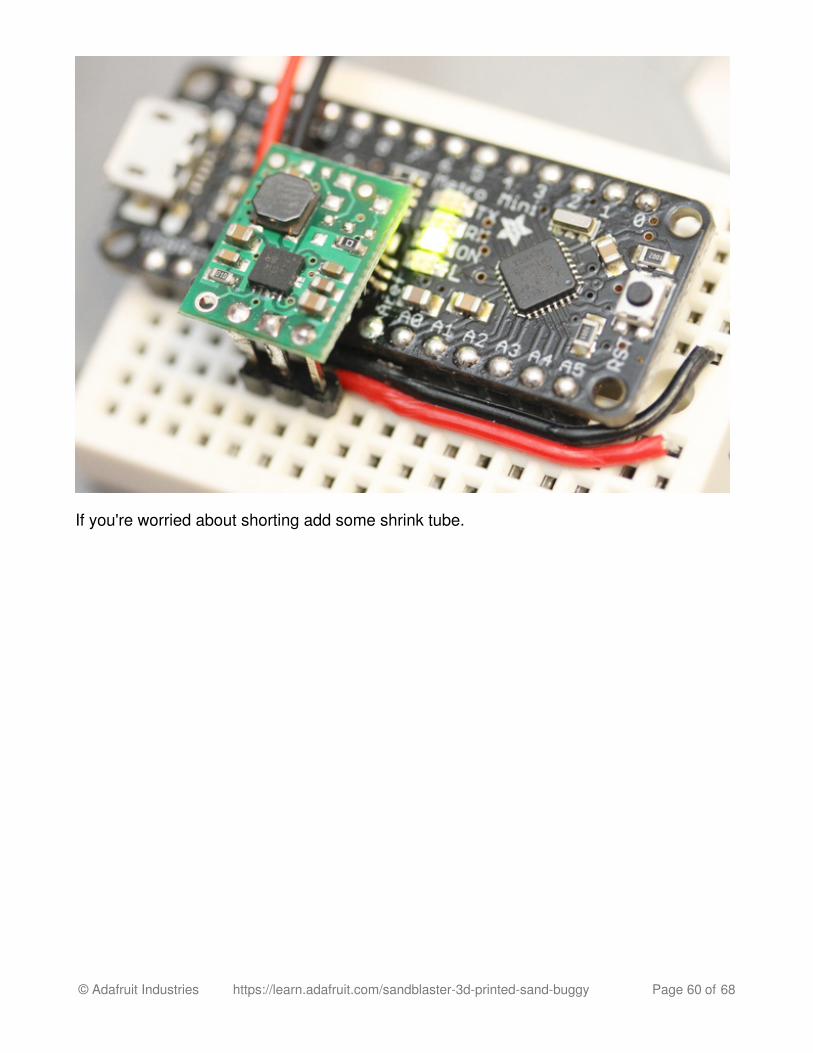
If you're worried about shorting add some shrink tube.
© Adafruit Industries https://learn.adafruit.com/sandblaster-3d-printed-sand-buggy Page 60 of 68
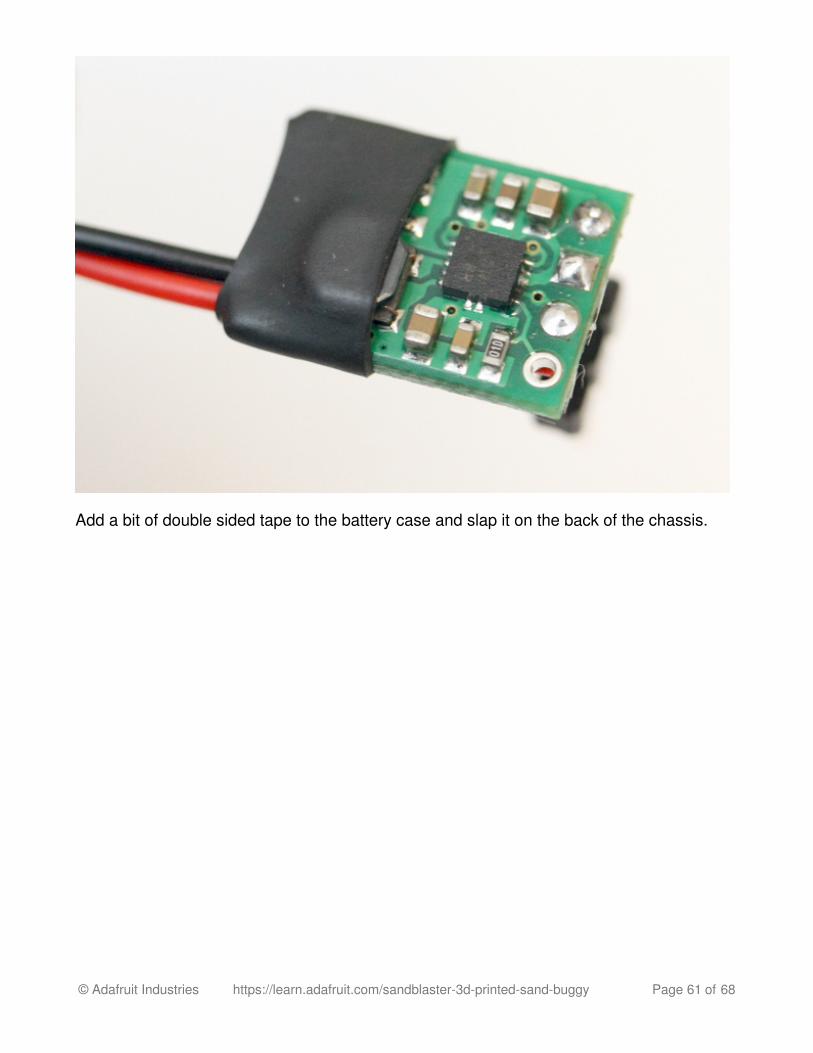
Add a bit of double sided tape to the battery case and slap it on the back of the chassis.
© Adafruit Industries https://learn.adafruit.com/sandblaster-3d-printed-sand-buggy Page 61 of 68
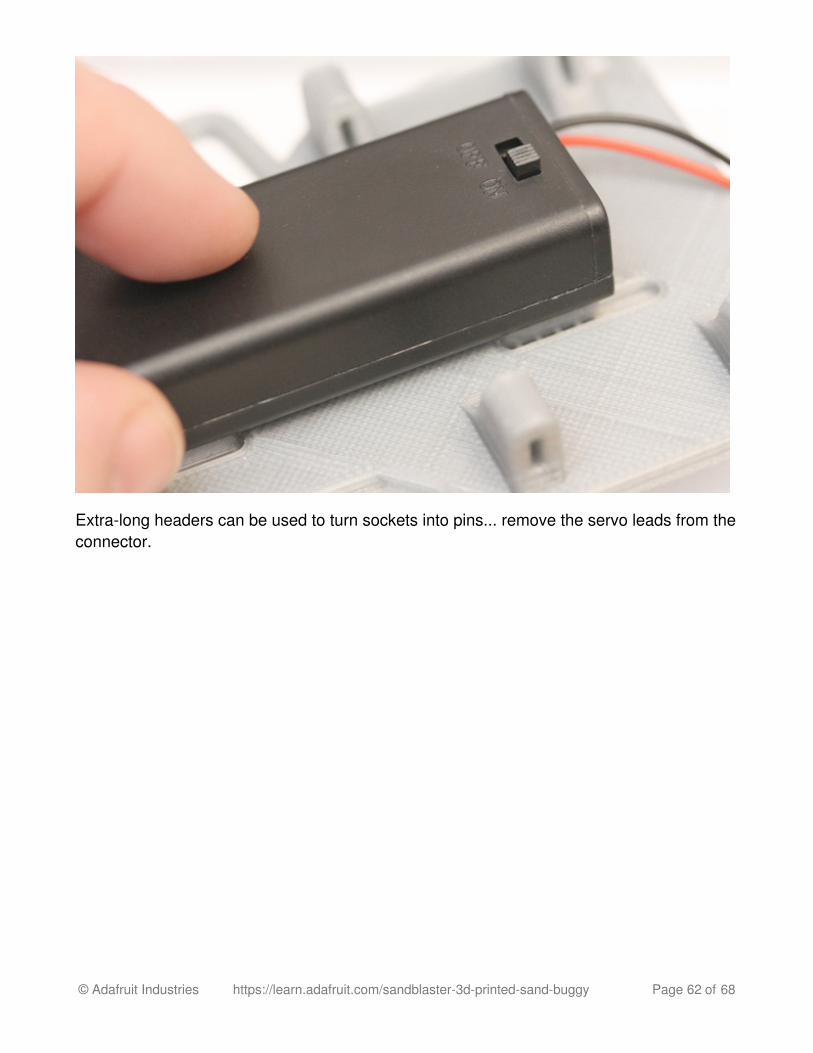
Extra-long headers can be used to turn sockets into pins... remove the servo leads from theconnector.
© Adafruit Industries https://learn.adafruit.com/sandblaster-3d-printed-sand-buggy Page 62 of 68
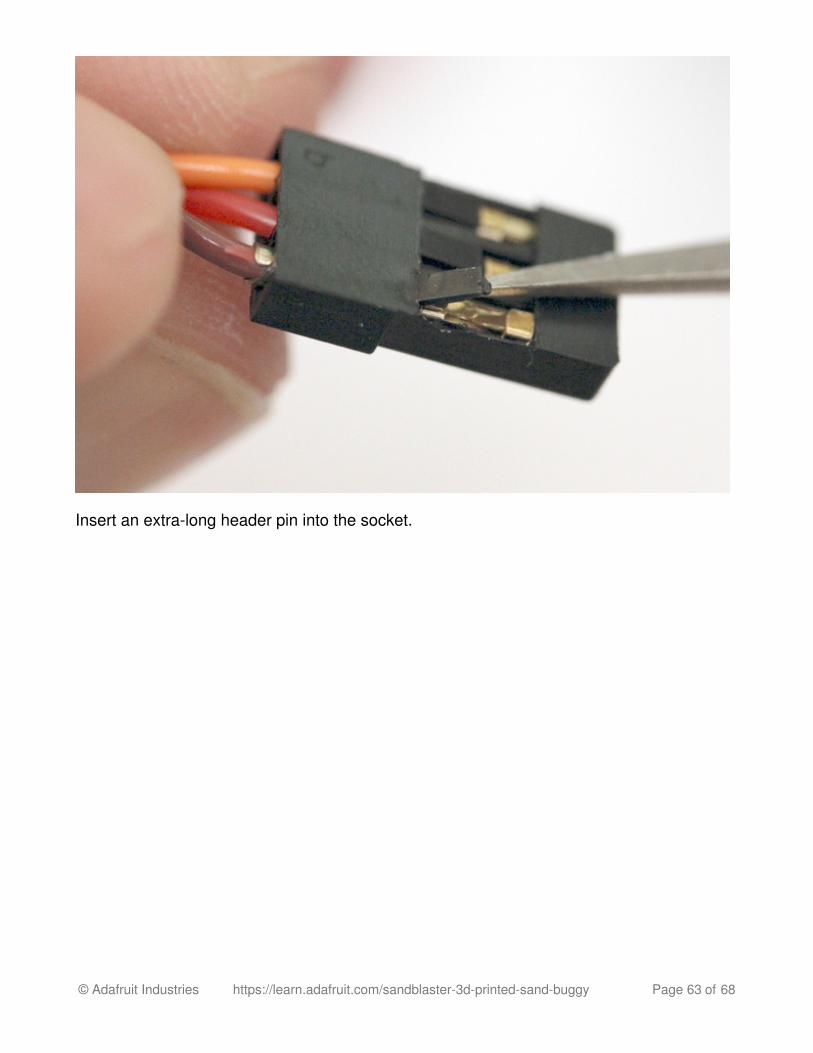
Insert an extra-long header pin into the socket.
© Adafruit Industries https://learn.adafruit.com/sandblaster-3d-printed-sand-buggy Page 63 of 68

And add some shrink tubing - and repeat the process for each of the three servos.
© Adafruit Industries https://learn.adafruit.com/sandblaster-3d-printed-sand-buggy Page 64 of 68

For the distance sensor, you'll have to solder the leads to the extra-long headers.
Connect the servo and distance sensor to the Metro as follows:
A0 - Distance SensorD5 - SteeringD6 - Left ServoD7 - Right Servo
© Adafruit Industries https://learn.adafruit.com/sandblaster-3d-printed-sand-buggy Page 65 of 68
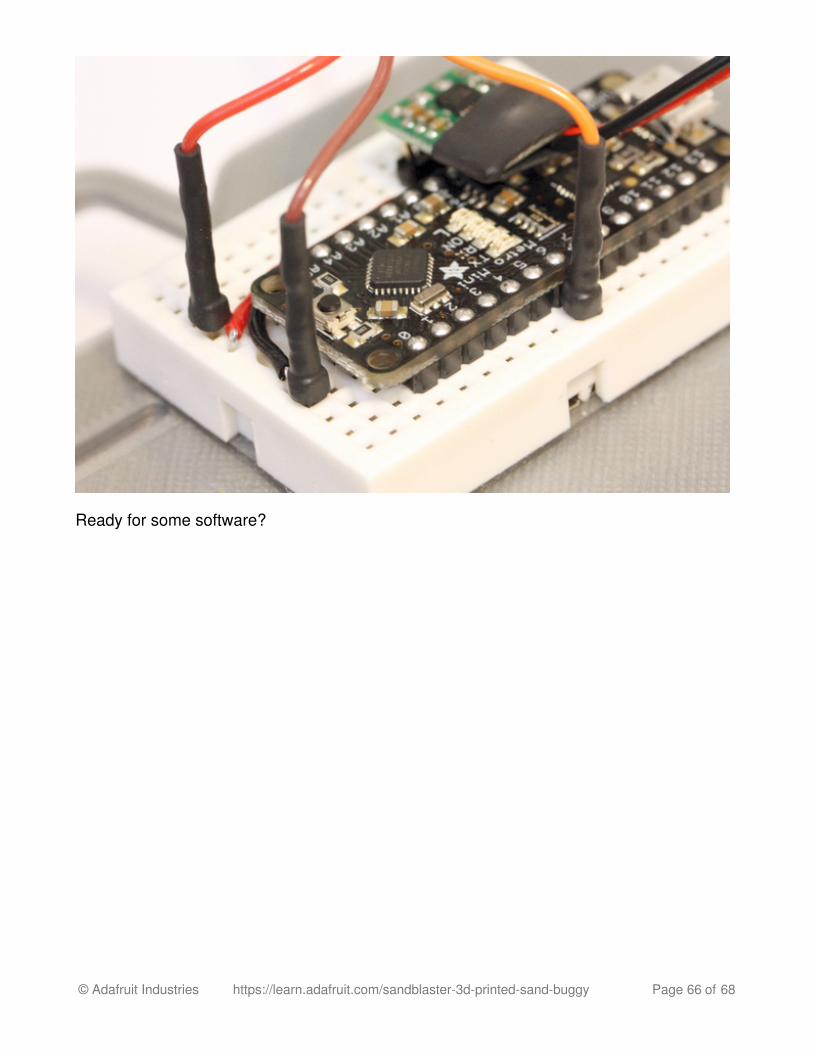
Ready for some software?
© Adafruit Industries https://learn.adafruit.com/sandblaster-3d-printed-sand-buggy Page 66 of 68
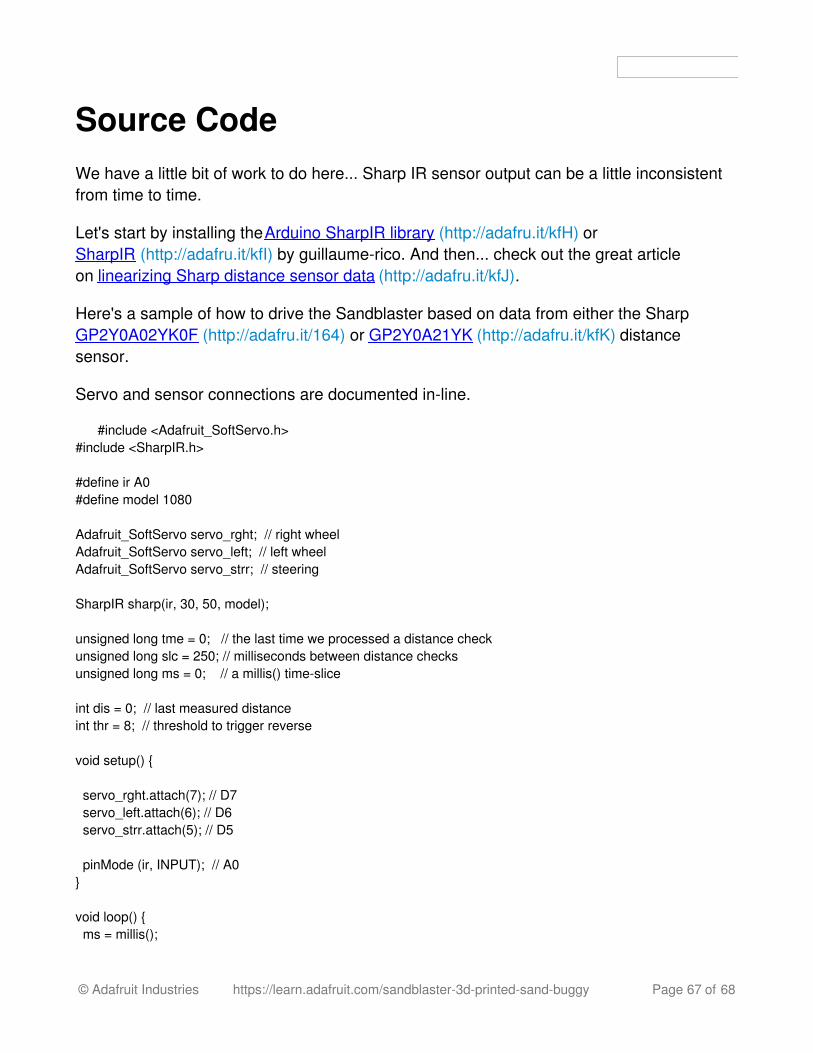
Source CodeWe have a little bit of work to do here... Sharp IR sensor output can be a little inconsistentfrom time to time.
Let's start by installing the Arduino SharpIR library (http://adafru.it/kfH) orSharpIR (http://adafru.it/kfI) by guillaume-rico. And then... check out the great articleon linearizing Sharp distance sensor data (http://adafru.it/kfJ).
Here's a sample of how to drive the Sandblaster based on data from either the SharpGP2Y0A02YK0F (http://adafru.it/164) or GP2Y0A21YK (http://adafru.it/kfK) distancesensor.
Servo and sensor connections are documented in-line.
#include <Adafruit_SoftServo.h>#include <SharpIR.h>
#define ir A0#define model 1080
Adafruit_SoftServo servo_rght; // right wheelAdafruit_SoftServo servo_left; // left wheelAdafruit_SoftServo servo_strr; // steering
SharpIR sharp(ir, 30, 50, model);
unsigned long tme = 0; // the last time we processed a distance checkunsigned long slc = 250; // milliseconds between distance checksunsigned long ms = 0; // a millis() time-slice
int dis = 0; // last measured distanceint thr = 8; // threshold to trigger reverse
void setup() {
servo_rght.attach(7); // D7 servo_left.attach(6); // D6 servo_strr.attach(5); // D5
pinMode (ir, INPUT); // A0}
void loop() { ms = millis();
© Adafruit Industries https://learn.adafruit.com/sandblaster-3d-printed-sand-buggy Page 67 of 68

// distance samples every 250ms if ( tme + slc < ms ) { tme = ms;
dis = sharp.distance(); }
// course correction! if (dis < thr) {
// right or left... pick one and step back int lor = random(30, 100); for (int i = 0; i < 120; i++) { if (lor % 2 == 1) { servo_strr.write(40); } else { servo_strr.write(140); } servo_strr.refresh(); servo_rght.write(140); servo_rght.refresh(); servo_left.write(40); servo_left.refresh();
delay(15); } } else {
// full steam ahead! Although... you could mix a distance // calculation into this and steer around obstacles. Just // a thought. servo_strr.write(90); servo_strr.refresh();
servo_rght.write(40); servo_rght.refresh(); servo_left.write(140); servo_left.refresh();
delay(15); }}
Have fun!
© Adafruit Industries Last Updated: 2016-11-20 07:08:38 AM UTC Page 68 of 68


