6/19/2017 Virtual Audio Cable software allows you to transfer audio (wave) streams between applications and/or devices. It creates a set of virtual audio devices named "Virtual Cables", each of them consists of a pair of the waveform input/output devices. Any application can send audio stream to an output side of a cable, and any other application can receive this stream from an input side. All transfers are made digitally, providing NO sound quality loss (a bit perfect streaming). .
VAC is not a free utility. Download and install VAC from the link below. http://software.muzychenko.net/eng/vac.htm
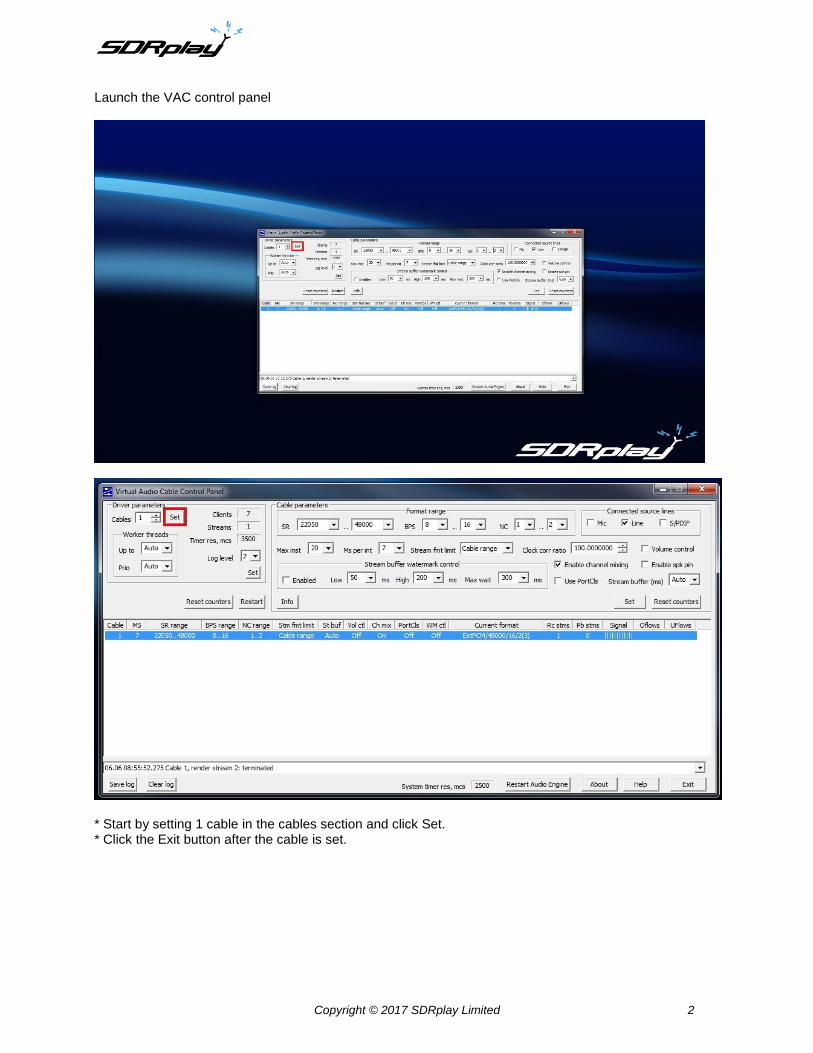
Set the Virtual Audio Cables to send and receive audio inside the operating system.
* Navigate to the Control Panel and double click Sound. * Select Playback. * Select Level. * Set your Level as shown. * Click OK. Set the Virtual Audio Cables to send and receive audio in the operating system.
* Navigate to the Control Panel and double click Sound. * Select Recording. * Right click on Line 1. * Left click on Set Default Device. * Click OK.
* Inside the RX CONTROL module hit SETT. * Click the right arrow icon in the RX Settings 0 - 0 panel and select the OUT section. * Under the WME Output Device select your Line 1 (Virtual Audio Cable). * Click the top right x inside the RX Settings panel. * Click PLAY! In the MAIN Module.
* Before you hit PLAY in the MAIN module remember to give yourself separation between the Tuned frequency and LO frequency inside the MAIN SP window (click to the right inside the MAIN SP window) b: To help minimize garbled text for digital modes that are not continuous you can enable the squelch feature in SDRuno (RX Control module) to act as a simple audio gate.


![Connecting SDRPlay to a Kenwood TS-830S SDRplay.pdf · Title: Microsoft PowerPoint - Connecting SDRPlay to a Kenwood TS-830S [Compatibility Mode] Author: Alan Created Date: 8/12/2017](https://static.documents.pub/doc/80x56/611b8880124ac2172e59a77f/connecting-sdrplay-to-a-kenwood-ts-sdrplaypdf-title-microsoft-powerpoint-.jpg)


