29
Construction Sika Corporation Sikaflex 2c Application Instructions

Co
nst
ruct
ion
Sika Corporation
Sikaflex 2c
Application Instructions

Co
nst
ruct
ion
Sika Corporation
Sikaflex 2c NS A two-component, non-sag,
polyurethane elastomeric sealant.
Where to use:rBuilding façade color matchingrParking structures, precast concrete, tilt up, rEIFS (Dryvit, Sto, etc)rSubmerged environmentsrCanal and reservoir joints

Co
nst
ruct
ion
Sika Corporation
Sikaflex 2cr Sikaflex-2cNS
• 2-component, +50% movement capability, 25+5 shore A hardness
r Sikaflex-2cNSTG• 3-component, +25% movement capability,
45+5 shore A hardness
r Sikaflex-2cSL• 2-component, +50% movement capability,
40+5 shore A hardness
Co
nst
ruct
ion
Sika Corporation
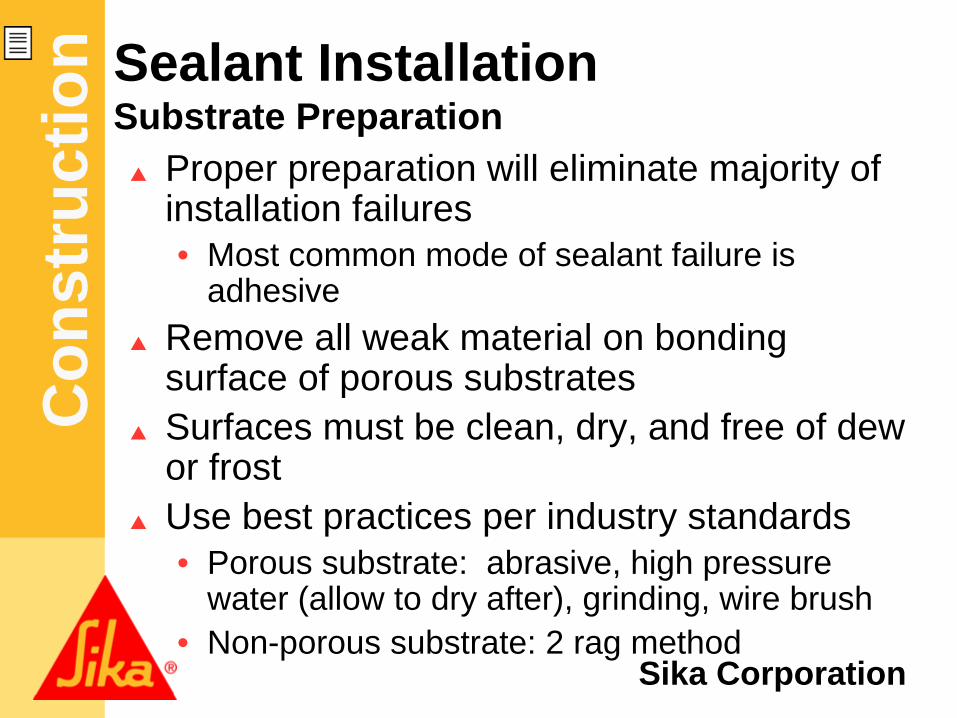
Sealant Installation Substrate Preparationr Proper preparation will eliminate majority of
installation failures• Most common mode of sealant failure is
adhesive
r Remove all weak material on bonding surface of porous substrates
r Surfaces must be clean, dry, and free of dew or frost
r Use best practices per industry standards• Porous substrate: abrasive, high pressure
water (allow to dry after), grinding, wire brush• Non-porous substrate: 2 rag method

Co
nst
ruct
ion
Sika Corporation
Mechanical Methods
Saw cut joint – to provide proper width & sound joint interface.

Co
nst
ruct
ion
Sika Corporation
Mechanical Methods
Sandblast to remove residues & provide profile

Co
nst
ruct
ion
Sika Corporation
Critical Success Factors Priming
rPriming can help get a better bond in many situations
呑
Priming does no substitute for good prep
呑
Many products perform w/out primers
呑
Most commonly used on horizontal and submerged applications
呑
Must be done properly to work (primers are not error free: ponding, waiting time, etc.)
Prime only sides of the joint.Prime only sides of the joint.Primer outside the joint may stain the substrate.Primer outside the joint may stain the substrate.Prime & seal the same dayPrime & seal the same day
Co
nstr
ucti
on
Sika Corporation
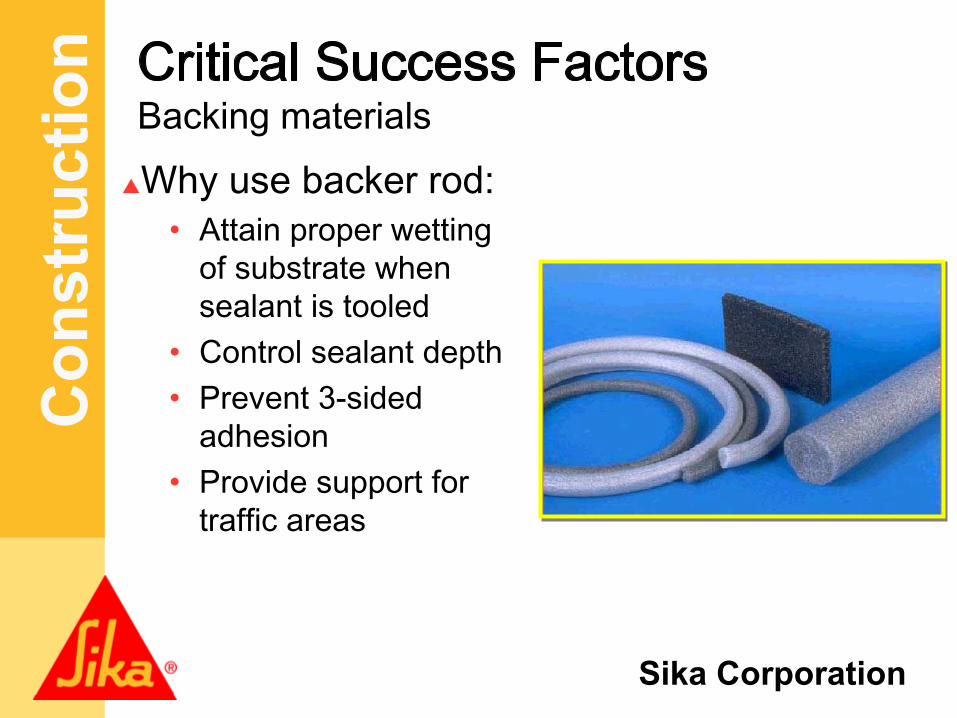
Backing materialsrWhy use backer rod:
呑
Attain proper wetting of substrate when sealant is tooled
呑
Control sealant depth呑
Prevent 3-sided adhesion
呑
Provide support for traffic areas

Co
nstr
ucti
on
Sika Corporation
Critical Success Factors Backing materials
r Recommended Materials呑
Closed cell backer rod: primarily a foam material with a surface skin
呑
Open cell backer rod: primarily a foam material without a skin
呑
Bicellular
backer rod: sometimes called 惇soft敦
rod, this foam acts like a hybrid between open and closed cell rods
呑
Backing tape: primarily a self-adhesive polyethylene or Teflon material
呑
Hard rectangular extrusions for horizontals

Co
nstr
ucti
on
Sika Corporation

Co
nstr
ucti
on
Sika Corporation
Sealant Installation Backing Materials
rMake sure backer rod
is 25% larger than joint
width (under
compression) to offer
good tooling base
rNo not puncture
closed cell backer rod
when installing prior to
sealant installation
� Will cause bubbling in
sealant

Co
nstr
ucti
on
Sika Corporation
Sealant Installation Mixing
r Packaging:
� 1.5 gallon unit (A & B Component)
� 3 gallon unit (A & 2B Components)
� Color pak or pre-tinted limestone

Co
nstr
ucti
on
Sika Corporation
Sealant Installation Mixing
r Open pail of Sikaflex 2c and remove �B�
component

Co
nstr
ucti
on
Sika Corporation
Sealant Installation Mixing
r Pour entire
contents of �B�
component
into pail of
component �A�
r Add entire contents
of color pak into pail
if using tint base

Co
nstr
ucti
on
Sika Corporation
Sealant Installation Mixing
r A cold weather booster can be added to
speed up tack time

Co
nstr
ucti
on
Sika Corporation
Sealant Installation Mixing
r Mix with a low
speed drill (400-600
rpm) and a sealant
mixing paddle.
r Mix for 3-5 minutes to
achieve a proper
consistency and
uniform color
r Avoid entrapment of
air during mixing
Sealant Mixing Paddles

Co
nstr
ucti
on
Sika Corporation
Sealant Installation Mixing
r Scrape down the sides of the pail
periodically to ensure all of the material is
properly mixed.

Co
nstr
ucti
on
Sika Corporation
Sealant Installation Loading
r Load sealant directly into a bulk sealant
gun directly or use a follower plate system

Co
nstr
ucti
on
Sika Corporation
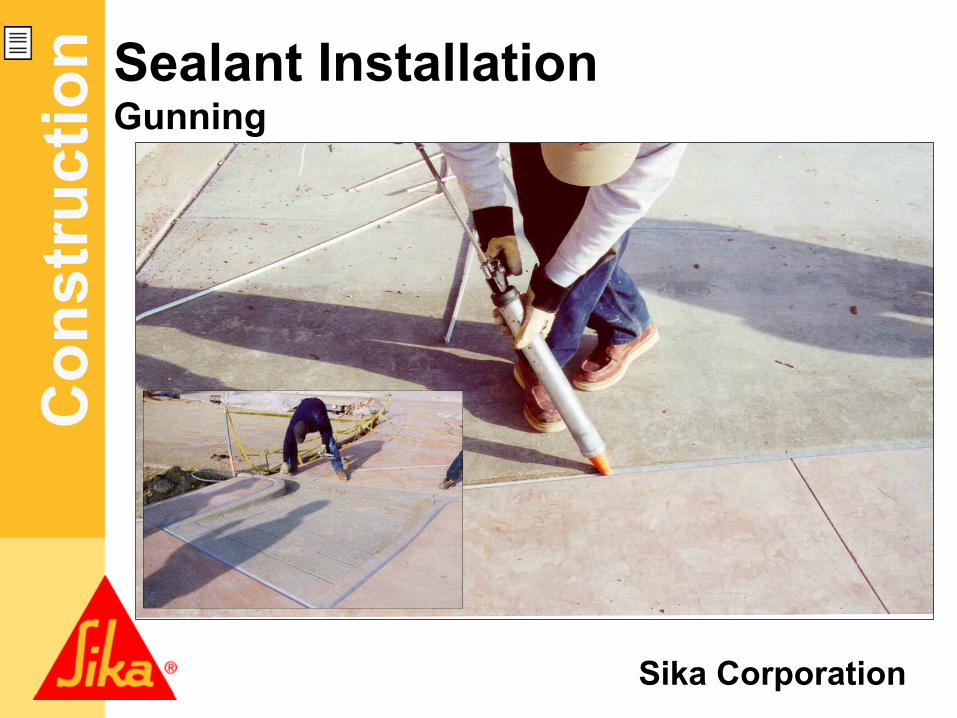
Sealant Installation Gunning
r Place nozzle of gun into the bottom of the
joint and fill the entire joint

Co
nstr
ucti
on
Sika Corporation
Sealant Installation Gunning
r Keeping nozzle
deep in the sealant,
continue a steady
flow of sealant
preceding the nozzle
to avoid air entrapment
r Avoid overlapping sealant
r Coverage:� 1 gallon yields 231 cubic inches of 154 linear
feet of ½� x ¼� joint

Co
nstr
ucti
on
Sika Corporation
When neatness
counts always tape
off the sides of the
joint using Duct
Tape.

Co
nstr
ucti
on
Sika Corporation
Sealant Installation Gunning
Horizontal applications
require excellent
adhesion to concrete
and self leveling option
for flat work. Sealant
must handle specified
traffic conditions.
Co
nstr
ucti
on
Sika Corporation
Sealant Installation Gunning

Co
nstr
ucti
on
Sika Corporation
Sealant Installation Tooling
r Dry tool sealant to press material against
joint walls or bonding surface

Co
nstr
ucti
on
Sika Corporation
Sealant Installation Joint Design
1. Install appropriate backer material to prevent three-sided adhesion and to control sealant depth.
2. Sealant should be gunned into joint at mid-point of designed expansion and contraction to maximize accommodation of movement. Joint dimension of 4X anticipated movement allows proper function of high performance sealants even if applied at temperature extremes.
3. Tool as required to properly fill joints and force sealant against joint interfaces, maximizing bond.
Backer rod
Sealant
Depth = ½ Width

Co
nstr
ucti
on
Sika Corporation
Sealant Installation Joint Design
r 2:1 or 1:1 width:depth
r Minimum ¼�x ¼�
r Minimum ½�depth for traffic
r 2 sided adhesion, not 3
r Joint movement to match
product
r Protect nosing
r Needs support
r May separate

Co
nstr
ucti
on
Sika Corporation
Jobsite Mock-Up
r Jobsite Pull Test:
� After material has
cured to ensure
proper bond

Co
nstr
ucti
on
Sika Corporation
Jobsite Pull Test
Place sealant and
allow to cure. Cut
a 2-3� piece of the
sealant and pull at
a 90º angle from
the substrate.
The sealant
should not �peel�
from the joint
interface.

Co
nstr
ucti
on
Sika Corporation
Sikaflex 2c
Sika Technical Data Sheets can be
obtained via:
www.sikaconstruction.com
Refer to data sheets for specific
information on each Sika product.


