35
Simulator Maintenance: ALS Simulator, SimBaby, SimJunior, & SimNewB

Simulator Maintenance:ALS Simulator, SimBaby, SimJunior, & SimNewB

Introductions
George Hardaloupas
Field Service Engineer, Laerdal Medical
South Central Region
Vincent Scaglione
Technical Support

• Learn about the maintenance services provided by Laerdal
• Learn the benefits of periodic simulator maintenance
• Discover ways to extend the “life” of your simulators
• Learn how to troubleshoot common problems
• Share your tips
• Ask questions!
Objectives

Preventative Maintenance
Preventative Maintenance programs are the simplest way to control costs with planned maintenance services. With each yearly service, our Field Service Engineers will ensure that your products maintain peak performance through our extensive testing process and replacement of worn consumables.
Other benefits:- Assessment of functionality by a trained professional- FSE can call in to start return or repair process (if
covered under warranty)- Latest software/firmware updates for the covered
product- Replacement of consumables which are NOT covered
under warranty

Types of PM Available
Return to BenchIncludes:• 1 Service per year (product returned to Laerdal)• Full refurbishment or replacement of all consumables and injection pad sets• Refurbishment of skin and/or veins on I.V. arm• Product cleaning• Final test and inspection of manikin• Documentation of findings and recommendations (if applicable)

OnSite PM
• On-Site (For simulation products only)• Includes:• 1 Service per year (on-site visit by Field Service Engineer)• Full refurbishment or replacement of all consumables,
some bladders and injection pad sets• Includes head skin and airway• Refurbishment of skin and/or veins on I.V. arm• Internal inspection of Compressor and Linkbox• Upgrades of Laerdal product software to latest version
applicable to platform• Manikin/link box software updates• Product cleaning• Final test and inspection of manikin• Documentation of findings and recommendations (if
applicable)
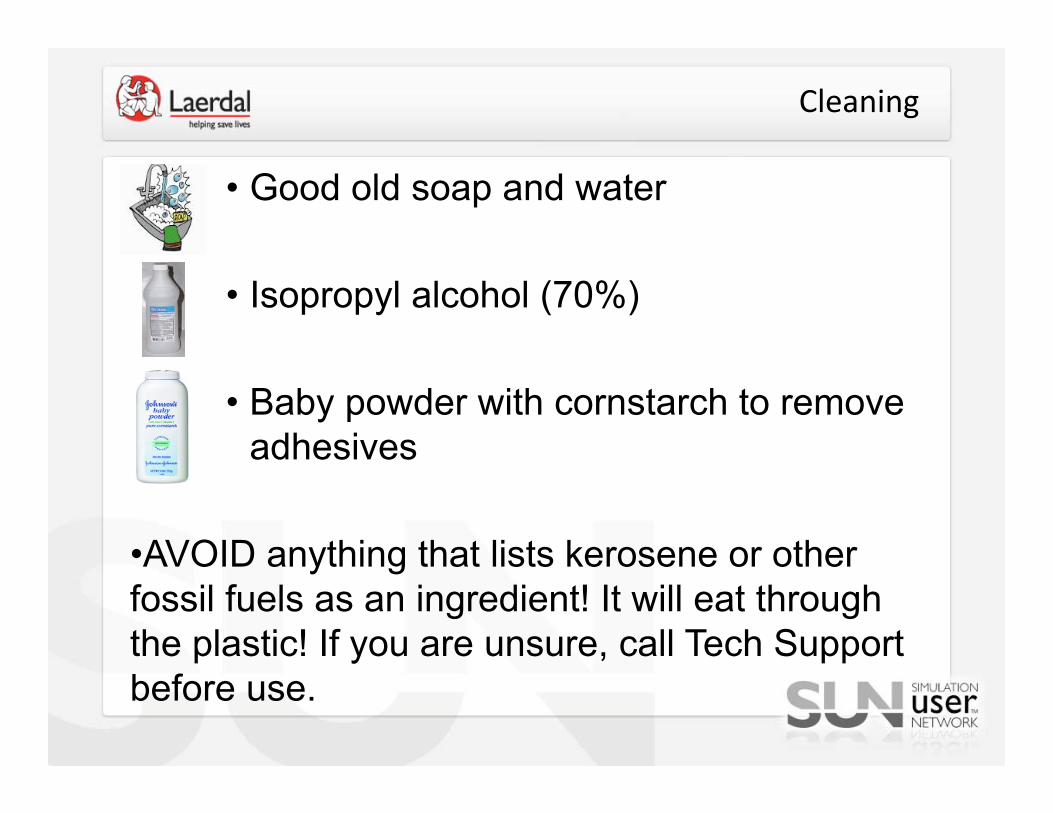
Cleaning
• Good old soap and water
• Isopropyl alcohol (70%)
• Baby powder with cornstarch to remove adhesives
•AVOID anything that lists kerosene or other fossil fuels as an ingredient! It will eat through the plastic! If you are unsure, call Tech Support before use.

Ink Free Zone
Avoid these items when handling the simulators

Replacing IV Arm Skins
• Disclaimer: Some IV arms skins may be made TOO tight from the factory
• If the old arm skin is ruined, CUT IT OFF• The wrist is the key• Liquid dish soap is also important! You can’t use too much• Look at old tubing to learn how it attaches (take a picture if you
need a reference)• Use DOTS of super glue to hold the tubing in place • MAKE SURE fingers are in place before sliding over the wrist• If wrist just won’t go through:
– Try heating the skin with a blow dryer (wrist area)– Soak the skin in hot water
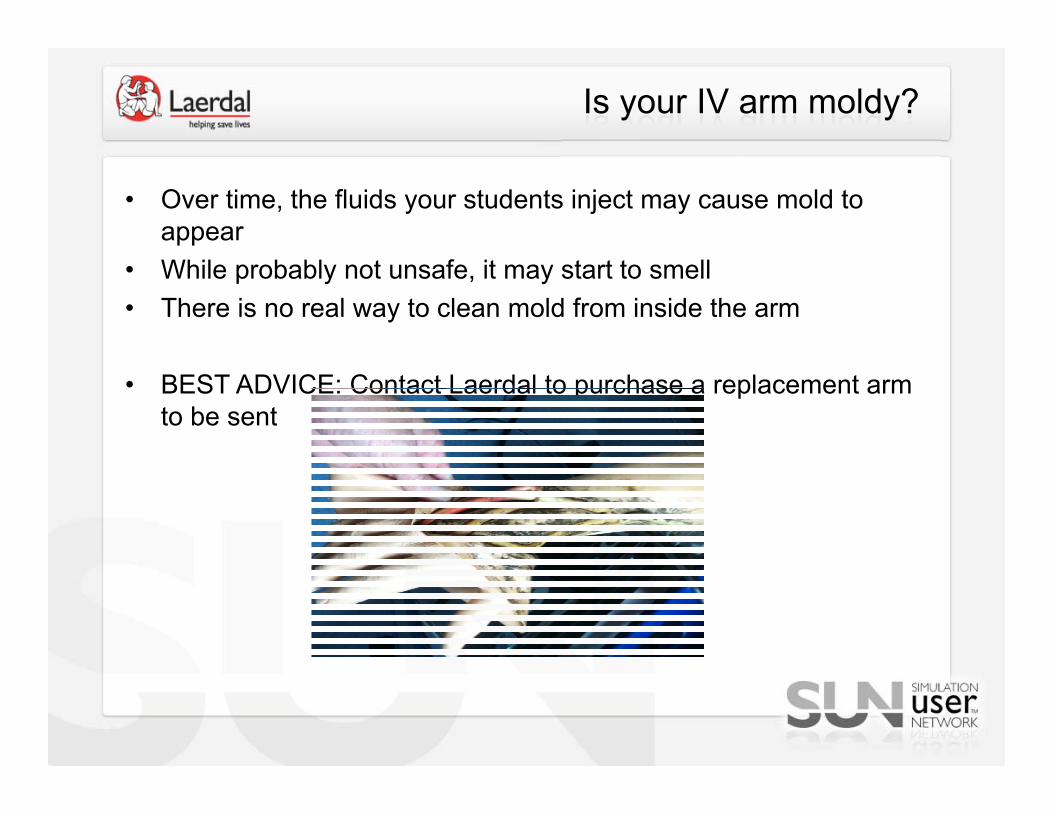
Is your IV arm moldy?
• Over time, the fluids your students inject may cause mold to appear
• While probably not unsafe, it may start to smell• There is no real way to clean mold from inside the arm
• BEST ADVICE: Contact Laerdal to purchase a replacement arm to be sent

SimBaby Esophagus Filter
• Every SimBaby comes with a bag of replacement esophagus filters
• Filter prevents lubricant from entering valves
• If you frequently perform airway management on SimBaby, you should change the filter every two to four weeks.
• Our depot repair team has seen ruined valve banks

Monthly maintenance guide
• Compressor: • Check the compressor for unusual sounds (rattling, clattering),
overheating (electrical, oily smell)• Check if it runs continually, (it should not unless you have the
newer style compact compressor)• Outer Skin:
• Clean outside skin with warm soapy water and let dry (wipe down with dry towel and then air dry).
• Remove tape adhesive with powder/cleaners• Outer Skin, head‐to‐toe: After cleaning with soap/water, powder
down exterior surface from head to toe (powder acts as a barrier for “hand grunge/oils”). Encourage learners to use surgical gloves when interacting with patient simulators.

• Internal chest of SimMan: Lightly powder the following areas: : – inside chest skin, – chest wall– under chest wall (lift chest wall plate, take care not to
disconnect hoses, wiring)– surfaces of white lungs– surfaces of inflation bladder
• IV Arm– Check smell. If odorous/mildew it’s time for skin and veins
changed – When using IV arm with fluids such as simulated blood, add
¼ teaspoon bleach into blood mixture
Monthly maintenance guide Part 2

• IM injection Pads (total of 4 on SimMan: right deltoid, right gluteus, left ventral gluteus, left lateral thigh)
• Check smell. If odorous/mildew remove the internal pads, submerge and squeeze in a soapy/bleach (only 1 teaspoon bleach per gallon),
• Using BVM, check for good rise/fall of chest inflation. If deficient, first check for punctured or loose tape under neck skin that covers hole in trachea. If tape has good seal, remove chest skin and chest plate to inspect for loose fittings at lung bag or bronchial tree connections.
Monthly maintenance guide Part 3

• Blood Pressure calibration
• Microphone
• Confirming connectivity
• ELO/ Touch Screen Monitor
• Compressor
• Simpad BP calibration
TroubleShooting

Calibrating BP on SimMan, SimBaby

Software


• Connect Lan cable between manikin and computer (plug directly into docking station if applicable).
• Hover over the manikin during the startup of the instructor application to obtain the current IP address

SimMan 3G Test Utility
• Access Remote desktop from Windows Start menu• Accessories > Remote Desktop
• Enter IP Address of manikin

Manikin desktop
• The manikin desktop will appear• Find the icon “Stop Update Service” and click on it• Find icon “SimMan3G Test Utility” and click on that
• Enter IP address: 192.168.168.1

Sounds

SimPad BP Calibration
• With a session running on the simpad, click on Menu, select Preferences (If in manual mode it will say manual mode pref, if in auto mode it will say auto mode pref)
• Tab on Blood Pressure Calibration. Pump the cuff to 100 and hold it there by twisting the dial. Press the calibrate button the simpad.
As you pump the cuff you will see the bar progress across
Stop once you have pumped the cuff to 100
You should get an acknowledgement confirming calibration.

Patient Monitor won’t display Vitals?
• Right click on desktop – select “Properties
• Select Display 2
• Set resolution to 1280 x 1024 pixals
• Check “Extend my Windows desktop onto this monitor”
• Click OK
• Connect the Monitor USB cable to the computer

Calibrate Touch Screen
• Double click on the “ELO” icon in the system tray
• Click on the align button on the dialog that appears
• Press the Esc key on your keyboard (this sends the bullseye to the ELO monitor)
• Touch each target as it appears on the patient monitor

Elo Cont’d

Update the Software
• .
• Start the manikin update program from the start menu
• Start update• This program will
automatically update all software in the link box and in the manikin

Compressor for Man/Baby
• At the end of each training session, turn the power off and open the red knob to exhaust moist air
• The internal filters are changed out during an annual preventative maintenance visit by a Laerdal Field Service Engineer.
• Continuous running, continuous hissing sound, or unusual smells indicate need for repair

Compressor Continued….
When compressor is turned off, the air tank must be drained

Newer Style Compressor
• The new style compressor, part 210-01750 is much smaller, lighter and most importantly quieter than any other compressor we have sold. The difference on this compressor vs. the older style ones, is that there is not tank inside of the this unit.

SimJunior Compressor
• If you are not getting chest rise and fall with SimJunior and Convulsions are not working, check to ensure that you have power going into the manikin. SimJr has an internal battery that once depleted will cause the chest rise and fall to stop as well as the convulsions. Always make sure that
the power adapter is plugged into the manikin and the wall. Internally the manikin has a linkboxbattery as seen below.

How to get help
Call our technical support team between the hours of 8a‐8p EDT Monday –Friday and Saturday from 10a – 6p EDT.
We’re able to provide the most help when you have the following….
Some time to troubleshoot the issue with us
Have access to the manikin, computers, and simpads.
Questions…..

Thank You!
Your feedback is valuable, please be sure to let us know what we can add, or change for next time!


