5
S titch S titch BY Learning to Sew, One Pro J ect at a Time Deborah Moebes
| Date post: | 01-May-2018 |
| Category: |
Documents |
| Upload: | truongkhanh |
| View: | 218 times |
| Download: | 2 times |

StitchStitchBY
Learning to Sew, One ProJect at a Time
Deborah Moebes
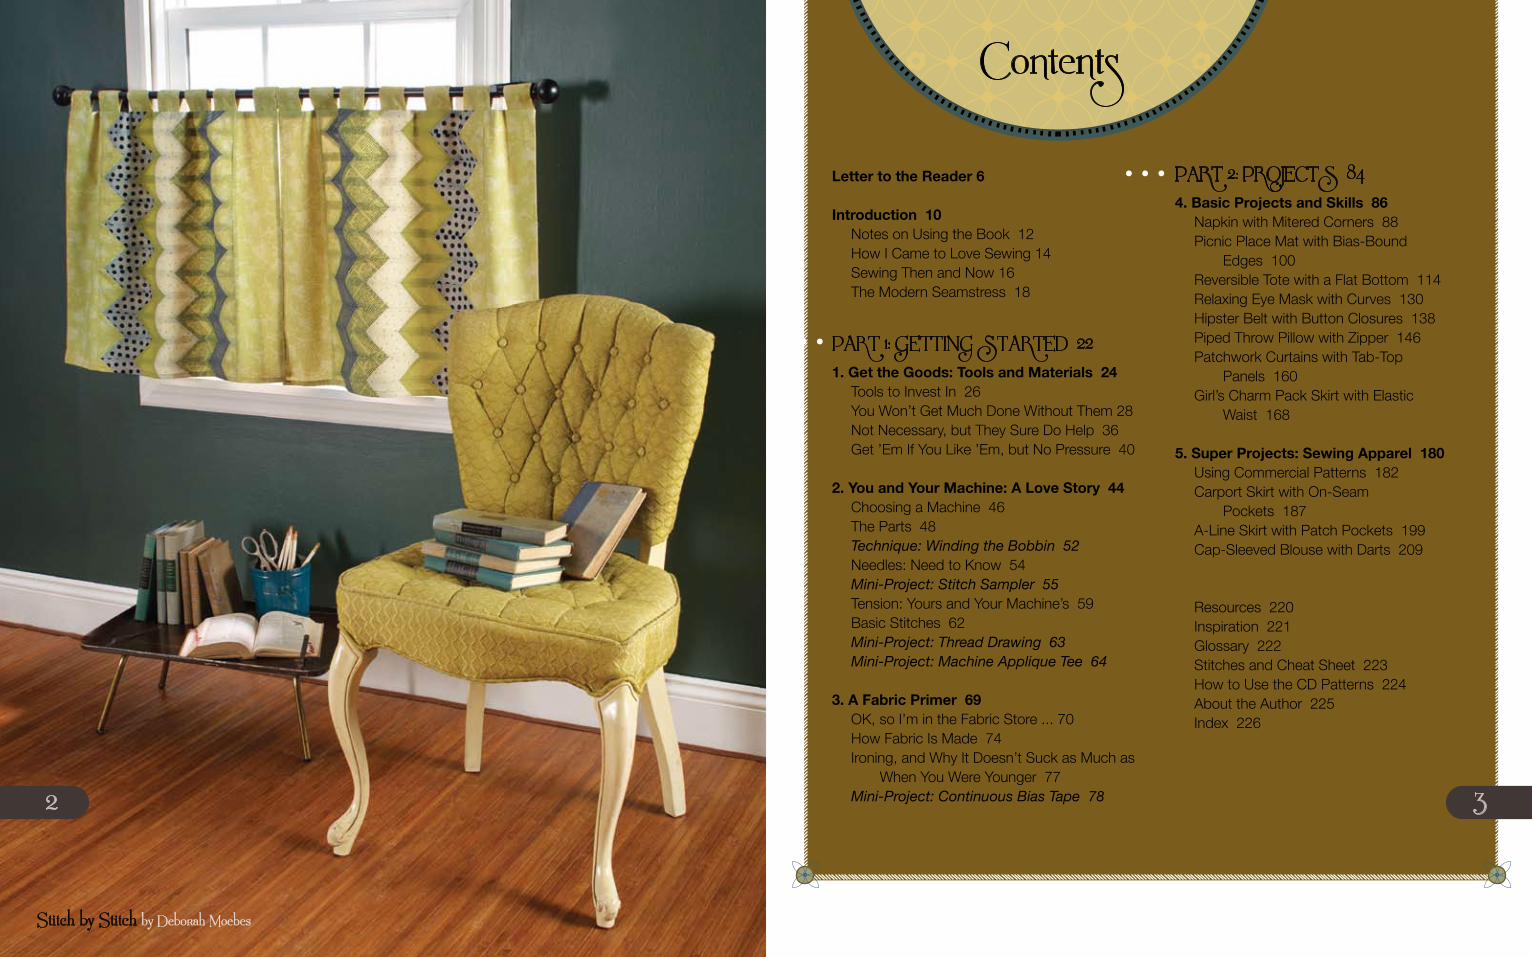
Contents
2
Stitch by Stitch by Deborah Moebes
3
Letter to the Reader 6
Introduction 10Notes on Using the Book 12How I Came to Love Sewing 14Sewing Then and Now 16The Modern Seamstress 18
Part 1: GettinG Started 221. Get the Goods: Tools and Materials 24
Tools to Invest In 26You Won’t Get Much Done Without Them 28Not Necessary, but They Sure Do Help 36Get ’Em If You Like ’Em, but No Pressure 40
2. You and Your Machine: A Love Story 44Choosing a Machine 46The Parts 48Technique: Winding the Bobbin 52Needles: Need to Know 54Mini-Project: Stitch Sampler 55Tension: Yours and Your Machine’s 59Basic Stitches 62Mini-Project: Thread Drawing 63Mini-Project: Machine Applique Tee 64
3. A Fabric Primer 69OK, so I’m in the Fabric Store ... 70How Fabric Is Made 74Ironing, and Why It Doesn’t Suck as Much as When You Were Younger 77Mini-Project: Continuous Bias Tape 78
Part 2: ProjeCtS 84 4. Basic Projects and Skills 86
Napkin with Mitered Corners 88Picnic Place Mat with Bias-Bound Edges 100Reversible Tote with a Flat Bottom 114Relaxing Eye Mask with Curves 130Hipster Belt with Button Closures 138Piped Throw Pillow with Zipper 146Patchwork Curtains with Tab-Top Panels 160Girl’s Charm Pack Skirt with Elastic Waist 168
5. Super Projects: Sewing Apparel 180Using Commercial Patterns 182Carport Skirt with On-Seam Pockets 187A-Line Skirt with Patch Pockets 199Cap-Sleeved Blouse with Darts 209
Resources 220Inspiration 221Glossary 222Stitches and Cheat Sheet 223How to Use the CD Patterns 224About the Author 225Index 226
step
1step
2
step
3
step
4
step
5
step
6
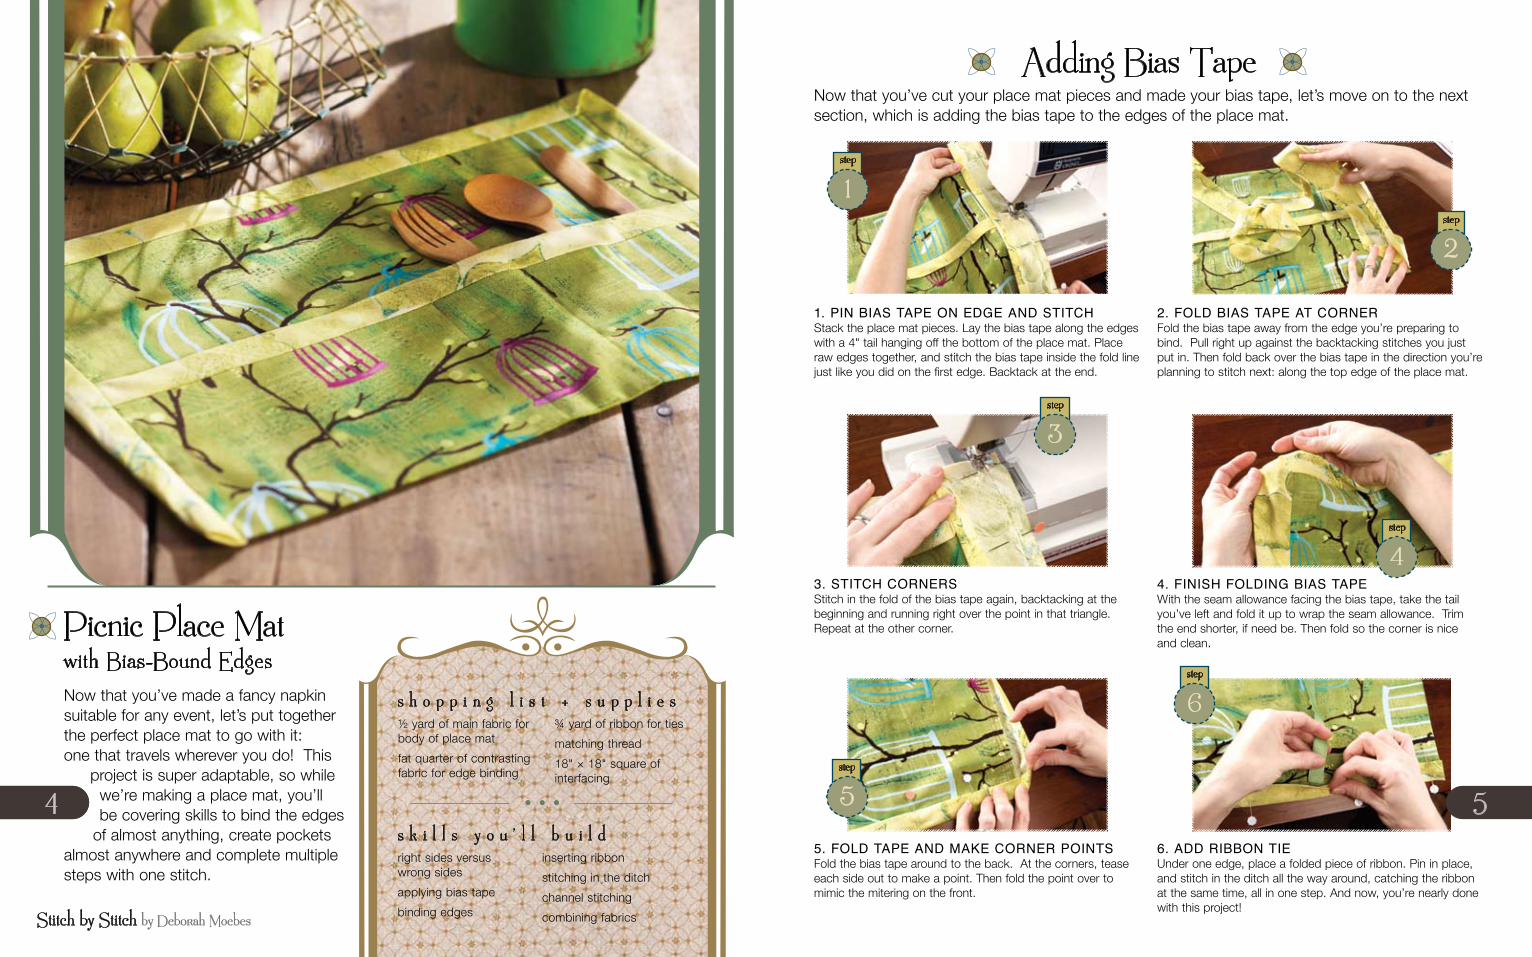
Adding Bias TapeNow that you’ve cut your place mat pieces and made your bias tape, let’s move on to the next section, which is adding the bias tape to the edges of the place mat.
1. Pin bias taPe on edge and stitch Stack the place mat pieces. Lay the bias tape along the edges with a 4" tail hanging off the bottom of the place mat. Place raw edges together, and stitch the bias tape inside the fold line just like you did on the first edge. Backtack at the end.
2. Fold bias taPe at corner Fold the bias tape away from the edge you’re preparing to bind. Pull right up against the backtacking stitches you just put in. Then fold back over the bias tape in the direction you’re planning to stitch next: along the top edge of the place mat.
3. stitch corners Stitch in the fold of the bias tape again, backtacking at the beginning and running right over the point in that triangle. Repeat at the other corner.
4. Finish Folding bias taPe With the seam allowance facing the bias tape, take the tail you’ve left and fold it up to wrap the seam allowance. Trim the end shorter, if need be. Then fold so the corner is nice and clean.
5. Fold taPe and make corner Points Fold the bias tape around to the back. At the corners, tease each side out to make a point. Then fold the point over to mimic the mitering on the front.
6. add ribbon tie Under one edge, place a folded piece of ribbon. Pin in place, and stitch in the ditch all the way around, catching the ribbon at the same time, all in one step. And now, you’re nearly done with this project!
Now that you’ve made a fancy napkin suitable for any event, let’s put together the perfect place mat to go with it: one that travels wherever you do! This
project is super adaptable, so while we’re making a place mat, you’ll be covering skills to bind the edges
of almost anything, create pockets almost anywhere and complete multiple steps with one stitch.
right sides versus wrong sides
applying bias tape
binding edges
inserting ribbon
stitching in the ditch
channel stitching
combining fabrics
½ yard of main fabric for body of place mat
fat quarter of contrasting fabric for edge binding
¾ yard of ribbon for ties
matching thread
18" × 18" square of interfacing
s h o p p i n g l i s t + s u p p l i e s
s k i l l s y o u ’ l l b u i l d
Picnic Place Matwith Bias-Bound Edges
4
Stitch by Stitch by Deborah Moebes
5

Gallery
Napkin with Mitered Corners
Reversible Totewith a Flat Bottom
stitching straight lines
mitering corners
pivoting
edge finishing
s k i l l s y o u ’ l l b u i l d
linings
handles and straps
flat-bottom techniques
s k i l l s y o u ’ l l b u i l d6
Stitch by Stitch by Deborah Moebes
Patchwork Curtains with Tab-Top Panels
patchwork
curtain linings
tabs
hemming
s k i l l s y o u ’ l l b u i l d
A-line Skirtwith Patch Pockets
yokes and facings
invisible zippers
hems and hem facings
patch pockets
hand finishing inside garments
darts
pattern variations
s k i l l s y o u ’ l l b u i l d
7

StitchStitchBY
Finally, a book for new (and returning) sewists that actually teaches what they need to know to sew. Inside Stitch by Stitch, readers learn the essential sewing skills while making 12 appealing projects. In this unique format, skills and projects build upon each other so that readers will get instant gratification and motivation to progress. In addition, each technique and project includes numerous step-by-step photos (as opposed to vague illustrations) making it easy for readers to see exactly what they need to accomplish and how to do it right. Finally, the book’s aesthetic—with projects featuring popular designer fabrics and photography in a simple, sophisticated style—will appeal to a grown-up audience with lots of style.
Features A guide to the machine, as well as other notions and fabric
12 projects—including home décor, wearables and apparel—that build sewing skills
Thorough, comprehensive instruction and step-by-step photos
Bonus CD-ROM with PDF patterns, stitch guides, sample designs for appliqué and more!
About the Author Deborah Moebes is a fifth-generation crafter and designer. After nearly ten years of school teaching, Deborah Moebes launched a children’s clothing line in 2006, and began teaching sewing at Beehive Co-op in Atlanta the following year. Her classes there are in high demand, and her business has grown to include a thriving fabric shop and sewing lounge in the heart of Atlanta. She continues to add workshops and sewing events throughout the year, and regularly blogs tutorials (whipstitchfabrics.com/blog), projects and articles on the new sewing culture.
ISBN 13: 978-1-4402-1161-4 ISBN 10: 1-4402-1161-2UPC: 0 74962 01169 5EAN: 9 781440 211614 SRN: Z7247 Category: Sewing
Price: US $27.99, CAN $33.99Trim: 8"w x 10"hPage count: 224Binding: hardcover with concealed wire-o
Publication month: August 2010Word count: 30,000# of color photos: 350 # of b&w illustrations: 0Interior color: 4c
KRAUSE PUBLICATIONSCINCINNATI, OHIO
A DIVISION OF F+W MEDIA
by Deborah Moebes
8


