1 STUDENT ASSESSMENT GUIDE Unit of competency name Produce simple word processed documents Unit of competency number BSBITU201A Unit Purpose On successful completion of this unit you should be able to correctly operate word processing applications in the production of workplace documents. Specifically you will: Prepare to produce documents Produce documents Finalise documents. Reporting of assessment outcomes Your result will be recorded and reported to you as Competent or Not yet Competent. Requirements to successfully complete this unit of competency You are required to complete a) Practical E-Portfolio *The document is to be uploaded into the assessment area of the Moodle when all 11 Activities are completed* *** Each Activity should be on a new page*** Assessment Table Assessment Component Assessment Method Assessment Tool Aspects of Evidence Weighting Result Competency Ungraded 1 E-Portfolio 1-3 90% Competency Ungraded 2 Templates 1-3 10%
Transcript
1
STUDENT ASSESSMENT GUIDE
Unit of competency name Produce simple word processed documents
Unit of competency number BSBITU201A
Unit Purpose On successful completion of this unit you should be able to correctly operate word processing applications in the production of workplace documents. Specifically you will:
Prepare to produce documents
Produce documents
Finalise documents. Reporting of assessment outcomes Your result will be recorded and reported to you as Competent or Not yet Competent. Requirements to successfully complete this unit of competency
You are required to complete a) Practical E-Portfolio
*The document is to be uploaded into the assessment area of the Moodle when all 11 Activities are completed*
*** Each Activity should be on a new page*** Assessment Table
Assessment Component
Assessment Method Assessment Tool Aspects of Evidence Weighting Result
Competency Ungraded
1 E-Portfolio 1-3 90%
Competency Ungraded
2 Templates 1-3 10%
2
Practical Tasks
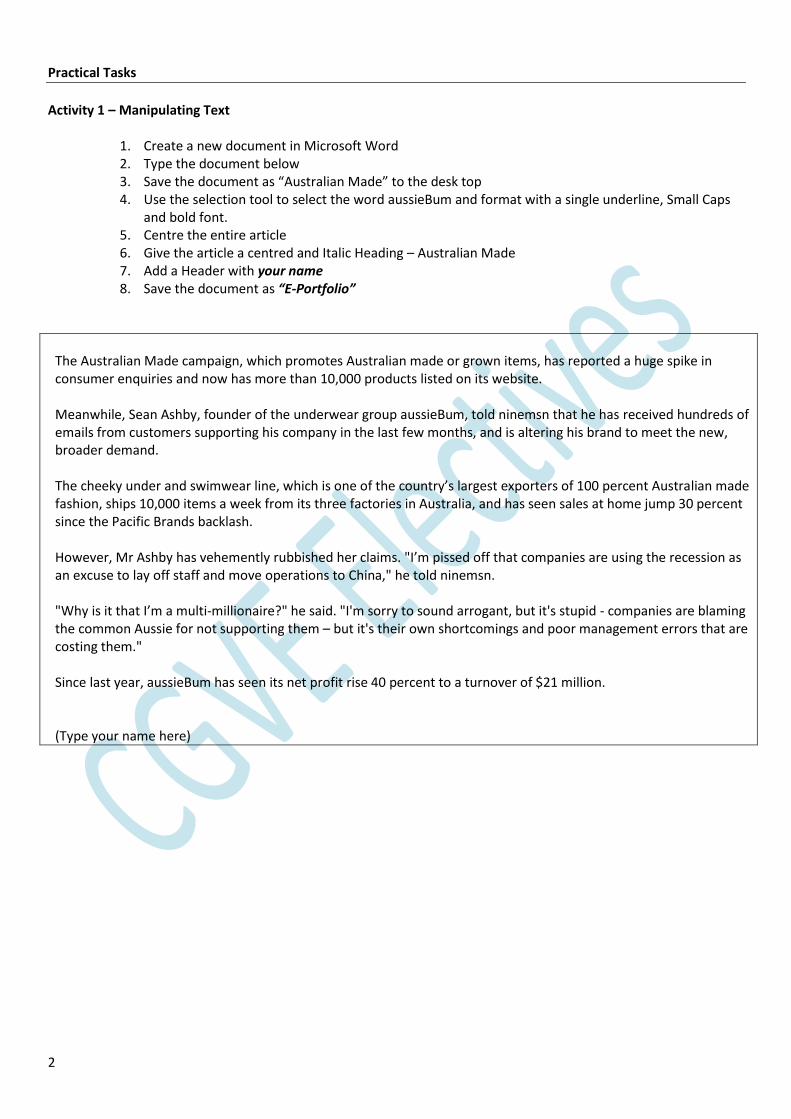
Activity 1 – Manipulating Text
1. Create a new document in Microsoft Word 2. Type the document below 3. Save the document as “Australian Made” to the desk top 4. Use the selection tool to select the word aussieBum and format with a single underline, Small Caps
and bold font. 5. Centre the entire article 6. Give the article a centred and Italic Heading – Australian Made 7. Add a Header with your name 8. Save the document as “E-Portfolio”
The Australian Made campaign, which promotes Australian made or grown items, has reported a huge spike in consumer enquiries and now has more than 10,000 products listed on its website. Meanwhile, Sean Ashby, founder of the underwear group aussieBum, told ninemsn that he has received hundreds of emails from customers supporting his company in the last few months, and is altering his brand to meet the new, broader demand. The cheeky under and swimwear line, which is one of the country’s largest exporters of 100 percent Australian made fashion, ships 10,000 items a week from its three factories in Australia, and has seen sales at home jump 30 percent since the Pacific Brands backlash. However, Mr Ashby has vehemently rubbished her claims. "I’m pissed off that companies are using the recession as an excuse to lay off staff and move operations to China," he told ninemsn. "Why is it that I’m a multi-millionaire?" he said. "I'm sorry to sound arrogant, but it's stupid - companies are blaming the common Aussie for not supporting them – but it's their own shortcomings and poor management errors that are costing them." Since last year, aussieBum has seen its net profit rise 40 percent to a turnover of $21 million. (Type your name here)
3
Activity 2 – Margins, Indents and Tabs 1. Open up your document “E-Portfolio” 2. Insert a page break 3. Type the document as is below using hanging indents where required
4. Save the document
Enter today’s date here Activity 2
Word Processing A word processor (more formally known as document preparation system) is a computer application used for the production (including composition, editing, formatting, and possibly printing) of any sort of printable material.
Word processor may also refer to an obsolete type of stand-alone office machine, popular in the 1970s and 80s, combining the keyboard text-entry and printing functions of an electric typewriter with a dedicated computer for the editing of text.
Although features and design varied between manufacturers and models, with new features added as technology advanced, word processors for several years usually featured a monochrome display and the ability to save documents on memory cards or diskettes. Later models introduced innovations such as spell-checking programs, increased formatting options, and dot-matrix printing. As the more versatile combination of a personal computer and separate printer became commonplace, the word processor disappeared.
Word processors are descended from early text formatting tools (sometimes called text justification tools, from their only real capability). Word processing was one of the earliest applications for the personal computer in office productivity.
Although early word processors used tag-based markup for document formatting, most modern word processors take advantage of a graphical user interface. Most are powerful systems consisting of one or more programs that can produce any arbitrary combination of images, graphics and text, the latter handled with type-setting capability. Microsoft Word is the most widely used computer word processing system; Microsoft estimates over five hundred million people use the Office suite, which includes Word.
There are also many other commercial word processing applications,
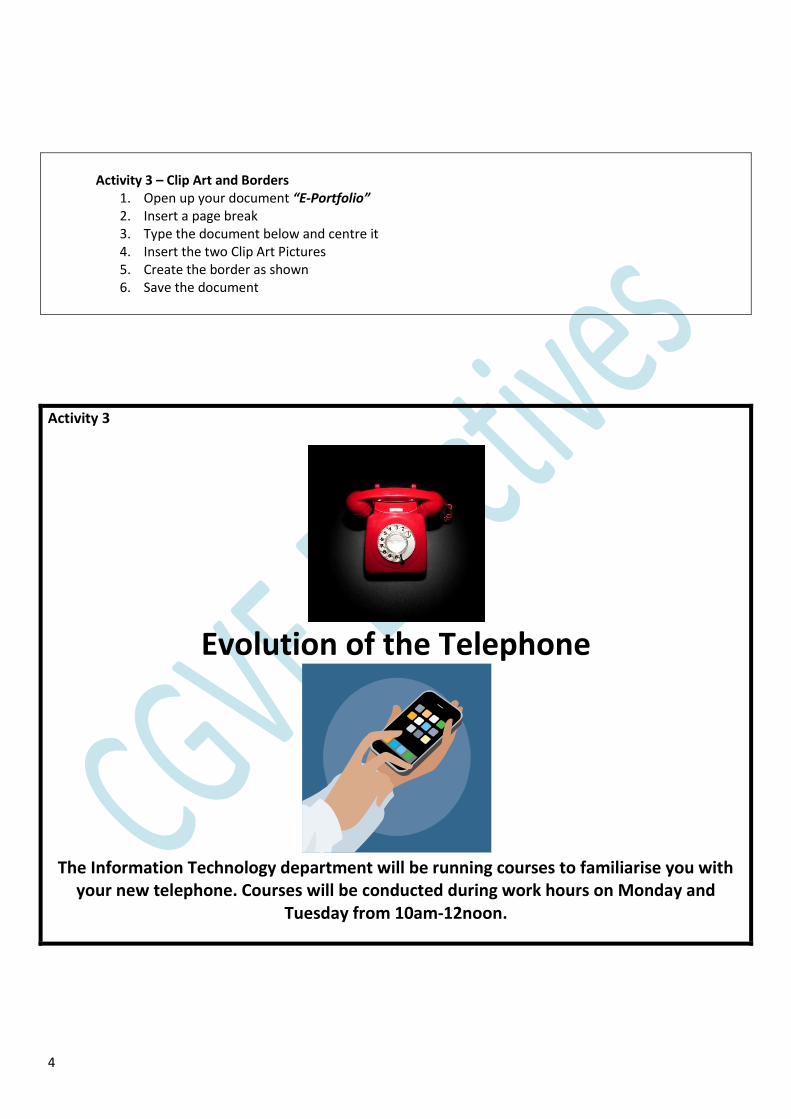
1. Open up your document “E-Portfolio” 2. Insert a page break 3. Type the document below and centre it 4. Insert the two Clip Art Pictures 5. Create the border as shown 6. Save the document
Activity 3
Evolution of the Telephone
The Information Technology department will be running courses to familiarise you with
your new telephone. Courses will be conducted during work hours on Monday and Tuesday from 10am-12noon.
5
Activity 4 – Inserting pictures and bullets
1. Open up your document “E-Portfolio” 2. Insert a page break 3. Type the document below using the fonts shown on the right hand side
4. Go to google images and copy and paste a picture of an iphone
5. Create the border as shown
6. Save the document
Activity 4
Introduction to the Apple iPhone 3G
Phone, Ipod, Internet and MORE
Introducing iPhone 3G.
Fast 3G wireless technology
GPS mapping
Support for enterprise features like Microsoft Exchange
The new App Store,
iPhone 3G puts even more features at your fingertips. And like the
original iPhone, it combines three products in one
a revolutionary phone
a widescreen iPod
a breakthrough Internet device with rich HTML email and a
desktop-class web browser
iPhone 3G. It redefines what a mobile phone can do — again
Calibri Font Size 20 Bold Arial Black Font Size 16 Courier New Font Size 11 Arial Font Size 16
Activity 5 – Borders and Paragraphs 1. Open up your document “E-Portfolio” 2. Insert a page break 3. Identically type the following document including Borders, hanging paragraphs and headings.
Activity 5
Ms Susan Roberts
Personnel Manager
200 Hyde Park
PORT ADELAIDE
SA 5015
Dear Ms Roberts
Re: Word Processing Inquiry
Thank you for your letter dated 12/10/2010. I would comment on your queries as follows:
Point 1. The ideal processor operator should be self-motivated and able to cope
with pressure. He/She should have an excellent memory, a methodical
approach, an ability to work unsupervised and a willingness to stay with the
work until the problem has been solved.
Point 2. The aim of the exercises we use in our courses is to demonstrate the
difference between conventional typing and computer-based typing. The
basic ideas are the same on all systems, although the method of operation
may vary.
Point 3. I’m ready to go and have a break now cause this lesson has nearly finished
and i have been working very hard.
If you need any further information, please do not hesitate to contact me.
Yours faithfully
Teresa Robson
Head of Department
<your name here>
7
Activity 6 – Tables
1 Open up your document “E-Portfolio” 2 Insert a page break 3 Create the table below using the same colour combination 4 Sort the Names from A-Z 5 Copy and paste the table 6 Sort the second table by Total, Highest to lowest 7 Save the document
Activity 6
Student Name Word 97 Excel 97 Total
Aaron 56 87 143
John 85 55 140
Nick 23 23 46
Alex 87 56 143
Melissa 99 100 199
Nick 65 95 160
Sally 76 76 152
8
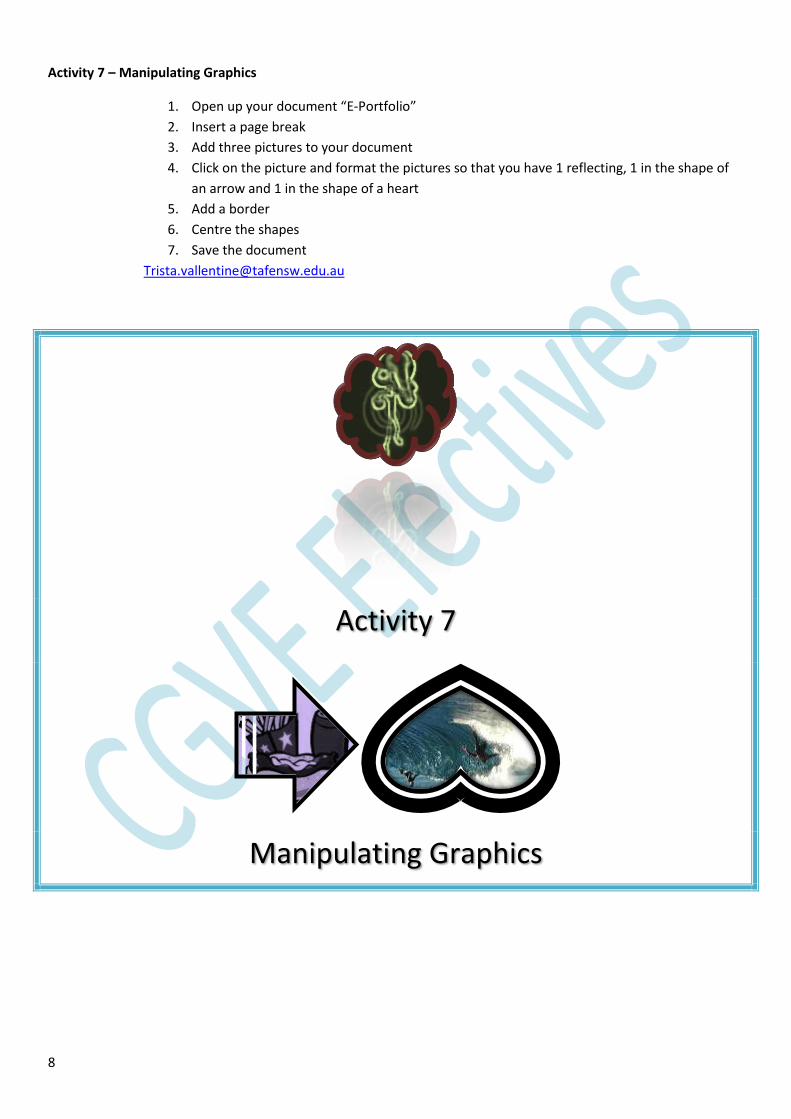
Activity 7 – Manipulating Graphics
1. Open up your document “E-Portfolio”
2. Insert a page break
3. Add three pictures to your document
4. Click on the picture and format the pictures so that you have 1 reflecting, 1 in the shape of