10
Student Import Wizard Creating a CSV from SIMS.NET

Student Import Wizard Creating a CSV from SIMS.NET

Creating a CSV from SIMS.NET
ID: SIW_SIMS_1 Version Number: 1.0 Date: 14/07/2017
1
Contents Introduction ............................................................................................................................................................................ 2
Part 1: Downloading the Report Definition ............................................................................................................................ 3
Part 2: Running the Report ..................................................................................................................................................... 6

Creating a CSV from SIMS.NET
ID: SIW_SIMS_1 Version Number: 1.0 Date: 14/07/2017
2
Introduction The instructions below explain how to create a CSV file from SIMS.NET for importing into the library system.
To make this process easier, MLS have created a report definition with all the required fields, columns and formatting necessary in order to produce the required information.
This document is split into 2 parts, both are outlined below.
Part 1 - Downloading and importing a Report definition
Part 2 - Creating the CSV file

Creating a CSV from SIMS.NET
ID: SIW_SIMS_1 Version Number: 1.0 Date: 14/07/2017
3
Part 1: Downloading the Report Definition MLS have created a special report definition file for use with SIMS, which can be used in order to create a CSV file in the correct format. This file does not have to be used and it is possible to create your own report with the correct data but it is often quicker to use this report file.
1. Clink on the link below or enter it into your web browser to download the report definition file. Please note that this is a compressed file and will need to be in-zipped once it has been downloaded. The extracted file will be labelled “Student data roport.RptDef”.
Download Link
2. Save this .rpt file to Documents/My Documents or somewhere that you are able to access it later. In this example, the file has been extracted and saved to Documents as shown below.
Once the report file has been downloaded and extracted, it can be imported into SIMS.Net.
3. Open the SIMS.NET application and log in.

Creating a CSV from SIMS.NET
ID: SIW_SIMS_1 Version Number: 1.0 Date: 14/07/2017
4
4. From the menu at the top, choose Reports / Import.
5. The Import Reports box will open. From this box, you can import report definition files. Select Open from this window.
Navigate to the drive where the report file was extracted to earlier. In this example the Student Data Report file from Documents is selected.
Click Open.

Creating a CSV from SIMS.NET
ID: SIW_SIMS_1 Version Number: 1.0 Date: 14/07/2017
5
6. The report description should now show and the Status of Pending… will be displayed. Click the Import button to import the report.
The status will then be changed to Imported, which means that the report has been imported successfully.
Click Close to the Import reports window.
Creating a CSV from SIMS.NET
ID: SIW_SIMS_1 Version Number: 1.0 Date: 14/07/2017
6
Part 2: Running the Report Once the report definition file has been imported, the report can be run which allows the data to be exported to a CSV file in preparation for it being imported into the library system. The steps in this section explain how to run the report within SIMS in order to generate the data and output it to CSV.
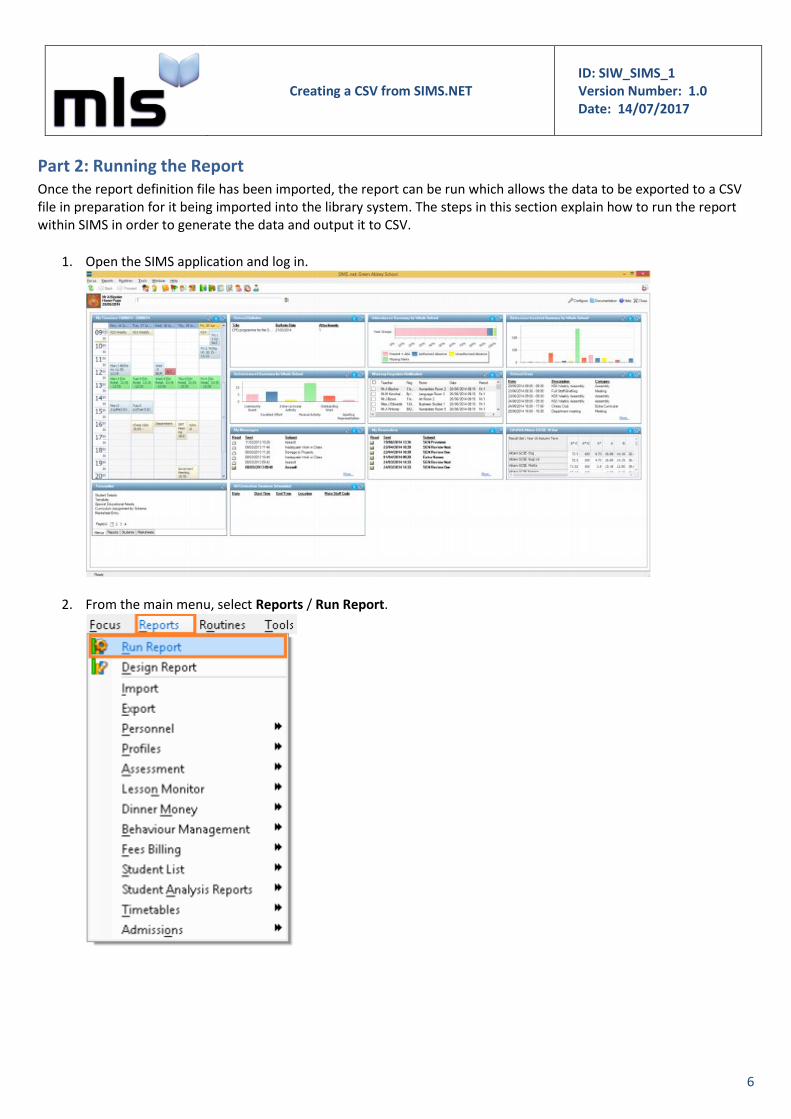
1. Open the SIMS application and log in.
2. From the main menu, select Reports / Run Report.

Creating a CSV from SIMS.NET
ID: SIW_SIMS_1 Version Number: 1.0 Date: 14/07/2017
7
This opens a Report Browser menu, which is an area that reports can be run from.
3. In this case, we are looking for the report that was imported in the previous section. To locate this report, click and expand the Focus menu then choose Student.
A list of Student reports will show on the right of the menu where Student was selected above. Scroll down and select Sims.Net to Library V2.
Creating a CSV from SIMS.NET
ID: SIW_SIMS_1 Version Number: 1.0 Date: 14/07/2017
8
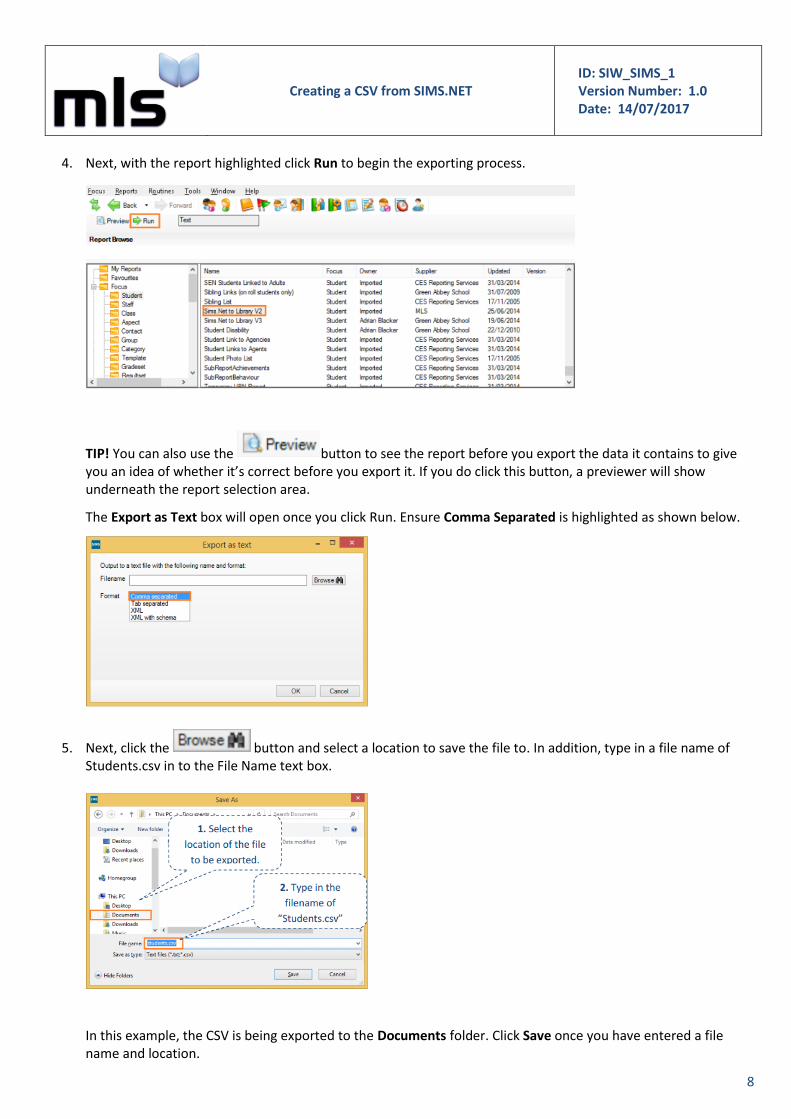
4. Next, with the report highlighted click Run to begin the exporting process.
TIP! You can also use the button to see the report before you export the data it contains to give you an idea of whether it’s correct before you export it. If you do click this button, a previewer will show underneath the report selection area.
The Export as Text box will open once you click Run. Ensure Comma Separated is highlighted as shown below.
5. Next, click the button and select a location to save the file to. In addition, type in a file name of Students.csv in to the File Name text box.
In this example, the CSV is being exported to the Documents folder. Click Save once you have entered a file name and location.

Creating a CSV from SIMS.NET
ID: SIW_SIMS_1 Version Number: 1.0 Date: 14/07/2017
9
6. The Export as Text box will show again but this time includes the location where the file is being saved to like in the example below.
7. Click OK to the window shown above and a message should show shortly after explaining that the file has been created successfully and you should now have the CSV file.


