36
Students TRAINING MANUAL First edition, 2011

Students
TRAINING MANUAL
First edition, 2011

2
Introduction
Dear student,
Congratulations to be at the final step on your study. The
internship year is the year where you can gain more than 80 % of
your practical knowledge during studying.
The main aim of this year is to apply and practice what you
have learned during 5 years of theoretical & laboratory classes,
performing real tests for real patients and to investigate and
diagnose real diseases.
Being a medical laboratory technologist or clinical laboratory scientist is a complex and challenging job, according to the ASCP the Medical Technologist has the ability to "work in all areas of the clinical laboratory including blood banking, chemistry, hematology, immunology, and microbiology. They perform a full range of laboratory tests – from simple premarital blood tests, to more complex tests to uncover diseases such as HIV/AIDS, diabetes, and cancer. They are also responsible for confirming the accuracy of test results, and reporting laboratory findings to pathologists and other physicians. Also known as clinical laboratory scientists (CLS), medical technologists operate complex electronic equipment, computers, and precision instruments costing millions of dollars". Finally, as faculty members we are proud of you, and wish you all the best. Always remember that we are here to help you. So, do not hesitate to contact us whenever you need…
THANK YOU AND GOOD LUCK,,,
Faculty Members…Medical Laboratory Department …
3
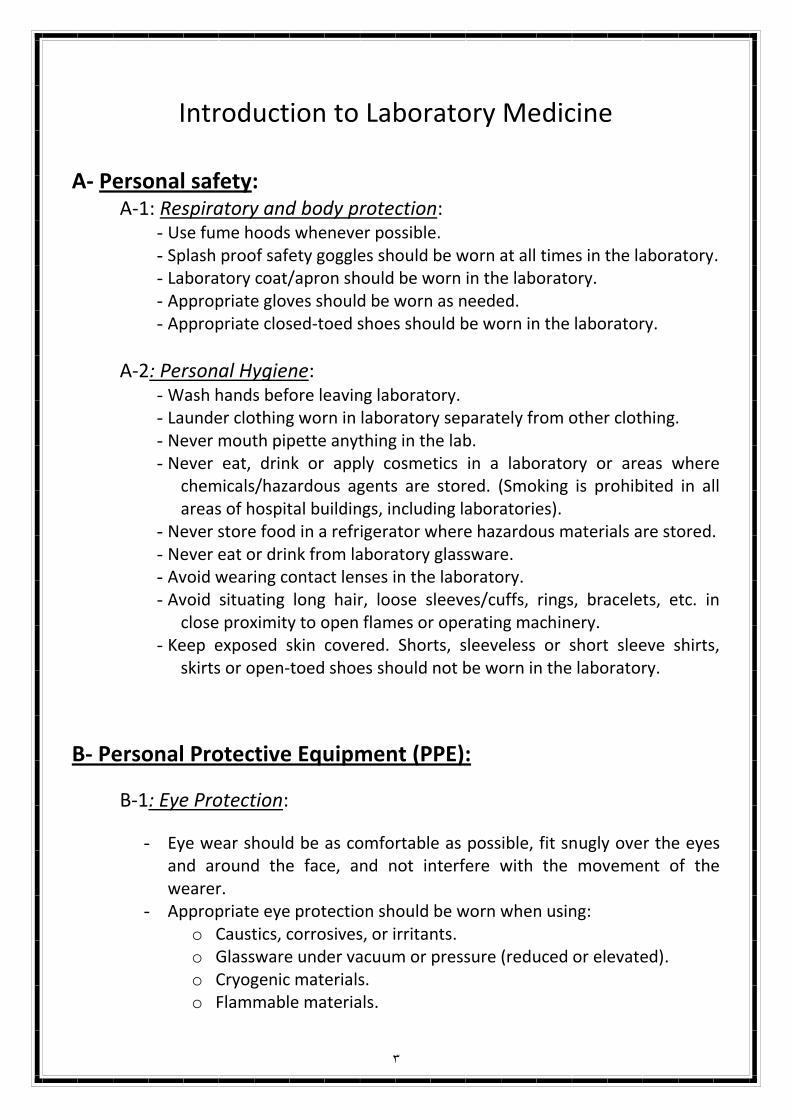
Introduction to Laboratory Medicine A- Personal safety: A-1: Respiratory and body protection:
- Use fume hoods whenever possible. - Splash proof safety goggles should be worn at all times in the laboratory. - Laboratory coat/apron should be worn in the laboratory. - Appropriate gloves should be worn as needed. - Appropriate closed-toed shoes should be worn in the laboratory.
A-2: Personal Hygiene: - Wash hands before leaving laboratory. - Launder clothing worn in laboratory separately from other clothing. - Never mouth pipette anything in the lab. - Never eat, drink or apply cosmetics in a laboratory or areas where
chemicals/hazardous agents are stored. (Smoking is prohibited in all areas of hospital buildings, including laboratories).
- Never store food in a refrigerator where hazardous materials are stored. - Never eat or drink from laboratory glassware. - Avoid wearing contact lenses in the laboratory. - Avoid situating long hair, loose sleeves/cuffs, rings, bracelets, etc. in
close proximity to open flames or operating machinery. - Keep exposed skin covered. Shorts, sleeveless or short sleeve shirts,
skirts or open-toed shoes should not be worn in the laboratory.
B- Personal Protective Equipment (PPE):
B-1: Eye Protection:
- Eye wear should be as comfortable as possible, fit snugly over the eyes and around the face, and not interfere with the movement of the wearer.
- Appropriate eye protection should be worn when using: o Caustics, corrosives, or irritants. o Glassware under vacuum or pressure (reduced or elevated). o Cryogenic materials. o Flammable materials.

4
o Radioactive materials. o Lasers (special lens protection required). o UV light (special lens protection required) . o Biohazards.
- Eye safety equipment should be capable of being cleaned and disinfected.
- Eye protection should always be kept in good condition.
B-2: Lab coat:
- The lab coat is designed to protect the clothing and skin from chemicals that may be spilled or splashed. It should always be properly fitted to the wearer and is best if it is knee length. There are several different types of lab coats for different types of protection.
- Cotton protects against flying objects, sharp or rough edges and is usually treated with a fire retardant.
- Wool protects against splashes of molten materials, small quantities of acid, and small flames.
B-3: Aprons:
- An apron provides an alternative to the lab coat. It is usually made of plastic or rubber to protect the wearer against corrosive or irritating chemicals. An apron should be worn over garments that cover the arms and body, such as a lab coat.
B-4: Gloves:
- Should be worn when touching blood or other potentially infectious fluids.
- Gloves need not be worn when feeding individuals. When wiping saliva from the skin, use protective barriers such as bibs or towels.
- General infection control practices already in existence, including the use of gloves for digital examination of mucous membranes and endotracheal suctioning, should continue to be followed.

5
- Wear gloves when performing phlebotomy. - Change gloves between contact with each person and dispose of after
one use. - Dispose of gloves out of reach of persons you care for. - Wash hands well after removal of gloves.
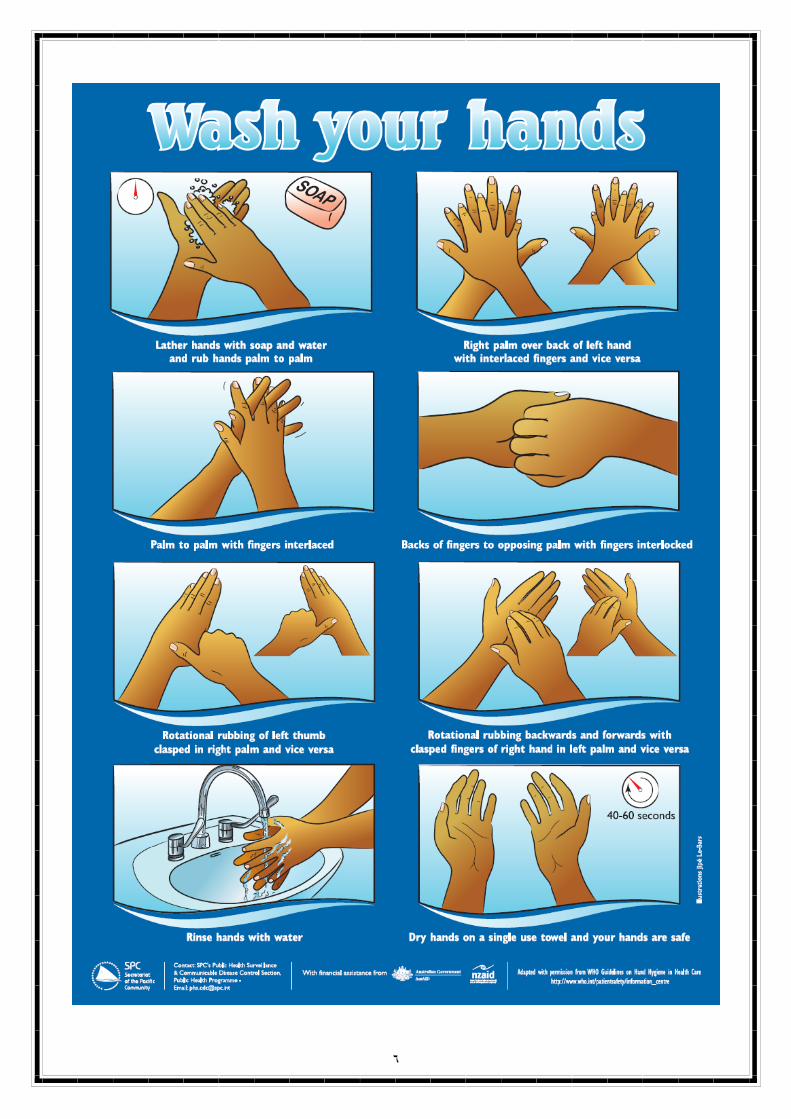
B-5: Hand wash/clean:
- Wash/clean hands that are visibly dirty or contaminated with blood or body fluids with either a non-antimicrobial or antimicrobial soap and water.
- Use an alcohol-based hand rub for routinely cleaning hands in all other clinical situations.
- Wash/clean hands before having direct contact with persons you care for.
- Wash/clean hands before putting on gloves if you will be performing an invasive procedure.
- Wash/clean hands after having contact with the person’ intact skin, non-intact skin, body fluids, excretions, secretions, mucous membranes or wound dressings that you are caring for.
- Wash/clean hands during care for a person if you move from a contaminated body site to a clean body site.
- Wash/clean hands after contact with contaminated objects or medical equipment in the immediate vicinity of the person you are caring for.
- Wash/clean hands after removing gloves. - Wash hands with soap and water (either antimicrobial or
nonantimicrobial) before eating and after using the restroom. - Wash hands with either type of soap and water if exposure to Bacillus
anthracis is suspected or proven. The physical action of washing and rinsing hands under these circumstances is recommended because alcohols and other antiseptic agents have poor activity against spores.
6

7
C- Infection Control Precautions: C-1: Use universal precautions: Key points
Standard precautions are standard operating procedures that apply to the care and treatment of all patients, regardless of their perceived infectious risk. These precautions include aseptic technique, handwashing, use of personal protective equipment, appropriate reprocessing of instruments and equipment and implementation of environmental controls. Standard precautions should incorporate safe systems for handling blood (including dried blood), other body fluids, secretions and excretions (excluding sweat), non-intact skin and mucous membranes.
Additional precautions are required when standard precautions may not be sufficient to prevent the transmission of infectious agents (eg tuberculosis, measles, Creutzfeldt–Jakob disease). Additional precautions are tailored to the specific infectious agent concerned and may include measures to prevent airborne, droplet or contact transmission and health care associated transmission agents.
Successful infection control involves five elements: - Applying basic infection control strategies. - Adopting quality management practices. - Developing effective work practices that prevent the transmission of infectious
agents. - Managing specific infectious agents. - Identifying infection control strategies in specialized health care settings (such as
operating rooms, dentistry rooms, residential aged care facilities).
8
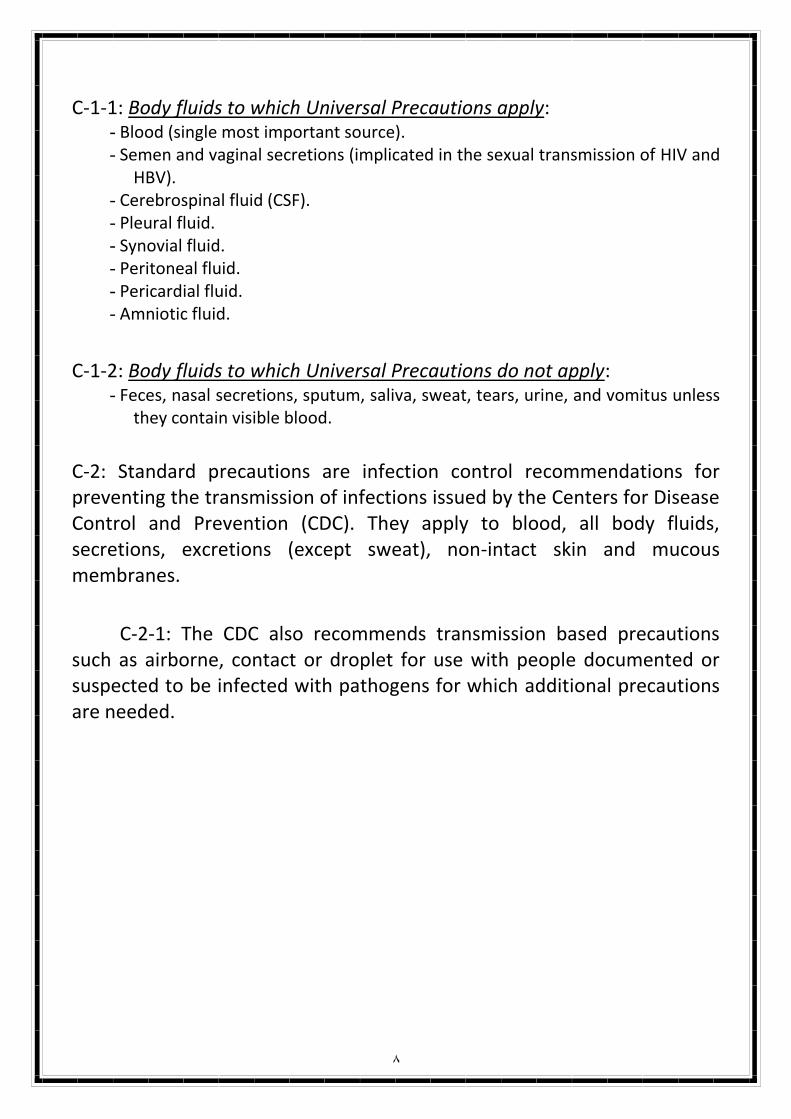
C-1-1: Body fluids to which Universal Precautions apply: - Blood (single most important source). - Semen and vaginal secretions (implicated in the sexual transmission of HIV and
HBV). - Cerebrospinal fluid (CSF). - Pleural fluid. - Synovial fluid. - Peritoneal fluid. - Pericardial fluid. - Amniotic fluid.
C-1-2: Body fluids to which Universal Precautions do not apply:
- Feces, nasal secretions, sputum, saliva, sweat, tears, urine, and vomitus unless they contain visible blood.
C-2: Standard precautions are infection control recommendations for preventing the transmission of infections issued by the Centers for Disease Control and Prevention (CDC). They apply to blood, all body fluids, secretions, excretions (except sweat), non-intact skin and mucous membranes.
C-2-1: The CDC also recommends transmission based precautions such as airborne, contact or droplet for use with people documented or suspected to be infected with pathogens for which additional precautions are needed.

9
Student Internship Program
# Lab. Dept. Duration Comments
1 Hospital & lab. orientation One week Introduce the intern to lab. Staff, complete all paper work & get familiar with safety and infection precautions.
2 Sample receiving & processing area
Two weeks
3 Microbiology & Parasitology 15 weeks
4 Clinical biochemistry 8 weeks
5 Immunology / Serology 6 weeks
6 Hematology 5 weeks
7 Blood Bank 5weeks
8 Histopathology 4 weeks
9 Lab. Management & quality control
2 weeks
TOTAL 48 WEEKS
Important Notes: The schedule is subject to change by laboratory director according to
students benefit. Please write down any changes in the schedule in the "training manual".
Students absent policy: if the total absent of the student in each section exceeded 10%; student should have "a warning letter" attached to his "training manual", and if the total absent exceeded 20%; please notify the faculty coordinator and student should recompense the days he missed.
As a laboratory director/laboratory supervisor, please feel free to recommend any further lab. sections to our students (e.g. Cytogenetics, Molecular Microbiology/Biology, Electron Microscopy Unit…).
01
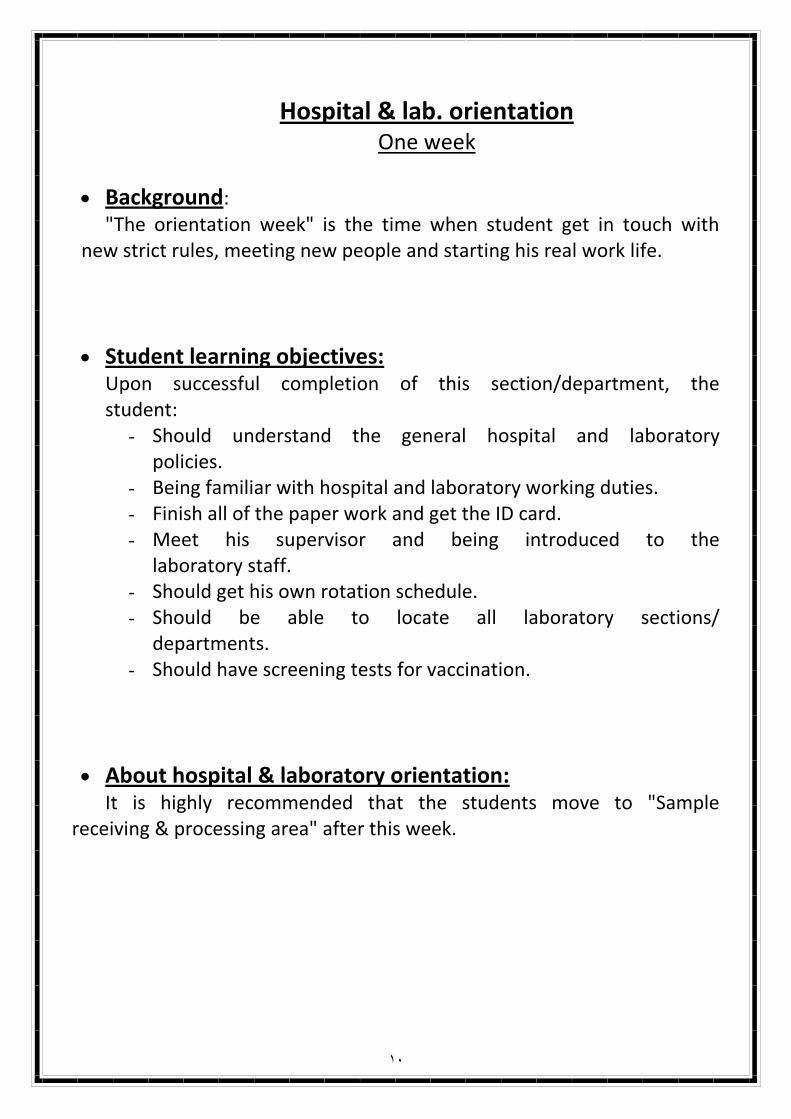
Hospital & lab. orientation One week
Background: "The orientation week" is the time when student get in touch with
new strict rules, meeting new people and starting his real work life.
Student learning objectives: Upon successful completion of this section/department, the student:
- Should understand the general hospital and laboratory policies.
- Being familiar with hospital and laboratory working duties. - Finish all of the paper work and get the ID card. - Meet his supervisor and being introduced to the
laboratory staff. - Should get his own rotation schedule. - Should be able to locate all laboratory sections/
departments. - Should have screening tests for vaccination.
About hospital & laboratory orientation: It is highly recommended that the students move to "Sample
receiving & processing area" after this week.

00
Hospital & lab. orientation Attendance Sheet
Week 1 IN OUT Comments
Sat.
Sun.
Mon.
Tues.
Wed.
Thurs.

02
Sample Receiving & Processing area Two weeks
Background: This is the place where all laboratory samples come to. The samples
are processed here according to the laboratory policy and then send to each appropriate department.
Student learning objectives: Upon successful completion of this section/department, the student will be able to:
- Understand the criteria which the samples are processed upon.
- Define the use of each blood container. - Understand the sample rejection criteria. - Withdraw venous blood. - Have better communication skills with patients. - Understand the important pre-test procedures for critical
patients and tests.
About sample receiving & processing area: As a student, it is recommended to understand the venous blood withdraw especially with children. Also to define the special tests which need more information from the patient, e.g.: Prolactin. Some other samples (like Ammonia) need to be in ice while transported to the lab. Finally, be aware of hemolysed blood samples, blood samples collected in wrong blood container, urine samples for culture collected in non-sterilized containers…

03
Sample Receiving & Processing area Attendance sheet
Week 1 IN OUT Comments
Sat.
Sun.
Mon.
Tues.
Wed.
Thurs.
Week 2 IN OUT Comments
Sat.
Sun.
Mon.
Tues.
Wed.
Thurs.

04
Microbiology & Parasitology Section 15 weeks
Background: Microbiology section/department is one of the most important
sections in the laboratory medicine department. Most infectious diseases are mainly diagnosed at this section. Microbiology section accepts different types of samples, for example: blood samples, swabs, body fluids. Parasitology in many hospitals is a part of microbiology department which cares mainly about the identification of parasites in stool samples.
Student learning objectives: Upon successful completion of this section/department, the student will be able to:
- Give an accurate definition for microbiology department. - Understand how different samples can be received and
processed in microbiology. - Differentiate between pathogenic and non-pathogenic
organisms isolated from different samples. - Understand the antimicrobial sensitivity tests for each
group of organisms isolated from different samples. - Understand how to write and read a complete
microbiology report. - Understand the internal microbiology quality control
system. - Understand the internal microbiology infection control
policy. - Understand how TB can be diagnosed within microbiology
department and how to make the sensitivity test. - Differentiate between the important microbiology culture
medium. - Understand the microbiology sample rejection criteria.

05
About Microbiology & Parasitology Section: You can really enjoy microbiology!! Because, it is one of the laboratories that you do most of the tests manually. As a medical technologist, it is recommended to spend a time at Tuberculosis section. Student should practice skills like:
- Inoculating samples. - Reading cultures. - Dealing with CSF and other sterile body fluids. - Dealing with blood cultures. - Examining stool samples for parasites. - If urine and stool analysis are separated from Microbiology
department, students are advised to spend 2 weeks at stool and urine analysis section.
- Examining semen analysis.

06
Microbiology & Parasitology Section Attendance sheet
Week 1 IN OUT Comments Week 2 IN OUT Comments
Sat. Sat.
Sun. Sun.
Mon. Mon.
Tues. Tues.
Wed. Wed.
Thurs. Thurs.
Week 3 IN OUT Comments Week 4 IN OUT Comments
Sat. Sat.
Sun. Sun.
Mon. Mon.
Tues. Tues.
Wed. Wed.
Thurs. Thurs.
Week 5 IN OUT Comments Week 6 IN OUT Comments
Sat. Sat.
Sun. Sun.
Mon. Mon.
Tues. Tues.
Wed. Wed.
Thurs. Thurs.
Week 7 IN OUT Comments Week 8 IN OUT Comments
Sat. Sat.
Sun. Sun.
Mon. Mon.
Tues. Tues.
Wed. Wed.
Thurs. Thurs.
Week 9 IN OUT Comments Week 10 IN OUT Comments
Sat. Sat.
Sun. Sun.
Mon. Mon.
Tues. Tues.
Wed. Wed.
Thurs. Thurs.

07
Week 11 IN OUT Comments Week 12 IN OUT Comments
Sat. Sat.
Sun. Sun.
Mon. Mon.
Tues. Tues.
Wed. Wed.
Thurs. Thurs.
Week 13 IN OUT Comments Week 14 IN OUT Comments
Sat. Sat.
Sun. Sun.
Mon. Mon.
Tues. Tues.
Wed. Wed.
Thurs. Thurs.
Week 15 IN OUT Comments
Sat.
Sun.
Mon.
Tues.
Wed.
Thurs.
08
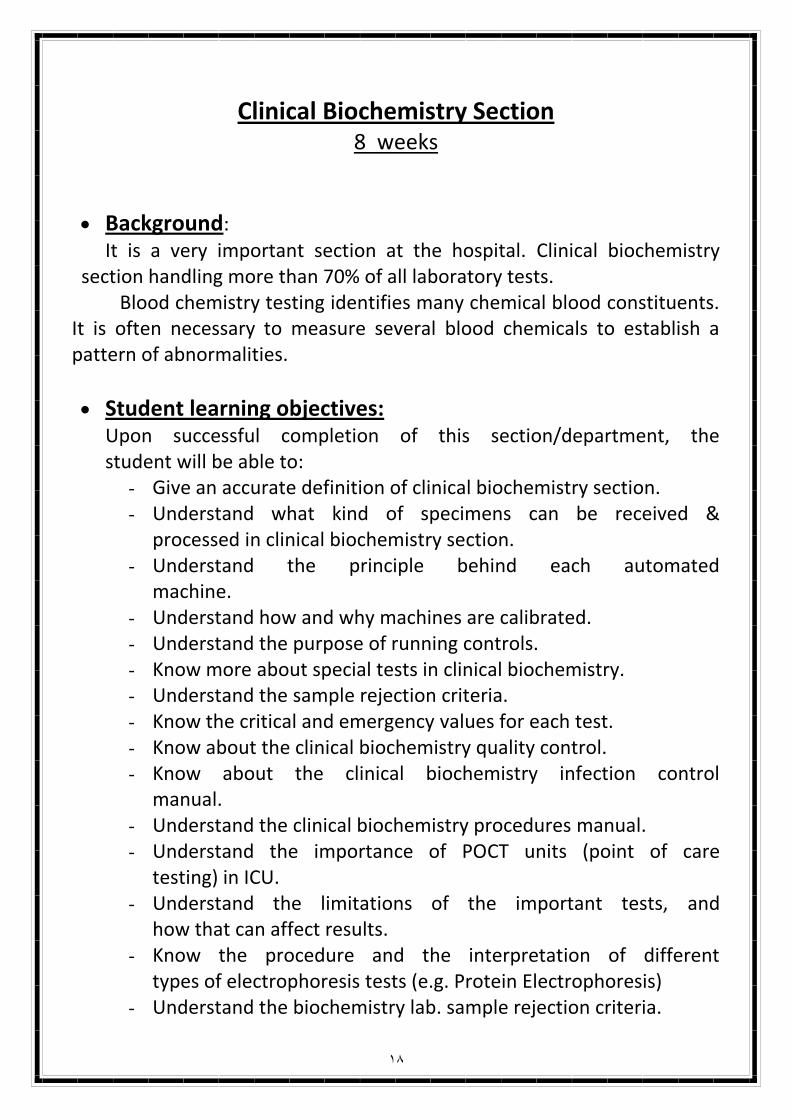
Clinical Biochemistry Section 8 weeks
Background: It is a very important section at the hospital. Clinical biochemistry
section handling more than 70% of all laboratory tests. Blood chemistry testing identifies many chemical blood constituents. It is often necessary to measure several blood chemicals to establish a pattern of abnormalities.
Student learning objectives: Upon successful completion of this section/department, the student will be able to:
- Give an accurate definition of clinical biochemistry section. - Understand what kind of specimens can be received &
processed in clinical biochemistry section. - Understand the principle behind each automated
machine. - Understand how and why machines are calibrated. - Understand the purpose of running controls. - Know more about special tests in clinical biochemistry. - Understand the sample rejection criteria. - Know the critical and emergency values for each test. - Know about the clinical biochemistry quality control. - Know about the clinical biochemistry infection control
manual. - Understand the clinical biochemistry procedures manual. - Understand the importance of POCT units (point of care
testing) in ICU. - Understand the limitations of the important tests, and
how that can affect results. - Know the procedure and the interpretation of different
types of electrophoresis tests (e.g. Protein Electrophoresis) - Understand the biochemistry lab. sample rejection criteria.

09
About Clinical Biochemistry Section: Examples of what student should know about clinical biochemistry:
Common screening profiles: - Cardiac Markers(MI): Cardiac troponin, CK, MB,
homocystein. - Electrolyte panel: Na, K, CL, Co2, pH. - Kidney functions: BUN, phosphorus, LDH, creatinine
clearance, total protein, A/G ratio, albumin, calcium, glucose, Co2.
- Lipids (coronary risk): Cholesterol, triglycerides, HDL, lipoprotein electrophoresis, (LDL, VLDL,HDL).
- Liver function: Total bilirubin, alkaline phosphatase, GGT, total protein, A/G ratio, albumin, AST, LDH, viral hepatitis panel,PT.
- Thyroid function: T3 uptake, free T4, total T4, T7, FTI, TSH. - Basic metabolic screen: Chloride, sodium, potassium,
carbon dioxide, glucose. - Syndrome X (metabolic syndrome): Blood lipid, glucose,
Cholesterol (C). Example of routine automated tests performed commonly in
clinical biochemistry department:
ALT Albumin Alkaline
phosphatase Amylase AST
Bilirubin, direct
Bilirubin, total
Calcium CO2 Chloride
Cholesterol HDL CK Creatinine
GGT
Glucose Iron LDH LDL
Magnesium
Phosphorus, inorganic
Potassium Protein, total Sodium TIBC
Triglycerides Urea
nitrogen Uric acid

21
Clinical biochemistry Section Attendance sheet
Week 1 IN OUT Comments Week 2 IN OUT Comments
Sat. Sat.
Sun. Sun.
Mon. Mon.
Tues. Tues.
Wed. Wed.
Thurs. Thurs.
Week 3 IN OUT Comments Week 4 IN OUT Comments
Sat. Sat.
Sun. Sun.
Mon. Mon.
Tues. Tues.
Wed. Wed.
Thurs. Thurs.
Week 5 IN OUT Comments Week 6 IN OUT Comments
Sat. Sat.
Sun. Sun.
Mon. Mon.
Tues. Tues.
Wed. Wed.
Thurs. Thurs.
Week 7 IN OUT Comments Week 8 IN OUT Comments
Sat. Sat.
Sun. Sun.
Mon. Mon.
Tues. Tues.
Wed. Wed.
Thurs. Thurs.

20
Immunology/Serology Section 6 weeks
Background: Immunodiagnostic or serodiagnostic testing studies antigen-antibody
reactions for diagnosis of infectious diseases, autoimmune disorders, immune allergies and neoplastic disease. Blood serum is tested for antibodies against particular antigens, hence the term blood serology testing.
Antigens are substances that stimulate and subsequently react with the products of an immune response. They may be enzymes, toxins, microorganisms (e.g. bacterial, viral, parasitic, fungal), tumors or autoimmune factors.
Antibodies are proteins produced by the body's immune system in response to an antigen or antigens. The antigen-antibody response is the body's natural defense against invading organisms.
Student learning objectives: Upon successful completion of this section/department, the student will be able to:
- Give an accurate definition of Immunology/Serology section.
- Understand the rejection criteria for Immunology/Serology samples.
- Complete understand about the principles of how automated machines are working.
- Complete understand about the principles of all manual tests ( e.g.: Agglutination tests ) .
- The purpose of using controls with each run. - Know about the special tests in Immunology/Serology
section. - Understand the internal quality control system. - Understand the Immunology/Serology procedure manual.

22
- Understand the using of the Fluorescent Microscope for diagnostic purposes.
- Complete understand how the Immunology/Serology samples are received and processed.
- Know the limitations for each important test and how to avoid the test limitations.
- Understand how most serologic tests are confirmed by different methods.
- Understand the post-test considerations for the important Serological tests.
About Immunology / Serology Section: Examples of what student should know about Immunology/Serology: Some tests that determine antigen-antibody reactions:
- Agglutination: Hemagglutination, Immune hemagglutination. - Precipitation: Immunodiffusion, Counterimmunoelectrophoresis. - Complement fixation. - Immunofluorescence: Indirect fluorescence antibody. - Enzyme immune assay. - Enzyme-linked immunosorbent assay (ELISA). - Immunoblot: Western blot. - Polymerase chain reaction (PCR).
Example of bacterial and viral tests:
- Syphilis Detection Tests: RPR, VDRL, FTA-ABS. - Lyme Disease Tests: by ELISA. - Chlamydia IgG test. - ASO. - Helicobacter Pylori serum IgG antibody. - EBV antibody tests. - HBV, HAV, HCV tests. - HIV 1/2 antibodies tests.

23
Immunology / Serology Section Attendance sheet
Week 1 IN OUT Comments Week 2 IN OUT Comments
Sat. Sat.
Sun. Sun.
Mon. Mon.
Tues. Tues.
Wed. Wed.
Thurs. Thurs.
Week 3 IN OUT Comments Week 4 IN OUT Comments
Sat. Sat.
Sun. Sun.
Mon. Mon.
Tues. Tues.
Wed. Wed.
Thurs. Thurs.
Week 5 IN OUT Comments Week 6 IN OUT Comments
Sat. Sat.
Sun. Sun.
Mon. Mon.
Tues. Tues.
Wed. Wed.
Thurs. Thurs.
24
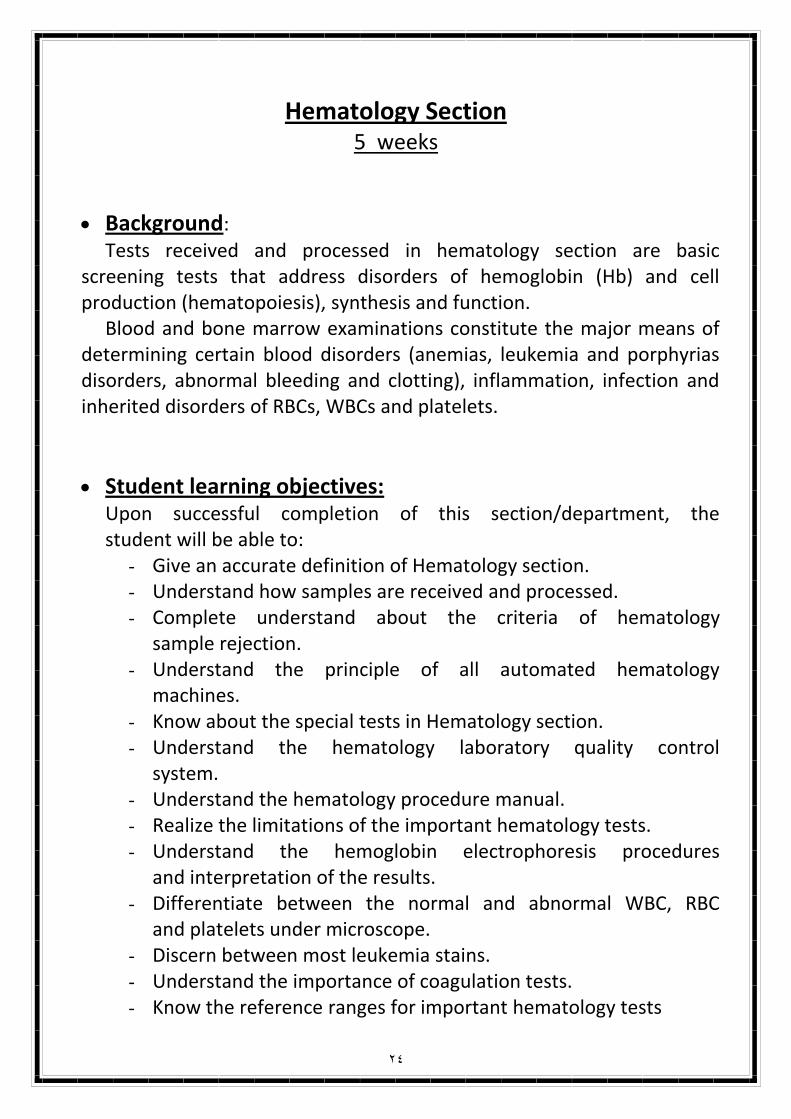
Hematology Section 5 weeks
Background: Tests received and processed in hematology section are basic
screening tests that address disorders of hemoglobin (Hb) and cell production (hematopoiesis), synthesis and function.
Blood and bone marrow examinations constitute the major means of determining certain blood disorders (anemias, leukemia and porphyrias disorders, abnormal bleeding and clotting), inflammation, infection and inherited disorders of RBCs, WBCs and platelets.
Student learning objectives: Upon successful completion of this section/department, the student will be able to:
- Give an accurate definition of Hematology section. - Understand how samples are received and processed. - Complete understand about the criteria of hematology
sample rejection. - Understand the principle of all automated hematology
machines. - Know about the special tests in Hematology section. - Understand the hematology laboratory quality control
system. - Understand the hematology procedure manual. - Realize the limitations of the important hematology tests. - Understand the hemoglobin electrophoresis procedures
and interpretation of the results. - Differentiate between the normal and abnormal WBC, RBC
and platelets under microscope. - Discern between most leukemia stains. - Understand the importance of coagulation tests. - Know the reference ranges for important hematology tests

25
About Hematology Section: Examples of what student should know about Hematology
Section: - WBCs tests: WBC count, Differential WBCs. - Stains for leukemia: SBB, PAS, TDT, LAP. - RBCs tests: RBC count, Hct (PCV), HB, MCV, MCHC, MCH,
RDW. - ESR test. - FEP (Free Erythrocyte Protoporphyrin). - G6PD.
It is recommended for student to stay more time at the
differential bench.

26
Hematology Section Attendance sheet
Week 1 IN OUT Comments Week 2 IN OUT Comments
Sat. Sat.
Sun. Sun.
Mon. Mon.
Tues. Tues.
Wed. Wed.
Thurs. Thurs.
Week 3 IN OUT Comments Week 4 IN OUT Comments
Sat. Sat.
Sun. Sun.
Mon. Mon.
Tues. Tues.
Wed. Wed.
Thurs. Thurs.
Week 5 IN OUT Comments
Sat.
Sun.
Mon.
Tues.
Wed.
Thurs.

27
Blood Bank Section 5 weeks
Background: Blood banking, the process of collecting (donation), testing,
processing, and storing blood for later use (transfusion), is a cornerstone of emergency and surgical medicine and is dependent on the clinical laboratory for ensuring the safe use of blood and its components.
AABB (American Association of Blood Banks) estimates that an average of 23 million units of blood components are transfused annually in US. Blood transfusions, the introduction of blood or blood components from one person into the bloodstream of another, are essential for saving the lives of victims of trauma, for those undergoing major surgery, and for those with other causes of blood loss. Blood transfusions also are used to treat severe anemia resulting from the effects of chemotherapy, cancer, sickle cell disease, and thalassemia.
Student learning objectives: Upon successful completion of this section/department, the student will be able to:
- Give an accurate definition of Blood Bank section. - Understand how samples are received and processed. - Complete understand about the criteria of Blood Bank
sample rejection. - Understand the principle of all automated machines. - Know about the special tests in Blood Bank section. - Understand the Blood Bank laboratory quality control
system. - Understand the Blood Bank procedure manual. - Realize the limitations of the important Blood Bank tests. - Understand the principle and procedure for cross
matching. - Be aware of how blood and platelets donors are selected. - Define the most important blood borne infections.

28
- Understand the blood donation procedures. - Characterize the procedures for antibody identification. - Have good communication skills between him (student)
and the donors.
About Blood Bank Section: Examples of what student should know about Blood Bank
Section: - Aphaeresis unit. - Abs screening and identification. - Cross matching. - The separation of blood components (FFP, Cryoprecipitate). - ABO discrepancy. - Cold agglutinins techniques. - Weak D testing (Du).
It is recommended for student to visit the aphaeresis unit.
Also to practicing blood withdrawal in blood bank.
29
Blood Bank Section Attendance sheet
Week 1 IN OUT Comments Week 2 IN OUT Comments
Sat. Sat.
Sun. Sun.
Mon. Mon.
Tues. Tues.
Wed. Wed.
Thurs. Thurs.
Week 3 IN OUT Comments Week 4 IN OUT Comments
Sat. Sat.
Sun. Sun.
Mon. Mon.
Tues. Tues.
Wed. Wed.
Thurs. Thurs.
Week 5 IN OUT Comments
Sat.
Sun.
Mon.
Tues.
Wed.
Thurs.
31
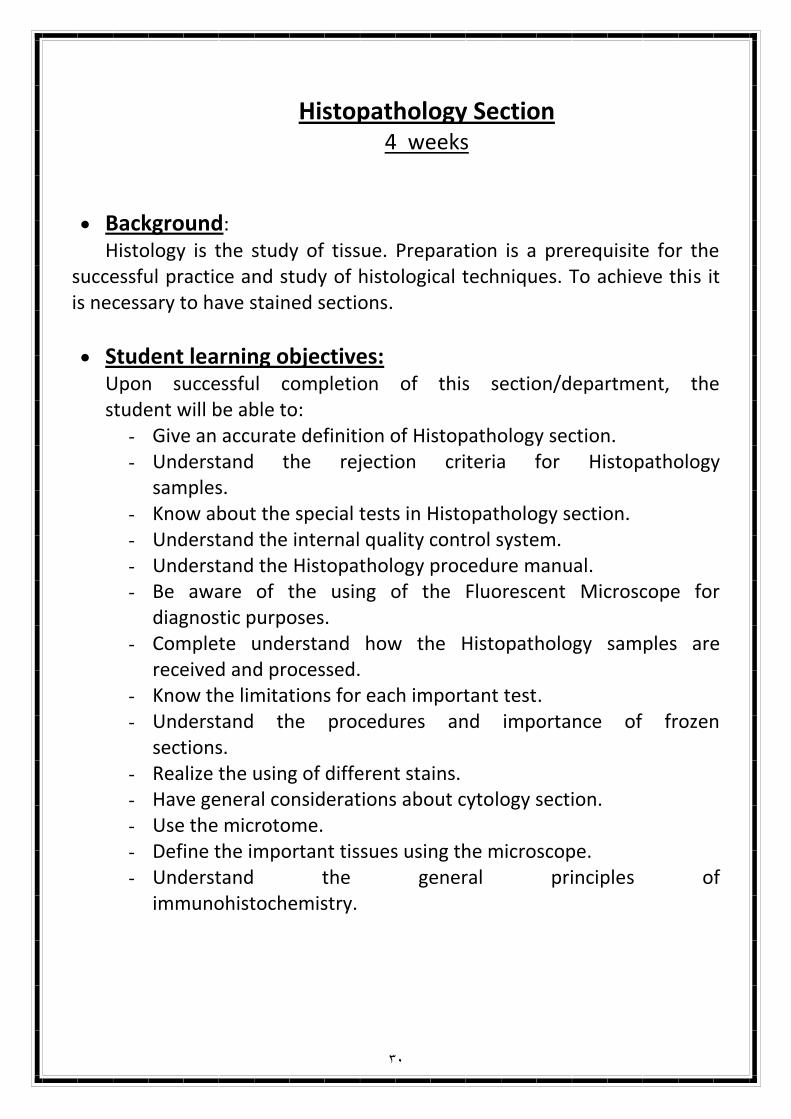
Histopathology Section 4 weeks
Background: Histology is the study of tissue. Preparation is a prerequisite for the
successful practice and study of histological techniques. To achieve this it is necessary to have stained sections.
Student learning objectives: Upon successful completion of this section/department, the student will be able to:
- Give an accurate definition of Histopathology section. - Understand the rejection criteria for Histopathology
samples. - Know about the special tests in Histopathology section. - Understand the internal quality control system. - Understand the Histopathology procedure manual. - Be aware of the using of the Fluorescent Microscope for
diagnostic purposes. - Complete understand how the Histopathology samples are
received and processed. - Know the limitations for each important test. - Understand the procedures and importance of frozen
sections. - Realize the using of different stains. - Have general considerations about cytology section. - Use the microtome. - Define the important tissues using the microscope. - Understand the general principles of
immunohistochemistry.

30
About Histopathology Section: Examples of what student should know about Blood Bank section: Student should understand the basic histology:
- Epithelium tissue. - Muscle tissue. - Connective tissue.
Example of procedures student should know:
- Fixation procedures and aim. - Factors involved an affect the fixation process. - The small biopsies that need special treatment (renal, gastric,
colonic, liver and lymph nodes). - Special stains: connective tissue stains, Muscular tissue stains,
nucleic acids stains (DNA, RNA), Amyloid stains and lipid stains.
32
Histopathology Section Attendance sheet
Week 1 IN OUT Comments Week 2 IN OUT Comments
Sat. Sat.
Sun. Sun.
Mon. Mon.
Tues. Tues.
Wed. Wed.
Thurs. Thurs.
Week 3 IN OUT Comments Week 4 IN OUT Comments
Sat. Sat.
Sun. Sun.
Mon. Mon.
Tues. Tues.
Wed. Wed.
Thurs. Thurs.
33
Laboratory Management and Quality Control Two week
Background: Quality Control defined by ISO as "the operational techniques and
activities that are used to satisfy quality requirements". An important part of the quality control is the Quality Assessment: the system of activities to verify if the quality control activities are effective, in other words: an evaluation of the products themselves. Quality control is primarily aimed at the prevention of errors.
The techniques and activities involved in Quality Control can be divided into four levels of operation:
1- First-line control: Instrument performance check. 2- Second-line control: Check of calibration or standardization. 3- Third-line control: Batch control (control sample, identity check). 4- Fourth-line control: Overall check (external checks: reference
samples, inter-laboratory exchange programmes).
Quality Management in the present context can be considered a modem version of the hitherto much used concept "Good Laboratory Practice" (GLP) with a somewhat wider interpretation. The OECD (Organization for Economic Co-operation and Development) Document defines GLP as follows: "Good Laboratory Practice (GLP) is concerned with the organizational process and the conditions under which laboratory studies are planned, performed, monitored, recorded, and reported."
Thus, GLP prescribes a laboratory to work according to a system of procedures and protocols. This implies the organization of the activities and the conditions under which these take place are controlled, reported and filed. GLP is a policy for all aspects of the laboratory which influence the quality of the analytical work. When properly applied, GLP should then:
allow better laboratory management (including quality management).

34
Improve efficiency (thus reducing costs). Minimize errors. Allow quality control (including tracking of errors and their cause). Stimulate and motivate all personnel. Improve safety. Improve communication possibilities, both internally and
externally.
The result of GLP is that the performance of a laboratory is improved and its working effectively controlled. An important aspect is also that the standards of quality are documented and can be demonstrated to authorities and clients. This results in an improved reputation for the laboratory (and for the institute as a whole).
Student learning objectives: Upon successful completion of this section/department, the student will be able to:
- Understand the importance of quality control. - Give a brief definition about how quality control works. - Understand how automated and close system machines
are controlled. - Understand the duties of laboratory technologist or
laboratory specialist to improve the quality control.
About hospital & laboratory orientation:
Two weeks are not enough to have a complete understanding about laboratory management and quality control, but it is a good opportunity for student to have an idea about one of the important sections not only in laboratory but for the whole institution.

35
Laboratory Management & Quality Control Attendance sheet
Week 1 IN OUT Comments
Sat.
Sun.
Mon.
Tues.
Wed.
Thurs.
Week 2 IN OUT Comments
Sat.
Sun.
Mon.
Tues.
Wed.
Thurs.

36
References:
CDC (Center for Disease Control & Prevention).
Food & Agriculture Organization of the United Nations (FAO).
Pacific Public Health Surveillance Network (PPHSN).
University of Maryland, Environmental Safety. US
Johns Hopkins University.
South Carolina Department of Disabilities and Special Needs.
Toronto medical laboratories \ Mount Sinai Hospital Microbiology Department.
Newcastle and North Tyneside Community Health Board.
A manual of Laboratory & Diagnostic Tests, 8th edition.
Kumar & Clark's Clinical Medicine, 7th edition.
AABB official web site.
Other related web pages.


