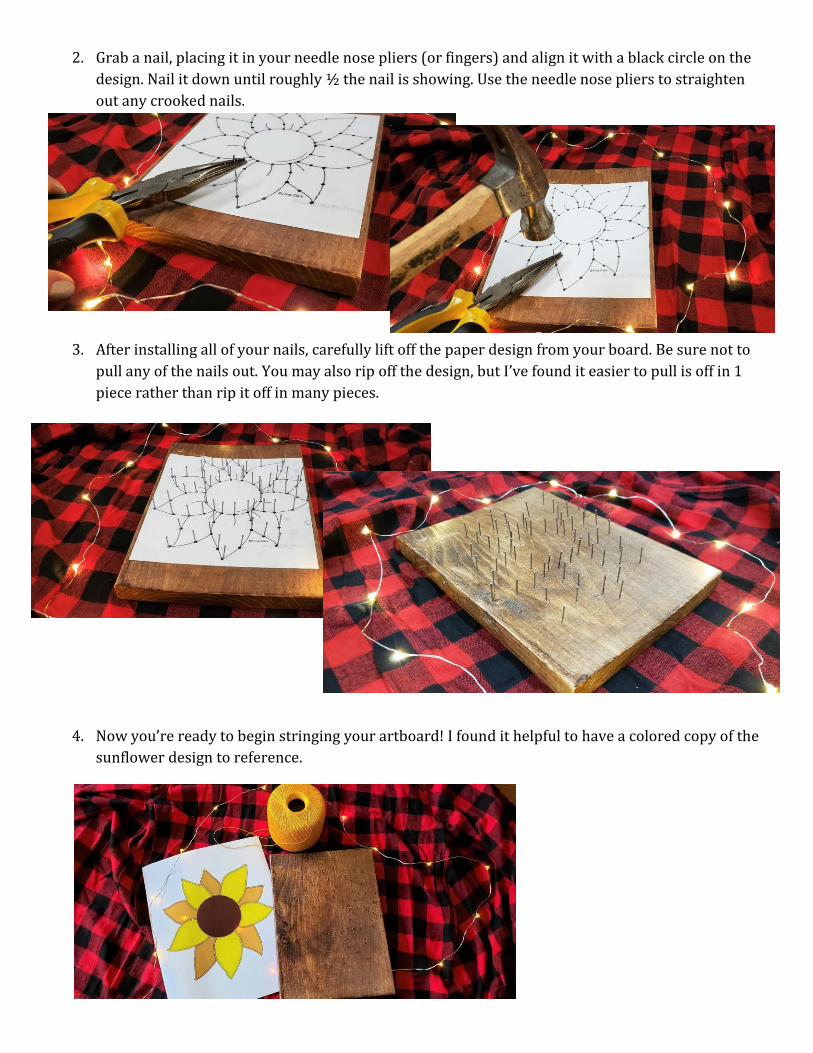
Sunflower String Art Tutorial Supplies Needed: a. (1) 4 oz. pack of 1” Bright Wire Nails i. https://www.menards.com/main/hardware/fasteners-connectors/nails/wire- brad-nails/grip-fast-reg-wire-nails-value-pack-4-oz/2337218/p-1444451985642- c-8757.htm?tid=1457175264249318650&ipos=5 b. (1) 8x10 Wood Panel i. 5 pack-https://www.amazon.com/Daveliou-8x10-Wooden-Painting- Board/dp/B07FJZSJDH/ref=sr_1_6?keywords=string+art+board+8x10&qid=15657 03654&s=gateway&sr=8-6 c. 3 Balls of Yarn (light yellow, dark yellow and brown) i. Light Yellow:https://www.hobbylobby.com/Yarn-Needle-Art/Crochet/Crochet- Thread/Artiste-Acrylic-Crochet-Thread/p/80842186 ii. Dark Yellow: https://www.hobbylobby.com/Yarn-Needle-Art/Crochet/Crochet- Thread/124-Gold-Dust-Artiste-Cotton-Crochet-Thread/p/35061 iii. Brown: https://www.hobbylobby.com/Yarn-Needle-Art/Crochet/Crochet- Thread/Chocolate-Artiste-Cotton-Crochet-Thread/p/80892904 d. Sunflower Print Out (Linked) e. Hammer f. Needle Nose Pliers (optional, but your fingers will thank you!) Project Time: Nailing the Board ~ 30-45 Minutes Stringing the Board ~ 1.5 Hours Total Time ~ 2 Hours Step-By-Step Guide: 1. Begin by lining up your sunflower design on your board.
Transcript
Sunflower String Art Tutorial
Supplies Needed:
a. (1) 4 oz. pack of 1” Bright Wire Nails
i. https://www.menards.com/main/hardware/fasteners-connectors/nails/wire-