28
Taking Control of Your E-mail Tools Instructor: George Knox
| Date post: | 01-Jan-2016 |
| Category: |
Documents |
| Upload: | patience-cameron |
| View: | 214 times |
| Download: | 0 times |
Taking Control of Your E-mail Tools
Instructor: George Knox
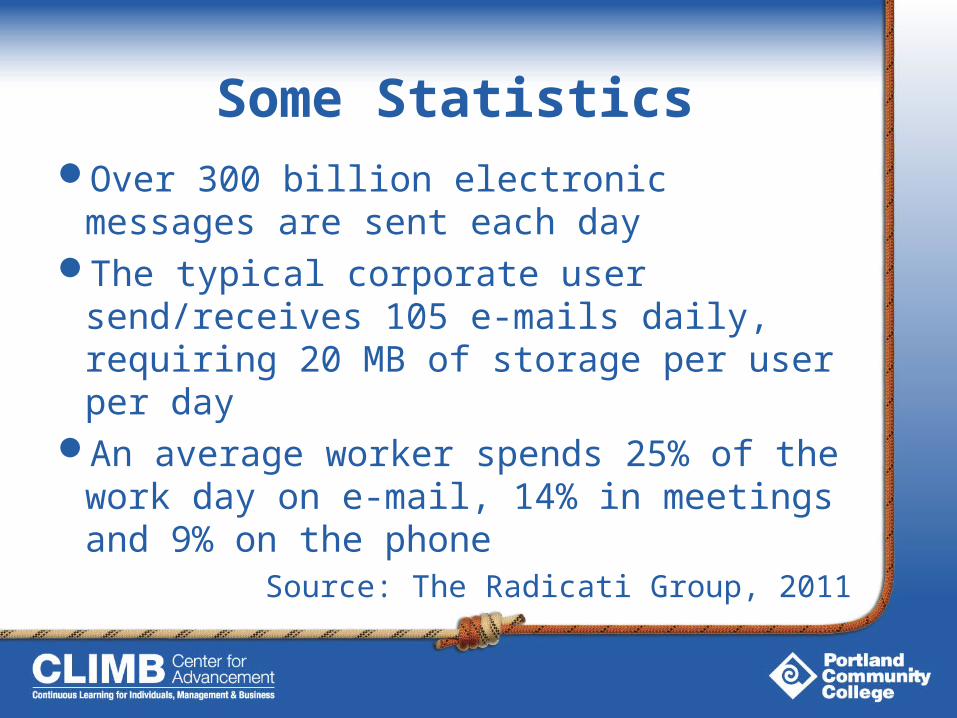
Some StatisticsOver 300 billion electronic messages are sent
each dayThe typical corporate user send/receives 105
e-mails daily, requiring 20 MB of storage per user per day
An average worker spends 25% of the work day on e-mail, 14% in meetings and 9% on the phone
Source: The Radicati Group, 2011

Introducing the 4 D’s
Use a strategic approach to managing ANY task:Delete – If it doesn’t need to be done, eliminate itDelay – If it doesn’t need to be done now, defer it for
laterDelegate – If it doesn’t need to be done by you, either
assign it to another or ask for helpDiminish – If it must be done now, and by you, use
tools and shortcuts to make it easier to do
- Adapted from Never Check E-mail in the Morning, Julie Morgenstern
Managing Your E-mail
Managing Time (Reading) Managing Messages (Organizing) Managing Content (Writing)
Managing Time
Goal:Reduce the amount of
time spent on e-mail by controlling how and when you read e-mail

Managing Time
Turn off auto-send/receive, alerts, instant messagingSchedule periodic e-mail checksPreview to screen, delete, and sort (Reading Pane?)Process e-mail in batches by priority“Clean house” when necessary

Tools: Send/ReceiveTurn off Scheduled Send/Receive
1. On the Send/Receive menu, click Send/Receive Settings
2. Click Disable Scheduled Send/Receive

Tools: Desktop Alert
Turn Off Alerts1. On the Tools menu, click
Options
2. On the Preferences tab, click E-mail Options, and then click Advanced E-mail Options
3. Under “When new items arrive in my Inbox,” clear the check boxes

Tools: Preview/Reading Pane
Turn on AutoPreview1. On the View menu, click
AutoPreview
2. To preview unread messages only, on the View menu, point to Current View, and then click Customize Current View
3. Click Other Settings, and then click Preview unread items
Turn on Reading Pane1. On the View menu, choose
the Reading Pane option and click “Right” or “Bottom”
Note: AutoPreview will show 3 lines of text only. Reading Pane will show “complete” message w/ attachments
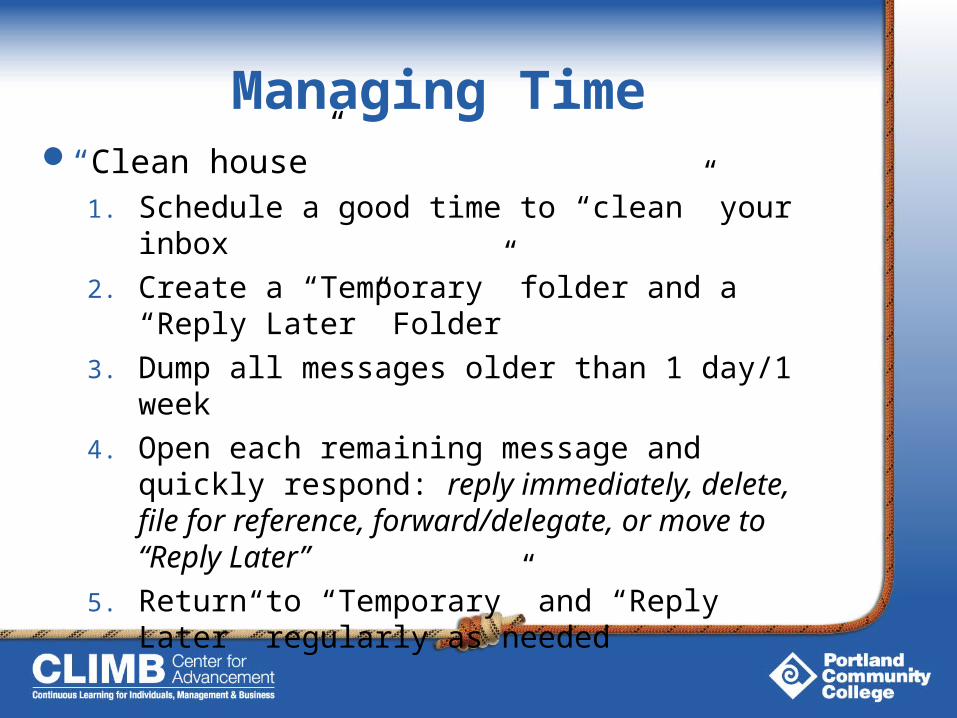
Managing Time“Clean house”
1. Schedule a good time to “clean” your inbox
2. Create a “Temporary” folder and a “Reply Later” Folder
3. Dump all messages older than 1 day/1 week
4. Open each remaining message and quickly respond: reply immediately, delete, file for reference, forward/delegate, or move to “Reply Later”
5. Return to “Temporary” and “Reply Later” regularly as needed
Managing Messages
Goal: Organize messages
into “groups” that make it easier for you to find, read, reply, forward, delete or store
Managing Messages
Filter, Filter, FilterUse filters to block messages that don’t need
attentionCreate filters “as you go”
Create “Rules” to automatically handle specific kinds of messages
Use to sort, auto-reply, flag, prioritize and categorize
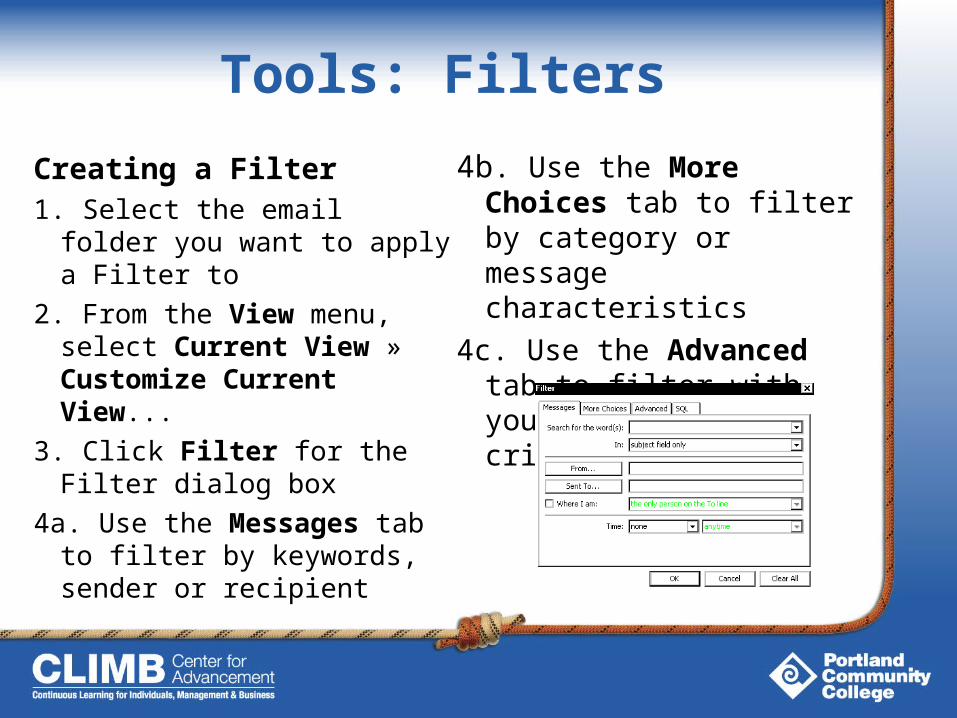
Tools: Filters
Creating a Filter1. Select the email folder you
want to apply a Filter to
2. From the View menu, select Current View » Customize Current View...
3. Click Filter for the Filter dialog box
4a. Use the Messages tab to filter by keywords, sender or recipient
4b. Use the More Choices tab to filter by category or message characteristics
4c. Use the Advanced tab to filter with your own defined criteria

Tools: Filters
Removing Filters 1. Access the Filter dialog box
2a. To remove all Filters, click Clear All
2b. To remove individual Filters, delete the Filter criteria that you no longer wish to apply
Junk E-mail
1. To add a Sender to Junk E-mail defaults, right click the message » select Junk E-mail » Add Sender to Blocked Senders List
2. Click OK
3. Other changes to Junk E-mail filter can be made from the Actions menu, with Junk E-mail » Junk E-mail Options...

Tools: RulesCreating a Rule from Message1. Right click the message you want to
base the rule on » select Create Rule...
2. Select the conditions that you would like to trigger the action
3a. Select the action you would like (Do the following)
3b. Use Advanced Options as needed (Opens Rules Wizard*)
4. To save the rule, click OK
* Also accessed from Tools »Rules and Alerts » E-mail Rules » New Rule
Deleting a Rule1. From the Tools menu, select Rules
and Alerts...
2. Select the E-mail Rules tab
3. Select the rule that you want to delete
4. Click Delete and confirm

Managing Messages
Use “Sort,” “Find” and “Folders” to deal with messages individually
Group and organize contacts w/ distinct names (Watch out for “auto-complete”)
Mark/prioritize messages sent only to you (vs. group FYI messages)
“Flag” a reminder to reply w/ “Follow up”

Tools: Sort & FindSorting Messages1a. Use Mailbox Column
Headings for quick sort
1b. Use Menu Sort if headings are not seen
2. Select the folder you want to sort
3. From View menu, select Arrange by » desired heading
4. Use Custom if you want less common sort elements
Searching Messages
1. Use the Search text box for simple searches
2. Use the pull down arrows to expand or target your search by adding terms
Tip: You can search by partial terms or phrases

Folders vs. CategoriesFolders
Identifies a group of messages that share something in common
A folder can hold many documents, but a document can only be in one folder
Folders can only be searched one at a time
Signifies “Location”
CategoriesTags documents with
descriptors that can be used to find similar documents
A document can fall into many categories
Categories can be searched across the system
Signifies “Description”

Tools: Folders
Creating Folders
1. From the File menu, select New » Folder...
2. In the Name text box, type a name for the folder
3. Select where your new folder will be located
Tip #1: Use the Inbox as the parent folder
Tip #2: Build a hierarchy of related sub-folders
Move Messages to FoldersDrag and dropMessage tab» Actions OR
right click » Move to Folder » select folder OR New » select parent folder and name
Choose multiple messages with shift or control keys
Tip #3: Keep folder names short but meaningful
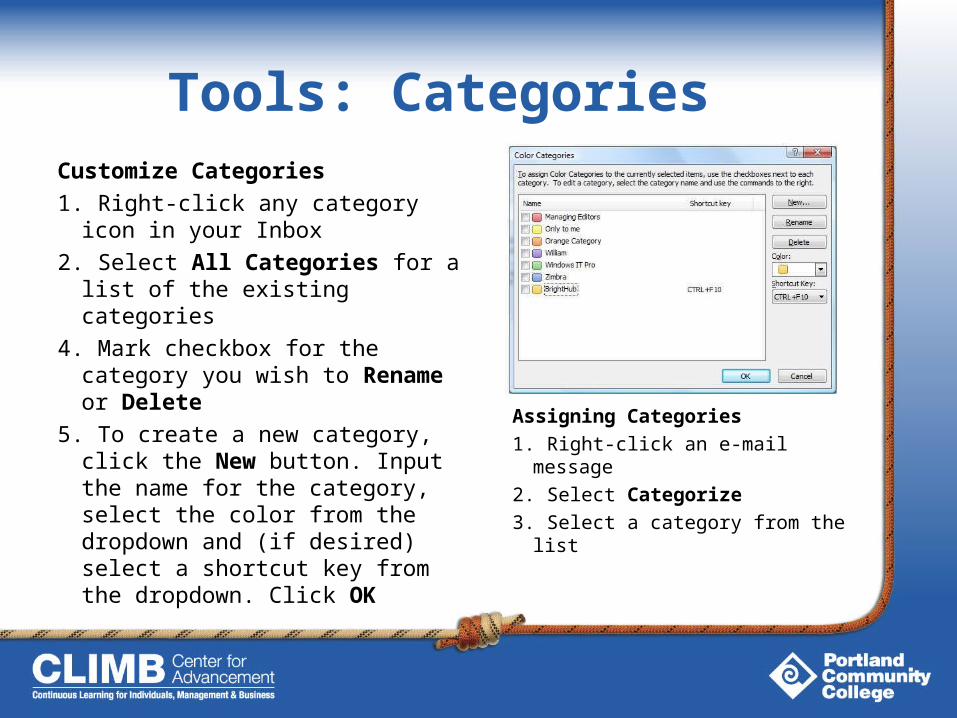
Tools: CategoriesCustomize Categories
1. Right-click any category icon in your Inbox
2. Select All Categories for a list of the existing categories
4. Mark checkbox for the category you wish to Rename or Delete
5. To create a new category, click the New button. Input the name for the category, select the color from the dropdown and (if desired) select a shortcut key from the dropdown. Click OK
Assigning Categories
1. Right-click an e-mail message
2. Select Categorize
3. Select a category from the list

Tools: FlagsFlagging a Message
Option 1 – Highlight the email you wish to flag and left-click on the Flag icon in the toolbar. From the menu that appears, set the flag by date or set up a custom flag
Option 2 – Highlight the email you wish to flag and right-click on the Flag icon to the right of the email. From the menu that appears, set the flag by date or set up a custom flag
Tip : Use the Custom
Option to customize
the flag value and
add a reminder. For
standard flags, just
use Add Reminder
Option 3 – Open the email you wish to flag. In the Options section of the Message tab, click on the Follow-Up button and select the flag date from the menu that appears

Managing Content
Goal:
Spend less time writing e-mail while improving reader understanding & reception
Managing Content
Write less or not at allUse short message to summarize and request
action w/ details in attachmentConsider calling or meeting
Use “Delivery Options” to schedule sending and/or expiring a message and to mark priority
Set up automatic replies with templates
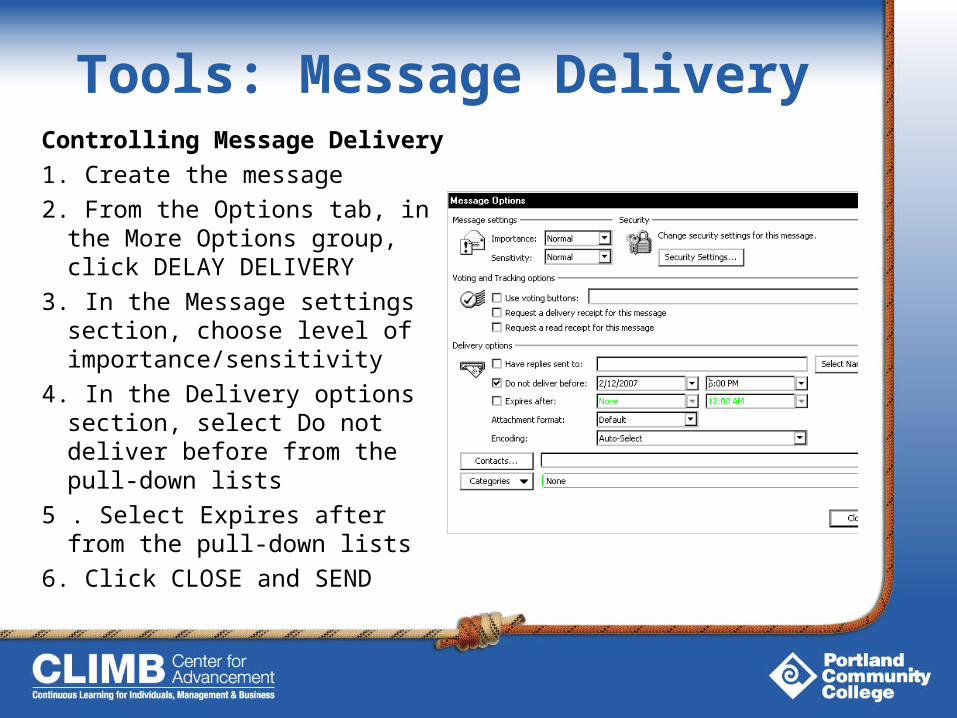
Tools: Message DeliveryControlling Message Delivery
1. Create the message
2. From the Options tab, in the More Options group, click DELAY DELIVERY
3. In the Message settings section, choose level of importance/sensitivity
4. In the Delivery options section, select Do not deliver before from the pull-down lists
5 . Select Expires after from the pull-down lists
6. Click CLOSE and SEND

Tools: TemplatesCreating a Template1. From the Navigation pane, click
MAIL » NEW MAIL MESSAGE
2. Add the content for the template
3. From the Office Button menu, select Save As » Outlook Template (*.oft)
4. Select a save location OR Outlook will save to default templates directory
5. Enter File name and Save
6. Complete message and SEND
OR Close message window for future use
Using a Template1. From the Tools menu, select
Forms » Choose Form...
2. From the Look In pull-down list, select User Templates in File System (or Browse if not saved in default)
3. Select the appropriate template
4. Click OPEN
5. Complete the message and SEND
Tip : Create a base template and then Edit and Save As for additional templates.
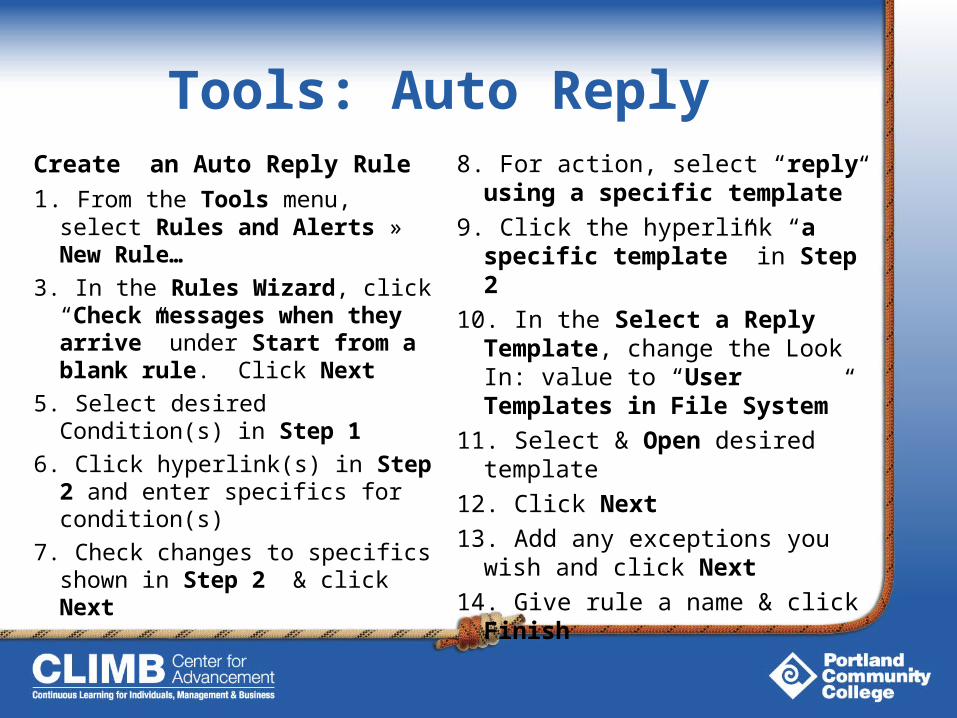
Tools: Auto ReplyCreate an Auto Reply Rule
1. From the Tools menu, select Rules and Alerts » New Rule…
3. In the Rules Wizard, click “Check messages when they arrive” under Start from a blank rule. Click Next
5. Select desired Condition(s) in Step 1
6. Click hyperlink(s) in Step 2 and enter specifics for condition(s)
7. Check changes to specifics shown in Step 2 & click Next
8. For action, select “reply using a specific template”
9. Click the hyperlink “a specific template” in Step 2
10. In the Select a Reply Template, change the Look In: value to “User Templates in File System”
11. Select & Open desired template
12. Click Next
13. Add any exceptions you wish and click Next
14. Give rule a name & click Finish
Managing Content
Practice good business writingSingle topic for each e-mailPrecise, direct language for clarityShort, well-organized paragraphs for ease of
readingClear request for action when appropriateProofread for clarity and effectiveness

On-line Materials
Additional Resources for Effective E-mail :
http://puck.topcities.com/workshop/metro/eeres.htm


