Task 2 Workflow – Adam Crittenden 1. Creating My Sprite This is a picture of the sprite that I have originally made. It was meant to be just a simplistic circle-esque character that had an alien looking idea to it. It resembles a spider as in the game that I plan to make is going to involve this character dodging enemies in a baron warehouse, thus needing athletic abilities, which ensued the spider-like design. I have just simply named it “player_spr” so that it will be easily visible amongst lines of code as nothing else will have this name. I have used a very simplistic colour pallet as he is going to be in a dark, dusty wasteland, so any bright colours wouldn’t fit very well. 2. Modifying My Sprite
Transcript
Task 2 Workflow – Adam Crittenden
1. Creating My Sprite
This is a picture of the sprite that I have originally made. It was meant to be just a simplistic circle-esque character that had an alien looking idea to it. It resembles a spider as in the game that I plan to make is going to involve this character dodging enemies in a baron warehouse, thus needing athletic abilities, which ensued the spider-like design. I have just simply named it “player_spr” so that it will be easily visible amongst lines of code as nothing else will have this name. I have used a very simplistic colour pallet as he is going to be in a dark, dusty wasteland, so any bright colours wouldn’t fit very well.
2. Modifying My Sprite
The next step that I did was to modify the sprite. By doing this I could create the sprites hit box, so that it could register hits. I set it to a circle shape as it fit my character better.
3. Making/Coding Objects
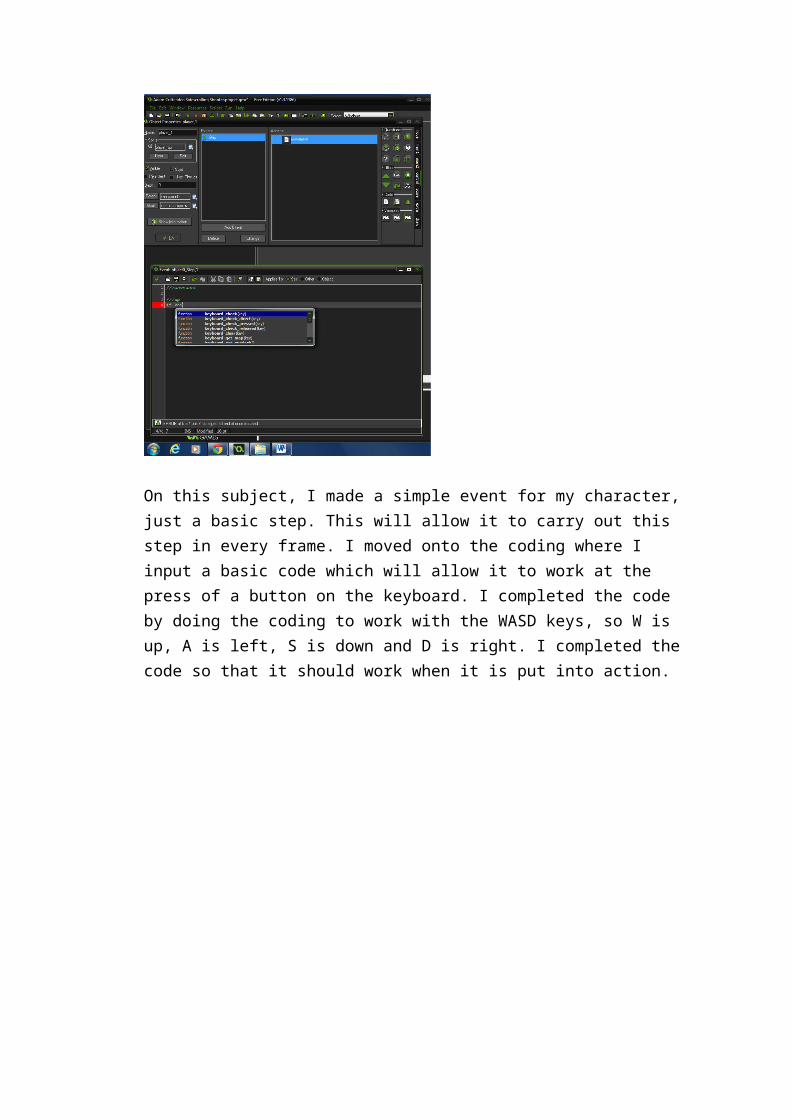
On this subject, I made a simple event for my character, just a basic step. This will allow it to carry out this step in every frame. I moved onto the coding where I input a basic code which will allow it to work at the press of a button on the keyboard. I completed the code by doing the coding to work with the WASD keys, so W is up, A is left, S is down and D is right. I completed the code so that it should work when it is put into action.
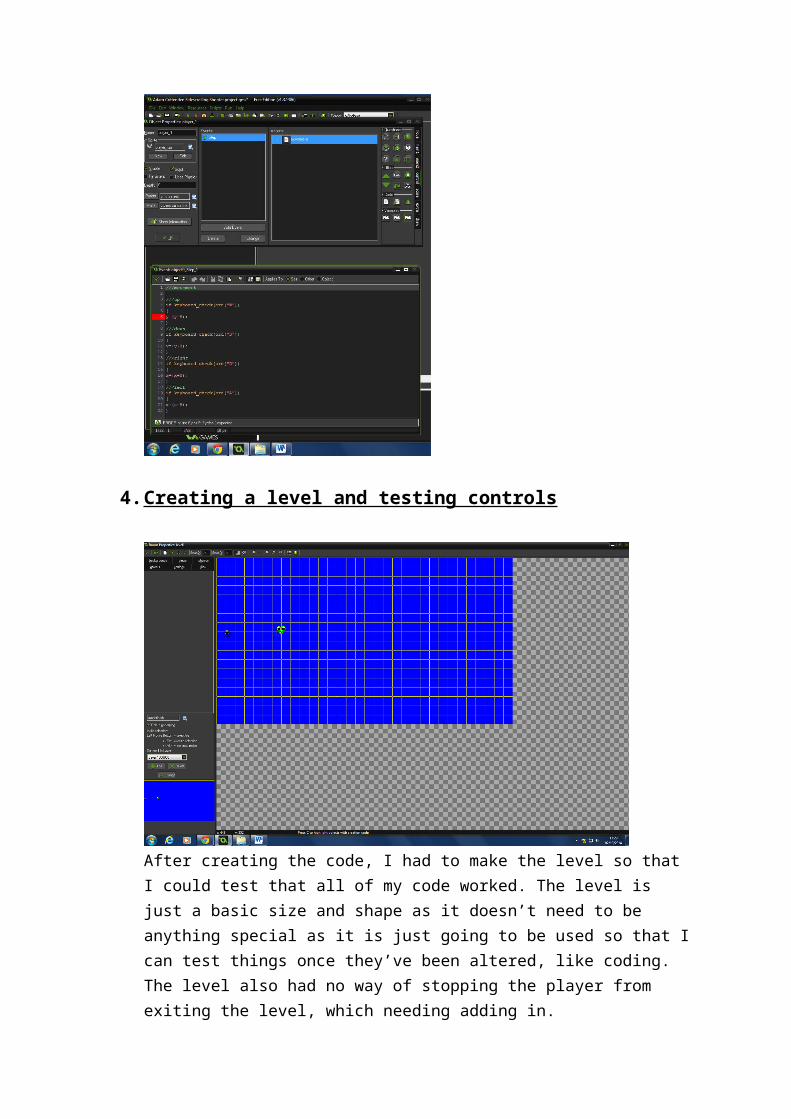
4. Creating a level and testing controls
After creating the code, I had to make the level so that I could test that all of my code worked. The level is just a basic size and shape as it doesn’t need to be
anything special as it is just going to be used so that I can test things once they’ve been altered, like coding. The level also had no way of stopping the player from exiting the level, which needing adding in.
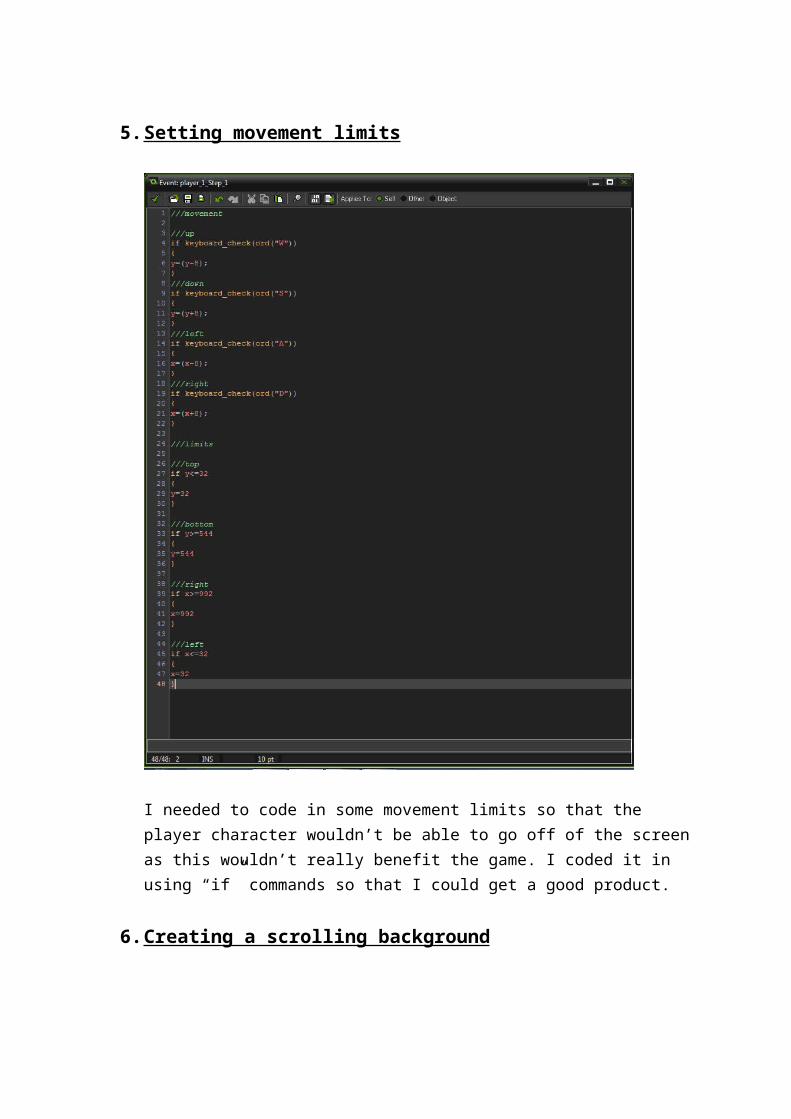
5. Setting movement limits
I needed to code in some movement limits so that the player character wouldn’t be able to go off of the screen as this wouldn’t really benefit the game. I coded it in using “if” commands so that I could get a good product.
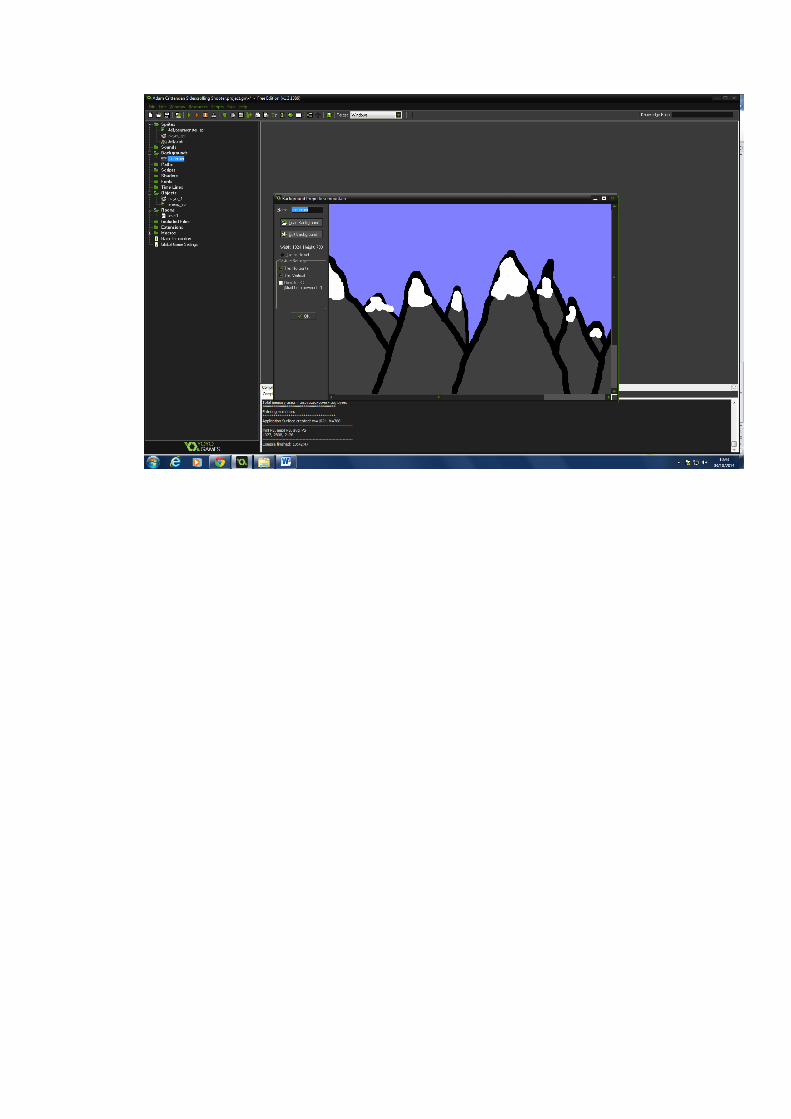
6. Creating a scrolling background
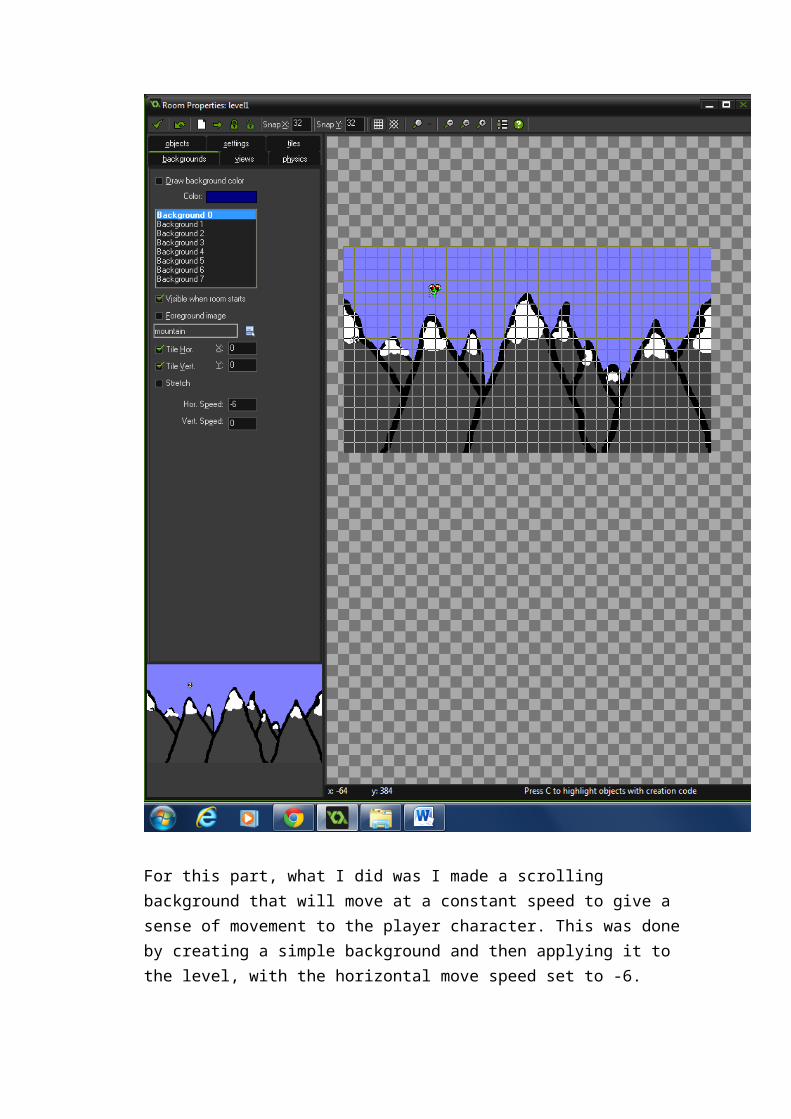
For this part, what I did was I made a scrolling background that will move at a constant speed to give a sense of movement to the player character. This was done by creating a simple background and then applying it to the level, with the horizontal move speed set to -6.
I also, after this made 2 more backgrounds that would scroll at different speeds behind my main background, giving a sense of depth to the landscape in the level.
7. Particle System Effects
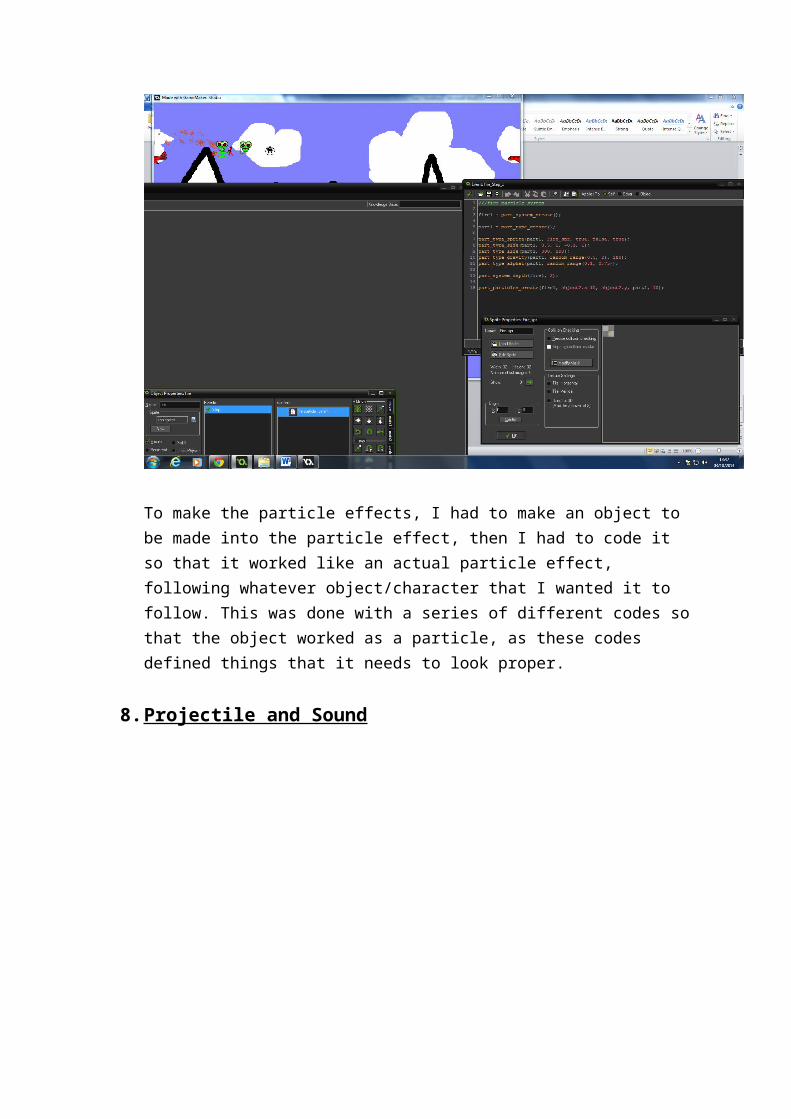
To make the particle effects, I had to make an object to be made into the particle effect, then I had to code it so that it worked like an actual particle effect, following whatever object/character that I wanted it to follow. This was done with a series of different codes so that the object worked as a particle, as these codes defined things that it needs to look proper.
8. Projectile and Sound
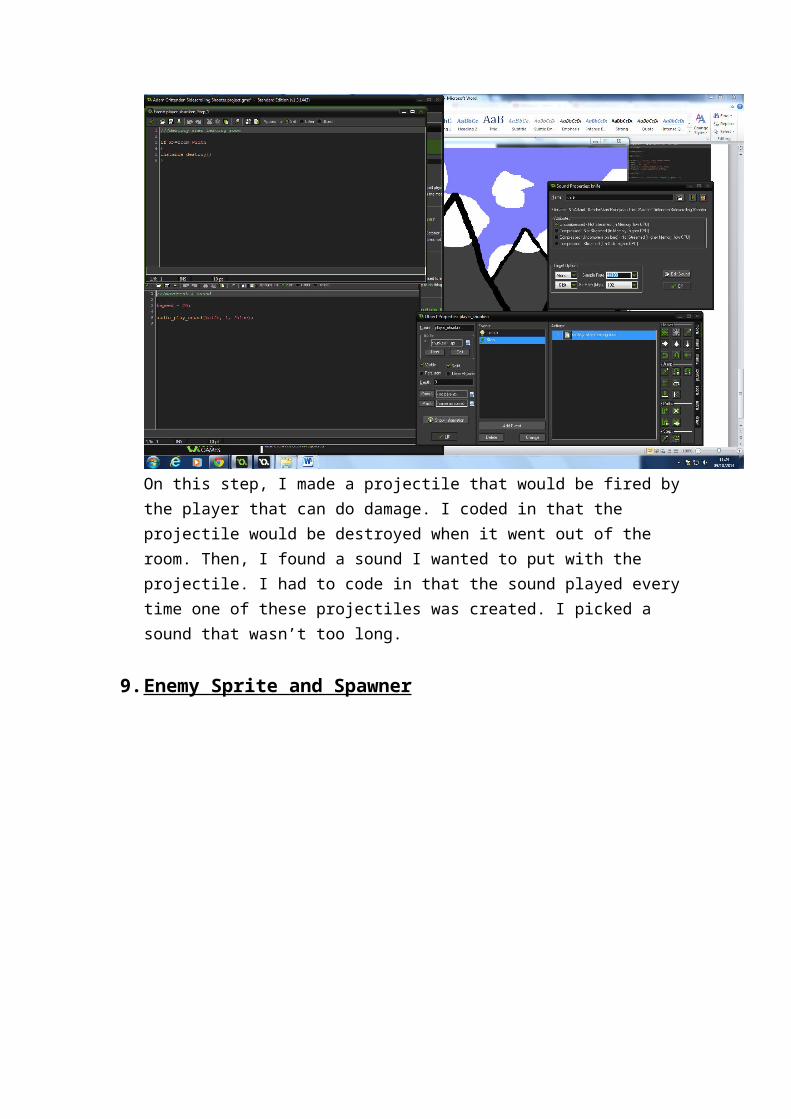
On this step, I made a projectile that would be fired by the player that can do damage. I coded in that the projectile would be destroyed when it went out of the room. Then, I found a sound I wanted to put with the projectile. I had to code in that the sound played every time one of these projectiles was created. I picked a sound that wasn’t too long.
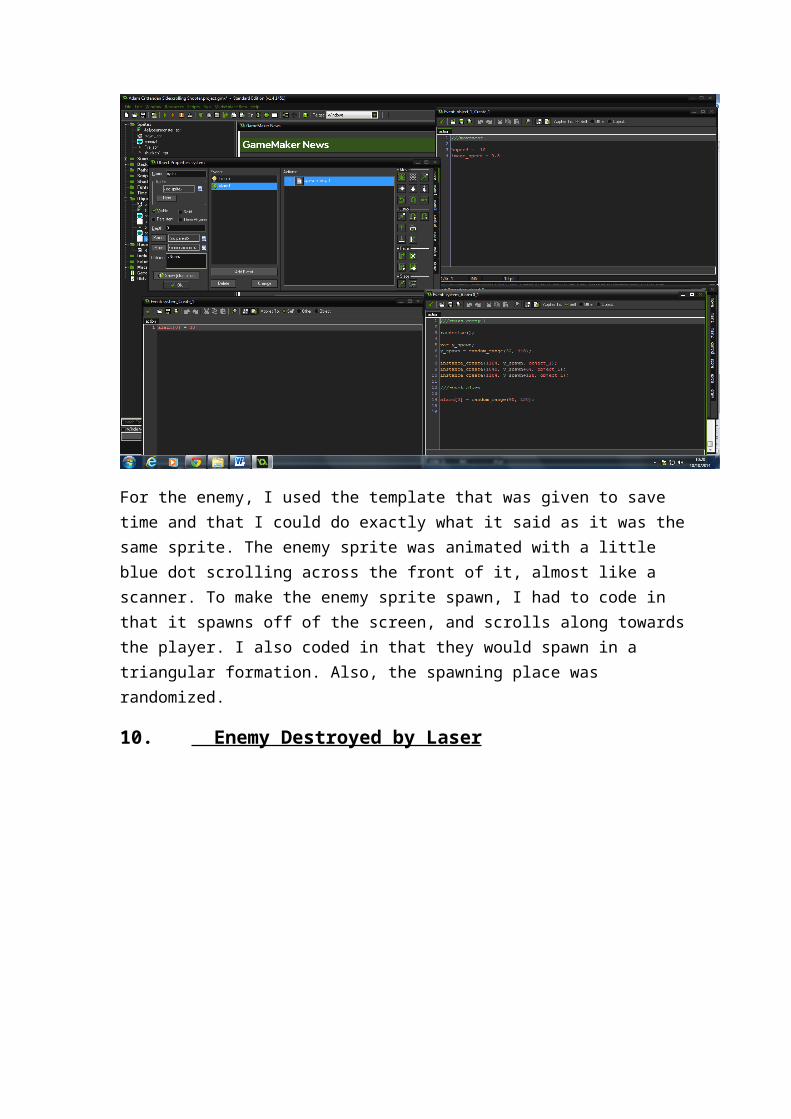
9. Enemy Sprite and Spawner
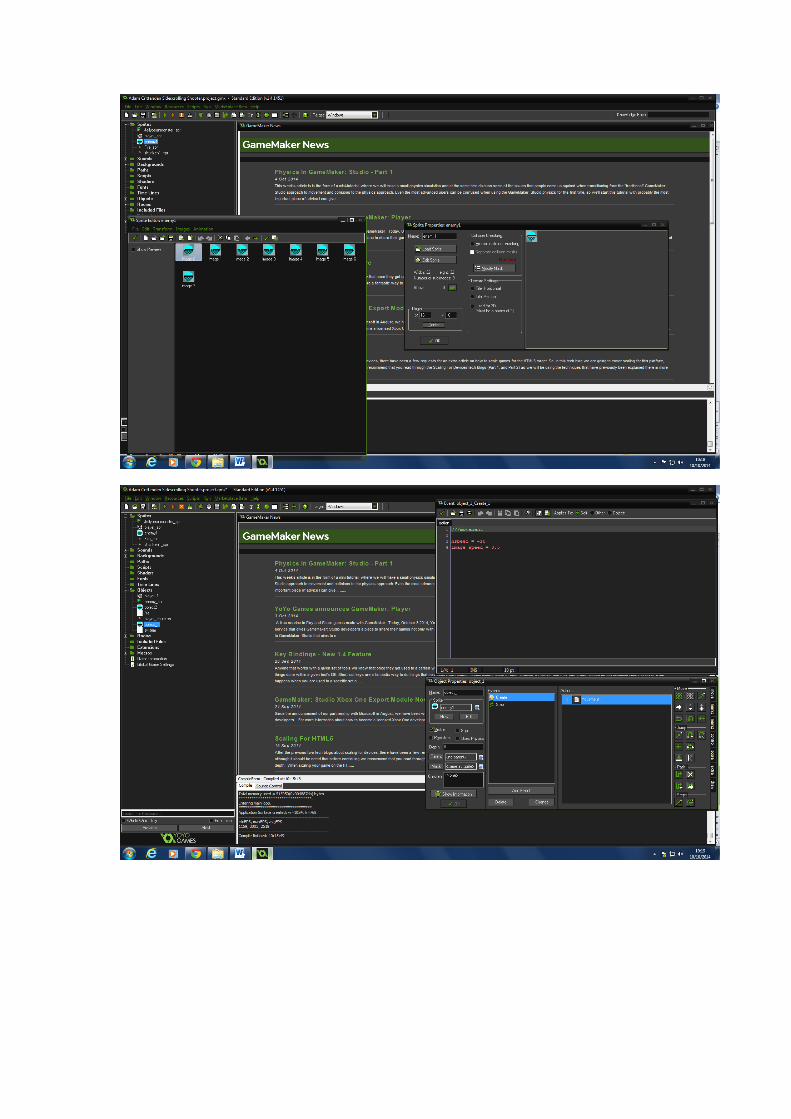
For the enemy, I used the template that was given to save time and that I could do exactly what it said as it was the same sprite. The enemy sprite was animated with a little blue dot scrolling across the front of it, almost like a scanner. To make the enemy sprite spawn, I had to code in that it spawns off of the screen, and scrolls along towards the player. I also coded in that they would spawn in a triangular formation. Also, the spawning place was randomized.
10. Enemy Destroyed by Laser
In these screenshots, it shows all of the things I have done to make it possible for the enemy to get killed by the player’s projectile. To do this, I added some code that triggers different events; step, create and alarm events.