36
Teaching Learning Media Dr. Avinash Supe / Dr. Praveen Iyer Seth GS Medical College & KEM Hospital, Mumbai

Teaching Learning Media
Dr. Avinash Supe / Dr. Praveen IyerSeth GS Medical College
& KEM Hospital, Mumbai

Session Objectives
At the end of the session, the participants shall
be able to:
Define message, medium and channel
List advantages of audiovisual aids
Classify teaching-learning aids

At the end of the session, the participants shall be able to:
Enumerate advantages and disadvantages of: Chalk and board
Overhead projector
Projection of PowerPoint presentation
Specify the factors that influence the choice of
a teaching-learning medium
Session Objectives

Message
• Content to be taught– Information– Thoughts– Relationships– Ideas– Skills– Feelings

Shape of Message
MediumAbstract as symbol
Media
3 dimensional
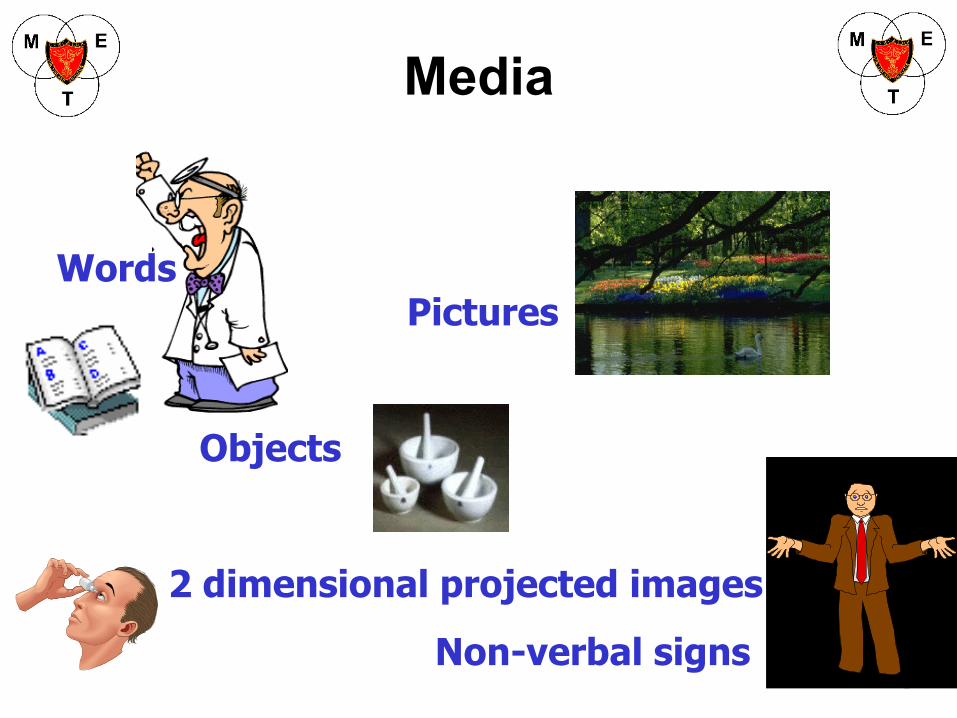
Pictures
Objects
2 dimensional projected images
Non-verbal signs
Media
Words

Vehicle or structure through which the medium is presented
Electrical, mechanical, physical
TV
Projector
Human voice box
Recording or playback device
Educational trip
Media vs. Channels

Advantages of Teaching-learning Aids
1. Extend human experiences
2. Longer retention information
3. Stimulates interest
4. Integrated experience
5. Multi-sensory approach
6. Effective substitute for direct contact
7. Facilitates change in attitude

Types of teaching-learning aids
Audio Aids
P A system ( public addressing systems)
Record players and discs
Cassette tape recorders
Radio receiver

Visual Aids
1. Overhead projector
2. Slides
3. Films - movie, video ( silent)
4. Epidiascope/ Opaque projector
5. Micro projector
PROJECTED AIDS

Graphic aids Photographs, pictures, flash cards, Posters, charts, graphs, maps
Display boards Black board, flannel board, magnetic board, PEG board. 3 - D aids Models, objects, specimens, Patients
Activity aids Experimentation, field trips, Demonstrations, role plays, CALHand outs
Non projected aids
Visual Aids

Audio Visual Aids
1. Synchronised tape slide system
2. Video tape system
3. Closed circuit system
4. Cine films
5. Computer Assisted Learning (CAL)

Group Task
• Use the given teaching-learning aid to prepare a five minutes presentation to your colleagues
• Time allotted for preparation: 15 minutes
• Time allotted for presentation: 5 minutes

Black Board
Points in favour
1. Opportunity for creativity
2. Step by step concept building
3. Attracts attention
1. Time saving
2. Inexpensive and No electricity
‘ Chalk and Talk ’

Black Board Limitations
Illustrate moving parts no
Convey sound no
Back to the audience yes
Large audience no
Dust allergy yes

Points to Remember
Avoid long pieces of chalk
Legible handwriting
Prevent letters from angling
Do not obstruct while speaking
Adequate letter size
Judicious Erasing
Keep major headings on board – effective summary

Shows colours more effectively
Panaboard with printer
White Board with Markers
Flip ChartsMixed blessing
Relatively cheap but handwriting skills necessary
Suitable for multi-coloured display but ink may bleed
To build up sequences and to retain them for further
reference

Overhead Projector
• Useful and versatile devices
• Systematic & developmental sequences
• Concept development - using overlays
• Large images

Preparation of a transparency
• Transparent, thick sheets, Acetate rolls
• Developed X - ray or polyethylene films
• Water soluble or permanent special inks
• Different colours for desired impact
• Write by hand , or photocopy (Thick >85µ)

Landscape position
Leave margin on all 4 sides
If to be used vertically, don’t use
bottom third, if possible
Writing a transparency

Preparation of a transparency
• Eight words per line
• Eight lines per transparency
• Readable with the naked eye at 2 meters
• Preservation – Mount fixation
• Sandwiching papers between films

Positioning of OHPEnsure that everyone sees the whole screen
Correct positioning on purpose-built stand
Width of the screen to venue distance should be 1: 6
Larger the screen, details of projection better seen

Use of OHP in classroom
• Controlled presentation speed
• Limited planning
• Instructor faces the class
• Complete darkness not required
• Switch projector when needed
• Hexagonal pencil or cardboard arrow as
pointer

Special techniques• Masking, Pointing• Progressive disclosures• Silhouetting - actual objects• Models• Overlays
• Add simple diagrams• Developing a concept• Displaying X-ray pictures
Overhead Projector

Slides• Small and large audiences
• Classrooms, conferences & self study units
• Repeated use
• Combined with taped narration
• Topic, evidence, illustration

Slide must be
• Appropriate
• Accurate
• Legible
• Comprehensible
• Well executed

Appropriate
• Simplicity is the essence
• Discard inessentials
• Specially prepare for lecture
• Prefer graphs instead tables

Accurate
• Spelling (Spellchecker option in Tools)
• Follow one dictionary
• Confirm what you quote
• Graphical data accuracy

Legible
• Font size 24 –32 Title 36 – 42
• Distance between lines : 1.5 - 2
• Depends on the fonts and bold / regular
Legibility Legibility Legibility Legibility Legibility
• 50 - 70 characters including spaces and punctuations per line
• Don’t vary starting point for each line Contd.

• Sans Serif preferred for titles, headingsSerif - Times Roman, Ser i f a, Book Antiqua, So u v en i r
Times Roman, Serifa, Book Antiqua, SouvenirSans Serif - Comic sans, Impact, Arial, AvantGrade,
Lucida sansComic sans, Impact, Arial, AvantGrade, Lucida
sans
• Sans Serif fonts do not look good in bold and are difficult to read
Legible

Comprehensible
• Don’t– Cram everything in one slide
– Copy photographs / tables from books
• Avoid complicated figures One line per point and use brief phrases One slide per minute Use abbreviations with care “PID” , “POOF”, “PIA”

Qualities of a good slide
• Clarity• Rule of seven• Table – not more than 4 columns• Margin – 2.5 cm all around• Fonts with uniform letters• Title – underlined or different font• Avoid full stops• Data – preferably as figures or charts

Skills of the Teacher Selection of appropriate Message
Medium & Channel
Judicious use of them to establish association
Sequencing of appropriate materials
Questioning

Choosing a medium
Consider
Intelligence
Reading ability
Age of the learners
Content difficulty of the material

Technology should advance
And
Not dominate one’s presentation

Thank You


