62
McGraw-Hill/Irwin © The McGraw-Hill Companies, All Rights Reserved TECHNOLOGY PLUG-IN T12 Creating Gantt Charts With Excel And Microsoft Project
| Date post: | 31-Dec-2015 |
| Category: |
Documents |
| Upload: | fletcher-oneill |
| View: | 37 times |
| Download: | 1 times |
McGraw-Hill/Irwin © The McGraw-Hill Companies, All Rights Reserved
TECHNOLOGY PLUG-IN T12
Creating Gantt Charts With Excel And Microsoft
Project
T12-2
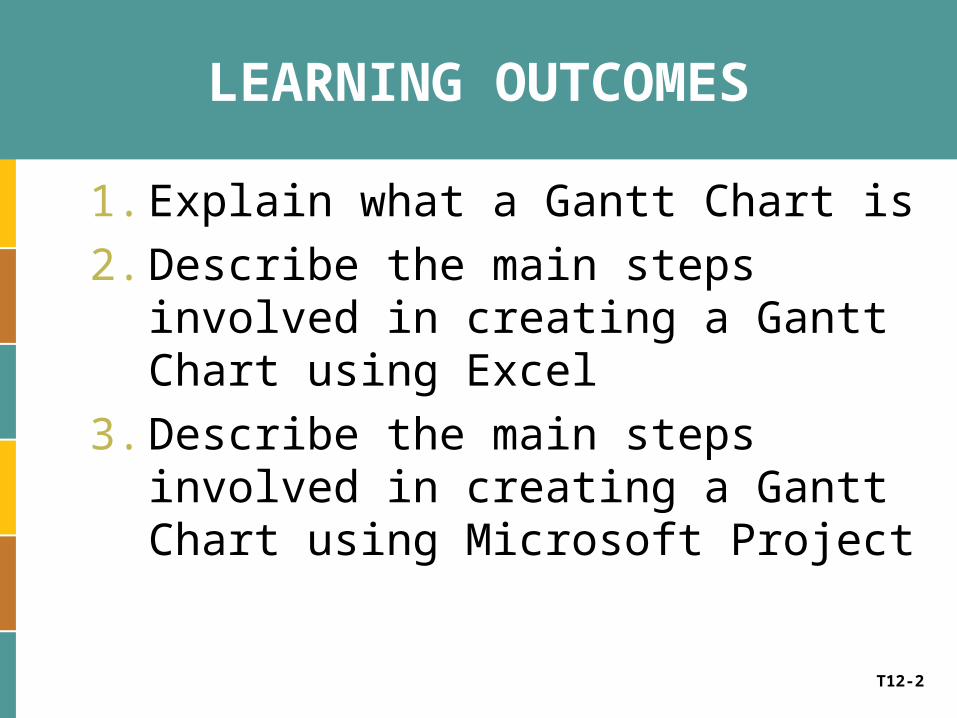
LEARNING OUTCOMES
1. Explain what a Gantt Chart is
2. Describe the main steps involved in creating a Gantt Chart using Excel
3. Describe the main steps involved in creating a Gantt Chart using Microsoft Project
T12-3
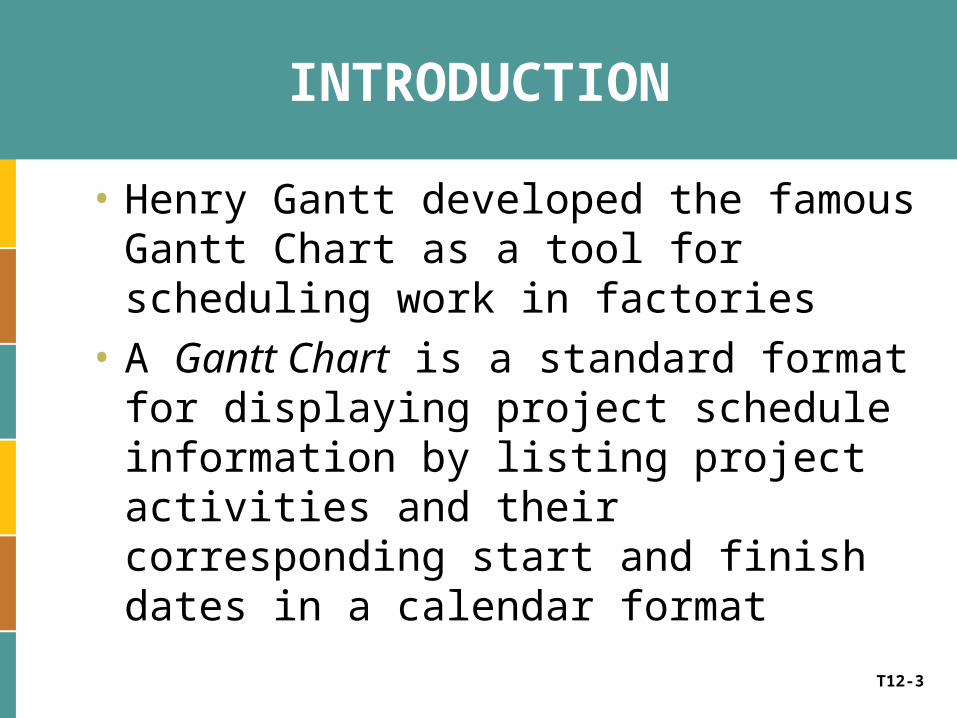
INTRODUCTION
• Henry Gantt developed the famous Gantt Chart as a tool for scheduling work in factories
• A Gantt Chart is a standard format for displaying project schedule information by listing project activities and their corresponding start and finish dates in a calendar format

T12-4
INTRODUCTION
Gantt Chart in Excel

T12-5
INTRODUCTION
Gantt Chart In Microsoft Project
T12-6
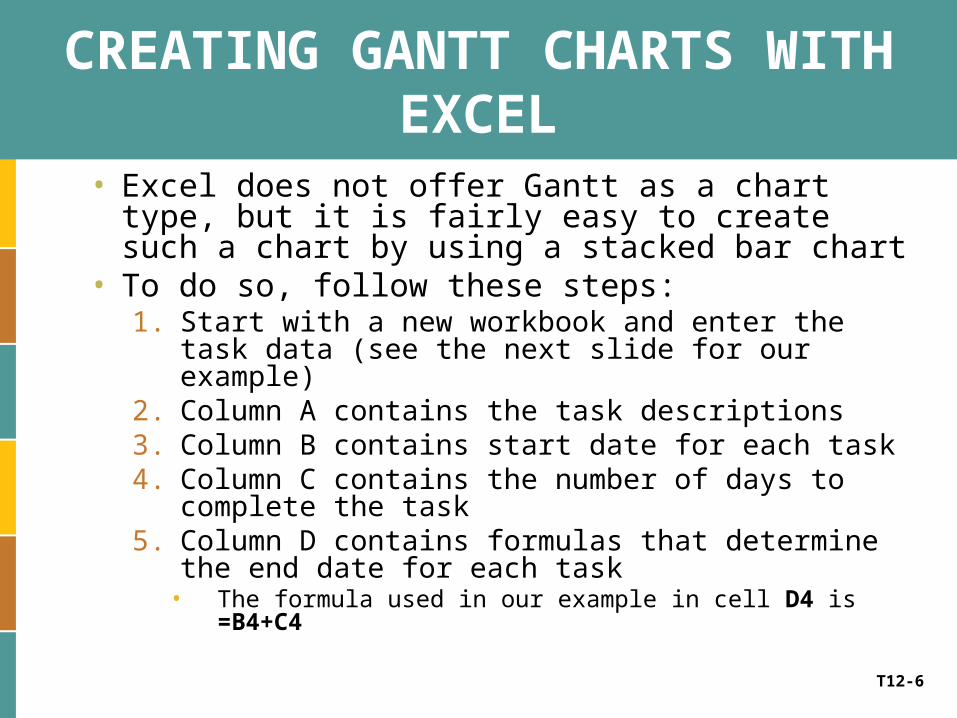
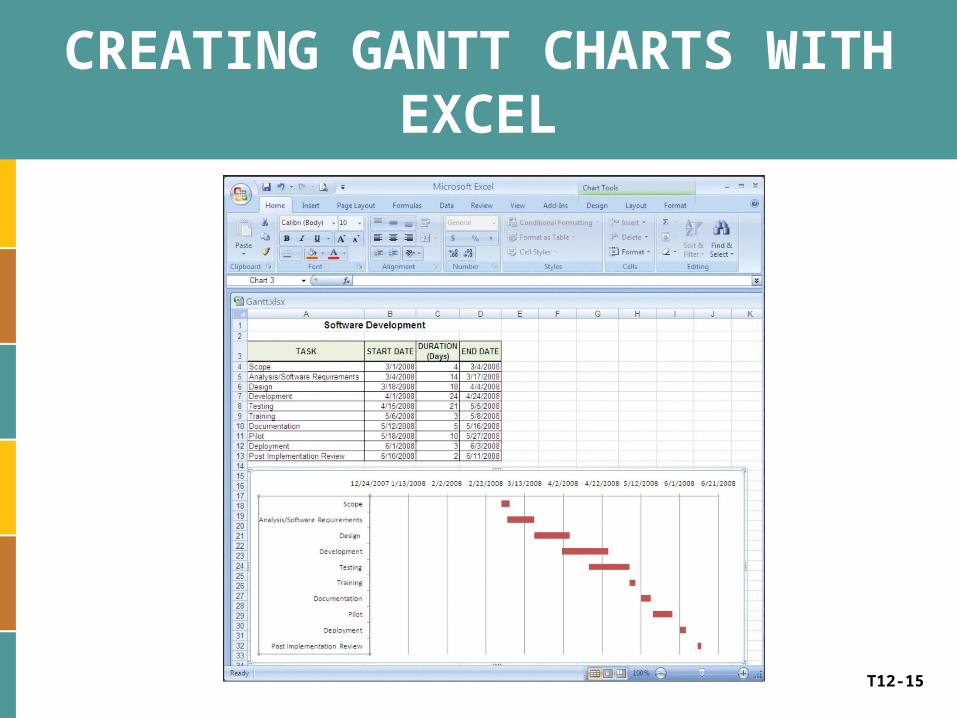
CREATING GANTT CHARTS WITH EXCEL
• Excel does not offer Gantt as a chart type, but it is fairly easy to create such a chart by using a stacked bar chart
• To do so, follow these steps:1. Start with a new workbook and enter the task data
(see the next slide for our example)2. Column A contains the task descriptions3. Column B contains start date for each task4. Column C contains the number of days to complete
the task5. Column D contains formulas that determine the end
date for each task• The formula used in our example in cell D4 is =B4+C4
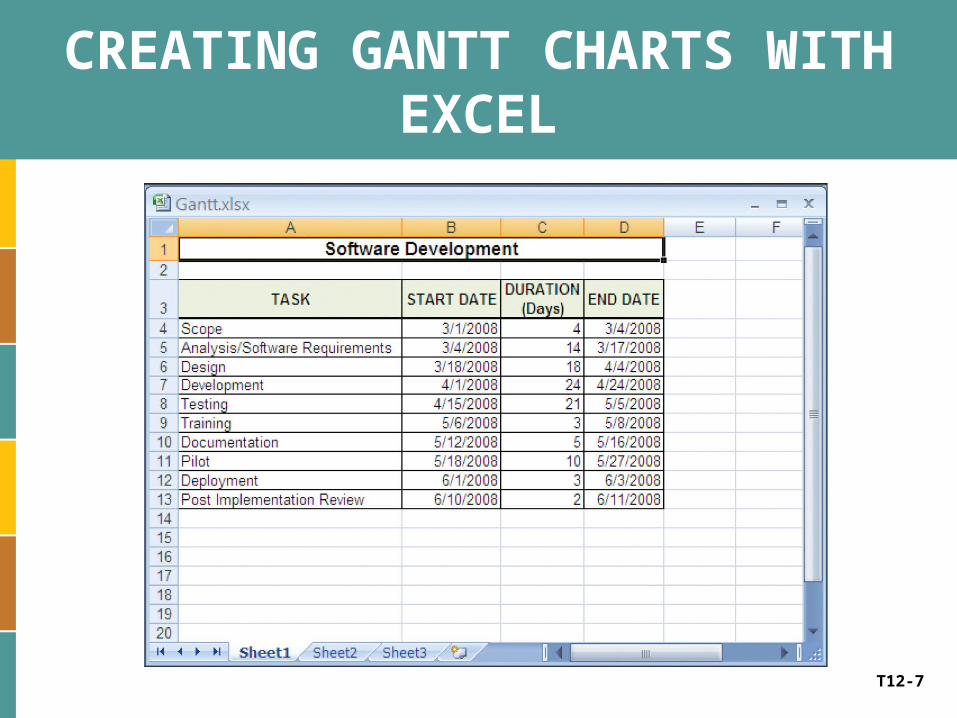
T12-7
CREATING GANTT CHARTS WITH EXCEL
T12-8
CREATING GANTT CHARTS WITH EXCEL
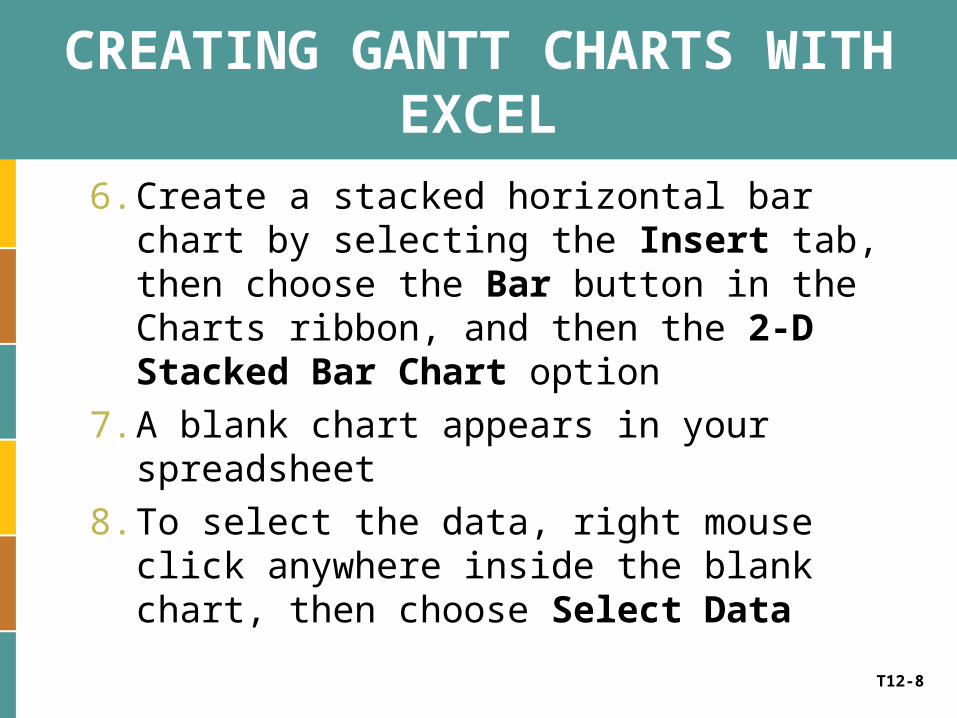
6. Create a stacked horizontal bar chart by selecting the Insert tab, then choose the Bar button in the Charts ribbon, and then the 2-D Stacked Bar Chart option
7. A blank chart appears in your spreadsheet
8. To select the data, right mouse click anywhere inside the blank chart, then choose Select Data

T12-9
CREATING GANTT CHARTS WITH EXCEL

T12-10
CREATING GANTT CHARTS WITH EXCEL
9. Under the Legend Entries (Series) section, click on the Add button
10. The first series to add will be the label containing the start date
11. Under the Series Name, select cell B312. Under the Series Values, select cells B4:B13, the
range of cells containing the various start dates13. Click OK14. Another series is needed, therefore click on the Add
button– This series will be the duration
15. When the Edit Series dialog opens, select cell C3 for the Series Name, then select C4:C13 for the Series Values

T12-11
CREATING GANTT CHARTS WITH EXCEL
16.Edit the labels by selecting the Edit button under the Horizontal (Category) Axis Labels section
17.Select cells A4:A13, the various task names18.Click OK19.Click OK again to close the Select Data
Source dialog box20.Remove the chart's legend by selecting it
and pressing the delete key or the backspace key, since the legend is not needed for a Gantt Chart
T12-12
CREATING GANTT CHARTS WITH EXCEL
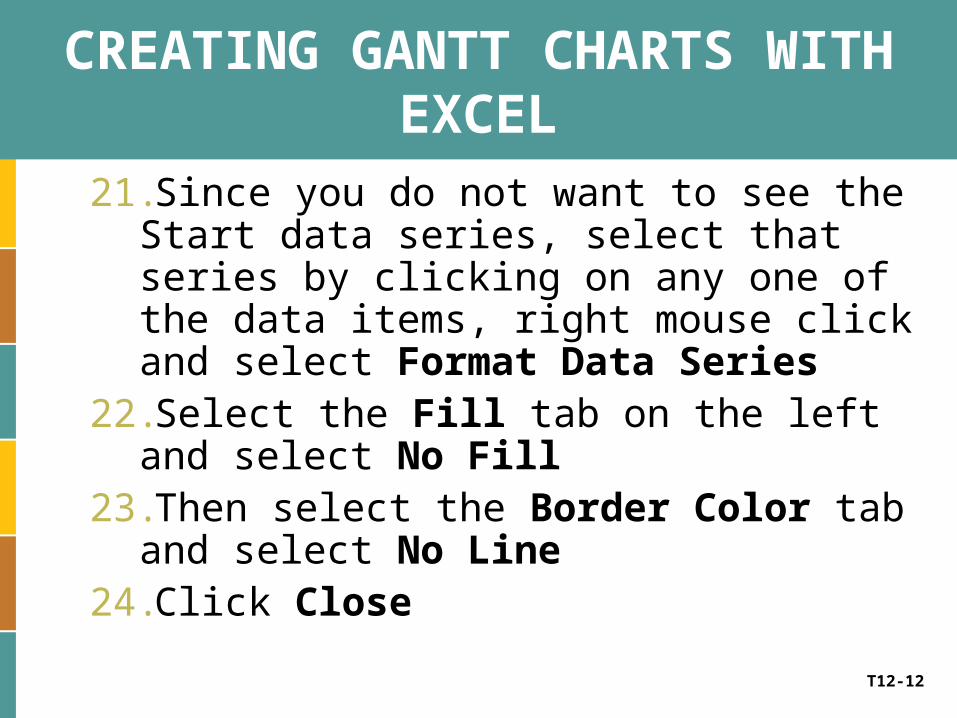
21.Since you do not want to see the Start data series, select that series by clicking on any one of the data items, right mouse click and select Format Data Series
22.Select the Fill tab on the left and select No Fill
23.Then select the Border Color tab and select No Line
24.Click Close

T12-13
CREATING GANTT CHARTS WITH EXCEL
T12-14
CREATING GANTT CHARTS WITH EXCEL
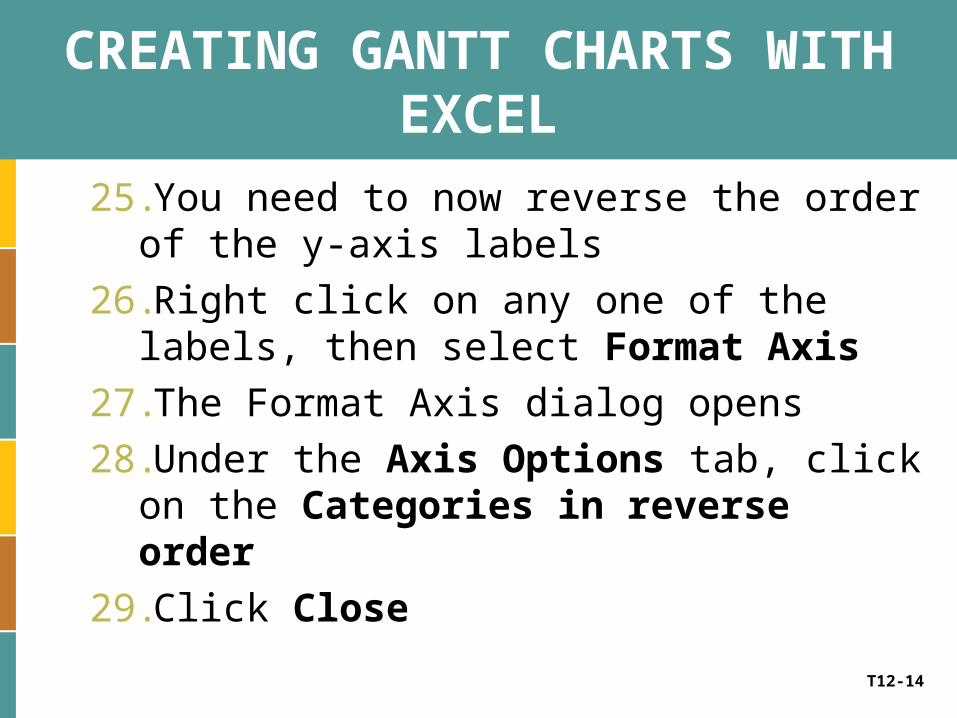
25.You need to now reverse the order of the y-axis labels
26.Right click on any one of the labels, then select Format Axis
27.The Format Axis dialog opens
28.Under the Axis Options tab, click on the Categories in reverse order
29.Click Close
T12-15
CREATING GANTT CHARTS WITH EXCEL

T12-16
CREATING GANTT CHARTS WITH EXCEL
• To get a better view of the actual dates, you need to adjust the date range
• Excel does not view (ie. interprets) dates as we do• In other words, dates are displayed as 3/1/2008 to
you, but Excel interprets that date as 39508• Dates are in numerical value, simply formatted to
look like dates• Since the first task in the project is set to 3/1/2008,
you need to convert that to a numeric value• And the same is true for the last task, however, you
can extent the date a few days past the end date for visual effect

T12-17
CREATING GANTT CHARTS WITH EXCEL
30.Right mouse click on any of the dates at the top of your chart, then select Format Axis
31.Using the Axis Options tab, select Fixed for the Minimum, and type in 39508 (which is the numeric value for 3/1/2008, the start date)
32.Select Fixed for the Maximum, then type in 39619 (the numeric value for 6/20/2008, the end date)
33.Click Close

T12-18
CREATING GANTT CHARTS WITH EXCEL

T12-19
CREATING GANTT CHARTS WITH MICROSOFT PROJECT
• Microsoft Project, a powerful project management software tool that can help manage schedules and resources and to track project progress
• Microsoft Project is one of the most widely used project management software applications available

T12-20
Microsoft Project Basics
• Microsoft Project is a Microsoft Office application, so it has many elements similar to other Office titles such as Word, Excel, and PowerPoint
• The Project Guide is an interactive interface element in Microsoft Project that helps you work through your project from the standpoint of project management processes and goals

T12-21
Microsoft Project Basics

T12-22
Creating a Project File
• To create a blank Gantt Chart:1. On the File menu, click New
2. Under New, click the Blank Project link• Microsoft Project creates a new project, and the
New Project task pane is replaced by the Tasks pane of the Project Guide

T12-23
Creating a Project File
• To set up your project plan to be scheduled from the project start date and finish date:1. Click Project, then select Project Information 2. In the Start Date box, enter the start date
• By default, the State Date box shows today’s date
3. In the Schedule From box, click the Project Start Date
4. Leave the Project Finish Date box as is• Microsoft Project will calculate this date for you later
5. Click OK

T12-24
Creating a Project File

T12-25
Saving Your Project
• To save your project: 1. Click File, then select Save As
2. In the Save As dialog box, choose the drive and folder in which you want to save the new project
3. In the File Name box, enter a descriptive name for your project, and then click the Save button

T12-26
Entering Tasks
• To enter tasks directly into your project plan, follow these steps: 1. Make sure you are working in the Gantt Chart
• You can see the name of the current view in the Active View bar that runs vertically along the left side of the view
• If it does not say Gantt Chart, click View, then select Gantt Chart
2. Type the name of the task in the Task Name field
3. Press Enter or your down arrow key to move to the next row
• The task name is not recorded and other commands remain unavailable until you press Enter or the down arrow key

T12-27
Entering Tasks

T12-28
Entering Recurring Tasks
• To create recurring tasks:1. In the Task Name field, click the row below
where you want the recurring task to appear2. Click Insert, then choose Recurring Task3. In the Recurring Task dialog box, type the
name of the recurring task in the Task Name field, for example, “Testing”
4. Under Recurrence Pattern, specify how often the task is to be scheduled, that is, daily, weekly, or monthly

T12-29
Entering Recurring Tasks
5. Specify the details of when the task is to take place during that frequency, for example, every other Thursday or the first Monday of every week
6. Under Range Of Recurrence, specify when the recurring task is to begin and end
7. When finished, click OK• The recurring task is marked with a recurring
task indicator

T12-30
Entering Recurring Tasks

T12-31
Moving Tasks
• To move a task from one row to another, follow these steps: 1. In the table portion of the Gantt Chart, select the
entire task row by clicking the gray row heading2. With your mouse pointer still over the row heading
(the pointer should appear as a black crosshair), drag the task to the location in the Gantt Chart where you want to place it
• A gray line along the row border follows your mouse movements, indicating where the task will be inserted when you release the mouse button
3. Release the mouse button to insert the task in the new location

T12-32
Inserting Additional Tasks
• To add a new task to other existing tasks, follow these steps: 1. In the table portion of the Gantt Chart, click
the row below where you want the new task to be inserted
2. Click Insert, then select New Task
3. Type the name of the new task, and then press Enter

T12-33
Deleting Tasks
• To delete a task you do not need, do this:1. Select the row heading, and then press the
Delete key• If you want to delete the entire task, click the
indicator• If you simply want to clear the task name, press
Enter or click elsewhere in the view

T12-34
Organizing Tasks into an Outline
• Tasks need to be structured representing the hierarchy of tasks from the broader perspective to the deep and detailed perspective
• A task at a higher outline level than other tasks is called a summary task
• The tasks beneath that summary task are called subtasks

T12-35
Organizing Tasks into an Outline

T12-36
Organizing Tasks into an Outline
• To make a task a subtask:1. Click the task2. On the Formatting toolbar, click Indent
• The task is indented, and the task above it becomes its summary task
• To create a subtask under a subtask1. Click a task under a subtask2. Click Indent twice
• To move a subtask to a higher level:1. Click a subtask, and then click Outdent

T12-37
Organizing Tasks into an Outline

T12-38
Organizing Tasks into an Outline
• To add a note to a task, follow these steps: 1. Click the task, and then click Task
Information on the Standard toolbar or press Shift-F2
2. Click the Notes tab
3. In the Notes area, type a note
4. When finished, click OK

T12-39
Adding Supplementary Information to Tasks
T12-40
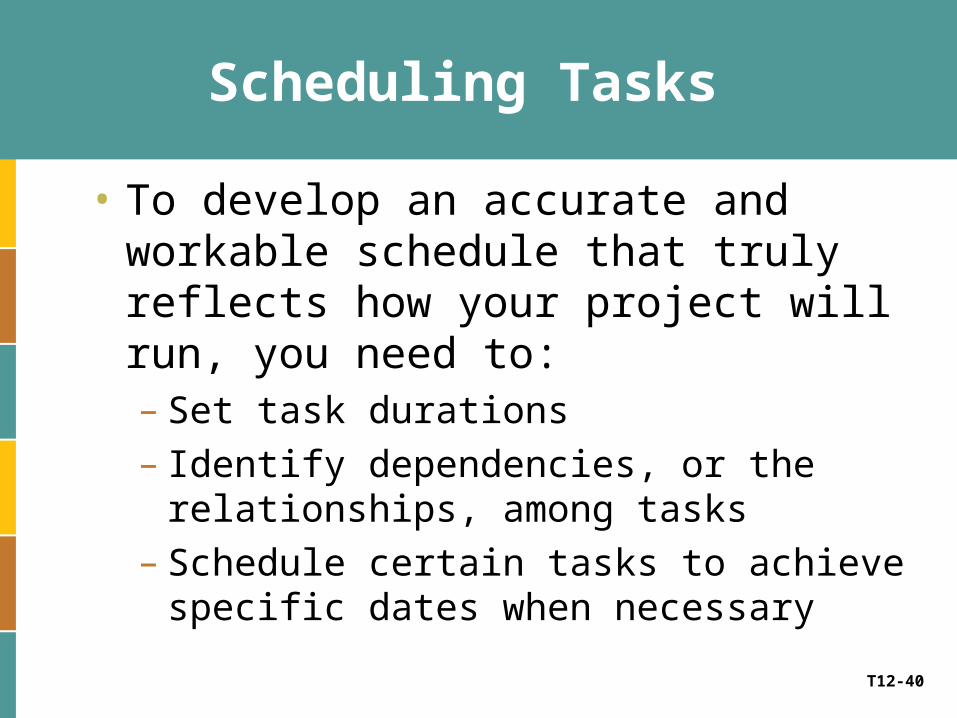
Scheduling Tasks
• To develop an accurate and workable schedule that truly reflects how your project will run, you need to: – Set task durations– Identify dependencies, or the relationships,
among tasks– Schedule certain tasks to achieve specific
dates when necessary

T12-41
Setting Task Durations
• To enter a duration, follow these steps: 1. In the Duration field for each task, type the
duration, for example, 1w or 4d• If a duration is an estimate, add a question mark
after it, for example, 1w? or 4d?
2. Press Enter

T12-42
Setting Task Durations

T12-43
Establishing Task Dependencies
• To link tasks with the finish-to-start task dependency: 1. In the task sheet, select the two tasks you
want to link
2. Drag from the predecessor to the successor task if they are right next to each other
• If they are not adjacent tasks, click the predecessor, hold down the Ctrl key, and then click the successor
3. On the Standard toolbar, click Link Tasks

T12-44
Establishing Task Dependencies

T12-45
Establishing Task Dependencies
• There are four types of dependencies, as follows: 1. Finish-to-start (FS) - As soon as the
predecessor task finishes, the successor task can start
2. Finish-to-finish (FF) - As soon as the predecessor task finishes, the successor task can finish
3. Start-to-start (SS) - As soon as the predecessor task starts, the successor task can start
4. Start-to-finish (SF) - As soon as the predecessor task starts, the successor task can finish

T12-46
Establishing Task Dependencies
• To apply a task dependency, follow these steps: – Select the task that is to become the successor in the
dependency you will be setting– On the Standard toolbar, click Task Information– Click the Predecessors tab– Click the first blank row in the Task Name field, and
then click the down arrow– Click the task that is to be the predecessor to the
current task– Click the Type field, and then select the type of task
dependency: Finish-to-Start (FS), Start-to-Start (SS), Finish-to-Finish (FF), Start-to-Finish (SF), or None
– Click OK

T12-47
Establishing Task Dependencies

T12-48
Overlapping Linked Tasks by Adding Lead-Time
• To enter lead-time for a linked task, follow these steps: – Select the successor task that is to have the
lead-time– On the Standard toolbar, click Task Information. – In the Task Information dialog box, click the
Predecessors tab– In the Lag field for the existing Predecessor, type
the amount of lead time you want for the successor
– Click OK

T12-49
Overlapping Linked Tasks by Adding Lead-Time

T12-50
Creating Milestones in Your Schedule
• To change a regular task into a milestone: 1. Select the task you want to become a
milestone
2. On the Standard toolbar, click Task Information
3. In the Task Information dialog box, click the Advanced tab
4. Select the Mark Task As Milestone check box

T12-51
Organizing Tasks into an Outline

T12-52
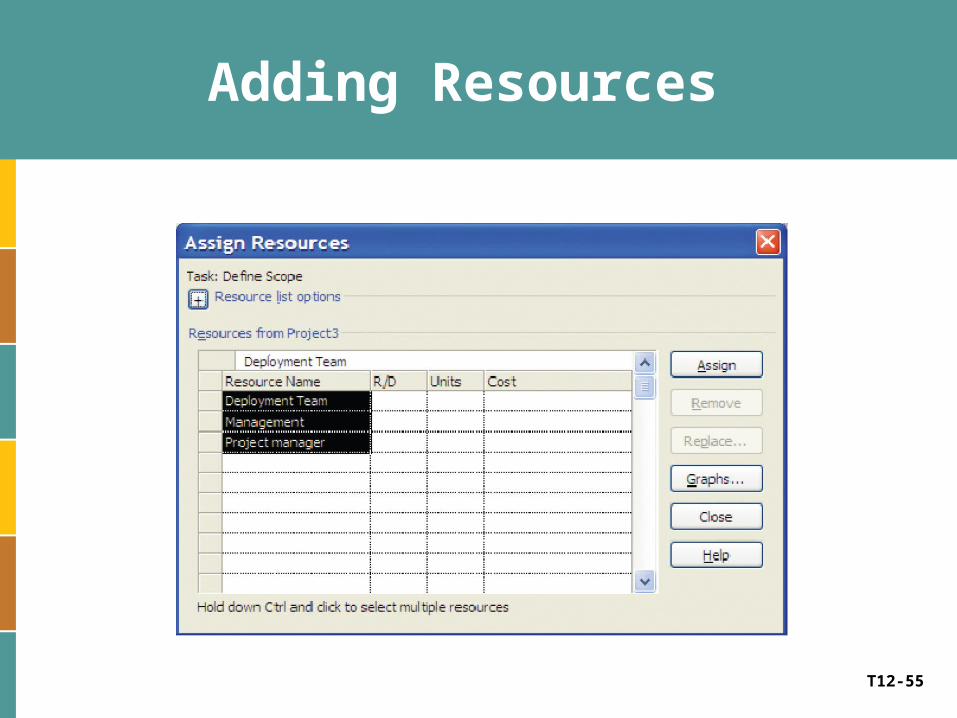
Adding Resources
• The following types of resources can be assigned to your tasks: – People or equipment – Materials – Cost items
• To add resources to your project, follow these steps: 1.Click View, then select Resource Sheet to switch to
the Resource Sheet view2.Click View, choose Table, then select Entry3. In the first Resource Name field, type a resource
name, such as Deployment Team and press Enter 4.Enter the names of other resources in the same way

T12-53
Adding Resources

T12-54
Adding Resources
• To assign a work resource to a task, follow these steps: 1. Click the task to which you want to assign resources2. On the Standard toolbar, click Assign Resources3. In the dialog box, click the name of the work
resource you want to assign to the task, and then click the Assign button
4. The resource name moves to the top of the Resources list in the table and a default percentage appears in the Units field for the resource
5. When finished assigning resources to tasks, click the Close button
T12-55
Adding Resources

T12-56
Setting Up and Printing
• When you print a view, it becomes a type of report that further enhances your ability to manage the project
• To print a view, follow these steps: 1. Open the view, and arrange the data as you
want it to appear when printed
2. On the Standard toolbar, click Print

T12-57
Print Views
• To adjust how the view will look when printed, follow these steps: 1. Open the view, and arrange the data as you want it to
appear when printed2. Click File, then choose Page Setup 3. Specify the options you want for the printed view using
the controls on the different tabs of this dialog 4. When finished, click OK5. On the Standard toolbar, click Print Preview6. To make further adjustments to the print options, click
Page Setup7. To make further adjustments to the view itself, click Close
the Print Preview toolbar, and work in the view8. When finished with your adjustments, click Print on the
Standard toolbar

T12-58
Print Views

T12-59
Print Views

T12-60
Printing Reports
• Project has more than 40 built-in, preformatted reports

T12-61
Printing Reports
• To select and print a report, follow these steps: – Click View, then select Reports– In the Reports dialog box, double-click the report
category you want– Double-click the report you want– If a dialog box prompts you for more information,
such as a date range, enter it, and click OK– When ready to print the report, click Print on the
Print Preview toolbar– Select the page range and number of copies you
would like to print, and click OK

T12-62
Printing Reports


