12
Page | 1 The Express Purchase Order Practice Exercises The Spectrum+ System Georgia State University PeopleSoft Financials Version 8.9 (revised 1/25/2011)

Page | 1
The Express Purchase Order
Practice Exercises
The Spectrum+ System
Georgia State University
PeopleSoft Financials
Version 8.9
(revised 1/25/2011)

Page | 2
9. PRACTICE EXERCISES………….…………………………………..…………………………………………………………….2
9.1 CREATING AN EXPRESS PO…………………………….…………………………………………………………3
9.2 CREATING AN EXPRESS PO FOR AN ASSET W/MULTIPLE DISTRIBUTIONS………..……….4
9.3 CREATING A TRAVEL PO……………………………………………………………………………….…..……..6
9.4 CREATING A CONSULTANT PO…………………………………………………………………….……………8
9.5 DELETING A LINE ON AN EXPRESS PO…………………………………………………….……….………..9
9.6 CANCELING AN EXPRESS PO…………………………………………………………………………….………10
9.7 REVIEWING THE BUDGET OVERVIEW QUERY…………………………………..…….………..………10

Page | 3
9. Exercises for Practice
9.1 Creating an Express PO
Activity #1: You will create an Express PO for the purchase of a Dell computer minitower. The
minitower costs $2500.00 and will be purchased from Dell Market. The category code is
20400.
Topics
Creating an Express PO
Business Processes:
PO.020.110 PO.020.770
Activity
Activity Overview In these activities you will:
1. Create an Express PO
Activity 1 Create an Express PO: PO.020.770 Scenario: Create an Express PO for the purchase of a computer.
NAVIGATION Purchasing > Purchase Orders > Add/Update Express POs
1. Click on the Add a New Value tab.
2. The Business Unit defaults based on user preferences and PO Date will default to current date.
3. Let the system assign the next available PO ID.
4. Click the Add button.
5. Enter DRG in the Origin field.
6. Enter 110600000 in the Department field.
7. In the Vendor field type ‘DELLMARKET-001’
8. Click the magnifying glass next to the Buyer field.
9. Select a buyer from the list. (Refer to Commodity Listing by Buyer on page 54 of Express PO Manual)
10. Click the PO Defaults link.
11. Move the vertical scroll bar down to view the Distribution area.
12. Enter ‘BIOLI” in the SpeedChart field.
13. Click on magnifying glass and select ‘BIOLI” from the Search Results list
14. Using the Horizontal Scrollbar, find the “Location” field.
15. Change the Location from PO_MAIN to PSC100.
16. Move the vertical Scroll bar down to view the OK button.
17. Click the OK button.

Page | 4
18. Click the Expand All link.
19. Enter the following information under Lines:
FIELD VALUE or STATUS
Description Dell GS270 Minitower Computer
PO Qty 1
UOM EA
Category 20400
20. Enter the following information under Schedules:
FIELD VALUE or STATUS
Price 2500.00
21. Enter the following information under Distributions section (Select Details/Tax Tab):
FIELD VALUE or STATUS
Details/Tax Tab
Location
PSC100
22. Press the Tab key.
23. Move the vertical scroll bar to the bottom of page.
24. Click the Save button.
25. Scroll to the top an click the Budget Check icon located next to the ‘Budget Status’ field.
The system assigned PO ID, the PO Status changed from Initial to Pending Approval and the Budget
Status changes from Not Checked to Valid. The Express PO is now ready to be approved. Before
continuing write down your PO ID here __________, and keep for later use.
To begin a new PO click the ‘Add’ icon at the bottom of your screen .
Or to retrieve an existing PO click the ‘Update/Display’ icon at the bottom of your
screen .
9.2 Creating an Express PO for an Asset w/Multiple Distributions
Create Express PO for an Asset and Use Multiple Distributions

Page | 5
Activity #2: You will create an Express PO for the purchase of a Xerox copier. The copier costs
$10,500.00 and will be purchased from Oce Imagistics. The category code is 60000. This
Express PO is an asset and will have multiple distributions (SpeedCharts).
Navigation: Purchasing>Purchase Orders>Add/Update Express POs
1. Click the Add button. 2. Enter DRG in the Origin field. 3. Enter 110600000 in the Department field. 4. Enter OCEIMAGIST-001 in the Vendor field. 5. Click the magnifying glass next to the Buyer field. 6. Select Buyer. (Refer to Commodity Listing by Buyer on page 54 of Express PO Manual) 7. Click the PO Defaults link. 8. Move the vertical scroll bar down to view SpeedChart. 9. Enter BIOLI in the SpeedChart Key field. 10. Click the Lookup button. 11. Select the SpeedChart Key BIOLI. 12. Move the horizontal scroll bar to right to view “Location” field. 13. Change Location to PSC100 from PO_MAIN. 14. Move the vertical scroll bar to bottom of page. 15. Click the OK button. 16. Click the Expand All link. 17. Enter the following information under Lines:
FIELD VALUE OR STATUS
Description Xerox WCP245 Digital Copier
PO Qty 1
UOM EA
Category 60000
18. Enter the following information under Schedules:
FIELD VALUE OR STATUS
Price 10500.00
19. Under Distributions, move the horizontal scroll bar to the far right side. 20. Click the Plus sign in the Distributions area. 21. The Explorer User Prompt will ask how many rows to add. Add 1. 22. Click OK. 23. On Distribution Line 1, change the 100.00 to 50.00 in the ‘Percent’ field. 24. Press the Tab key. 25. On Distribution Line 2, enter 50.00.

Page | 6
26. On Distribution Line 2, change the chartfields as follows: Fund, 10000; Dept, 612250000; Class, 11000; & Program, 16200.
27. Enter the following information under Distributions (Select the Details/Tax Tab):
FIELD VALUE OR STATUS
Location PSC100
28. Press the Tab key. 29. Click the Save button. 30. Click the Budget Check icon.
The system assigned a PO ID, the PO Status changed from Initial to Pending Approval and the
Budget Status changed from Not Checked to Valid. The Express PO is now ready to be
approved. Before continuing, write down your PO ID here __________, and keep for later use.
9.3 Create a Travel PO
Travel Scenario: You will be using a travel template to create an Express Purchase Order for
Travel. The travel template is named ‘ETRAVEL’.
Navigation: Purchasing > Purchase Orders > Add/Update Express Pos > Add a New Value > Add
Purchase Order Page
1. Go to Copy From field, click the dropdown and select Purchase Order
2. Copy Purchase Order from Purchase Order page appears
3. Enter ‘ETRAVEL’ in the P.O. ID field, click Search
4. Check the Check Box next to ETRAVEL
5. Press OK
6. The system returns you to the ‘Purchase Order’ page. Notice the ETRAVEL template
copies general information on the Purchase Order (i.e. GSUDefault Vendor, Buyer,
Description, Qty, etc)
7. At top of page, enter the following:
Department: 110600000
8. In Header Area, complete the following:
a. Change GSU Default Vendor to Person who is traveling (for this exercise, select
yourself or someone from your office)
Page | 7
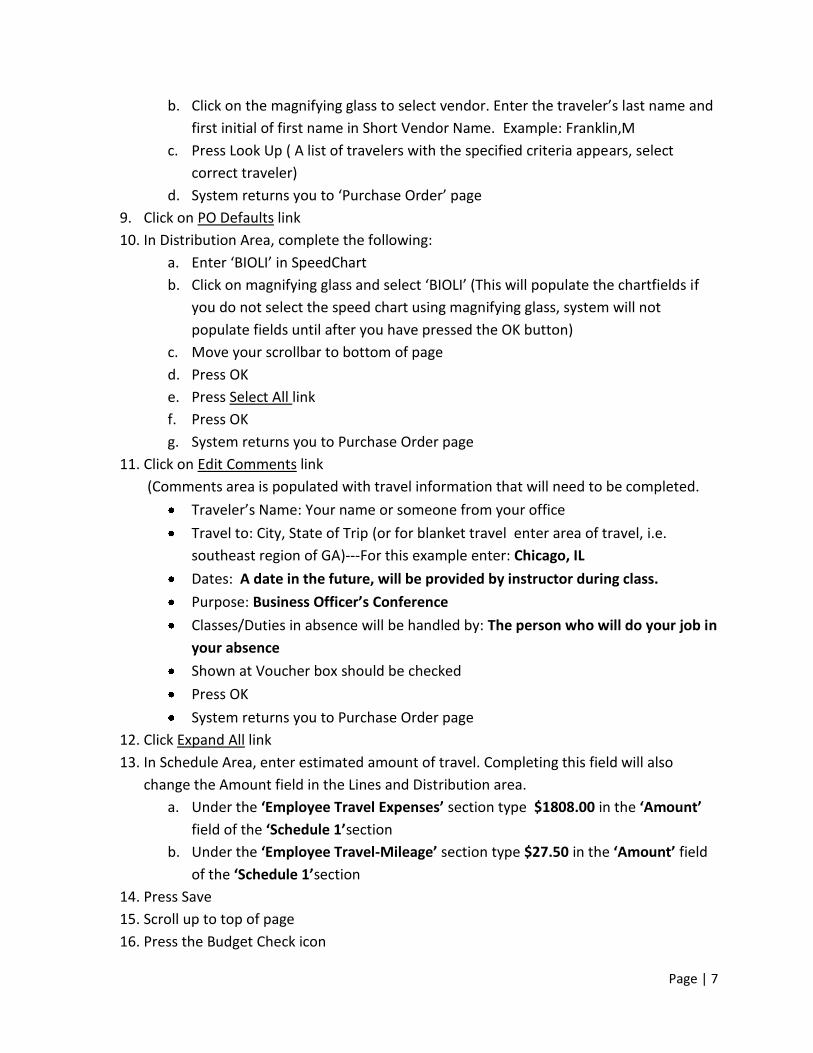
b. Click on the magnifying glass to select vendor. Enter the traveler’s last name and
first initial of first name in Short Vendor Name. Example: Franklin,M
c. Press Look Up ( A list of travelers with the specified criteria appears, select
correct traveler)
d. System returns you to ‘Purchase Order’ page
9. Click on PO Defaults link
10. In Distribution Area, complete the following:
a. Enter ‘BIOLI’ in SpeedChart
b. Click on magnifying glass and select ‘BIOLI’ (This will populate the chartfields if
you do not select the speed chart using magnifying glass, system will not
populate fields until after you have pressed the OK button)
c. Move your scrollbar to bottom of page
d. Press OK
e. Press Select All link
f. Press OK
g. System returns you to Purchase Order page
11. Click on Edit Comments link
(Comments area is populated with travel information that will need to be completed.
Traveler’s Name: Your name or someone from your office
Travel to: City, State of Trip (or for blanket travel enter area of travel, i.e.
southeast region of GA)---For this example enter: Chicago, IL
Dates: A date in the future, will be provided by instructor during class.
Purpose: Business Officer’s Conference
Classes/Duties in absence will be handled by: The person who will do your job in
your absence
Shown at Voucher box should be checked
Press OK
System returns you to Purchase Order page
12. Click Expand All link
13. In Schedule Area, enter estimated amount of travel. Completing this field will also
change the Amount field in the Lines and Distribution area.
a. Under the ‘Employee Travel Expenses’ section type $1808.00 in the ‘Amount’
field of the ‘Schedule 1’section
b. Under the ‘Employee Travel-Mileage’ section type $27.50 in the ‘Amount’ field
of the ‘Schedule 1’section
14. Press Save
15. Scroll up to top of page
16. Press the Budget Check icon
Page | 8
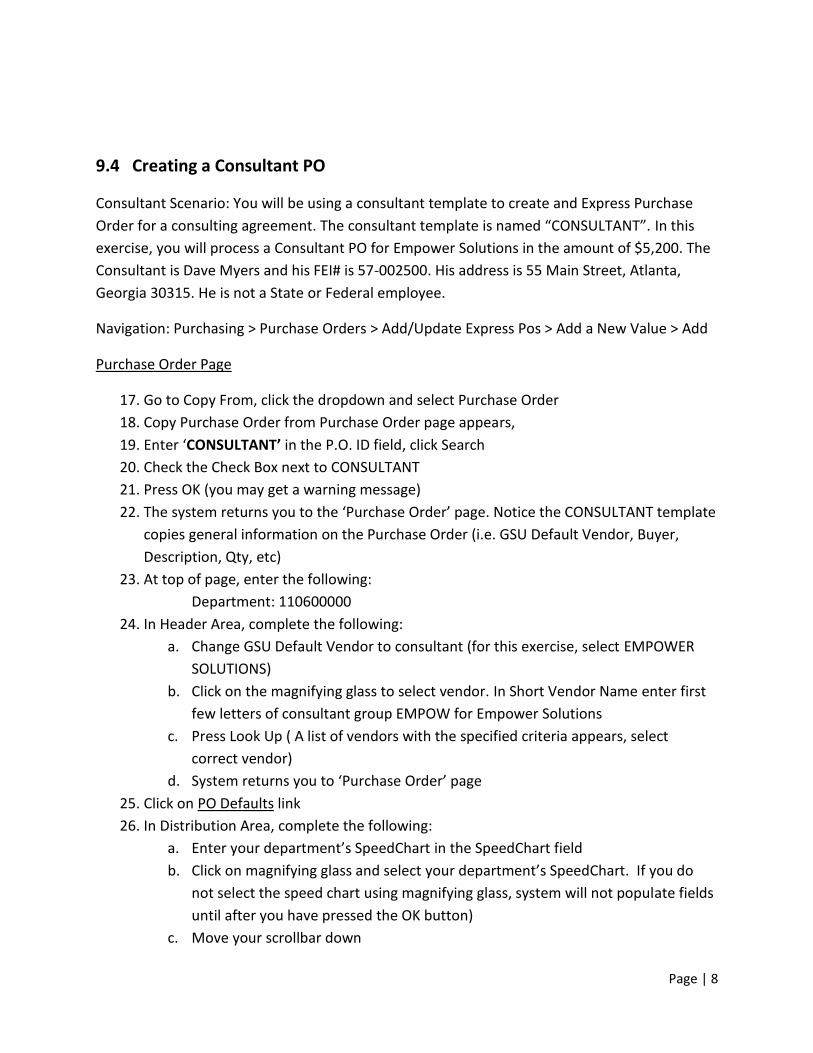
9.4 Creating a Consultant PO
Consultant Scenario: You will be using a consultant template to create and Express Purchase
Order for a consulting agreement. The consultant template is named “CONSULTANT”. In this
exercise, you will process a Consultant PO for Empower Solutions in the amount of $5,200. The
Consultant is Dave Myers and his FEI# is 57-002500. His address is 55 Main Street, Atlanta,
Georgia 30315. He is not a State or Federal employee.
Navigation: Purchasing > Purchase Orders > Add/Update Express Pos > Add a New Value > Add
Purchase Order Page
17. Go to Copy From, click the dropdown and select Purchase Order
18. Copy Purchase Order from Purchase Order page appears,
19. Enter ‘CONSULTANT’ in the P.O. ID field, click Search
20. Check the Check Box next to CONSULTANT
21. Press OK (you may get a warning message)
22. The system returns you to the ‘Purchase Order’ page. Notice the CONSULTANT template
copies general information on the Purchase Order (i.e. GSU Default Vendor, Buyer,
Description, Qty, etc)
23. At top of page, enter the following:
Department: 110600000
24. In Header Area, complete the following:
a. Change GSU Default Vendor to consultant (for this exercise, select EMPOWER
SOLUTIONS)
b. Click on the magnifying glass to select vendor. In Short Vendor Name enter first
few letters of consultant group EMPOW for Empower Solutions
c. Press Look Up ( A list of vendors with the specified criteria appears, select
correct vendor)
d. System returns you to ‘Purchase Order’ page
25. Click on PO Defaults link
26. In Distribution Area, complete the following:
a. Enter your department’s SpeedChart in the SpeedChart field
b. Click on magnifying glass and select your department’s SpeedChart. If you do
not select the speed chart using magnifying glass, system will not populate fields
until after you have pressed the OK button)
c. Move your scrollbar down

Page | 9
d. Press OK
e. Press blue Select All link (This populates the checkmarks in the “Apply” column)
f. Press OK
g. System returns you to Purchase Order page
27. Click on Edit Comments link
(Comments area is populated with consultant information that will need to be
completed.
Name of Consultant: Dave Myers
FEI#: 57-002500
City/State/Zip: Atlanta, GA, 30315
State of GA Employee: Yes or No
Federal Employee: Yes or No
Employer’s Name: Empower Solutions
Move the scroll bar down and press the ‘OK’ button.
28. Click Expand All link
29. In Schedule Area, enter amount of consulting agreement. Completing this field will also
change the Amount field in the Lines and Distribution area.
a. Line 1, Schedule 1 Price: 5,000
b. Line 2, Schedule 1 Price: 200
30. Press Save (Save edits chartfields and checks for missing required fields)
31. Write your PO ID in the space provided: ______________
32. Scroll up to top of page
33. Press the Budget Check icon
9.5 Delete a Line on an Express PO
You will delete a line on an Express PO. Lines can only be deleted on Express POs with the
status of Pending Approval.
Navigation: Purchasing>Purchase Orders>Add/Update Express POs
1. Select Find Existing Value link or tab. 2. Enter the PO ID you wrote down at the end of Exercise 9.4. 3. Click Search. 4. Select the PO ID, from the Search Results list. 5. Move vertical scroll bar down to Lines area. 6. Select the Line 2 and delete it (Consultant Reimbursement Expenses) 7. Move the horizontal scroll bar to the far right of page. 8. Click the Minus sign at the end of that line.

Page | 10
9. Click OK.
A message appears: “Delete current/selected rows from this page?” 10. Click the Budget Check button.
The line you chose on the Express PO is now deleted.
9.6 Cancel an Express PO
Activity #4: You will cancel an Express PO. Only Express POs with the status of Pending
Approval can be canceled. Approved and Dispatched Express POs cannot be canceled by the
department.
Navigation: Purchasing>Purchase Orders>Add/Update Express POs
1. Select Find Existing Value link or tab. 2. Enter the PO ID you wrote down at the end of Exercise 9.1(the first exercise). 3. Click Search. 4. Select the PO ID from the Search Results List. 5. Click the large red X next to the PO Status at the top of the page.
A message appears: “Canceling a purchase order will commit any changes and prevent further changes. Continue?”
6. Click Yes. 7. Click the Budget Check button.
The Express PO is now canceled. When you mark a Purchase Order canceled, the system
does not allow any further changes to the Purchase Order. Any changes made, however,
will be stored on the Purchase Order.
To view the details of the canceled PO:
Navigation: Purchasing>Purchase Orders>Review PO Information>Purchase Orders
1. Click the drop down arrow under PO Status. 2. Select Canceled. 3. Click Search.
A list of values will appear. Click the correct one.
9.7 Reviewing a Budget Overview Inquiry

Page | 11
For this topic, imagine that you want to use the Budget Overview component in order to review ORG level budget and expense line detail information for a specific Chartfield combination for budget period 2009. Let's see how this is done.
Step Action
1. Click the Commitment Control link.
2. Click the Review Budget Activities link.
3. Click the Budgets Overview link.
4. Click the Add a New Value tab.
5. Enter "BUD-OVW" in the Inquiry Name field.
6. Enter "Budget Overview" in the Description field.
7. Enter "GSUFS" in the Business Unit field.
8. Enter "ORG" in the Ledger Group field.
9. The Budget Period fields will default to the current budget period. You may enter a different budget period or range of periods if needed.
10. Enter Dept "110600000" in the ChartField From Value field.
11. Enter Fund"10000" in the ChartField From Value field.
12. Enter Class "11000" in the ChartField From Value field.
13. Enter Program "11100" in the ChartField From Value field.
14. Enter Budget Reference "2011" in the ChartField From Value field.
15. Click the Search button located near the top of the page.
16. This is the Budget Overview page. From here you have several drill down options.
17. Click the Show Budget Details button.
18. Click the Vertical scrollbar.
19. Click the OK button.
20. Click the Show Budget Transaction Types button.
Page | 12
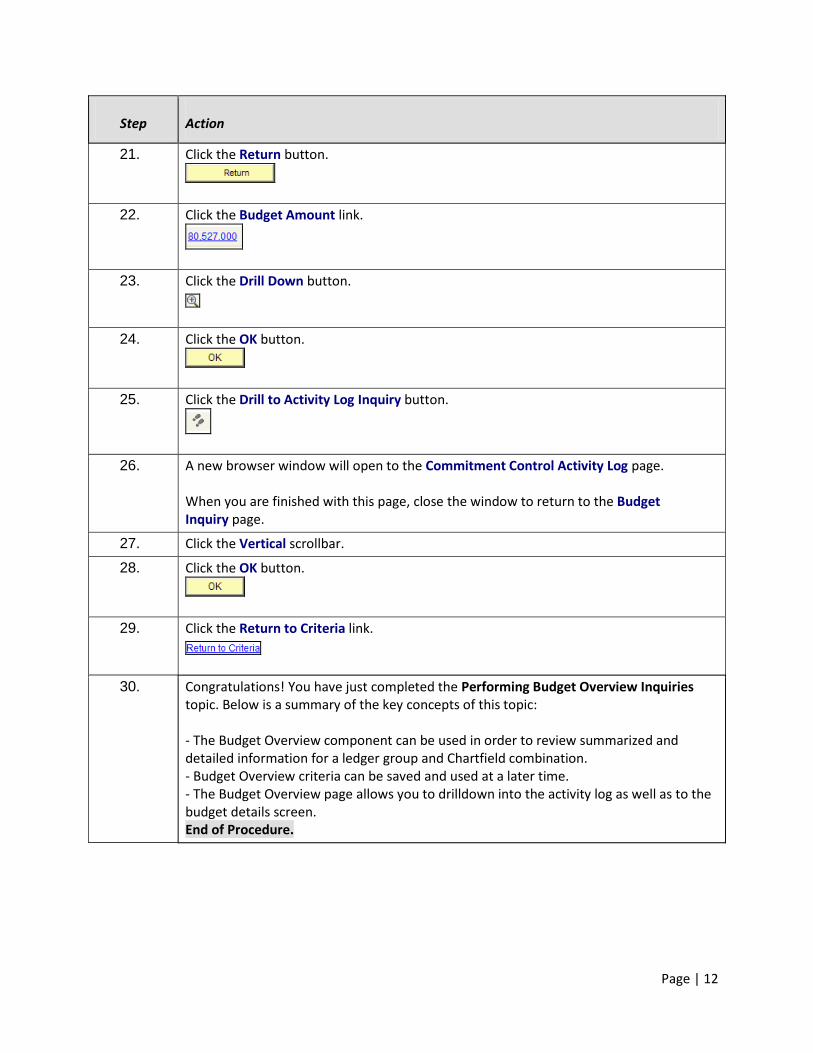
Step Action
21. Click the Return button.
22. Click the Budget Amount link.
23. Click the Drill Down button.
24. Click the OK button.
25. Click the Drill to Activity Log Inquiry button.
26. A new browser window will open to the Commitment Control Activity Log page. When you are finished with this page, close the window to return to the Budget Inquiry page.
27. Click the Vertical scrollbar.
28. Click the OK button.
29. Click the Return to Criteria link.
30. Congratulations! You have just completed the Performing Budget Overview Inquiries topic. Below is a summary of the key concepts of this topic: - The Budget Overview component can be used in order to review summarized and detailed information for a ledger group and Chartfield combination. - Budget Overview criteria can be saved and used at a later time. - The Budget Overview page allows you to drilldown into the activity log as well as to the budget details screen. End of Procedure.


