82
Subgrade Preparation Tim Crosby: Grading Superintendent Chris DeJulio: Project Engineer

Subgrade Preparation
Tim Crosby: Grading SuperintendentChris DeJulio: Project Engineer
Subgrade Preparation
Typical equipment used Purpose of equipment Types of subgrade preparation Compaction Grading
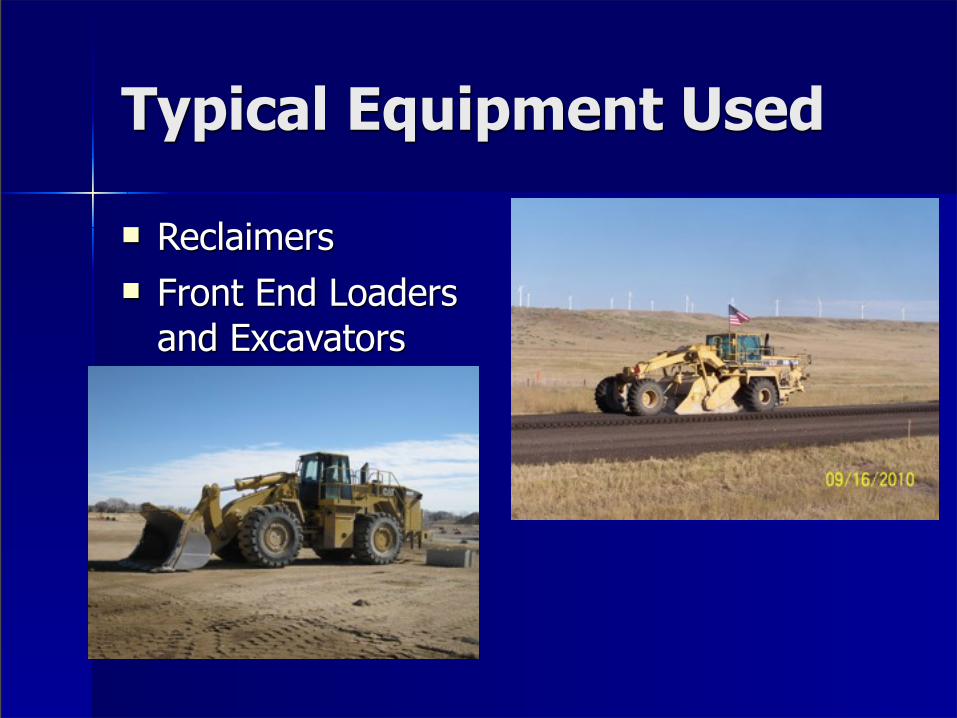
Typical Equipment Used
Reclaimers Front End Loaders
and Excavators
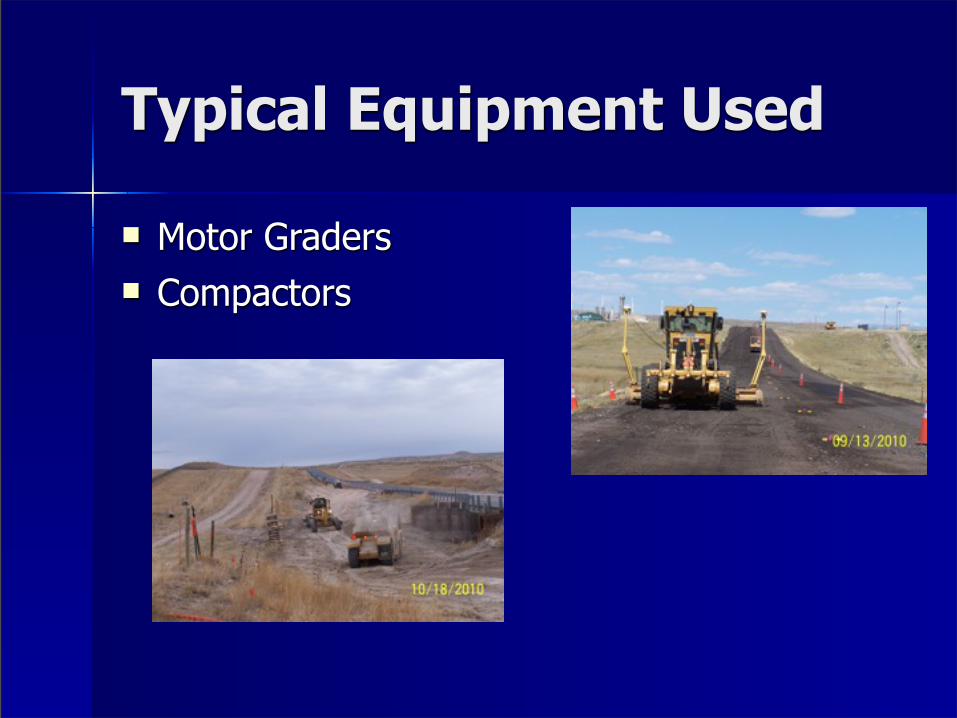
Typical Equipment Used
Motor Graders Compactors
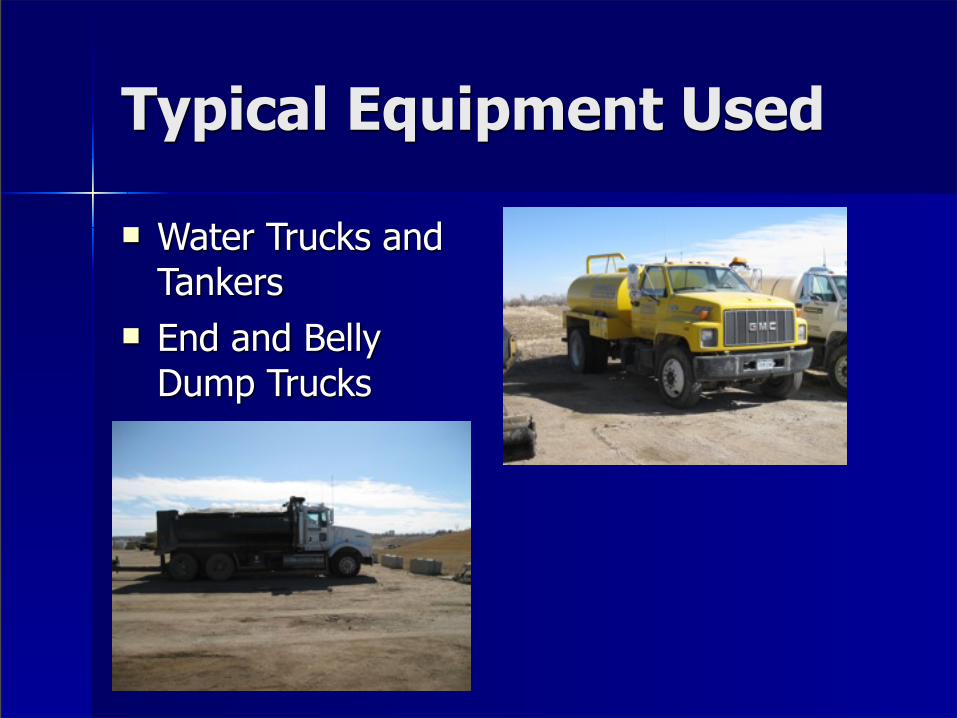
Typical Equipment Used
Water Trucks and Tankers
End and Belly Dump Trucks
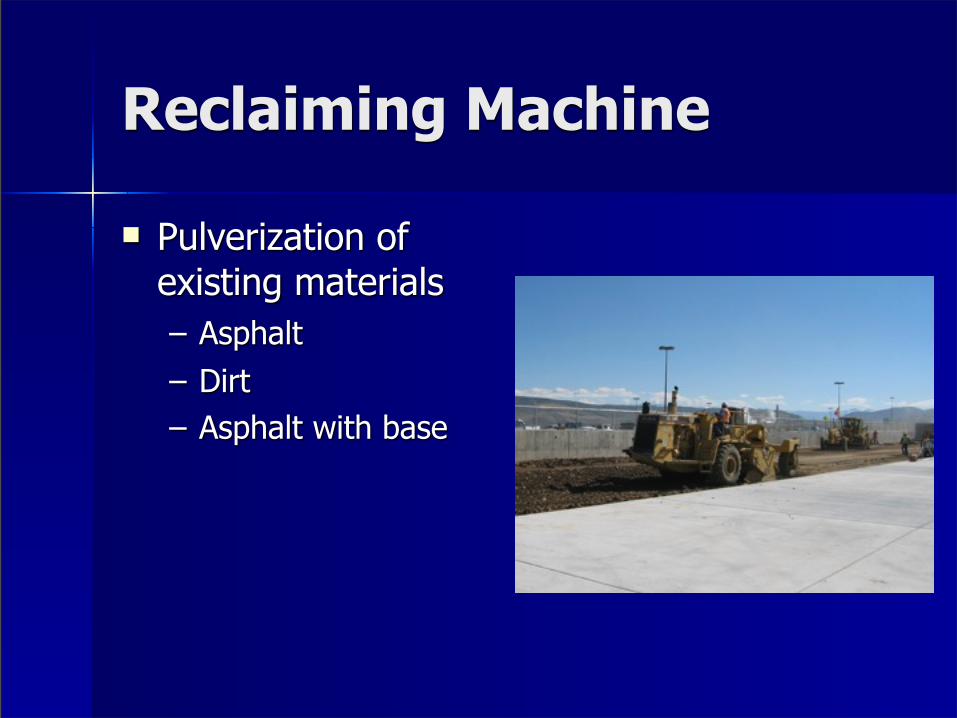
Reclaiming Machine
Pulverization of existing materials – Asphalt – Dirt – Asphalt with base
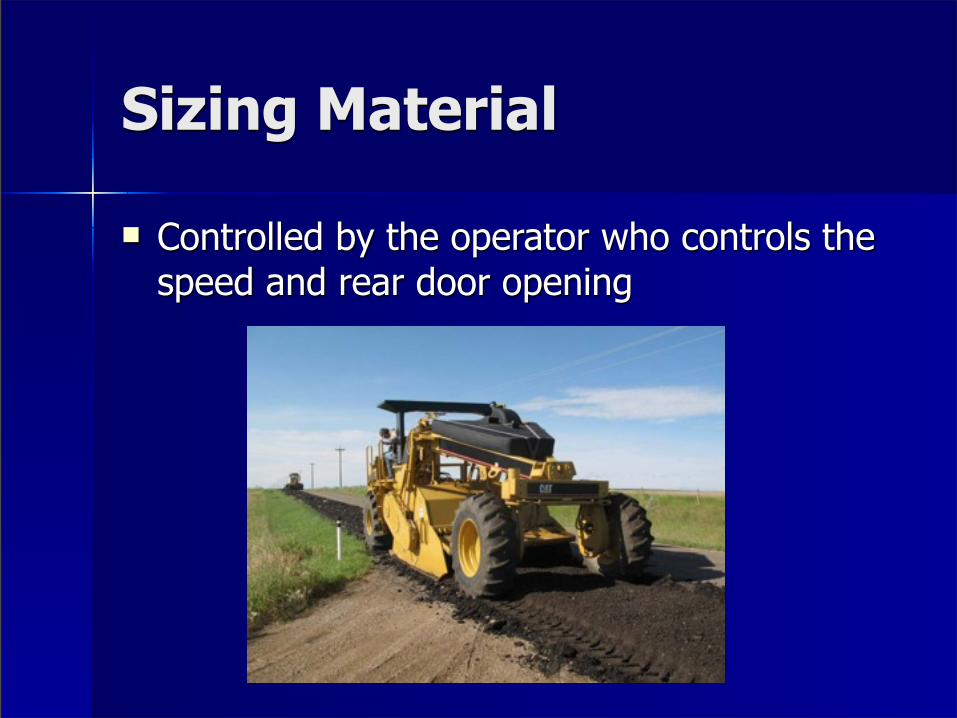
Sizing Material
Controlled by the operator who controls the speed and rear door opening
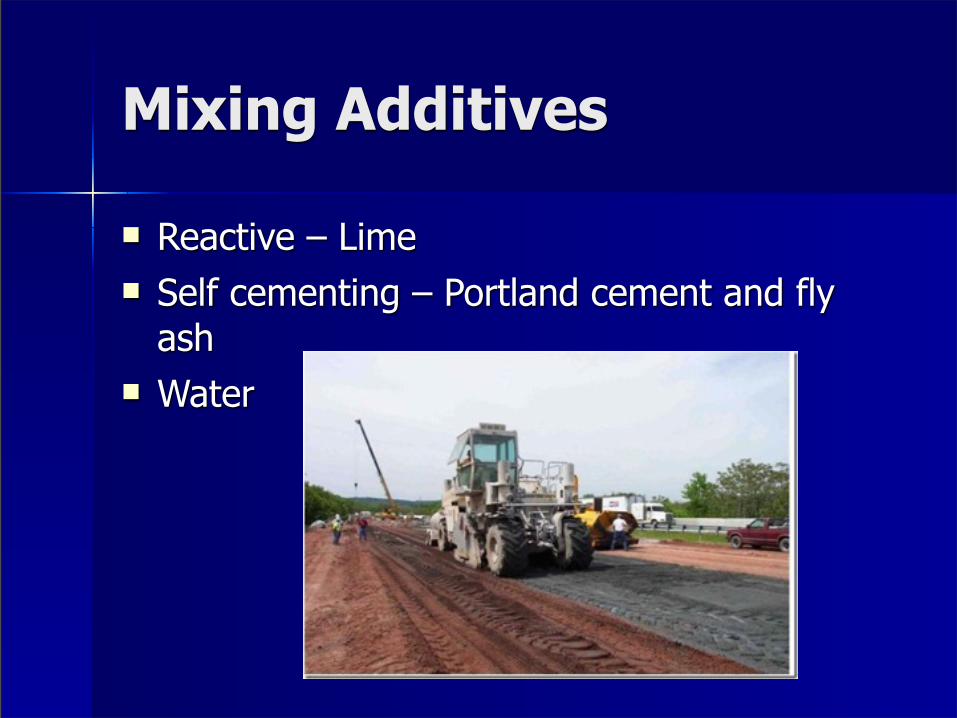
Mixing Additives
Reactive – Lime Self cementing – Portland cement and fly
ash Water

Loaders and Excavators
Removing existing pavement
Excavating excess or unsuitable soils
Loading trucks

Choosing the right equipment
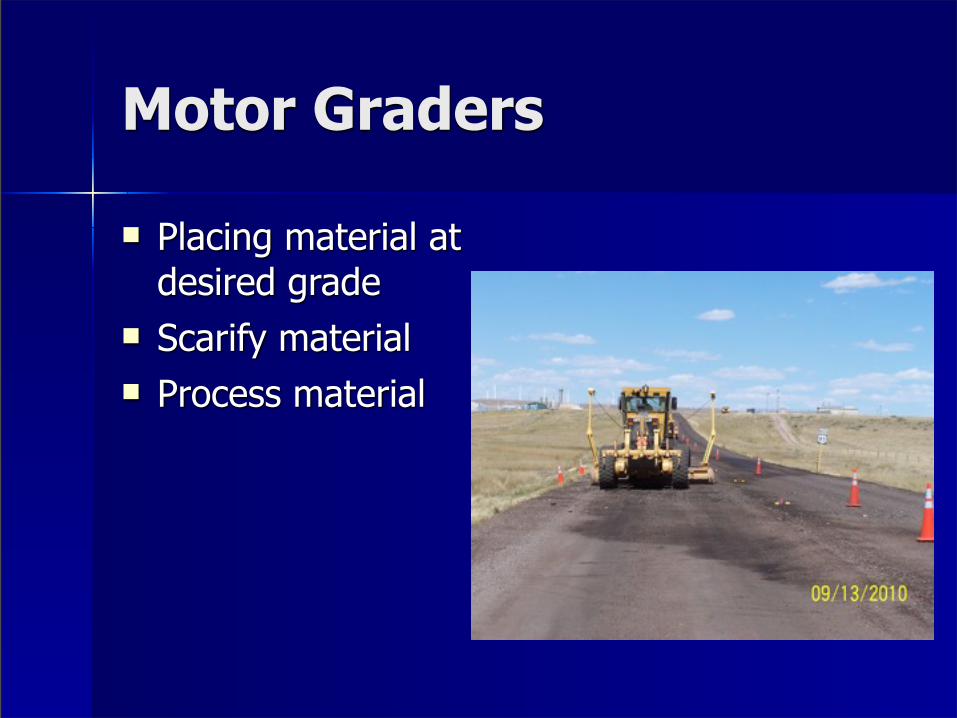
Motor Graders
Placing material at desired grade
Scarify material Process material

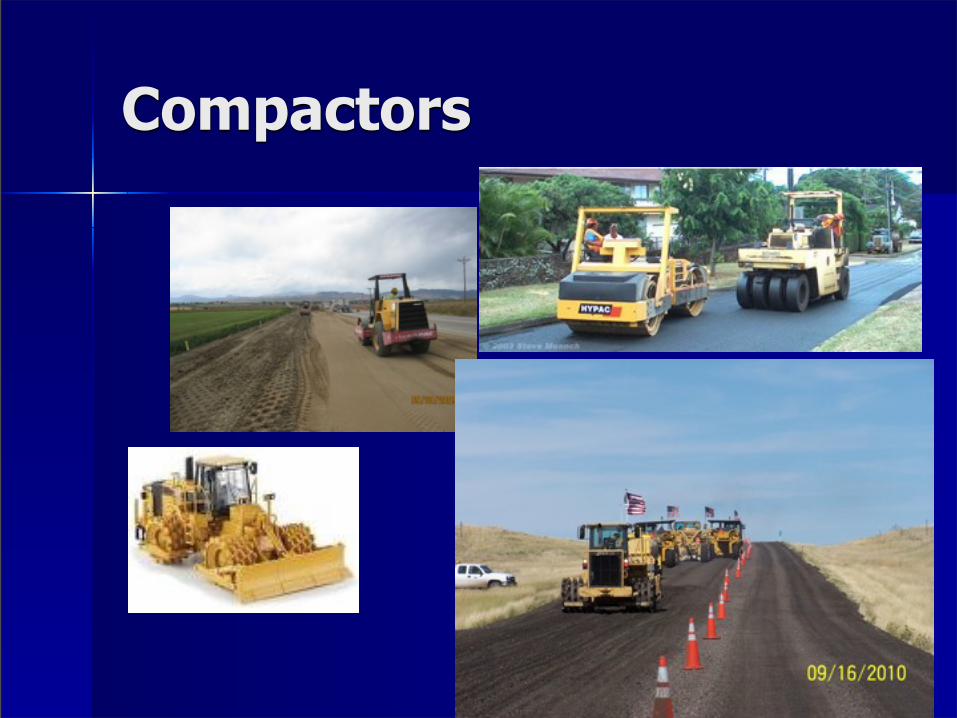
Compactors
Compact material to desired density Typical compaction sequence
– Initial or breakdown – pad foot rollers– Intermediate – rubber tire rollers and
vibratory rollers– Finish – smooth drum and rubber tire
rollers
Compactors
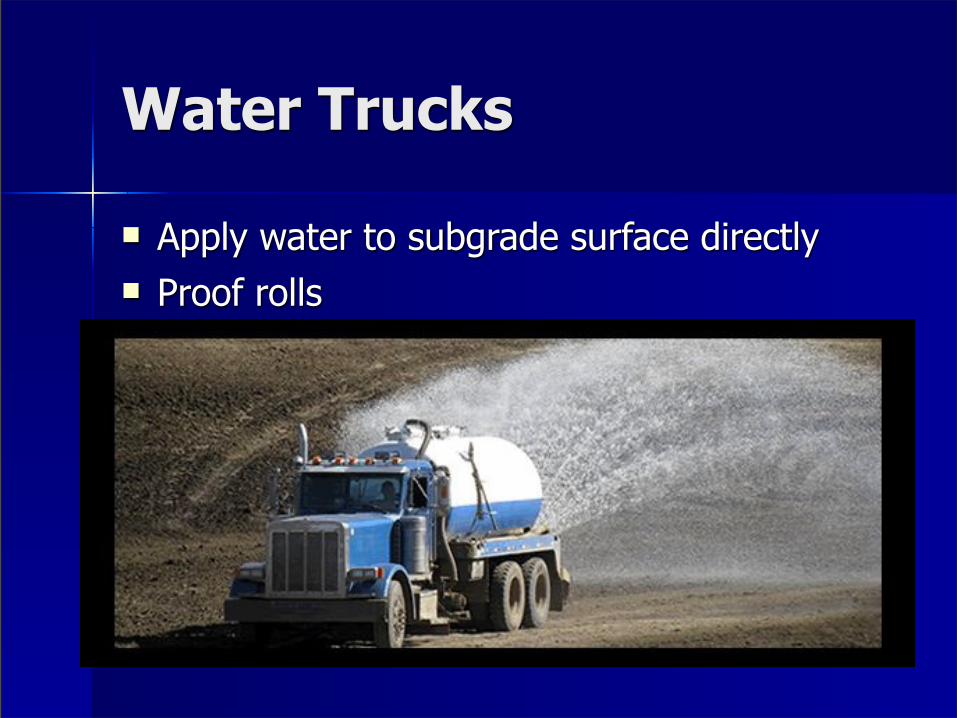
Water Trucks
Apply water to subgrade surface directly Proof rolls
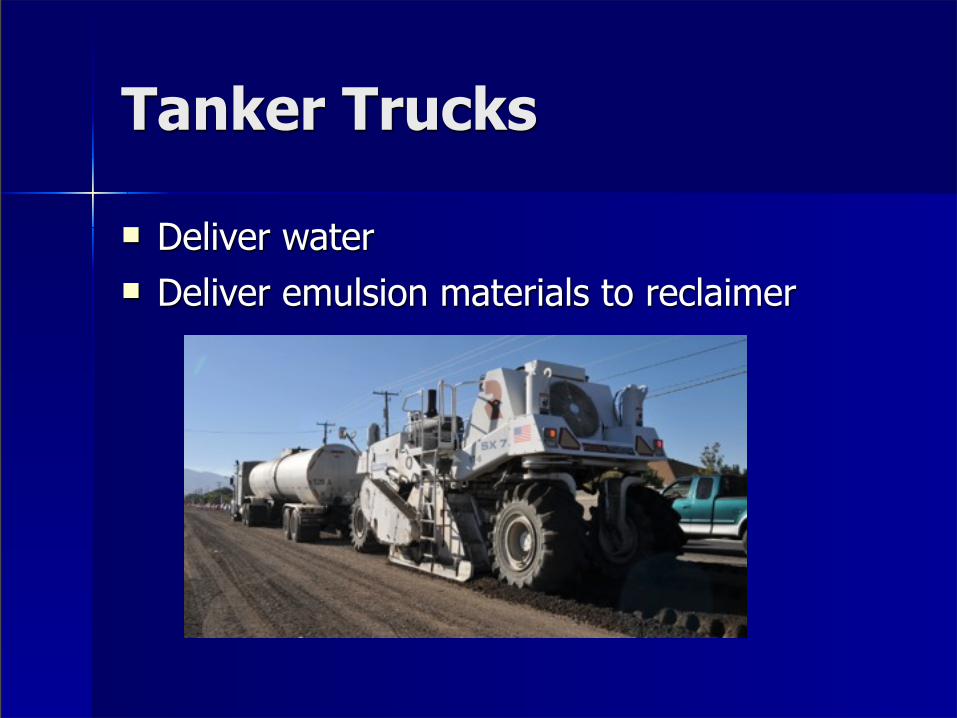
Tanker Trucks
Deliver water Deliver emulsion materials to reclaimer

Types of subgrade preparation Modification and Stabilization Removal and Replace
Modification and Stabilization Subgrade treatment that is intended to
provide a stable working platform during construction.– Adding chemicals like fly ash or cement– Moisture conditioning
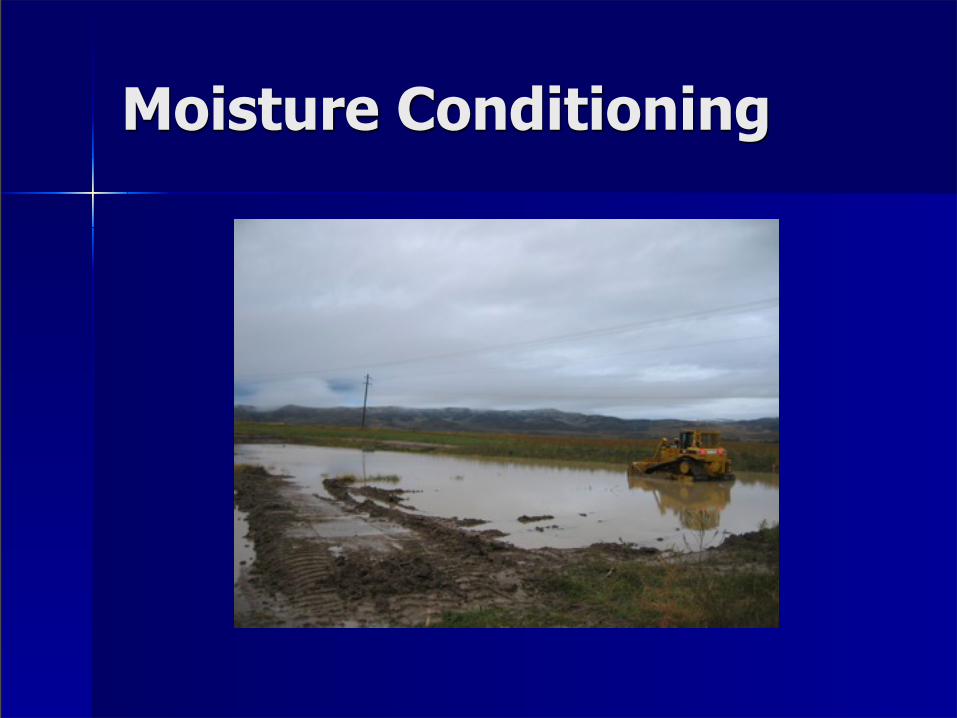
Moisture Conditioning
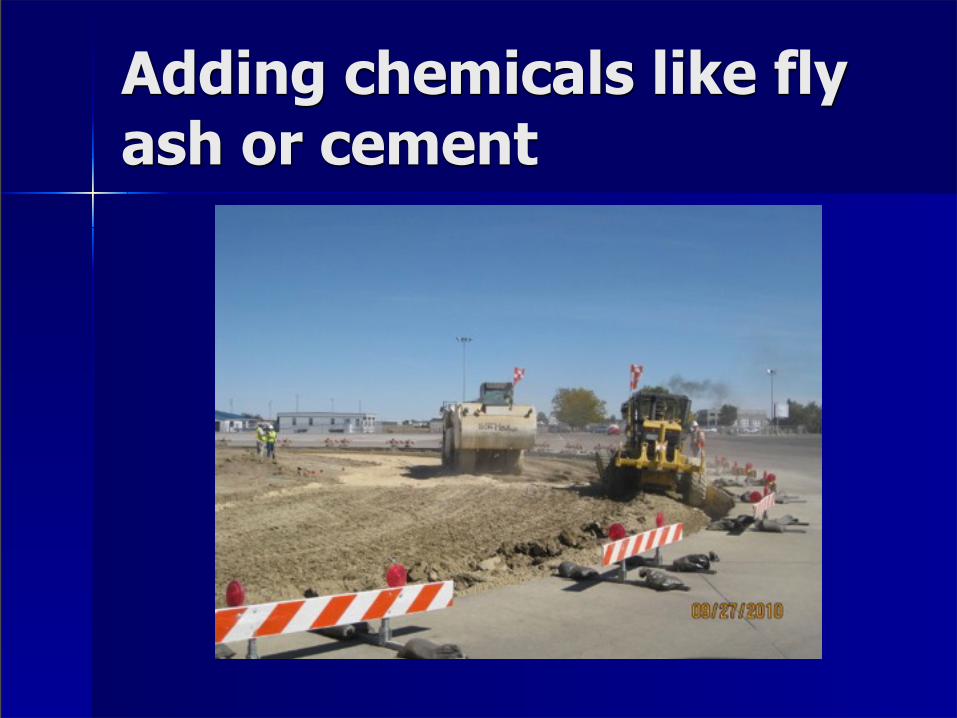
Adding chemicals like fly ash or cement

Remove and Replace
Simple Procedure that does not require specialized equipment
Expensive !!!
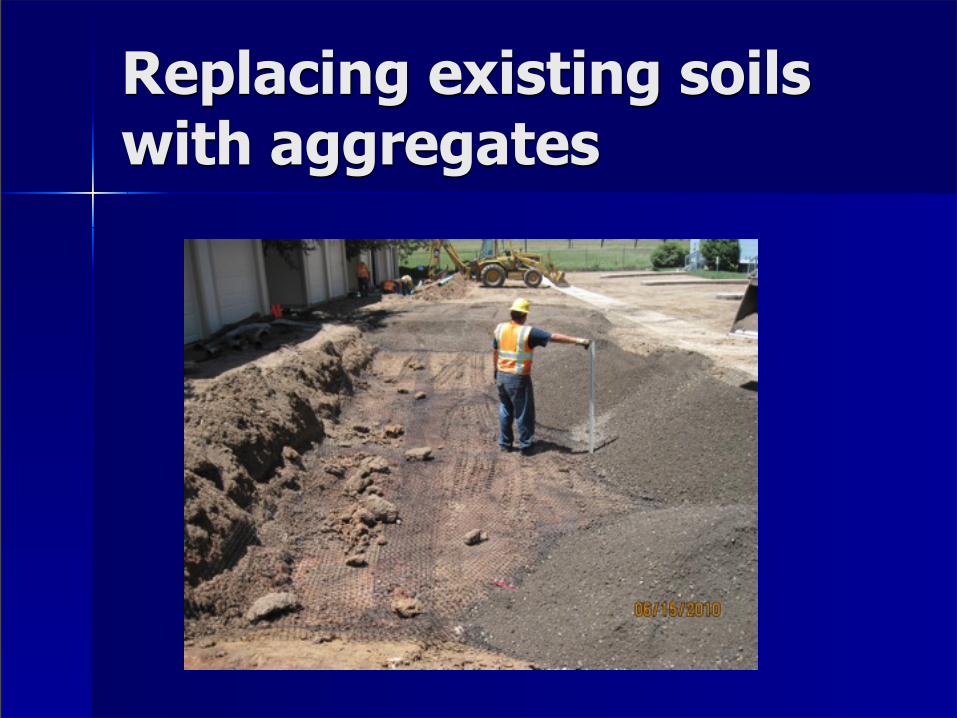
Replacing existing soils with aggregates
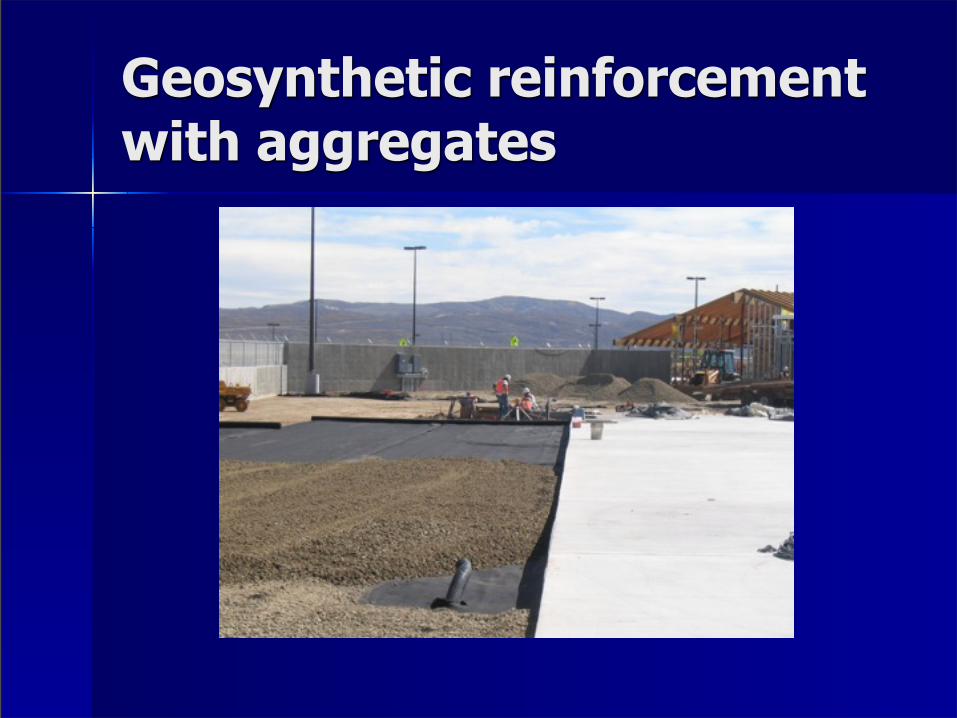
Geosynthetic reinforcement with aggregates
Why so expensive?
Scarification or breaking existing pavement
Removal of material Importing new material to build
subgrade
Importance of Quality Subgrade Provide good support for placement and
compaction of pavement Limit pavement deflections to acceptable
limits Minimize differential movement due to frost
and Shrinking/swelling soils Promote uniformity of support (Key element
for good long term pavement performance)
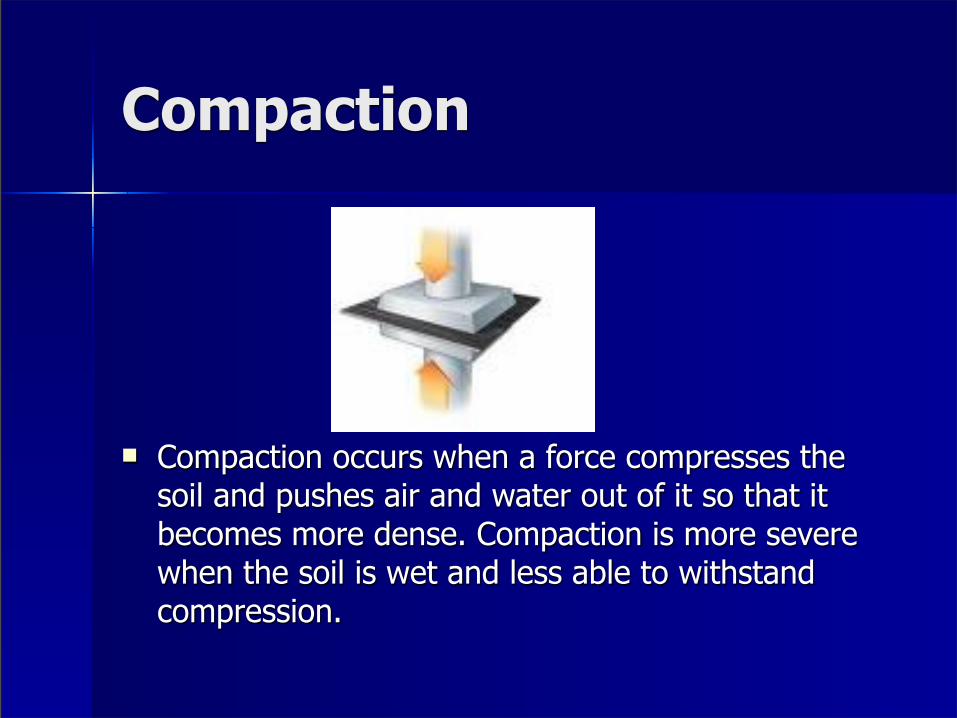
Compaction
Compaction occurs when a force compresses the soil and pushes air and water out of it so that it becomes more dense. Compaction is more severe when the soil is wet and less able to withstand compression.

Why Compact?
5 reasons to compact - Increases load-bearing capacity
- Prevents soil settlement and frost damage
- Provides stability
- Reduces water seepage, swelling and contraction
- Reduces settling of soil
Types of compaction
• There are four types of compaction effort on soil or asphalt:
Vibration Impact Kneading Pressure
Two types of compaction force Static force
Vibratory force

Static Force
Static force is the deadweight of the machine, applying downward force on the soil surface, compressing the soil.
Static compaction is confined to upper soil layers.
Kneading and pressure are two examples of static compaction.
Vibratory Force
Vibratory force uses a mechanism, usually engine-driven, to create a downward force.
The compactors deliver a rapid sequence of blows (impacts) to the surface, affecting the top layers as well as deeper layers. Vibration moves through the material, setting particles in motion and moving them closer together for the highest density possible.
Based on the materials being compacted, a certain amount of force must be used to overcome the cohesive nature of particular particles.
Soil types
• Soil types are classified by grain size,
determined by passing the soil through sieves to screen or separate the different grain sizes.
• A well-graded soil consists of a wide range of particle sizes with the smaller particles filling voids between larger particles.
• The are three basic soil groups:
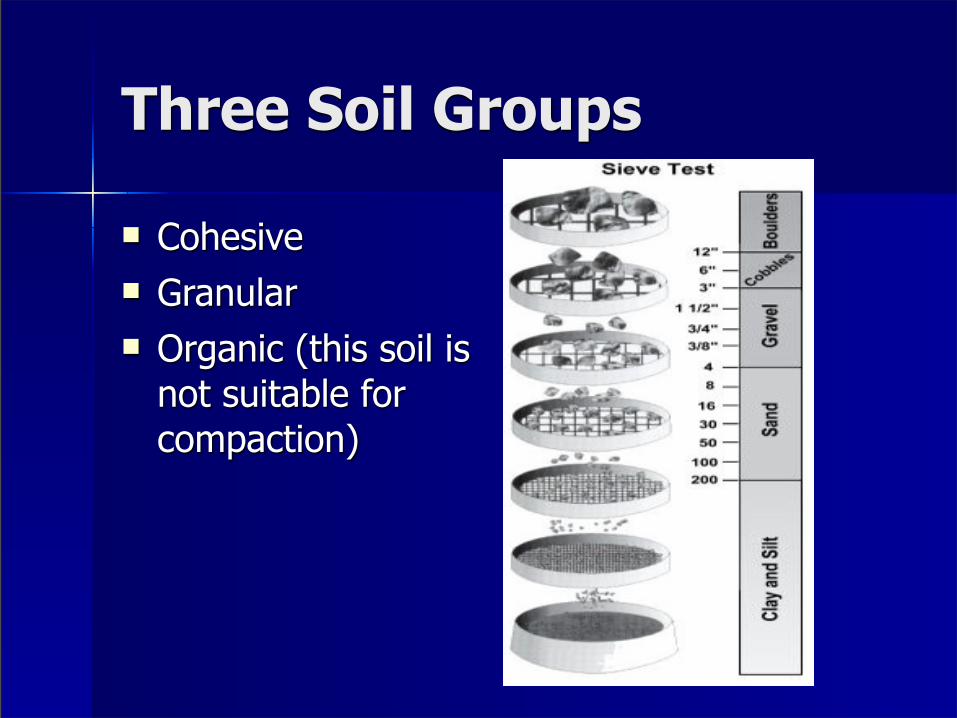
Three Soil Groups
Cohesive Granular Organic (this soil is
not suitable for compaction)
Cohesive
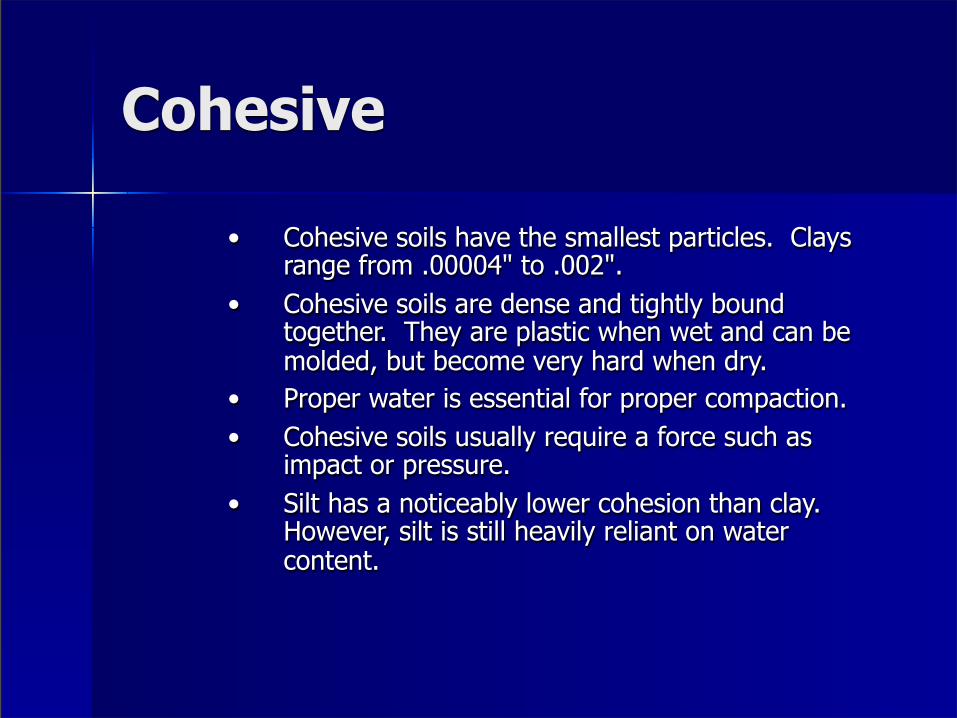
• Cohesive soils have the smallest particles. Clays range from .00004" to .002".
• Cohesive soils are dense and tightly bound together. They are plastic when wet and can be molded, but become very hard when dry.
• Proper water is essential for proper compaction. • Cohesive soils usually require a force such as
impact or pressure. • Silt has a noticeably lower cohesion than clay.
However, silt is still heavily reliant on water content.

Granular
• Granular soils range from .003" to .08" (sand) and .08" to 1.0" (fine to medium gravel).
• Granular soils are known for their water-draining properties.
• Sand and gravel obtain maximum density in either a fully dry or saturated state.
• Testing curves are relatively flat so density can be obtained regardless of water content.

Guide to Soil Types Guide to Soil Types Guide to Soil Types Guide to Soil Types Guide to Soil Types
What to look for Appearance/Feel Water Movement When Moist When Dry
Granular soils, fine sands and silts
Coarse grains can be seen. Feels gritty when rubbed between fingers
When water and soil are shaken in palm of hand, they mix. When shaking is stopped they separate
Very little or no plasticity Little or no cohesive strength when dry. Soil sample will crumble easily.
Cohesive soils, mixes and clays
Grains cannot be seen by naked eye. Feels smooth and greasy when rubbed between fingers
When water and soil are shaken in palm of hand, they will not mix
Plastic and sticky. Can be rolled
Has high strength when dry. Crumbles with difficulty. Slow saturation in water.
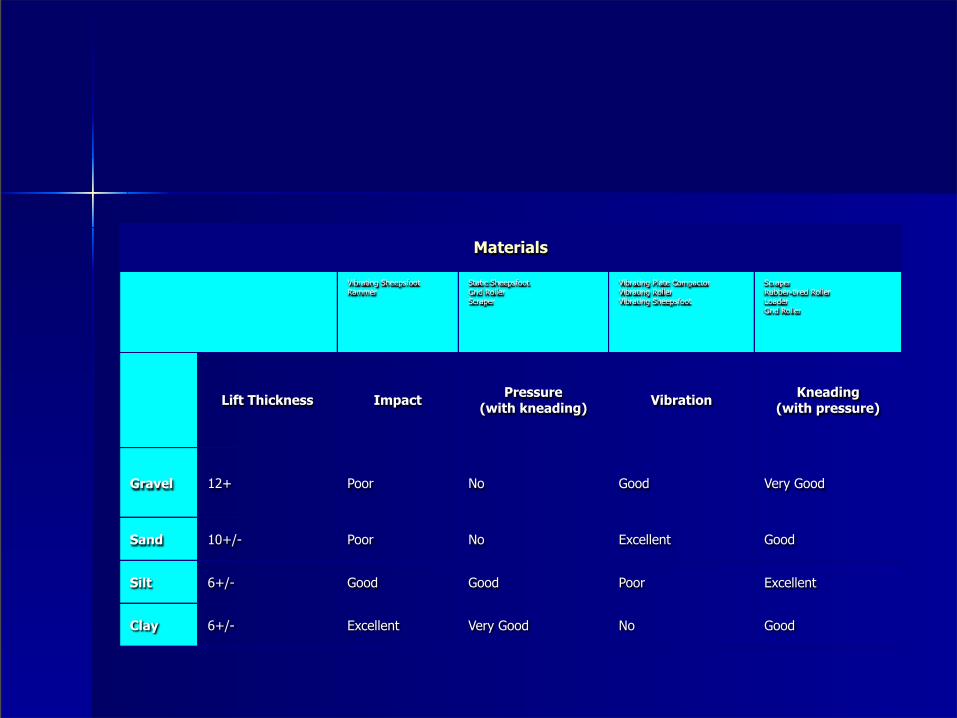
Materials Materials Materials Materials Materials Materials
Vibrating SheepsfootRammer
Static SheepsfootGrid RollerScraper
Vibrating Plate CompactorVibrating RollerVibrating Sheepsfoot
ScraperRubber-tired RollerLoaderGrid Roller
Lift Thickness Impact Pressure(with kneading) Vibration Kneading
(with pressure)
Gravel 12+ Poor No Good Very Good
Sand 10+/- Poor No Excellent Good
Silt 6+/- Good Good Poor Excellent
Clay 6+/- Excellent Very Good No Good

Fill MaterialsFill MaterialsFill MaterialsFill MaterialsFill MaterialsFill Materials
Permeability Foundation Support Pavement Sub grade Expansive CompactionDifficulty
Gravel Very High Excellent Excellent No Very Easy
Sand Medium Good Good No Easy
Silt Medium Low Poor Poor Some Some
Clay None+ Moderate Poor Difficult Very Difficult
Organic Low Very Poor Not Acceptable Some Very Difficult
Moisture vs. Soil Density Moisture or water content is key to
achieving density in compaction. Water allows the particles of material to move together and decrees voids.
Not enough water particles can not slide past each other.
Too much water and water voids are created.

Density Curve
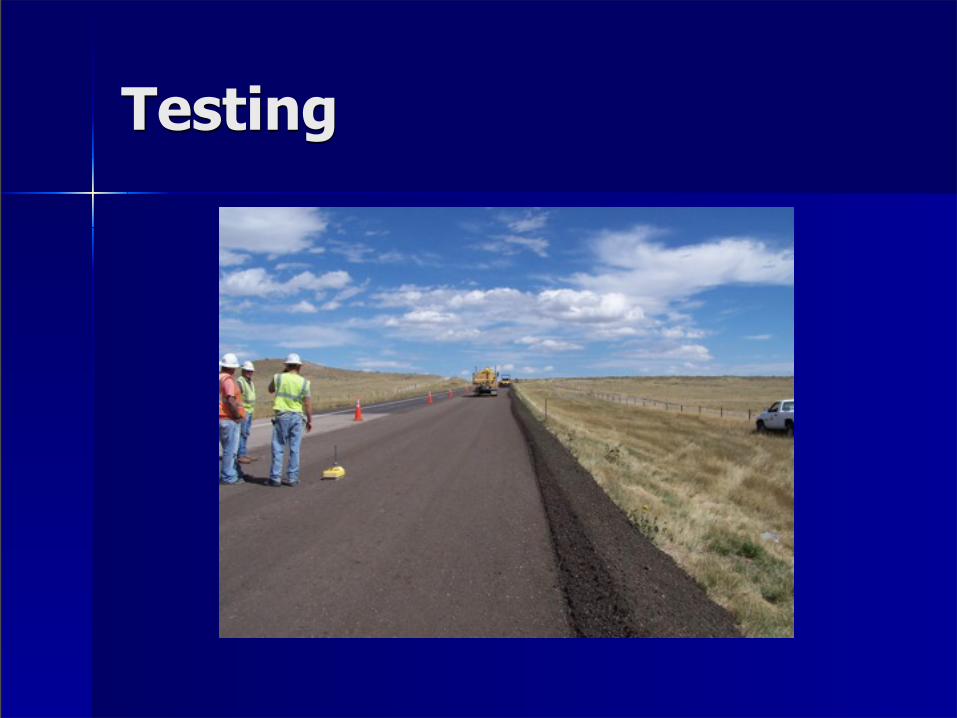
Testing
Why Should We Test?
Measures density of soil for comparing the degree of compaction vs. specs
Measures the effect of moisture on soil density vs. specs
Provides a moisture density curve identifying optimum moisture
Save Money

Types of Tests
Proctor Test Modified Proctor Test Hand Test
Proctor Test
Determines the maximum density of a specific soil.
Tests the effects of moisture on soil density
Standard Proctor Modified Proctor
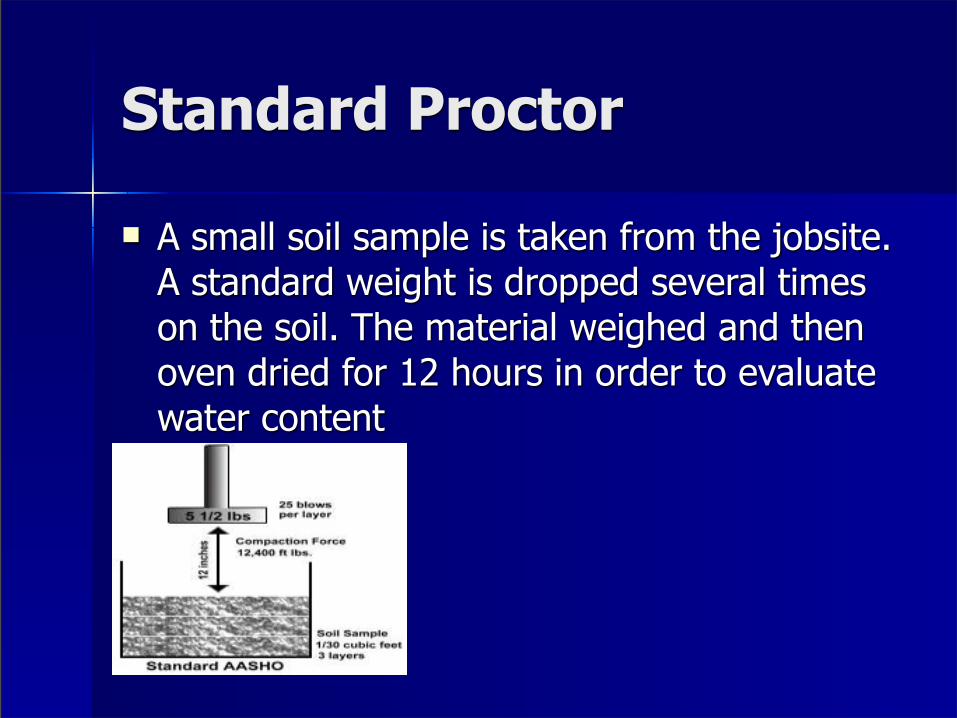
Standard Proctor
A small soil sample is taken from the jobsite. A standard weight is dropped several times on the soil. The material weighed and then oven dried for 12 hours in order to evaluate water content
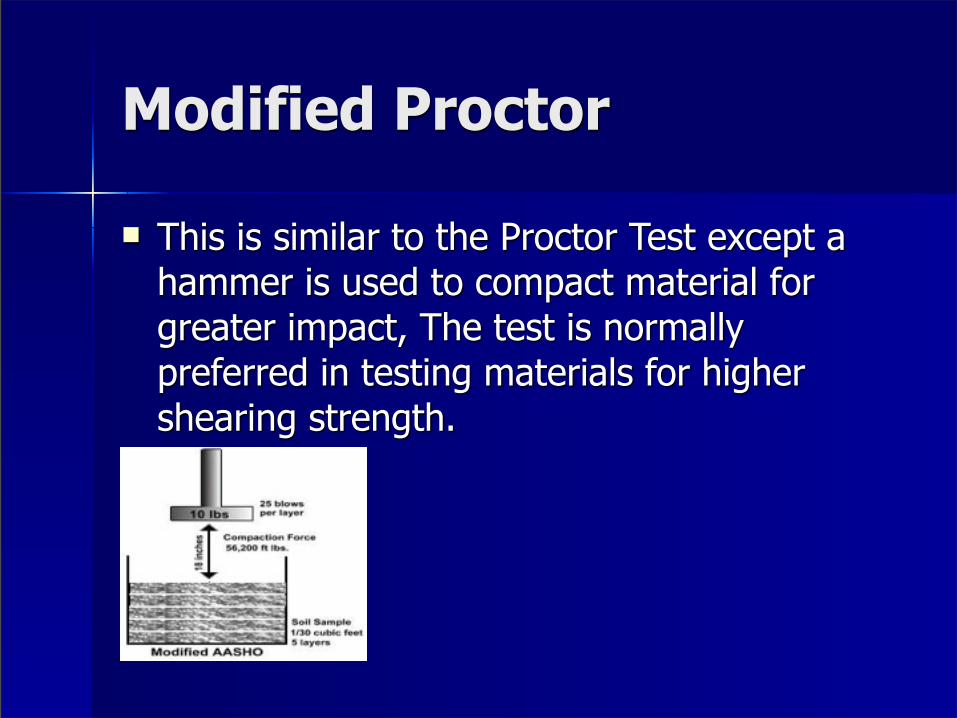
Modified Proctor
This is similar to the Proctor Test except a hammer is used to compact material for greater impact, The test is normally preferred in testing materials for higher shearing strength.
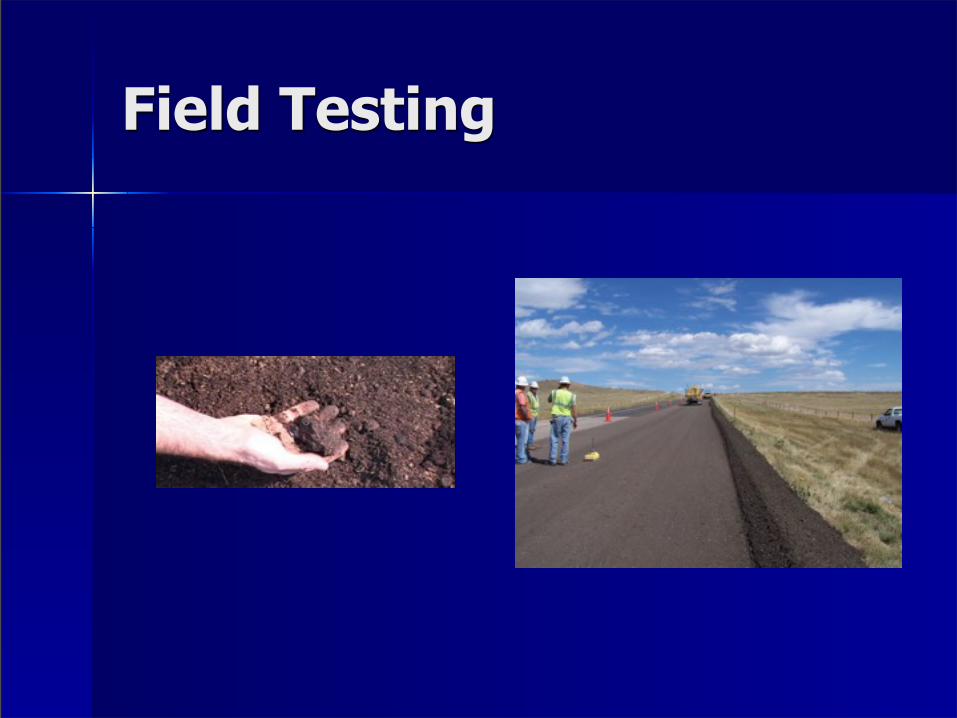
Field Testing
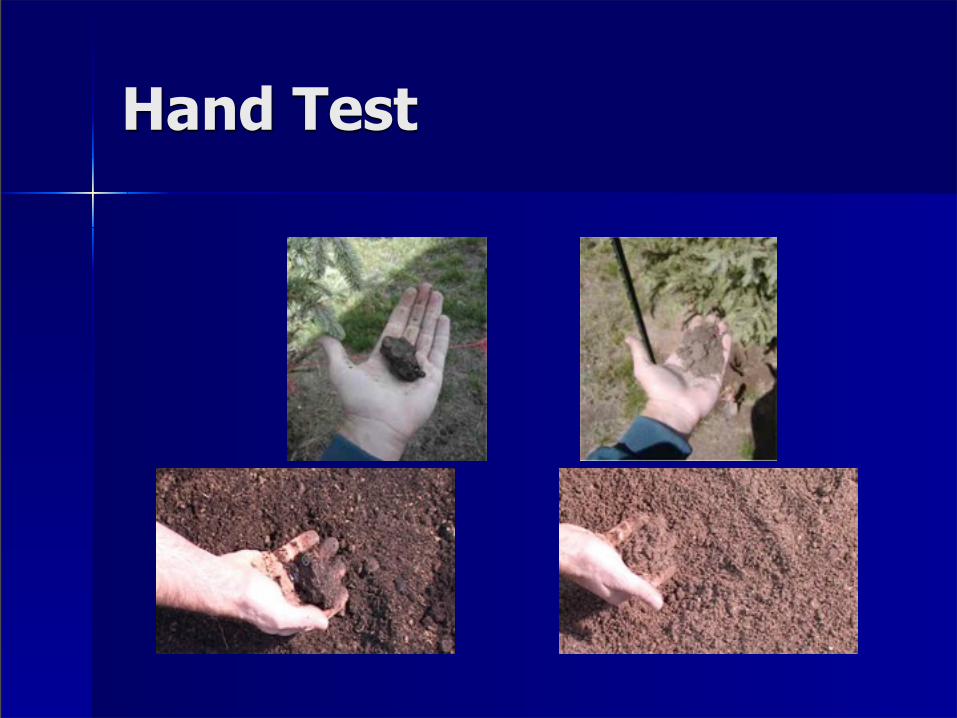
Hand Test
Pick up a handful of soil. Squeeze it in your hand. If the soil is powdery and will not retain the shape
made by your hand, it is too dry. If it shatters when dropped, it is too dry. If the soil is moldable and breaks into only a couple
of pieces when dropped, it has the right amount of moisture for proper compaction.
If the soil is plastic in your hand, leaves traces of moisture on your fingers and stays in one piece when dropped, it has too much moisture for compaction.
Hand Test
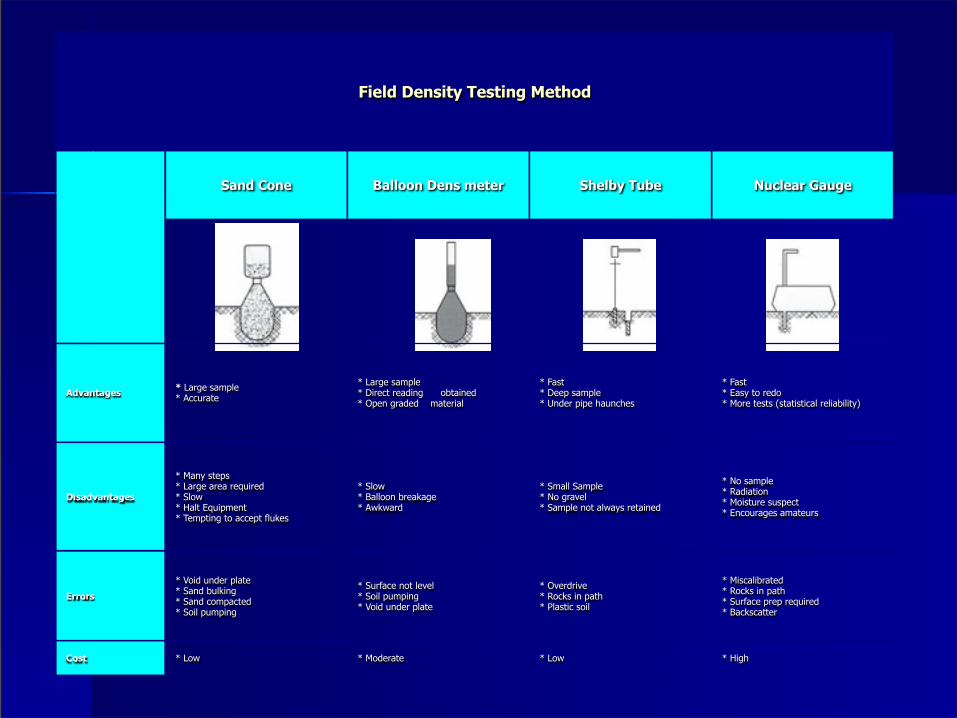
Field Density Testing MethodField Density Testing MethodField Density Testing MethodField Density Testing MethodField Density Testing Method
Sand Cone Balloon Dens meter Shelby Tube Nuclear Gauge
Advantages * Large sample* Accurate
* Large sample* Direct reading obtained * Open graded material
* Fast* Deep sample* Under pipe haunches
* Fast* Easy to redo* More tests (statistical reliability)
Disadvantages
* Many steps* Large area required* Slow* Halt Equipment* Tempting to accept flukes
* Slow* Balloon breakage* Awkward
* Small Sample* No gravel* Sample not always retained
* No sample* Radiation* Moisture suspect* Encourages amateurs
Errors
* Void under plate* Sand bulking* Sand compacted* Soil pumping
* Surface not level* Soil pumping* Void under plate
* Overdrive* Rocks in path* Plastic soil
* Miscalibrated* Rocks in path* Surface prep required* Backscatter
Cost * Low * Moderate * Low * High
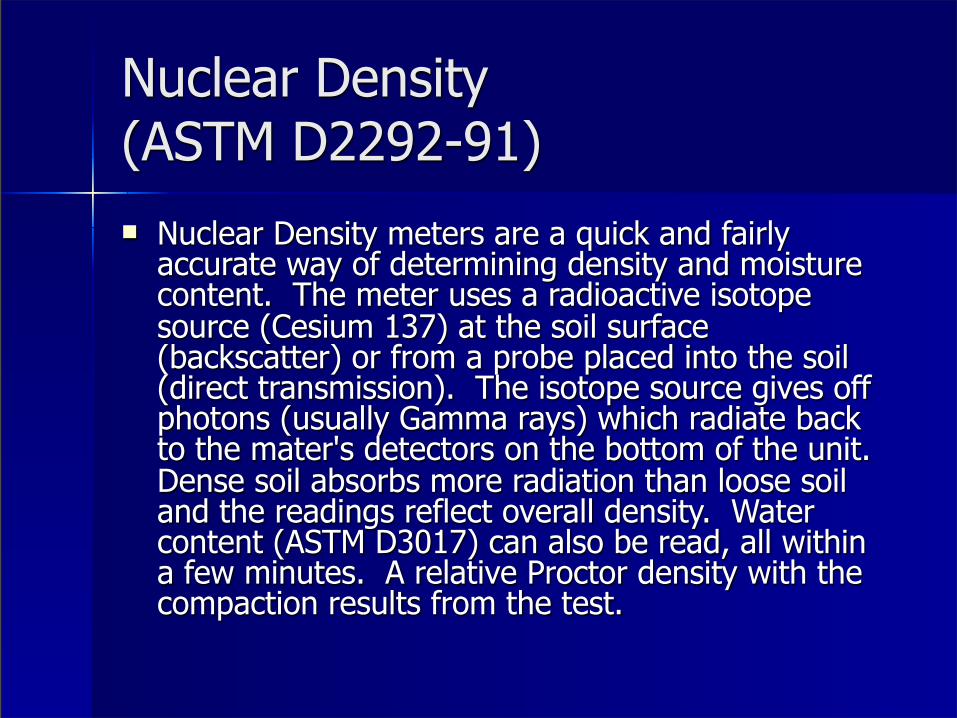
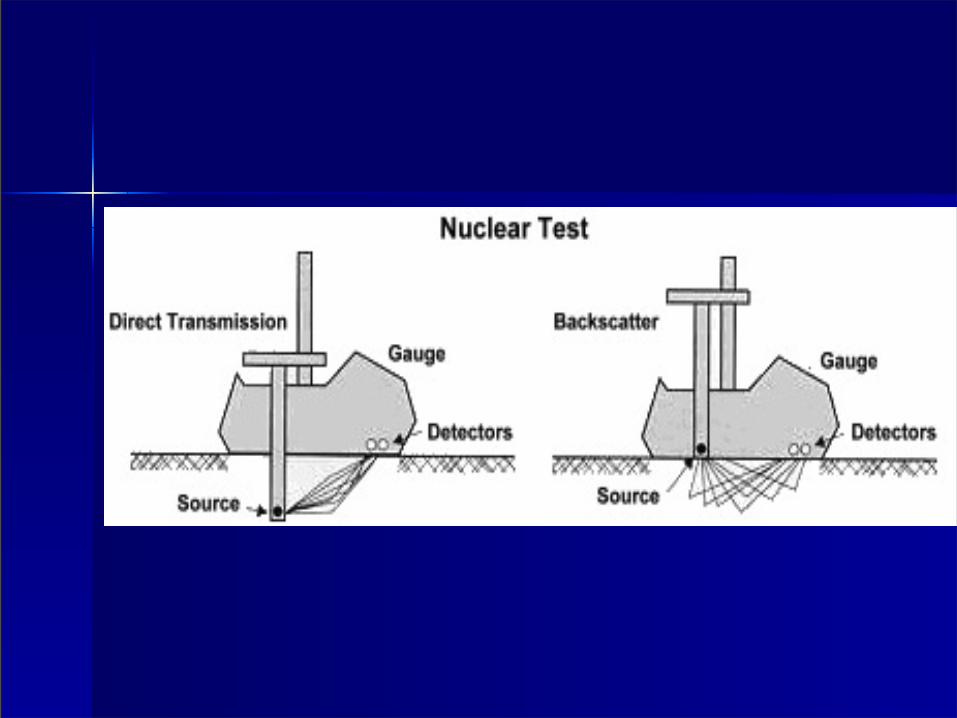
Nuclear Density (ASTM D2292-91) Nuclear Density meters are a quick and fairly
accurate way of determining density and moisture content. The meter uses a radioactive isotope source (Cesium 137) at the soil surface (backscatter) or from a probe placed into the soil (direct transmission). The isotope source gives off photons (usually Gamma rays) which radiate back to the mater's detectors on the bottom of the unit. Dense soil absorbs more radiation than loose soil and the readings reflect overall density. Water content (ASTM D3017) can also be read, all within a few minutes. A relative Proctor density with the compaction results from the test.
Compaction Equipment
Choosing the right equipment for the job is vital to achieving proper compaction.

Deciding Factors
Soil type– Cohesive – Granular
Thickness of Lift and Machine Performance
Compaction Specifications
Cohesive soils
A machine with a high impact force is required to ram the soil and force the air out to achieve compaction.
Pad Foot or Sheep Foot Roller Jumping Jack
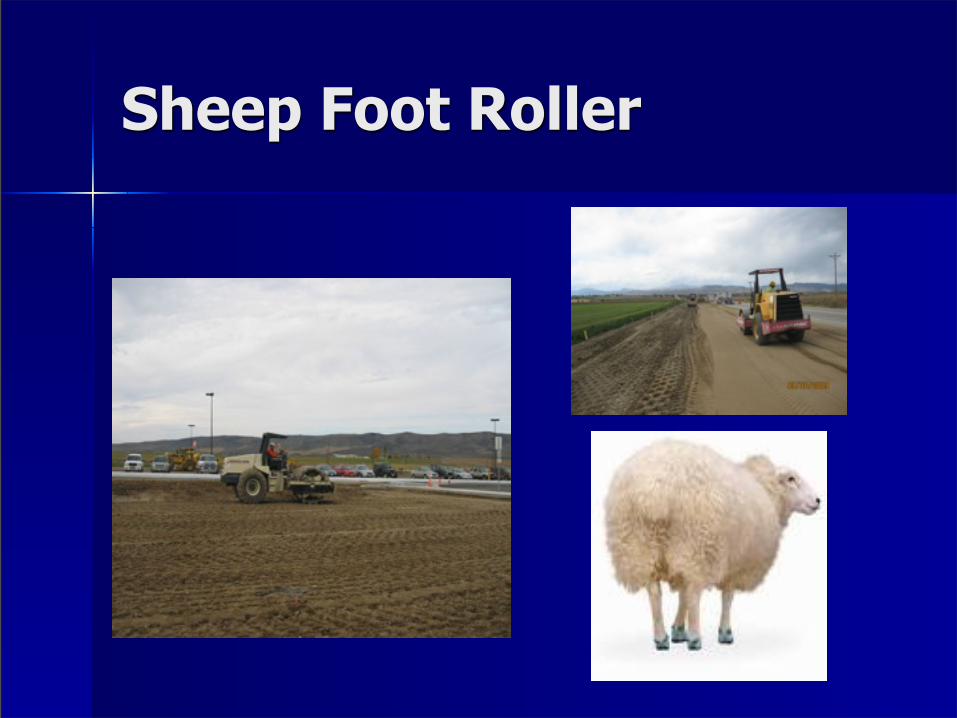
Sheep Foot Roller
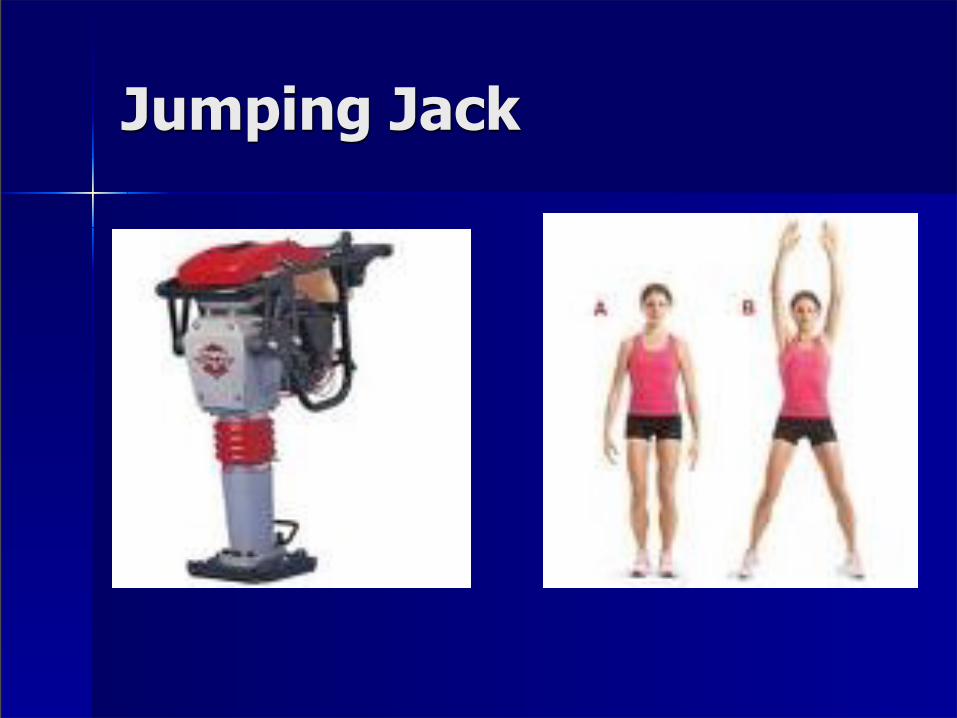
Jumping Jack

Granular soils
Require a shaking or vibratory action to move them
Smooth Drum Roller Plate Compacter Wheel Rolling

Smooth Drum Roller
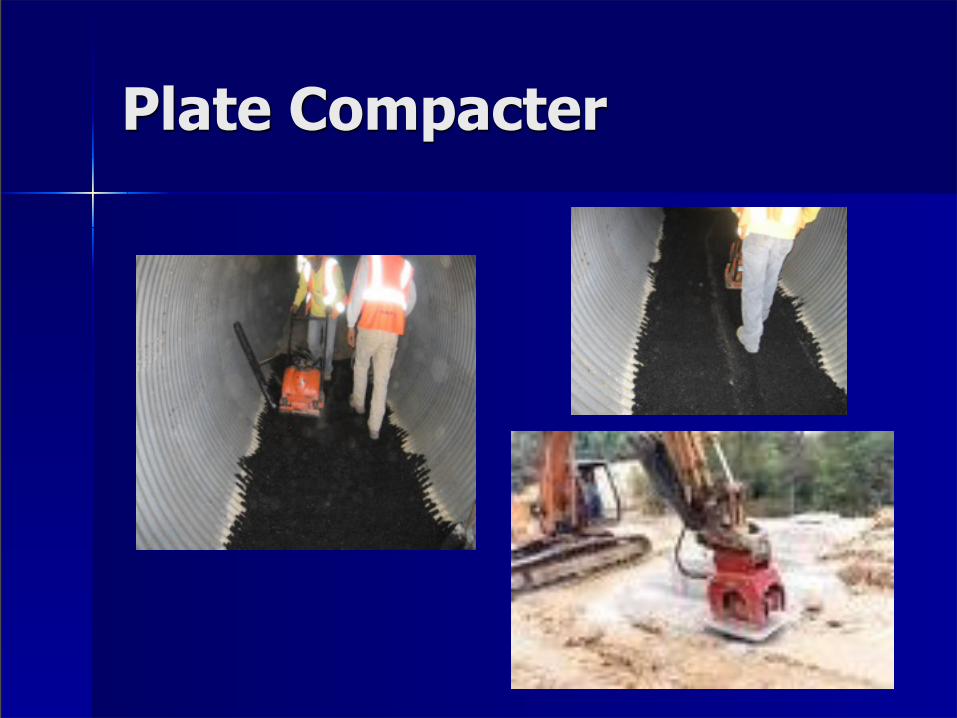
Plate Compacter
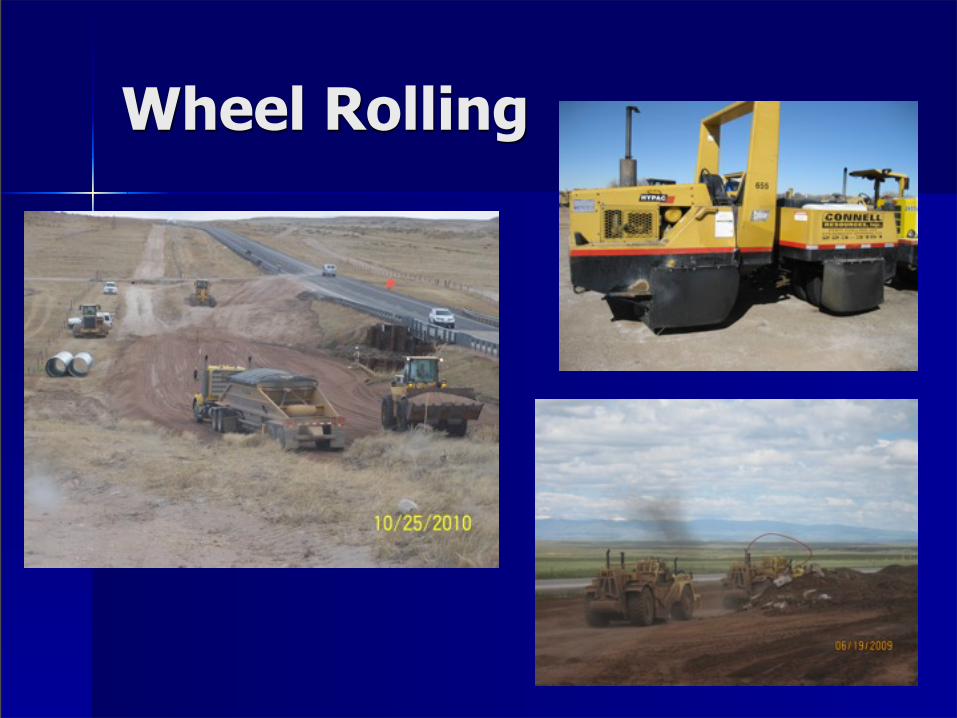
Wheel Rolling

Thickness of Lift and Machine Performance The thicker the lift the heavier piece of
equipment needs to be.Materials Materials Materials Materials Materials Materials
Vibrating SheepsfootRammer
Static SheepsfootGrid RollerScraper
Vibrating Plate CompactorVibrating RollerVibrating Sheepsfoot
ScraperRubber-tired RollerLoaderGrid Roller
Lift Thickness Impact Pressure(with kneading) Vibration Kneading
(with pressure)
Gravel 12+ Poor No Good Very Good
Sand 10+/- Poor No Excellent Good
Silt 6+/- Good Good Poor Excellent
Clay 6+/- Excellent Very Good No Good
Compaction Specifications Method Specification
– Detailed instructions specify machine type, lift depths, number of passes, machine speed and moisture content.
End-result Specification – Engineers indicate final compaction
requirements, allowing the contractor to choose what is the best method to achieve compaction.

Types of Compactors

Rammers / Jumping Jack
Deliver a high impact force ( high amplitude) making them an excellent choice for cohesive and semi-cohesive soils
Three types of compaction: impact, vibration and kneading.

Vibratory Plates
Low amplitude and high frequency, designed to compact granular soils and asphalt.
Type of compaction: vibration
Rollers
Smooth drum Padded drum Sheep Foot Rubber-tired Static and vibratory sub-categories Walk-behind and ride-on

Smooth Drum
Smooth-drum machines are ideal for both soil and asphalt
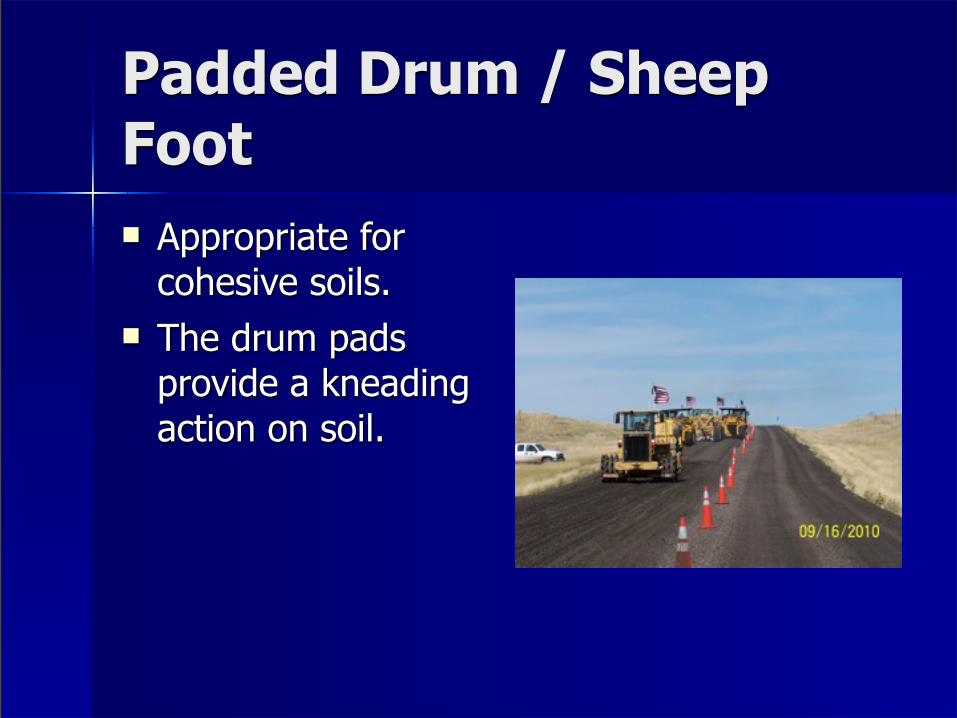
Padded Drum / Sheep Foot Appropriate for
cohesive soils. The drum pads
provide a kneading action on soil.
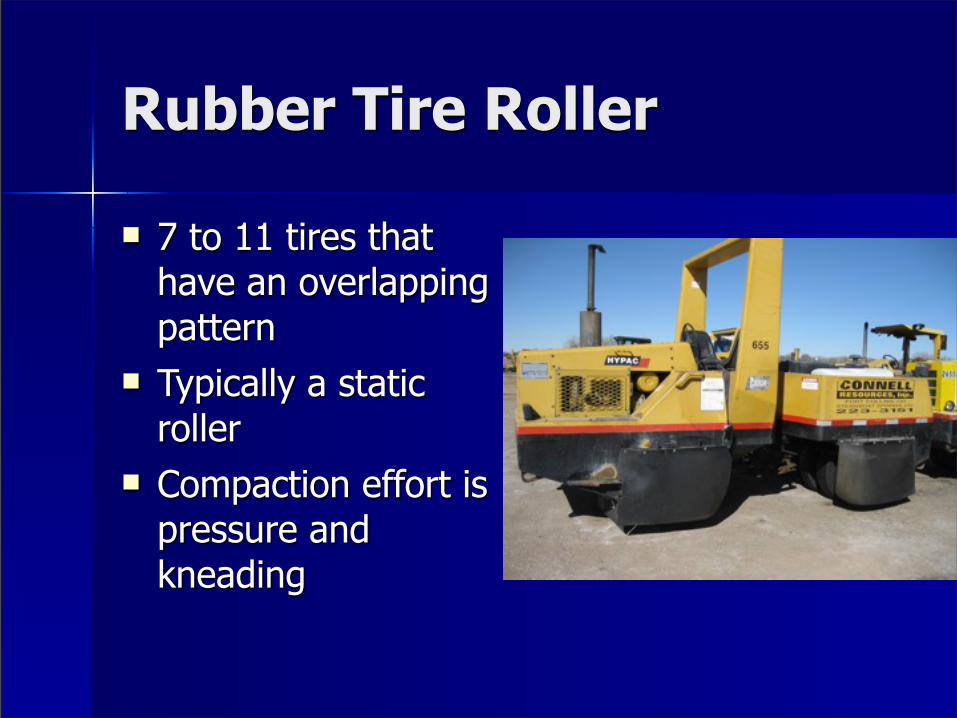
Rubber Tire Roller
7 to 11 tires that have an overlapping pattern
Typically a static roller
Compaction effort is pressure and kneading
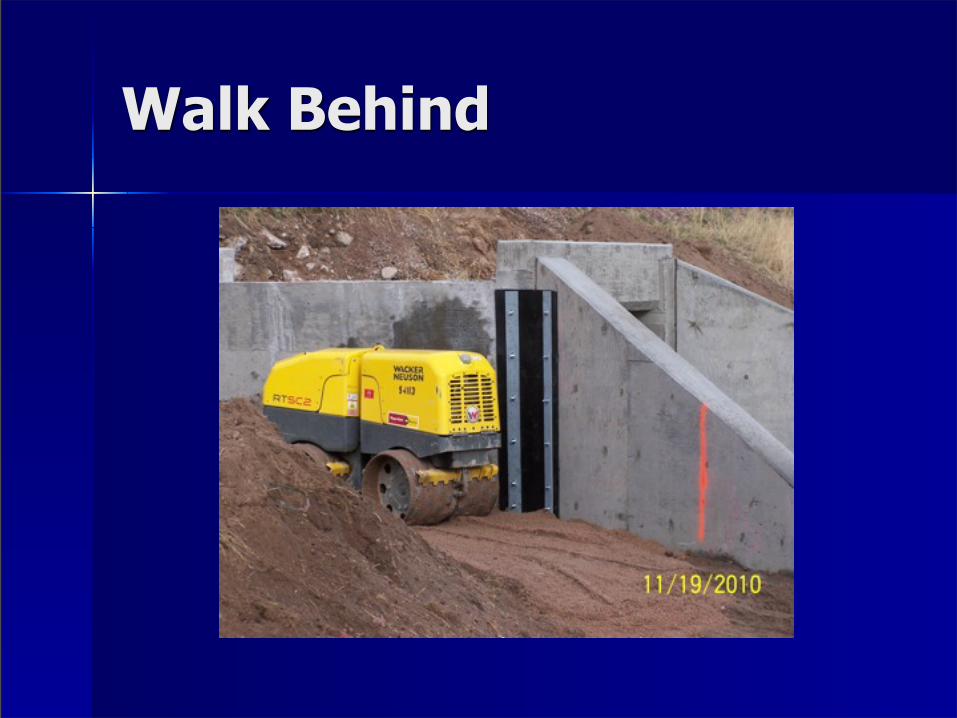
Walk Behind


Grading
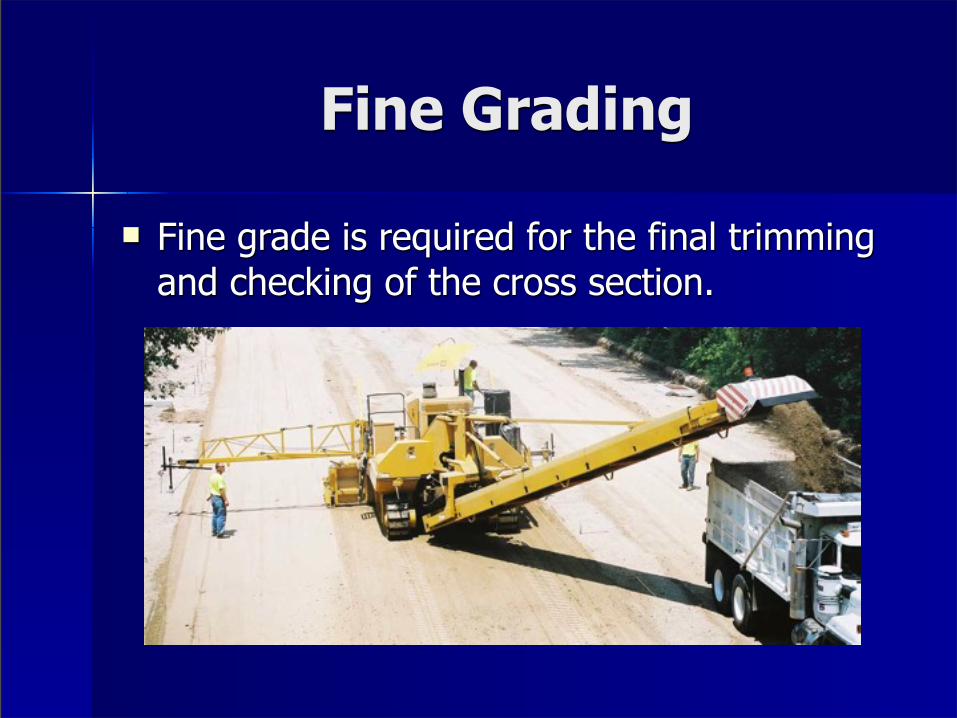
Fine Grading
Fine grade is required for the final trimming and checking of the cross section.

Uniform Subgrade

Importance of uniform subgrade
Strength– Make sure you have full pavement section.
Yield– Uniform subgrade will optimize yield.
Cost– Asphalt is for more expensive than base
Smoothness– HMA compacts differentially, thicker areas
compact more than thinner areas which will affect pavement smoothness

Establishing Grade
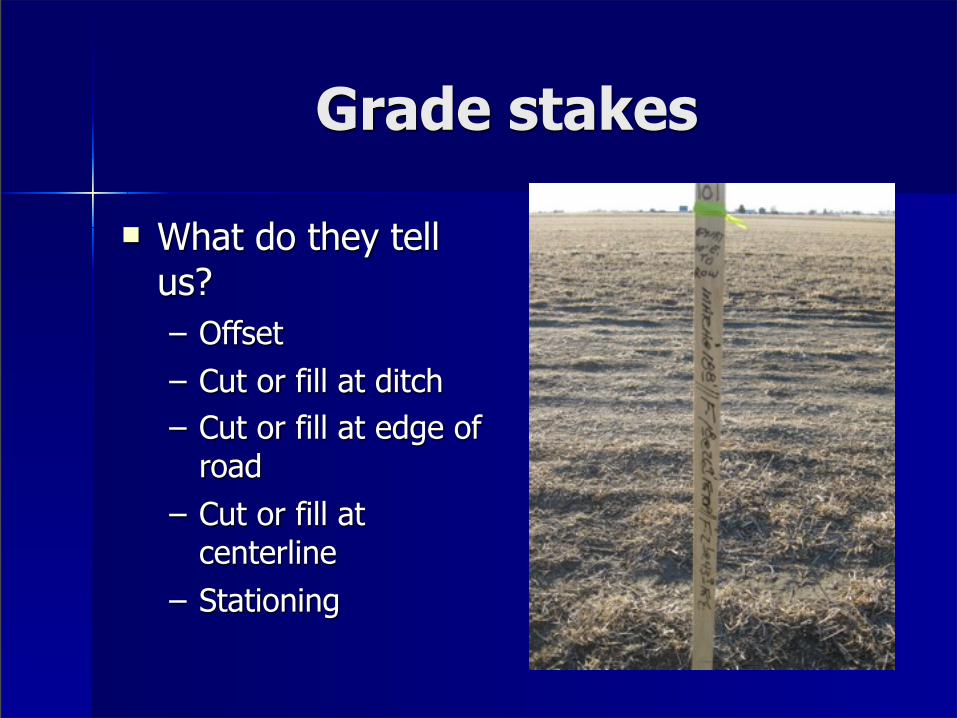
Grade stakes
What do they tell us?– Offset– Cut or fill at ditch– Cut or fill at edge of
road– Cut or fill at
centerline– Stationing
Setting grade
Stakes are usually set at variable intervals near each edge of the subgrade and the centerline
When the distance is too far apart from stake to stake, intermediate stakes may be required

How to establish cross slope
Measure distance from edge of road to centerline
Multiply the distance to the desired cross slope– For example: 25’ * 2% (.02) = .5 or 6”
That is the elevation difference from the edge of the road to centerline
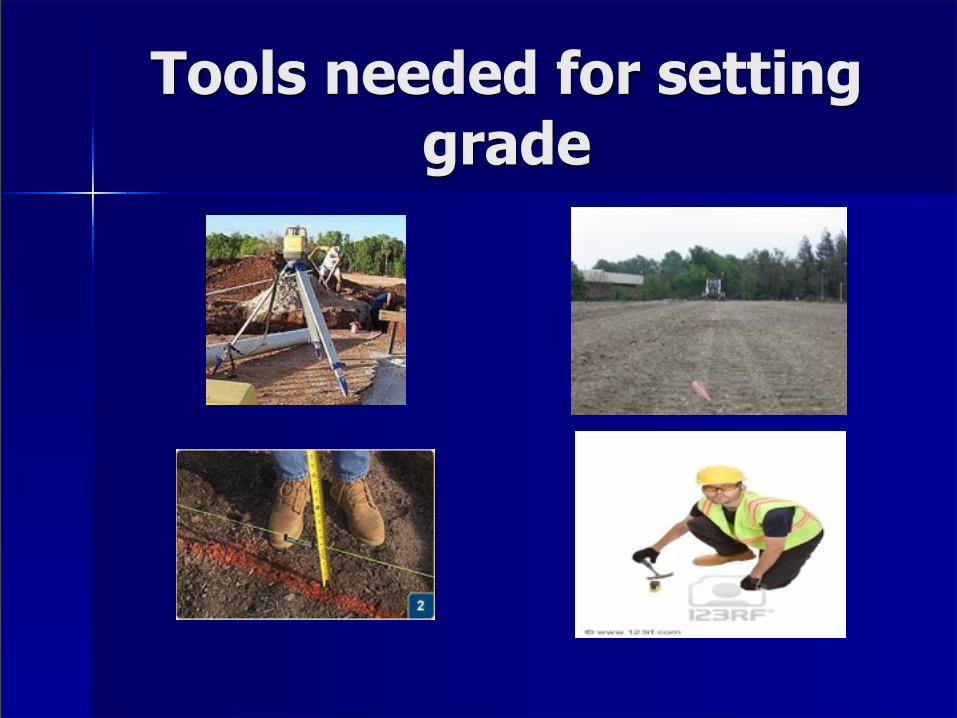
Tools needed for setting grade

Checking grade
A string line can be stretched across adjoining grade stakes
The subgrade is checked by measuring down to the known offset distance from the string line to the dirt

Questions ?


