32
TUTORIAL # 2 INFORMATIO N SECURIT Y 493
| Date post: | 26-Dec-2015 |
| Category: |
Documents |
| Upload: | james-wright |
| View: | 219 times |
| Download: | 0 times |

TUTO
RIAL #
2
INFO
RMATIO
N SECURIT
Y 493
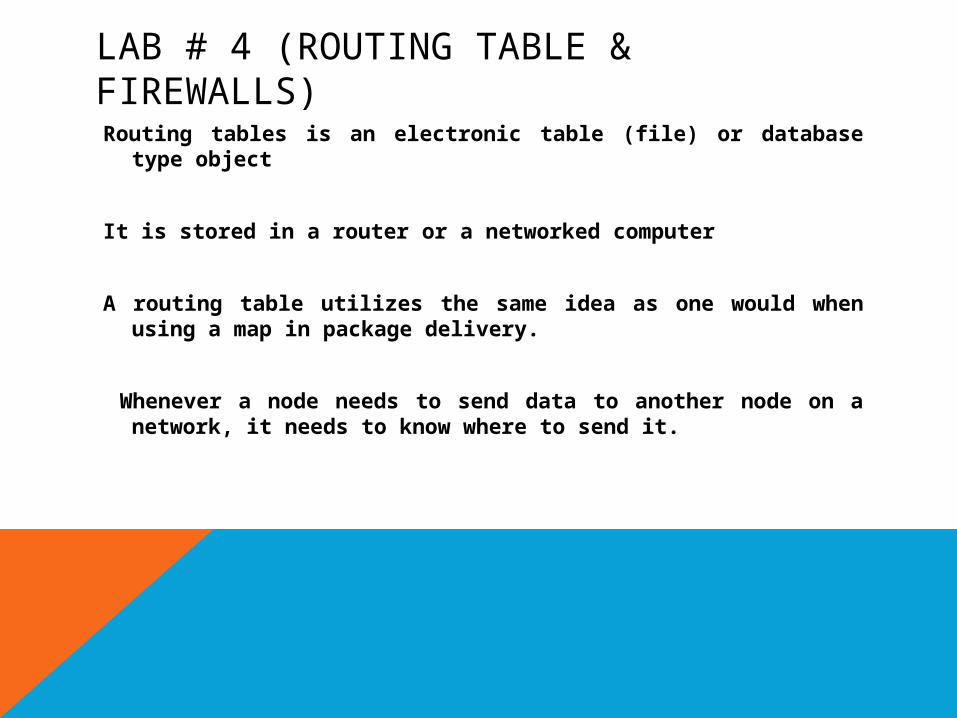
LAB # 4 (ROUTING TABLE & FIREWALLS)
Routing tables is an electronic table (file) or database type object
It is stored in a router or a networked computer
A routing table utilizes the same idea as one would when using a map in package delivery.
Whenever a node needs to send data to another node on a network, it needs to know where to send it.

ROUTING TABLE & FIREWALLS
Whenever a device cannot directly connect to the destination node
It needs to find another way to send the package.
Whenever a node does not know how to send the package it sends an IP packet to a gateway in the LAN.
ROUTING TABLE & FIREWALLS
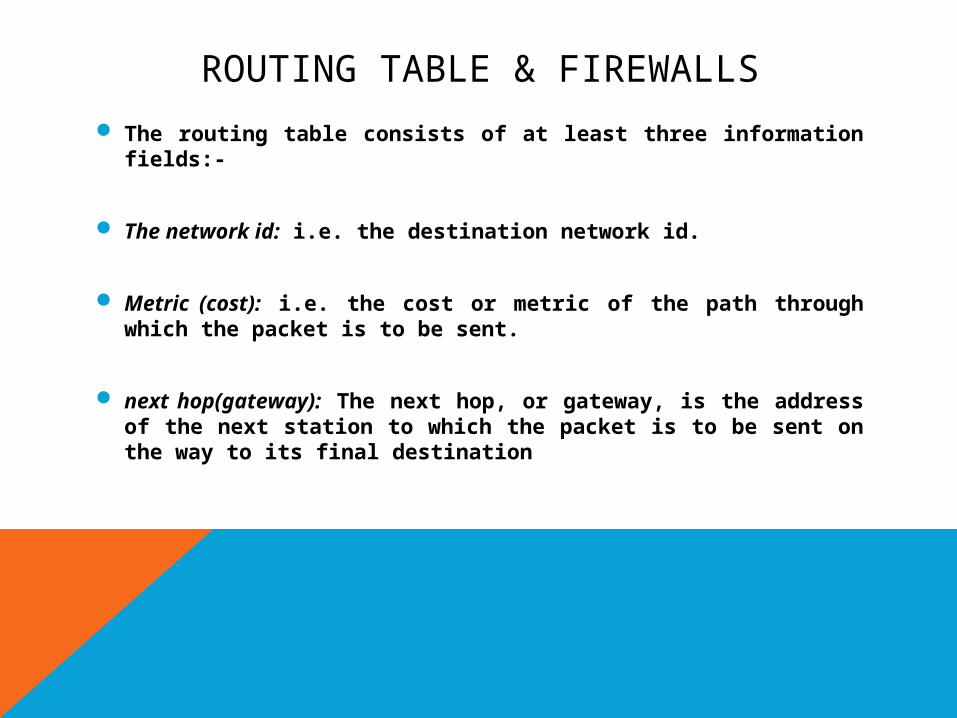
The routing table consists of at least three information fields:-
The network id: i.e. the destination network id.
Metric (cost): i.e. the cost or metric of the path through which the packet is to be sent.
next hop(gateway): The next hop, or gateway, is the address of the next station to which the packet is to be sent on the way to its final destination
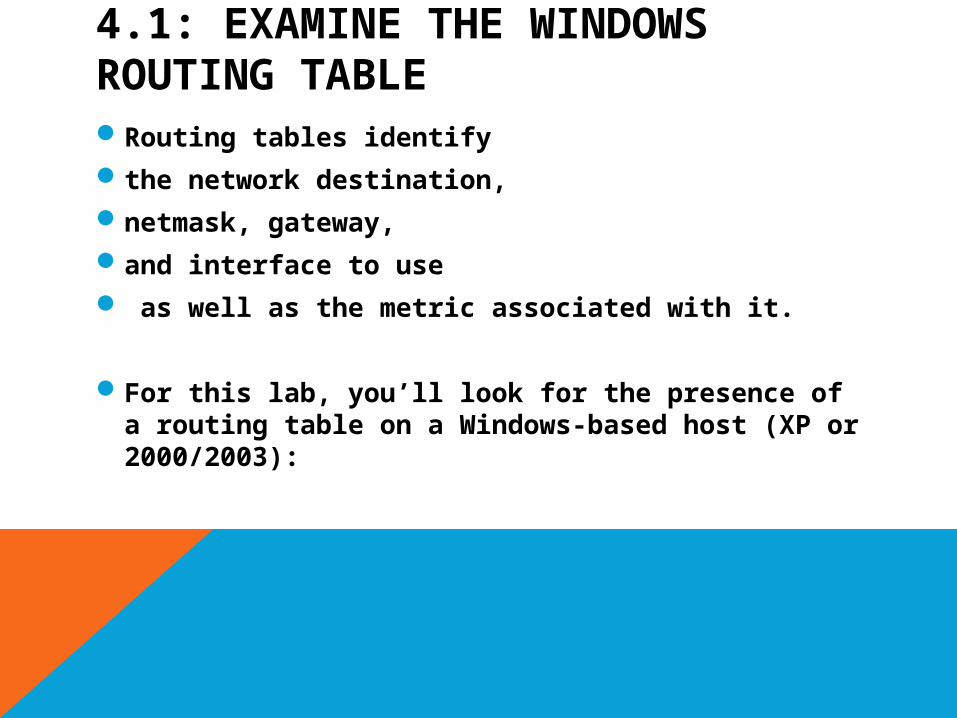
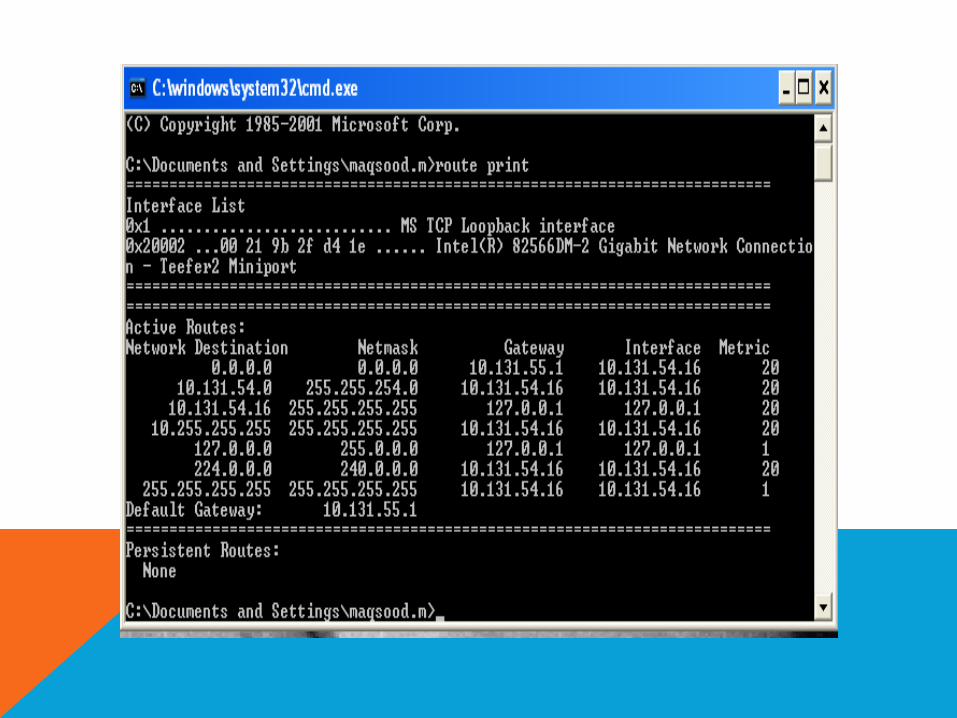
4.1: EXAMINE THE WINDOWS ROUTING TABLERouting tables identify the network destination, netmask, gateway, and interface to use as well as the metric associated with it.
For this lab, you’ll look for the presence of a routing table on a Windows-based host (XP or 2000/2003):
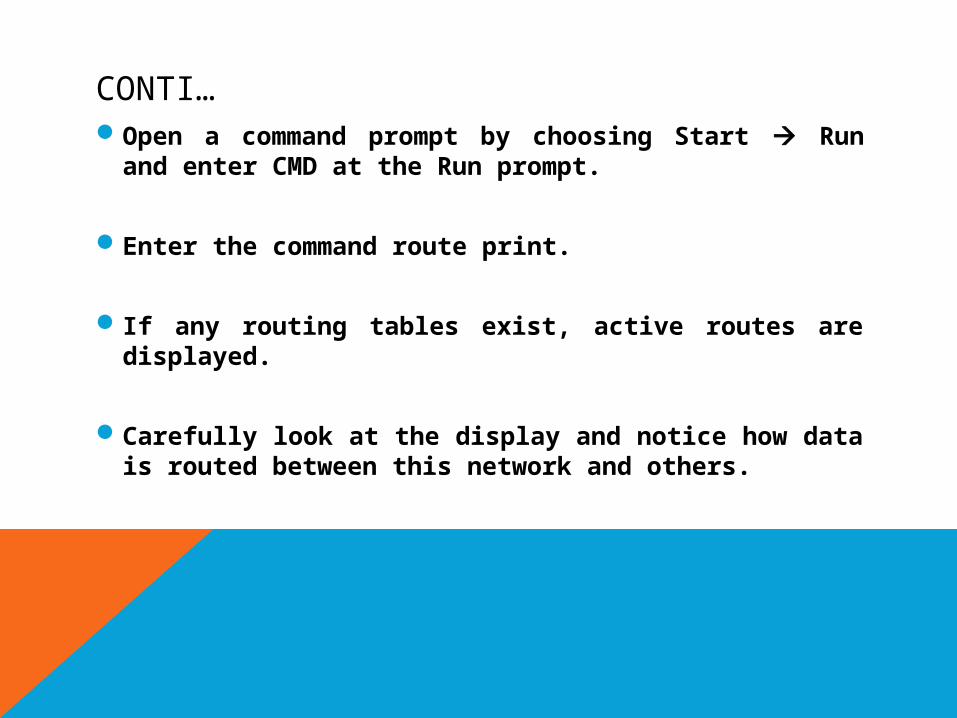
CONTI…Open a command prompt by choosing Start
Run and enter CMD at the Run prompt.
Enter the command route print.
If any routing tables exist, active routes are displayed.
Carefully look at the display and notice how data is routed between this network and others.
CONTI…
In some versions of Windows,
the display breaks out the
active routes and
persistent routes.
Persistent routes survive a reboot and are always configured.
You can make a route persistent by creating it with the –p parameter.
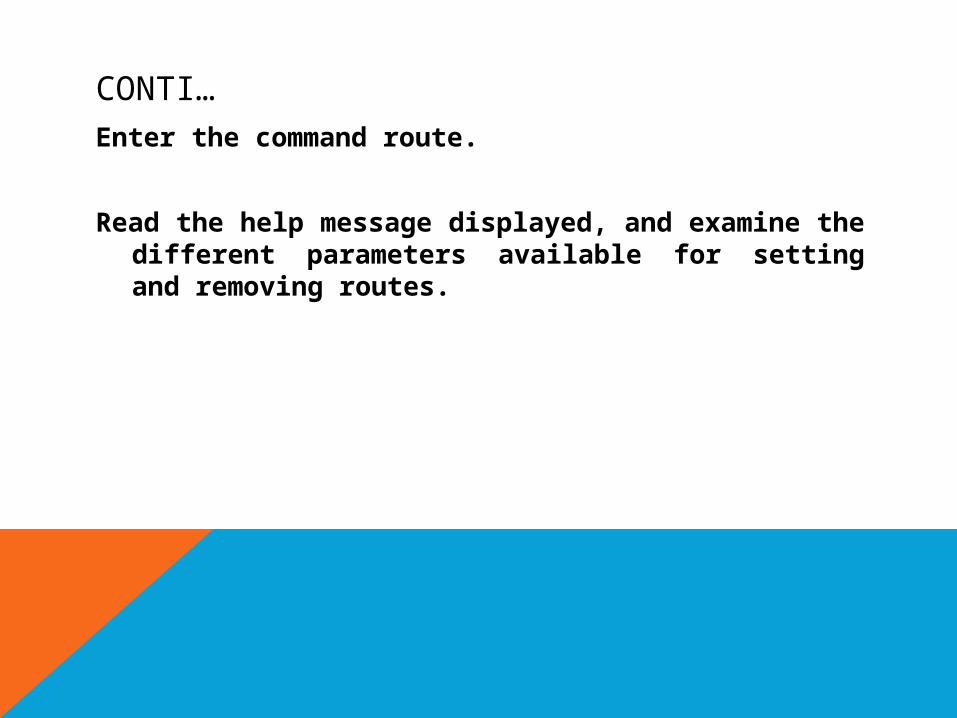
CONTI…Enter the command route.
Read the help message displayed, and examine the different parameters available for setting and removing routes.

FIREWALLS
A firewall is a part of a computer system or network
that is designed to block unauthorized access while permitting authorized communications.
A firewall's basic task is to regulate some of the flow of traffic between
Computer network of different trust levels.
Typical examples are the Internet which is a zone with no trust and an internal network which is a zone of higher trust.
CONTI…
A zone with an intermediate trust level, situated between
the Internet and
a trusted internal network,
is often referred to as a "perimeter network" or
Demilitarized zone (DMZ).
In this lab you will be learning how to turn the firewall on and off on both systems Windows.
4.2: TURN ON THE FIREWALL IN WINDOWS XP To turn on the firewall, follow these steps:
Right-click the network connection icon in the notification area at the right of the Taskbar.
Choose ‘Open network connections’.
On the left side of the dialog box, click Change Windows firewall settings.
The dialog box that appears is shown in Figure 4.1.
Click the On button to enable the firewall, then choose the Exceptions tab and configure any exceptions that you want to allow.


2ND METHOD:To turn on the firewall, follow these steps:
Choose Start Control Panel Security Center. The dialog box shown in Figure 4.2 appears.
Instead of choosing Security Center in Control Panel, you could choose
Windows Firewall and immediately access the Firewall Configuration dialog box. The advantage of choosing Security Center is that you see the other options that are also available.
CONTI…Toggle the setting for the firewall from Off to On.
Exit the Security Center.
Exit Control Panel.
Note that from this location, you can toggle the status of the firewall.
If the firewall is already turned on, you can follow these same steps to turn it off should you need to.

NETWORK SECURITY LAB !

4.3: WORK WITH PERFORMANCE MONITOR AND WINDOWS.
Performance Monitor’s objects and counters are specific;
You can use Performance Monitor as a general troubleshooting tool as well as a security-troubleshooting tool.
For instance, you can see where resources are being utilized and where the activity is coming from.
In this lab, you’ll use the Performance Monitor tool to become more familiar with its functionality:
CONTI…Select Start Run PERFMON.
Click the Add Counters button, and choose to add the Processor Performance object.
Add the %Processor Time counter, and then click Close.
Choose Start Search For Files and Folders and click the Search Now button with- out specifying any particular files to look for.
Quickly change to Performance Monitor and watch the impact of this search on the processor.
This action is time consuming and therefore will help you notice the changes that take place in Performance Monitor.

CONTI…
Run the same operation again, but this time change your view within Performance
Monitor to histogram (click the two buttons to the left of the plus sign [+]).
Run the same operation again, and change your view within Performance Monitor
to report (click the button directly to the left of the plus sign [+]).
Exit Performance Monitor.

MAKE FILE EXTENSIONS VISIBLE IN WINDOWS XPBy default, the extensions for known file types do
not appear in many Windows-based operating systems, such as Windows XP.
Knowing what the extension is, however, can help you readily identify what type
of file it is—executable, document, and so on. To make file extensions visible, follow these
steps:

CONTI…
Click Start Control Panel Folder Options.
Choose the View tab.
Choose the Show Hidden Files and Folders radio button.
Deselect the Hide Extensions for Known File Types check box.
Click OK and exit from Control Panel. You’ll now be able to see the extensions on file names
CHANGE TO WPA SECURITY IN WINDOWS XP To change the wireless connection to Wi-Fi Protected Access
(WPA) from any other security setting, follow these steps:
Right-click the wireless connection icon in the notification area at the right of the Taskbar.
Choose View Available Wireless Networks.
On the left side of the dialog box, click Change Order of Preferred Networks.

CONTI…
Select the Wireless Networks tab and click on the network
you want to change beneath the Preferred Networks section.
When it is highlighted, click Properties.
On the Association tab, choose either WPA or WPA-PSK (the latter incorporates Pre Shared Key and is recommended
if you don’t have a central authentication server) for Network Authentication.

LAB 9.3: VIEW INTERNET EXPLORER SECURITY SETTINGS
A great many security threats come through the Internet, and the browser is the interface most commonly used to reach the Internet, making the security settings for the browser critically important. To view the security settings for Internet Explorer, follow these steps:
CONTI…
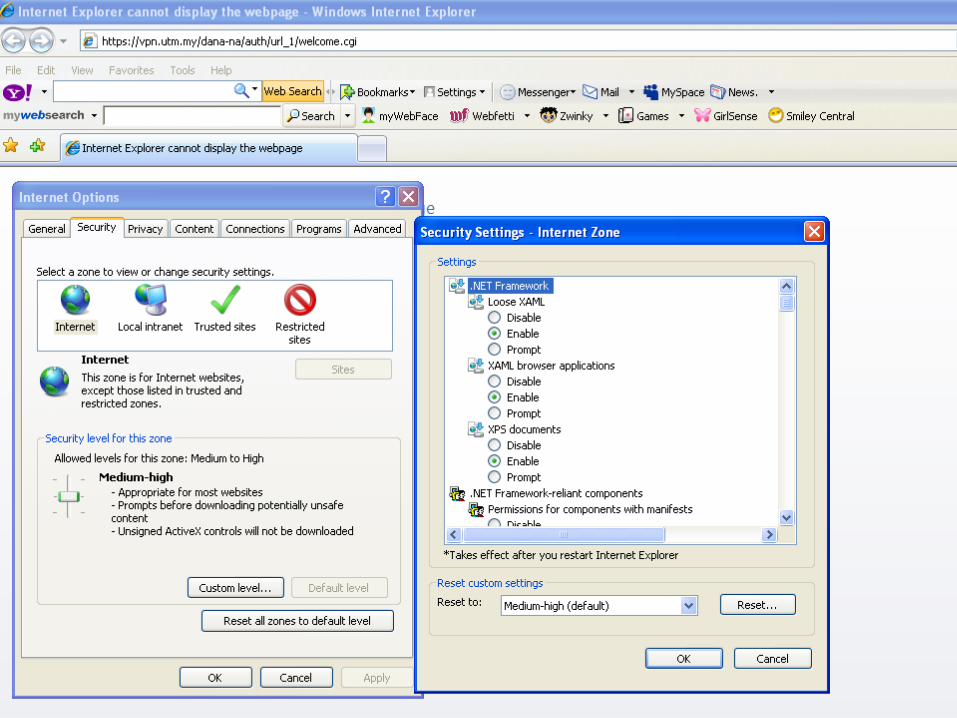
Within Internet Explorer, click Tools Internet Options.
Choose the Security tab.
Chose the Internet icon, and then click the Custom level button.
Choose to enable or disable any settings, then click OK to exit.
Click OK to exit the Internet Options dialog box.
CONFIGURE THE PHISHING FILTER + POP-UP FILTERThe checking component of the phishing filter in
Internet Explorer can be turned on or off,
or the entire filter can be disabled.
To turn on automatic website checking, follow these steps:
CONTI…
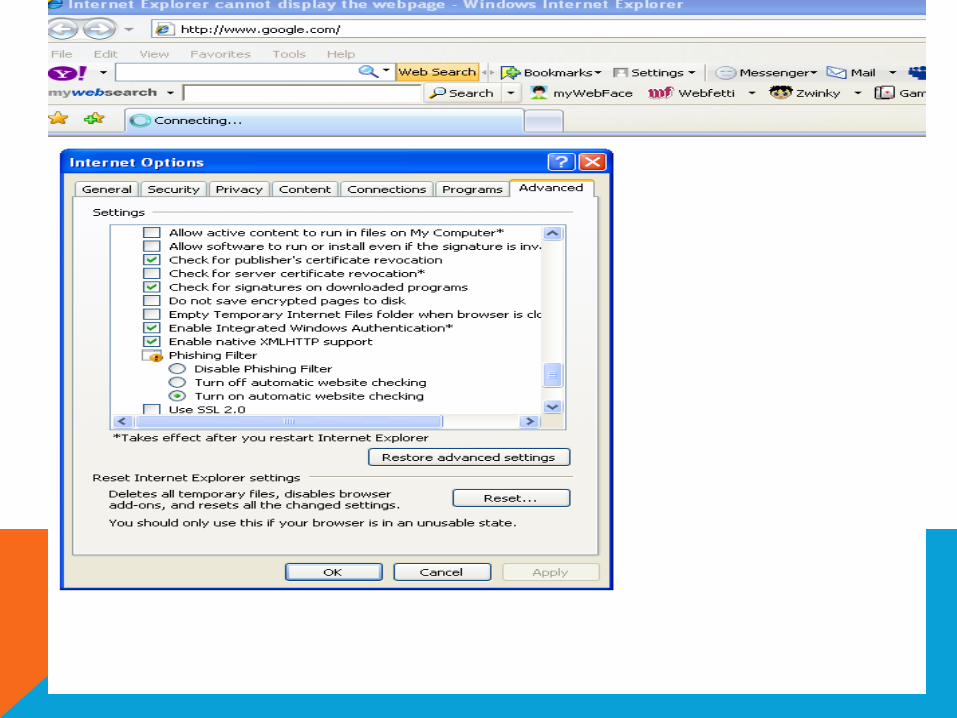
Within Internet Explorer, click Tools Internet Options and choose the advanced tab.
Scroll down beneath Settings to Phishing Filter.
Click Turn On Automatic Website Checking. And Click Apply.
CONTI…
A message appears telling you that website addresses will be sent to Microsoft and
checked against a database of reported phishing websites. Click OK.
Click on the Privacy tap.
Check the box that says “turn on Pop-up blocker”, and click OK.
Exit the Internet Options.

THANKS !


