UPDATED PHLEBOTOMY PROCEDURES Presented by: Helen Maxwell Executive Director, ASPT 1 Procedures for the Collection of Diagnostic Blood Specimens by Venipuncture; Approved Standard—Sixth Edition December, 2010
Transcript
UPDATED PHLEBOTOMY
PROCEDURES Presented by: Helen Maxwell
Executive Director, ASPT
1
Procedures for the
Collection of Diagnostic
Blood Specimens by
Venipuncture; Approved
Standard—Sixth Edition
December, 2010
CLSI 2011 STANDARDS Clinical Laboratory Standards Institute
2
What is CLSI?
• Formally NCCLS
• International, interdisciplinary, non-profit,
standards-developing, educational
organization
• World-wide standards
• Way to improve patient testing and
healthcare services
3
UNIVERSAL PRECAUTIONS Apply to transmission of blood borne
pathogens. 4
STANDARD PRECAUTIONS Cover transmission of all known
infection agents; more comprehensive. 5
Standard Precautions Combine
•Universal
Precautions
•Body Substance
Isolation Practices
6 CLSI Standards
PROTECTIVE CLOTHING
• Personal Protection in the Laboratory:
• Wear long-sleeved gowns with closed fronts or
long-sleeved laboratory coats that are buttoned
closed while in the laboratory.
• Wear laboratory coats or gowns inside the
laboratory only.
• Reusable cloth or disposable gowns/coats may be
used.
7
PROTECTIVE CLOTHING
• Occlusive Dressing
• Cover all non-intact skin located on parts of the
body exposed to blood or body fluid with a water-
impermeable occlusive bandage.
• NOTE:
REMOVE ALL PERSONAL PROTECTIVE
EQUIPMENT BEFORE LEAVING THE LABORATORY
OR WORK AREA.
8
HAND PROTECTION
• Gloves of proper size and material must be provided for your protection. • Use aseptic techniques when both putting on and
removing gloves.
• Wear gloves at specimen receiving and set-up areas.
• Do not contaminate clean areas by contact with contaminated gloves.
• Change gloves after contact with each patient.
• Removes gloves before handling telephones, uncontaminated laboratory equipment, doorknobs, etc.
9
7.3, Gloves
HAND HYGIENE
• Decontaminate hands after touching all potentially
infectious material, whether or not gloves are worn.
• Use an alcohol-based hand rub or soap and water
if hands are not visibly soiled.
• Removes gloves promptly after the completion of all
tasks.
10
HAND HYGIENE
• Decontaminate hands immediately after gloves are
removed and when otherwise indicated to avoid
transfer of microorganisms to other surfaces and
environments.
• Change gloves between patients when performing
phlebotomy. Decontaminate the hands after glove
removal and before donning new gloves.
11
HAND HYGIENE
• Decontaminate hands:
• After the completion of work and before leaving
the laboratory:
• Before eating, drinking, smoking, applying make-
up, changing contact lenses, and before and after
using lavatory facilities; and
• Before all other activities which entail hand
contact with mucous membranes, eyes, or breaks
in the skin
12
HAND HYGIENE
• Avoid soap products that may disrupt skin integrity.
A moisturizing hand cream may reduce skin irritation
caused by frequent hand washing; but some
nonpetroleum-based hand creams may affect glove
integrity.
• Avoid wearing artificial fingernails or extenders
when in direct contact with patients at high risk for
infections, such as those in intensive care units or
operating rooms.
13
FACIAL PROTECTION
• Use facial barrier protection if there is a reasonably
anticipated potential for spattering or splashing blood
or body substances.
• Full-face shields made of lightweight transparent
plastic are the preferred means of facial protection.
• Splashguards may serve as an acceptable alternative
to plastic face shields.
14
FACIAL PROTECTION
• Use a fluid-resistant mask and eye protection if face
shields are not available.
• Ordinary prescription glasses are not adequate eye
protection. Use plastic, wraparound safety glasses
that fit over regular glasses.
15
RESPIRATORY PROTECTION
• All respirators used in healthcare settings in the
United States must be certified and approved by
NIOSH.
• In the United States, OSHA requires that respirators
be used as part of a respiratory protection plan that
includes medical evaluations, fit-testing, proper
selection of respirators, annual training, and
respirator maintenance.
16
STEPS IN DOING A
VENIPUNCTURE Following the steps in doing a proper
venipuncture is critical in healthcare.
17
STEPS IN DOING A
VENIPUNCTURE
WHAT IS THE MOST
IMPORTANT STEP IN
DRAWING BLOOD?
18
STEPS IN DOING A
VENIPUNCTURE
• Identifying the In-Patient
• Must be two (2) identifiers:
• Ask the patient’s FULL name
• Ask the patient’s date of birth
19
8.2.1
STEPS IN DOING A
VENIPUNCTURE
• Identifying the Out-Patient
• Must be at least two (2) identifiers:
• Ask the patient’s FULL name
• Ask the patient’s date of birth
• Ask the patient’s address
20
STEPS IN DOING A
VENIPUNCTURE
•NEVER DRAW IF THERE
IS A DISCREPANCY!
21
STEPS IN DOING A
VENIPUNCTURE
• Identify yourself:
• Who you are
• Where you are from
• What you are going to do
22
STEPS IN DOING A
VENIPUNCTURE
• VERIFY fasting states:
• Have you had anything to eat or drink?
• When was the last time you had anything to eat
or drink?
23
STEPS IN DOING A
VENIPUNCTURE
• Verify Diet Restrictions
• Some tests require diet restrictions
• Fasting
• Eliminating certain foods
**Each facility should have a policy manual
24
STEPS IN DOING A
VENIPUNCTURE
• Check Latex Sensitivity:
• Gloves
• Tourniquets
• Bandages
• Check for Allergies:
• Seafood
• Other
25
8.2
STEPS IN DOING A
VENIPUNCTURE
• Sanitize hands
• Put gloves on
• Recommended:
DO NOT touch patient without gloves on.
26
8.2
STEPS IN DOING A
VENIPUNCTURE
• Check Request Form Should Include:
• Patient’s:
• Full name
• Date of birth
• Identification number
• Date, time it is drawn
• Name or initial of HCP
• Department/tube color
27
8.1.1
STEPS IN DOING A
VENIPUNCTURE
• Position the Patient
• Make them comfortable
• Foreign objects out of mouth
• Gum
• Mints
• Food
• Thermometer
28
8.5
STEPS IN DOING A
VENIPUNCTURE
• Assemble Supplies
• Inspect all supplies
• Remember to use the same (manufacturer)
needle, holder, and tube
• Inspect all tubes
29
8.4
STEPS IN DOING A
VENIPUNCTURE
• CLSI states—NEVER combine:
• Tubes
• Holders
• Needles
• From different manufactures
30
8.4.4.1
STEPS IN DOING A
VENIPUNCTURE
• Could cause:
• Hemolysis
• Needle/holder disengagement
• Inadequate filling of a tube
31
STEPS IN DOING A
VENIPUNCTURE
• TUBES:
• Check for expiration dates.
• Must have a clear view of the contents unless test must be shielded from light.
• No sharp edges
• No surface roughness (capable of cutting skin)
• Should be used to collect blood straight into the tube
• Must retain vacuum
32
8.9.3
STEPS IN DOING A
VENIPUNCTURE
• Glass tubes are strongly recommended for
medication levels.
• Plastic/glass serum should never be used
before a coagulation tube.
33
8.10
STEPS IN DOING A
VENIPUNCTURE
• Tubes MUST be:
• Durable over its shelf life and during
centrifugation.
• Plastic syringes should be avoided.
34
STEPS IN DOING A
VENIPUNCTURE
• Apply tourniquet • Tourniquet is used to increase intravascular
pressure • (*Tourniquet should be latex-free; single use only.)
• Helps with the palpitation of vein
• Helps with filling of the tube
• Within 20 seconds, the analytes begin to change
• Suggested time=1 minute
• Retying a tourniquet: must wait two (2) minutes
35
7.7
STEPS IN DOING A
VENIPUNCTURE
• Tourniquet Location
• 2-4 inches above OR
• 3 fingers
36
STEPS IN DOING A
VENIPUNCTURE
DO NOT HAVE
PATIENT PUMP HAND!
37
8.6.4
STEPS IN DOING A
VENIPUNCTURE
• Blood Pressure Cuff:
• Inflate no more than 40 mmHg
• Pump hand one to two times
• NO vigorous hand pumping
(change certain analytes)
38
8.6.3
STEPS IN DOING A
VENIPUNCTURE
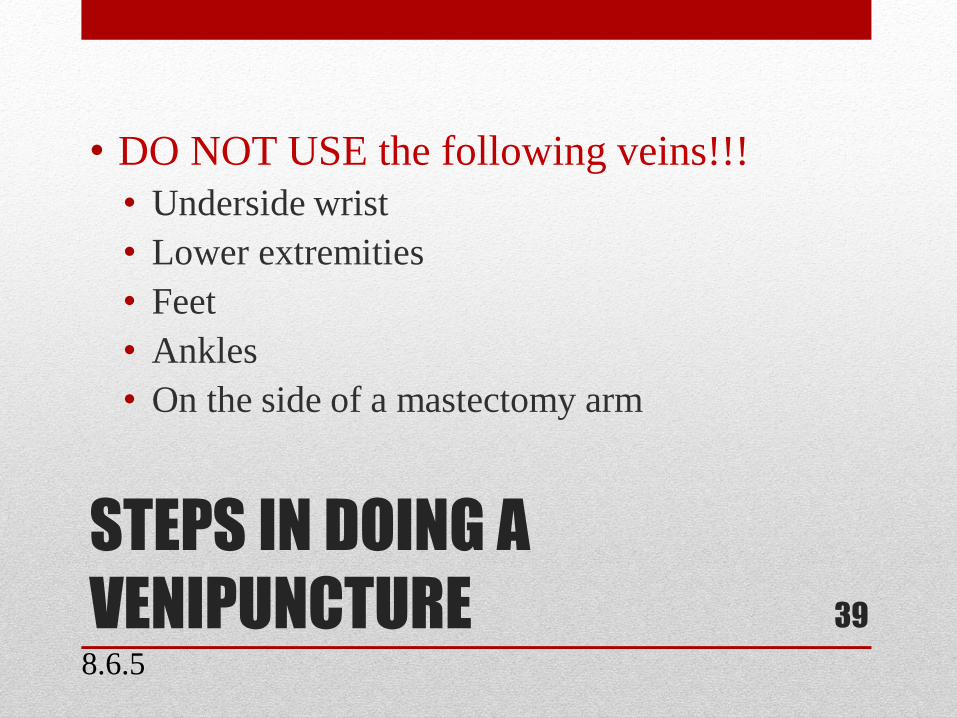
• DO NOT USE the following veins!!!
• Underside wrist
• Lower extremities
• Feet
• Ankles
• On the side of a mastectomy arm
39
8.6.5
STEPS IN DOING A
VENIPUNCTURE
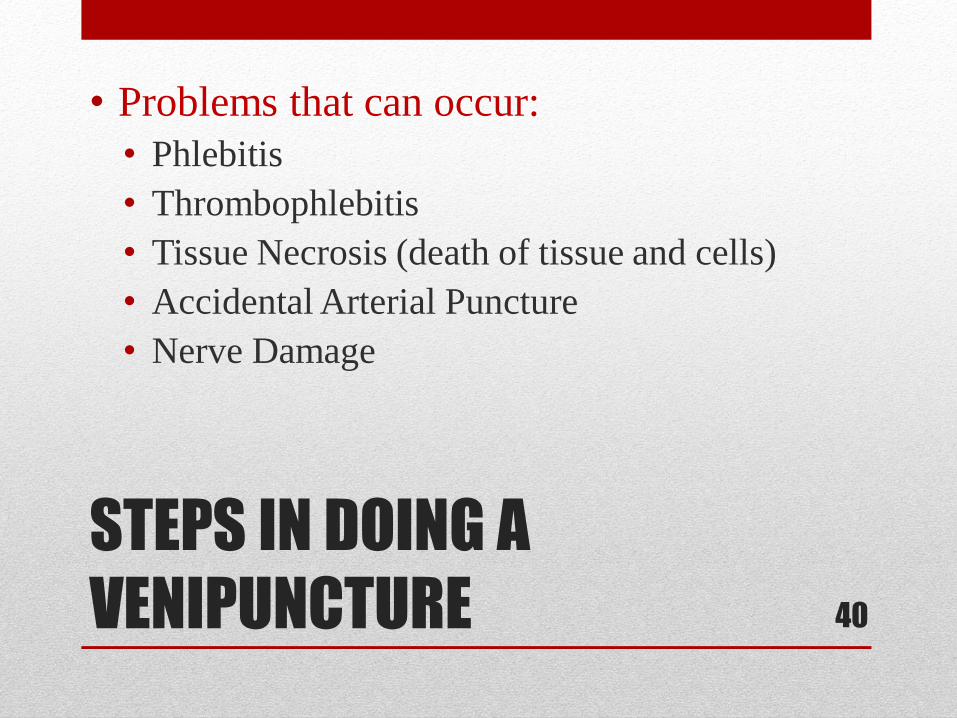
• Problems that can occur:
• Phlebitis
• Thrombophlebitis
• Tissue Necrosis (death of tissue and cells)
• Accidental Arterial Puncture
• Nerve Damage
40
STEPS IN DOING A
VENIPUNCTURE
Select Site Diagram: Clinical and Laboratory Standards Institute
41
8.6.6
STEPS IN DOING A
VENIPUNCTURE
• Cleanse Venipuncture Site
• Concentric motion from center to peripheral
• Allow area to DRY at least 30 seconds
• Do not wipe dry
• Prevents:
• Hemolysis
• Prevent burn in sensation on patient
• Allow antiseptic to work
42
8.8
STEPS IN DOING A
VENIPUNCTURE
• Difficult Veins
If you MUST re-touch, then you
MUST re-CLEAN!
43
8.8.3
STEPS IN DOING A
VENIPUNCTURE
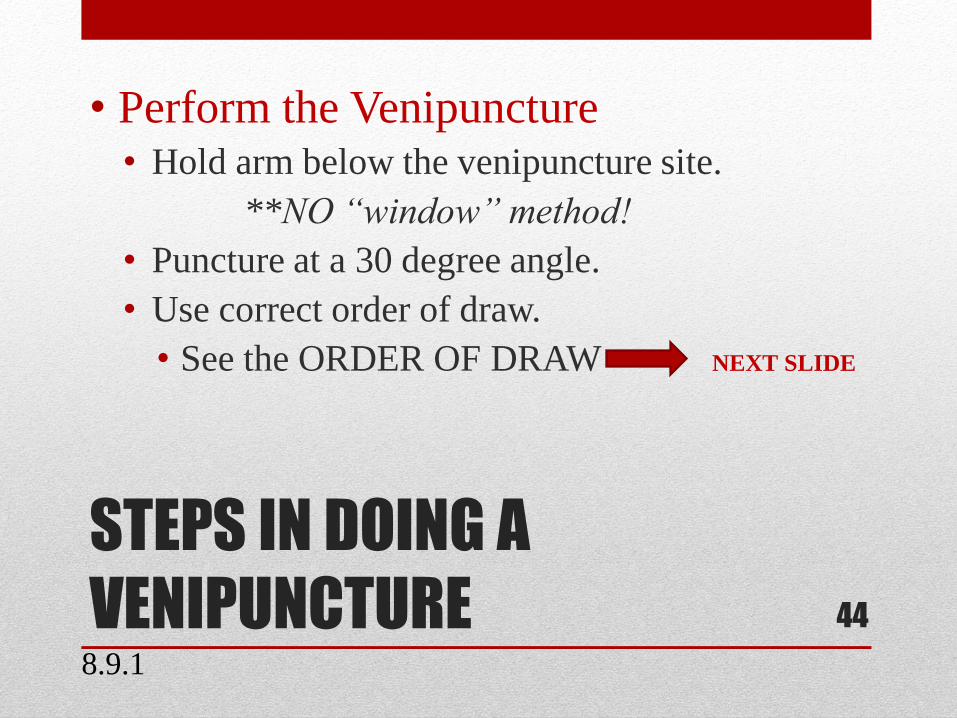
• Perform the Venipuncture • Hold arm below the venipuncture site.
**NO “window” method!
• Puncture at a 30 degree angle.
• Use correct order of draw.
• See the ORDER OF DRAW
44
NEXT SLIDE
8.9.1
CLSI
ORDER OF DRAW
• YELLOW SPS (Blood Cultures)
• LT. BLUE Sodium Citrate
• PLAIN RED No Additive
• PLASTIC RED Clot Activator
• GOLD, RED/GRAY SST/Gel w/ Clot Activator
• GREEN Heparin-Lithium or Sodium
• LAVENDER, TALL PINK EDTA
PURPLE EDTA
• GRAY Sodium Fluoride, Potassium Oxalate
• NOTE:
Other tubes will be added into the Order of Draw by their additives.
45
8.16
STEPS IN DOING A
VENIPUNCTURE
• Invert tubes IMMEDIATELY:
• CA 5 times
• Na Citrate 3-4 times
• Heparin 8 times
• EDTA 8 times
• Na Fluoride 8 times
46
STEPS IN DOING A
VENIPUNCTURE
• Perform the Venipuncture
• Release tourniquet.
• Place gauze over the site. (NO cotton balls!)
• Gauze should be pre-packaged; 2X2.
• Remove needle and dispose IMMEDIATELY.
47
7.9
STEPS IN DOING A
VENIPUNCTURE
• NOTE:
• A clearing tube must be used if using a butterfly for coagulation studies
• A non-additive tube may be drawn before coagulation studies when using a multi-draw needle
• NO clot activator or additive tube should be drawn before coagulation studies
48
8.10.1
STEPS IN DOING A
VENIPUNCTURE
• If patient has a problem, do not use
ammonia inhalants.
• Patients may have an adverse reaction.
49
8.13
STEPS IN DOING A
VENIPUNCTURE
• Check the venipuncture site (after 3-5 minutes).
• Bandage for 15 minutes to one (1) hour.
• Patients should NOT bend the arm up.
• Healthcare professional should notify nurse or supervisor
if bleeding lasts more than five (5) minutes.
50
8.14.3
STEPS IN DOING A
VENIPUNCTURE
• Labeling:
• Patient’s last and first name.
• ID #
• Date, time, and initials of person collecting sample.
• Time when TDMs are being collected.
51
8.15
STEPS IN DOING A
VENIPUNCTURE
NEVER leave a patient before
labeling tubes!
NEVER walk into a lab without a
specimen being labeled!
52
SPECIAL HANDLING
• Examples of tests requiring specimen chilling are:
• Gastrin
• Ammonia
• Lactic acid
• Catecholamines
• Pyruvate
• Parathyroid hormone (PTH)
53
8.16
SPECIAL HANDLING
• Examples of tests requiring specimen
transportation at 37 °C include:
• Cold agglutinin
• Cryofibrinogen
• Cryoglobulins
54
8.16
SPECIAL HANDLING
• Examples of tests requiring specimen
protection from light:
• Bilirubin
• All Vitamin levels
• Beta Carotene
• Porphyrins
55
8.16
STEPS IN DOING A
VENIPUNCTURE
• Send Blood Collection Tubes to the Proper
Laboratories:
• Appropriately labeled blood collection tubes
should be sent to laboratories designated to
perform the required testing procedures.
Maintain proper transport conditions to
preserve specimen integrity.
56
8.17
SPECIMEN HANDLING
• Serum:
• Specimens should be clotted before centrifugation.
• Spontaneous and complete clotting normally occurs within
30 to 60 minutes at room temperature (20 to 25 °C).
• NOTE: The use of a wooden applicator stick or similar
device for the release of a clot attached to the tube closure
or the sides of the tube (i.e., “rimming”) is not
recommended because it is a potential source for the
laboratory-induced hemolysis.
• The time to clot will be prolonged if the patient is on
anticoagulant therapy or if the specimen is chilled.
57
SPECIMEN HANDLING
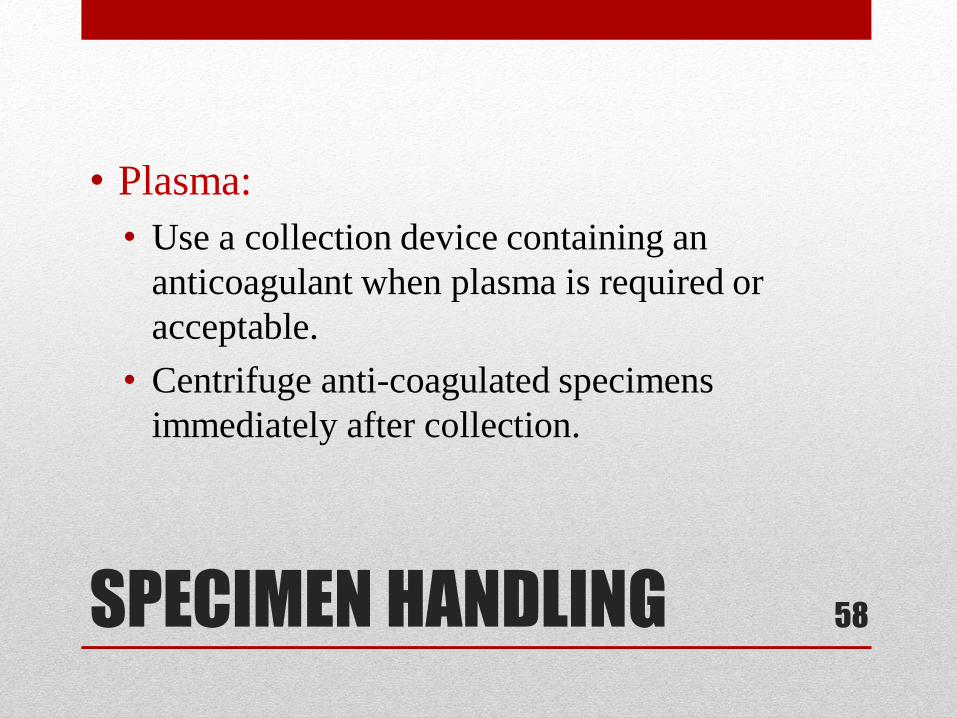
• Plasma:
• Use a collection device containing an
anticoagulant when plasma is required or
acceptable.
• Centrifuge anti-coagulated specimens
immediately after collection.
58
SPECIMEN HANDLING
• Chilled Specimens:
• To chill a specimen, place it immediately in a mixture of ice and water. Good contact between the cooling medium and the specimen is essential.
• Adequate cooling is essential; however, avoid direct contact between the specimen and ice (or other cooling materials such as dry ice), because the temperature extreme may cause hemolysis.
• NOTE: Chilling whole blood beyond two hours is contraindicated for a specimen intended for potassium.
59
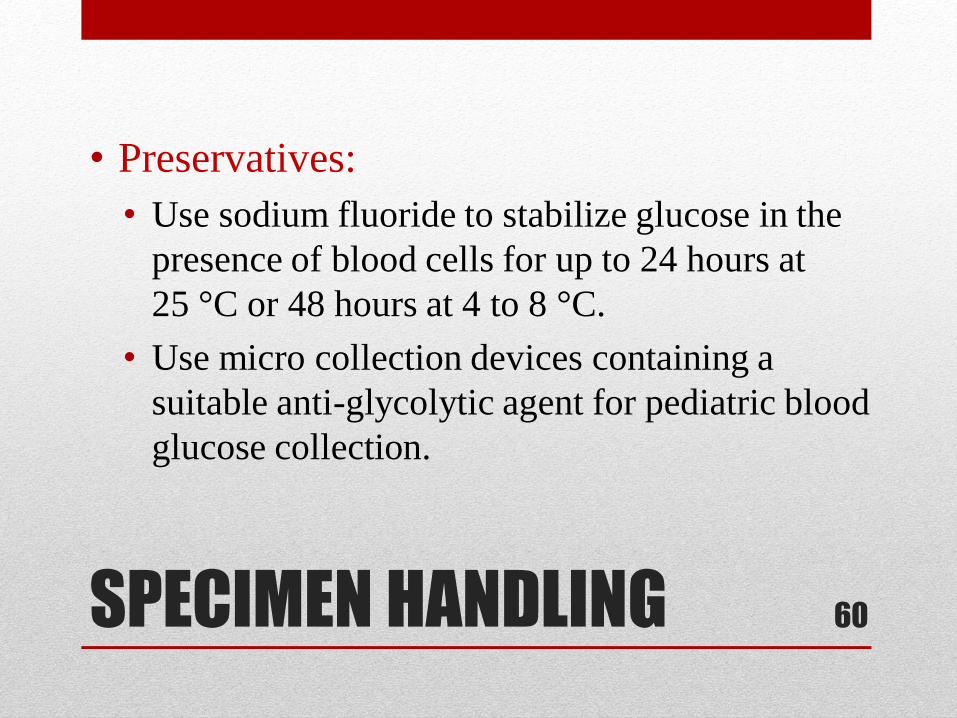
SPECIMEN HANDLING
• Preservatives:
• Use sodium fluoride to stabilize glucose in the
presence of blood cells for up to 24 hours at
25 °C or 48 hours at 4 to 8 °C.
• Use micro collection devices containing a
suitable anti-glycolytic agent for pediatric blood
glucose collection.
60
SPECIMEN HANDLING
• Criteria for Rejection:
• Under the following conditions, blood specimens may not be acceptable for testing purposes:
• Inappropriate specimen containers
• Inadequate or incorrect specimen identification
• Inappropriate volume of blood
• Using the wrong collection tube
• Hemolysis
• Improper storage/transportation
61
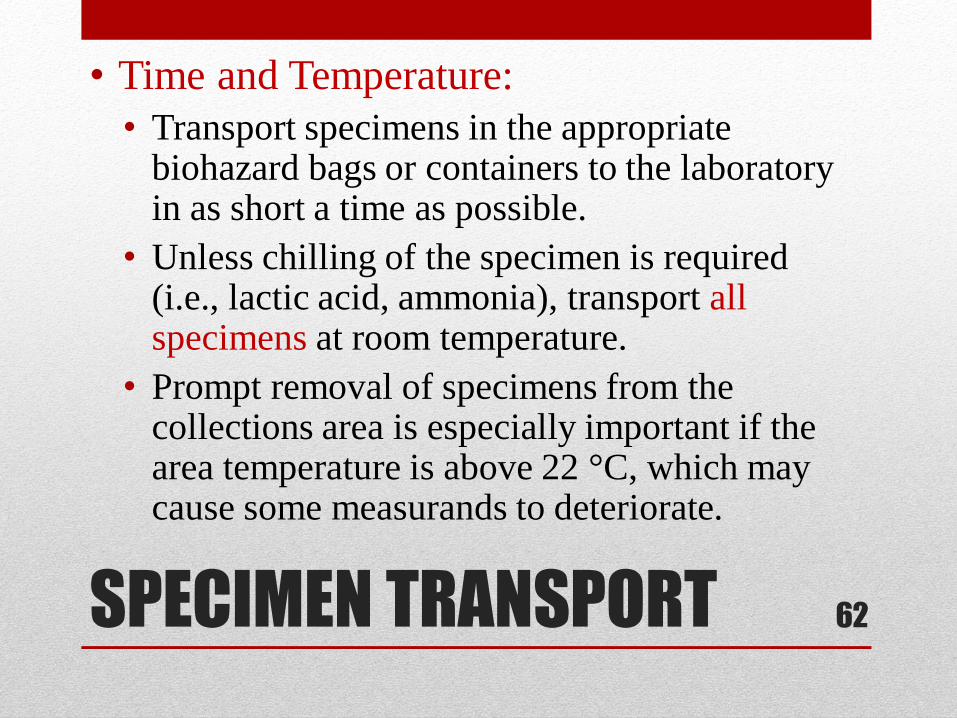
SPECIMEN TRANSPORT
• Time and Temperature:
• Transport specimens in the appropriate biohazard bags or containers to the laboratory in as short a time as possible.
• Unless chilling of the specimen is required (i.e., lactic acid, ammonia), transport all specimens at room temperature.
• Prompt removal of specimens from the collections area is especially important if the area temperature is above 22 °C, which may cause some measurands to deteriorate.
62
SPECIMEN TRANSPORT
• Tube Orientation:
• Place tubes of blood in a vertical position.
• Non-anti-coagulated tubes that contain gel should always be stored in an upright position as soon as the mixing is completed.
• NOTE:
• Evaluate automated transport systems, pneumatic or otherwise, for any effects on laboratory results.
63
SPECIMEN TRANSPORT
• Tube Closure:
• Keep tubes of blood closed at all times.
Keeping the tube in a closed position
eliminated possible exogenous contamination
of the specimen and prevents evaporation and
the possibility of spills and aerosols.
64
SPECIMEN TRANSPORT
• Agitation:
• Gentle handling of collected specimens helps
to minimize erythrocyte damage leading to
hemolysis of specimens.
65
SPECIMEN TRANSPORT
• Exposure to Light:
• Avoid exposing blood specimens for photosensitive measurands (i.e., bilirubin) to artificial light or sunlight (ultraviolet) for any length of time.
• Protect these specimens with an aluminum foil wrap, an amber specimen container, or the equivalent.
66
QUESTIONS
Please feel free to contact ASPT with any further questions.


![Offering Certifications within CTE programming [Read-Only] · Textbook/Workbook: Clinical Procedures for Medical Assistants, Phlebotomy Essentials, Diversified Health Occupations,](https://static.documents.pub/doc/80x56/5f032c317e708231d407e618/offering-certifications-within-cte-programming-read-only-textbookworkbook-clinical.jpg)

