40
1 1 Updating a Database Table II Create and Delete Textbook Chapter 14
| Date post: | 01-Jan-2016 |
| Category: |
Documents |
| Upload: | ifeoma-valencia |
| View: | 29 times |
| Download: | 1 times |

11
Updating a Database Table IICreate and Delete
Textbook Chapter 14

22
Objectives
You will be able to Write C# code to create a new
row in a database table from user input.
Write C# code of delete a row from a database table.

3
Getting Started
Continue with website from previous hour.
Add code to Add a new address to the database. Delete an address from the database.
4
Adding an Address to the Database
Let's use a separate page to add an address to the database.
New LinkButton on Default.aspx brings up the new page.

5
New Address Button
Note that CausesValidation is false.
6
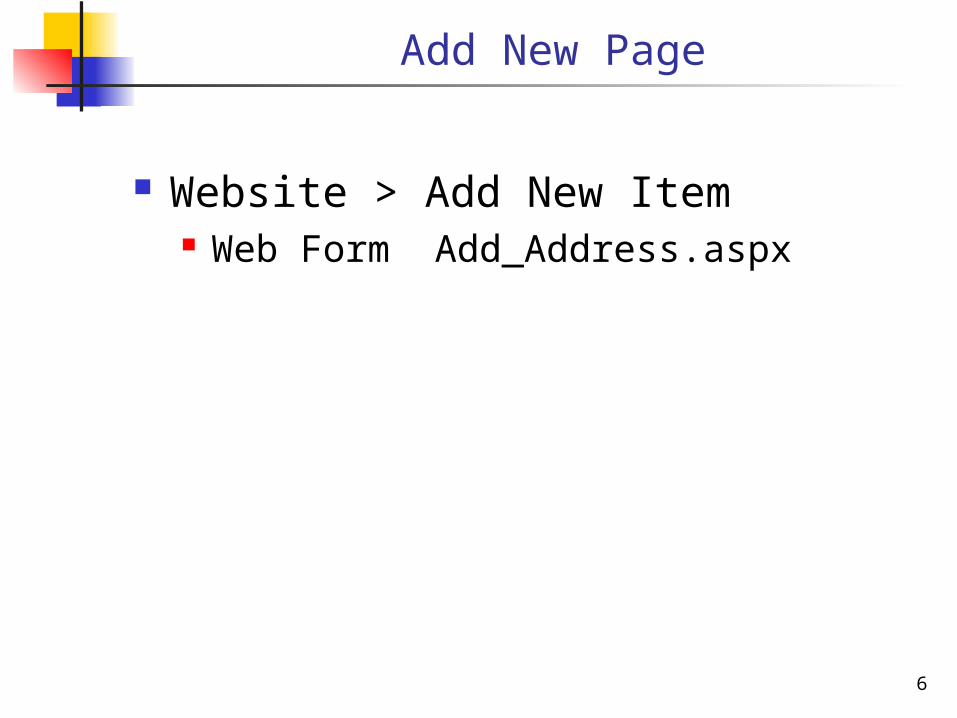
Add New Page
Website > Add New Item Web Form Add_Address.aspx

7
Add_Address.aspx
Copy table from Default.aspx
8
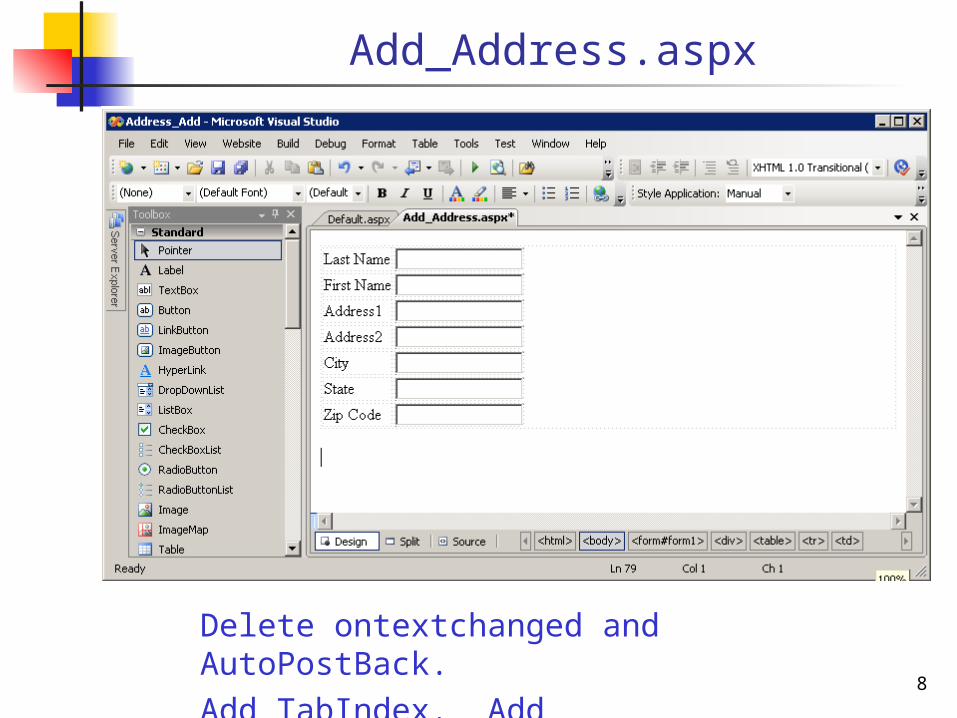
Add_Address.aspx
Delete ontextchanged and AutoPostBack.Add TabIndex. Add RequiredFieldValidator.

9
Add_Address.aspx
Add Buttons and Label below table

10
Add_Address.aspx
11
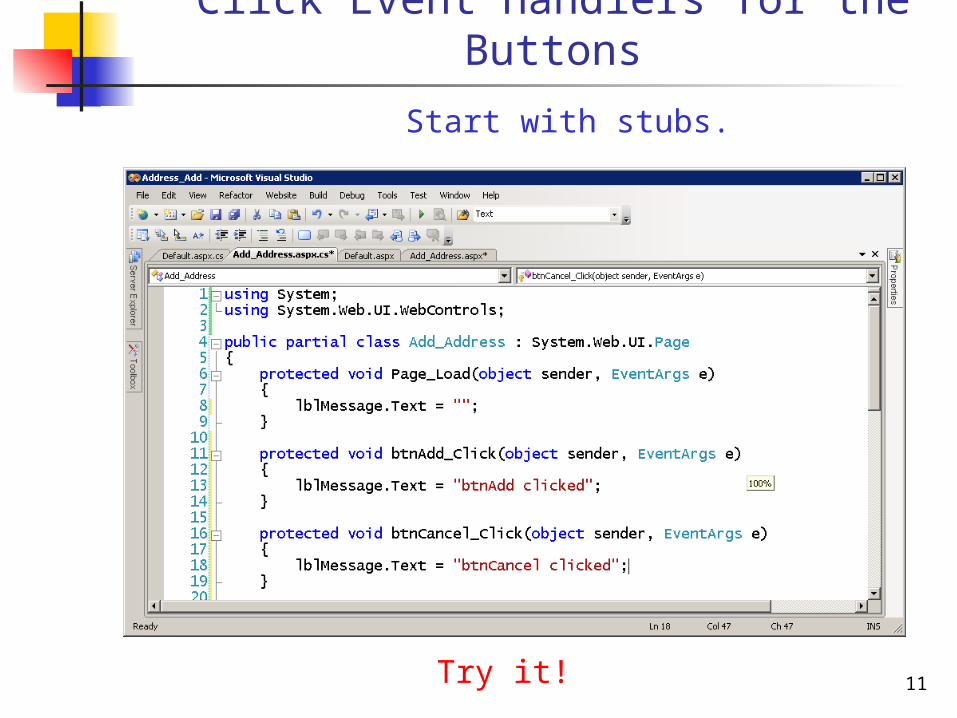
Click Event Handlers for the Buttons
Try it!
Start with stubs.
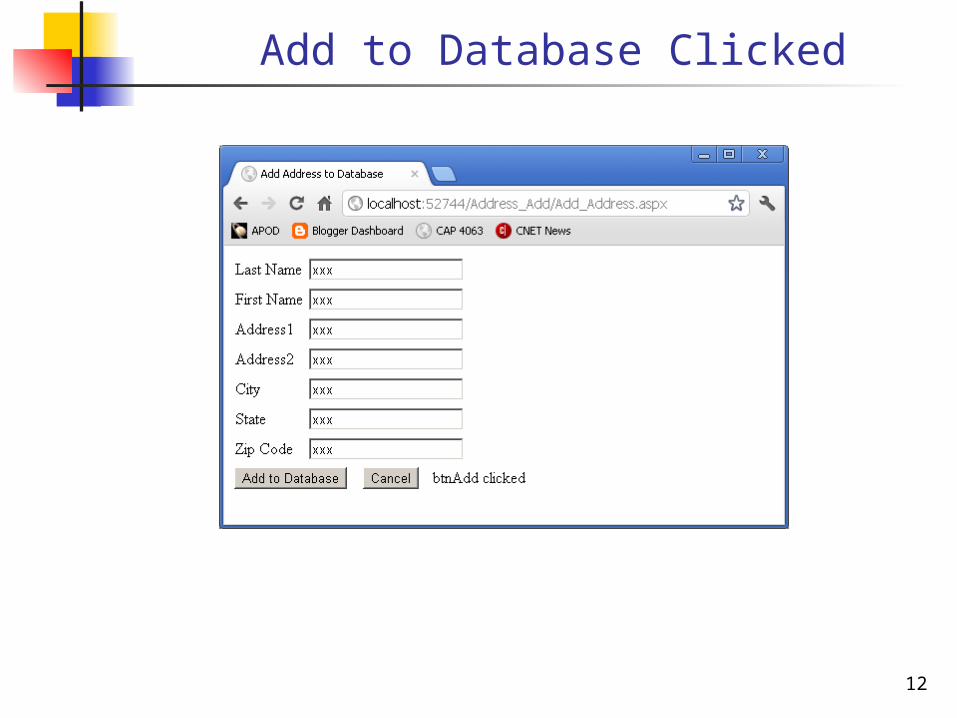
12
Add to Database Clicked

13
Real Add to Database
Replace the stub with real code to add a new address to the database.
Instantiate an Address object with user inputs.
Add contents of that object to the database.
We need new "Add New Row" method in class Query. Takes Address object as parameter.

14
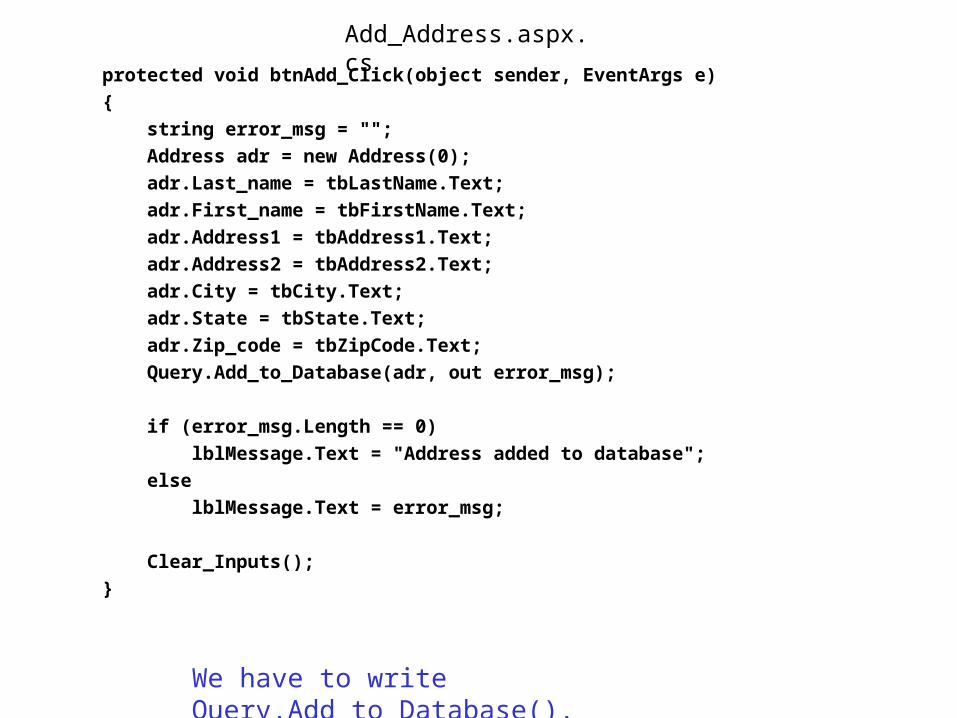
Add to Database
The function to fill in fields of an Address object from the form is the inverse of the Display_Results method in Default.aspx. Just reverse the left hand side and
right hand side of each assignment statement.
After adding an address to the database clear the TextBoxes
protected void btnAdd_Click(object sender, EventArgs e)
{
string error_msg = "";
Address adr = new Address(0);
adr.Last_name = tbLastName.Text;
adr.First_name = tbFirstName.Text;
adr.Address1 = tbAddress1.Text;
adr.Address2 = tbAddress2.Text;
adr.City = tbCity.Text;
adr.State = tbState.Text;
adr.Zip_code = tbZipCode.Text;
Query.Add_to_Database(adr, out error_msg);
if (error_msg.Length == 0)
lblMessage.Text = "Address added to database";
else
lblMessage.Text = error_msg;
Clear_Inputs();
}
We have to write Query.Add_to_Database().
Add_Address.aspx.cs

16
Clear_Inputs()
protected void Clear_Inputs()
{
tbLastName.Text = "";
tbFirstName.Text = "";
tbAddress1.Text = "";
tbAddress2.Text = "";
tbCity.Text = "";
tbState.Text = "";
tbZipCode.Text = "";
}

17
Adding a Row to a Database Table Use the SQL command INSERT.
INSERT INTO Table_Name
VALUES (val1, val2, ... valn)
For this form of the INSERT command we must provide values for all columns except any Identity column and the values must be in the right order.
We will use command parameters for the values.

18
Query.Add_to_Database
public static void Add_to_Database( Address adr,
out string error_msg)
{
SqlConnection cn = null;
string error_msg2 = "";
int nr_rows_affected = 0;
try
{
cn = Setup_Connection();
nr_rows_affected = Perform_Insert(cn, adr);
}
catch (Exception ex)
{
error_msg = "ERROR: " + ex.Message;
}
...

19
Query.Add_to_Database (continued) ...
finally
{
if (cn != null)
{
cn.Close();
}
}
if (nr_rows_affected != 1)
{
error_msg2 += " ERROR: Number of rows affected was ";
error_msg2 += nr_rows_affected.ToString();
}
error_msg = error_msg2;
}
20
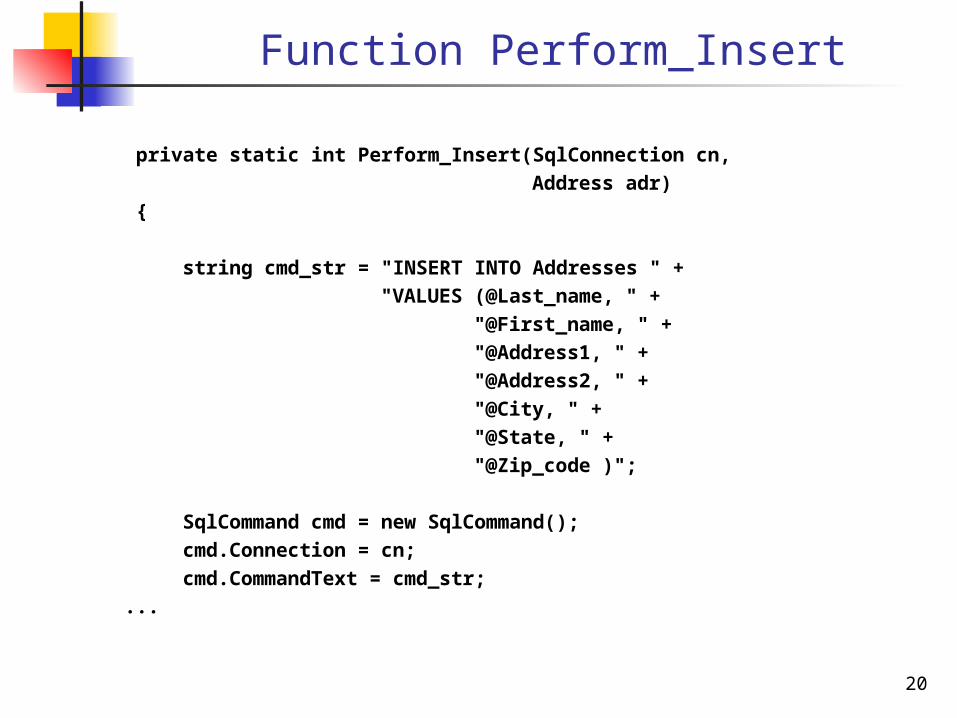
Function Perform_Insert
private static int Perform_Insert(SqlConnection cn,
Address adr)
{
string cmd_str = "INSERT INTO Addresses " +
"VALUES (@Last_name, " +
"@First_name, " +
"@Address1, " +
"@Address2, " +
"@City, " +
"@State, " +
"@Zip_code )";
SqlCommand cmd = new SqlCommand();
cmd.Connection = cn;
cmd.CommandText = cmd_str;
...

21
Function Perform_Insert (continued)
...
cmd.Parameters.AddWithValue("@Last_name", adr.Last_name);
cmd.Parameters.AddWithValue("@First_name", adr.First_name);
cmd.Parameters.AddWithValue("@Address1", adr.Address1);
cmd.Parameters.AddWithValue("@Address2", adr.Address2);
cmd.Parameters.AddWithValue("@City", adr.City);
cmd.Parameters.AddWithValue("@State", adr.State);
cmd.Parameters.AddWithValue("@Zip_code", adr.Zip_code);
int nr_rows_affected = cmd.ExecuteNonQuery();
return nr_rows_affected;
}
Try it!
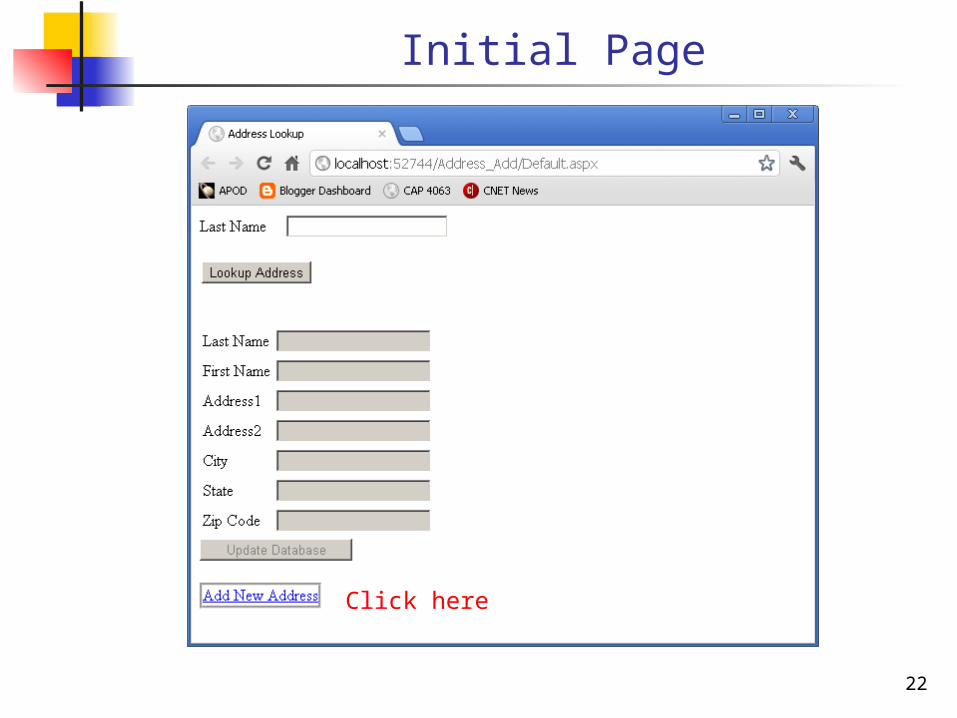
22
Initial Page
Click here

23
The "Add Address" Page
Fill in values.

24
Values Filled In
Click here.

25
After "Add" Button Clicked

26
Check the Database
End of Section

27
Deleting an Address
Add a Delete button to the original page. Disabled until a successful lookup is done. Deletes the current address when clicked.
Note: A real app would provide an "Are you sure?" box. Typically would not really delete the row from the
database table. Instead, set a "Deleted" flag, so that the row
could be undeleted. Avoid irreversible actions!

28
The Delete Button
Double click the Delete button to add an event handler.

29
Start with a Stub

30
Delete Button Enabled
Enable the Delete button when a successful lookup is done.
Disable it when the input TextBox is changed.

Lookup Done (Default.aspx.cs)protected void btnLookup_Click(object sender, EventArgs e)
{
string error_msg;
Address adr = Query.Get_Address(tbInput.Text,
out error_msg);
if (adr == null)
{
Clear_Results();
Disable_Results_TextBoxes();
ViewState["ID"] = null;
}
else
{
Display_Results(adr);
Enable_Results_TextBoxes();
btnDelete.Enabled = true;
ViewState["ID"] = adr.Id;
}
lblMessage.Text = error_msg;
btnUpdate.Enabled = false;
}
32
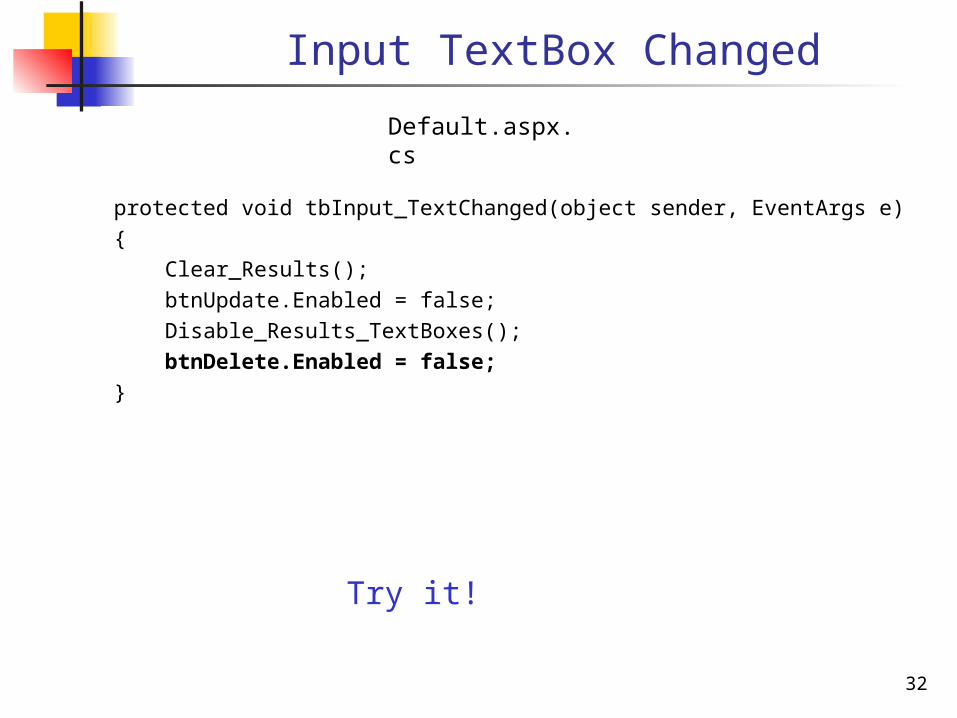
Input TextBox Changed
protected void tbInput_TextChanged(object sender, EventArgs e)
{
Clear_Results();
btnUpdate.Enabled = false;
Disable_Results_TextBoxes();
btnDelete.Enabled = false;
}
Default.aspx.cs
Try it!

33
Successful Lookup
34
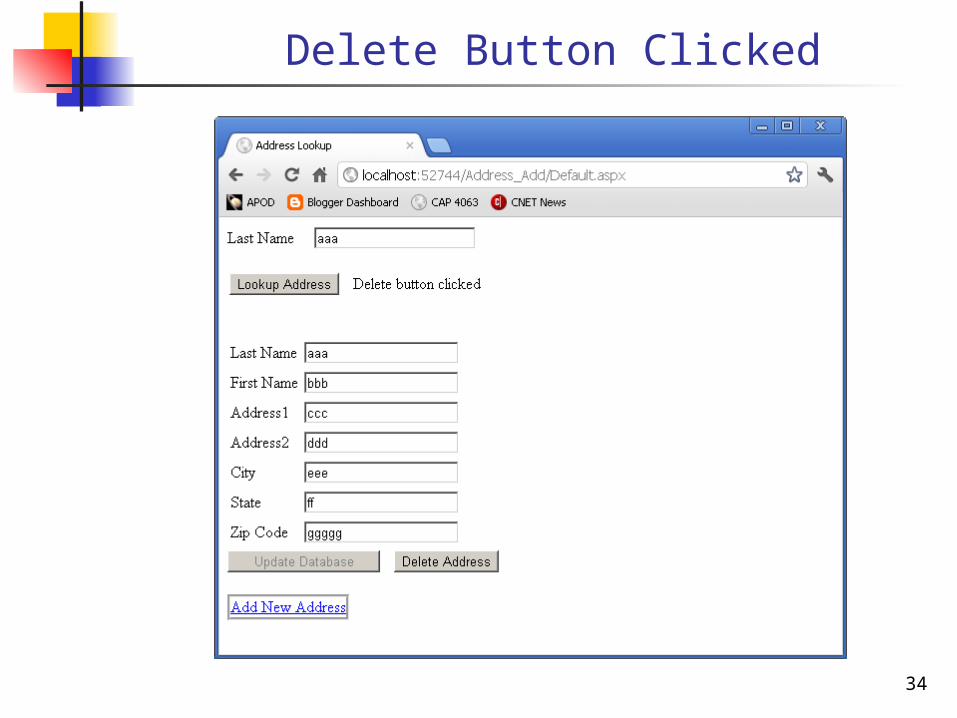
Delete Button Clicked

35
Real Delete Method
protected void btnDelete_Click(object sender, EventArgs e)
{
string error_msg = "";
int id = (int)ViewState["ID"];
Query.Delete_Address(id, out error_msg);
if (error_msg.Length > 0)
{
lblMessage.Text = error_msg;
}
else
{
Clear_Results();
lblMessage.Text = "Address Deleted";
}
btnDelete.Enabled = false;
btnUpdate.Enabled = false;
}
Default.aspx.cs

36
Query.Delete_Address
Almost identical to Add_to_Database

37
Query.Perform_Delete
public static int Perform_Delete(SqlConnection cn,
int id)
{
string cmd_str = "DELETE FROM Addresses " +
" WHERE ID=@ID";
SqlCommand cmd = new SqlCommand();
cmd.Connection = cn;
cmd.CommandText = cmd_str;
cmd.Parameters.AddWithValue("@ID", id);
int nr_rows_affected = cmd.ExecuteNonQuery();
return nr_rows_affected;
}

38
Lookup Address to Delete
39
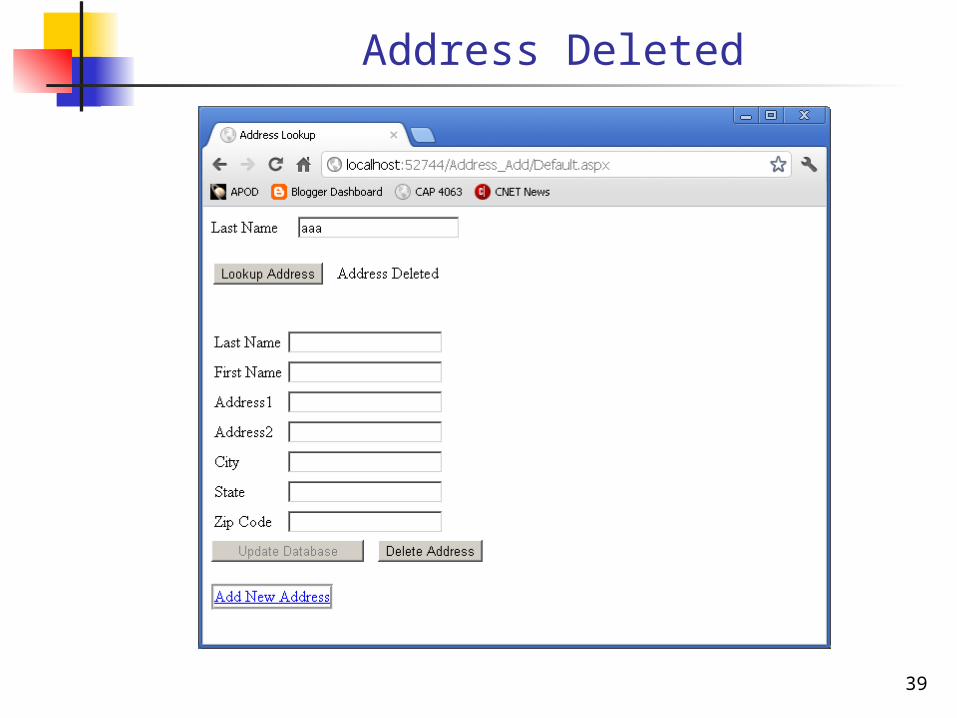
Address Deleted

40
Lookup Again


