20
Users_Documentation_JIRA.docx 1/20 USER GUIDE MyLinedata / JIRA

Users_Documentation_JIRA.docx 1/20
USER GUIDE MyLinedata / JIRA
Users_Documentation_JIRA.docx 2/20
This documentation, or any part of the information herein, may not be modified without the prior consent of Linedata. Such representation or reproduction, in any form or by any means, would constitute a copyright infringement, sanctioned by Articles L.335-1 of the French Intellectual Property Code, and more generally, a violation of Linedata's rights.
The product and trademark names mentioned in this documentation are the property of their respective owners. Linedata reserves the right to modify any part of this documentation without prior notice.
Copyright © Linedata 2016
Linedata - Lending & Leasing 31-33, avenue Aristide Briand
94110 Arcueil FRANCE
Tel: 33 (0) 1 46 11 70 00
Fax: + 33 (0)1 57 21 26 45
www.linedata.com

Users_Documentation_JIRA.docx 3/20
TABLE OF CONTENTS
INTRODUCTION ............................................................................. 4
1.1 PURPOSE ........................................................................... 4
1.2 AUDIENCE .......................................................................... 4
1.3 ACCES .............................................................................. 4
1.4 ACCOUNTS ......................................................................... 4
INTERFACE .................................................................................. 5
2.1 MYLINEDATA LOGIN PAGE ...................................................... 5
2.2 MAIN SCREEN ...................................................................... 8
Left-hand menu ........................................................ 8
Right-hand menu .................................................... 14
POSSIBLE ACTIONS ON ISSUES ......................................................... 18
3.1 COMMENT ........................................................................ 18
3.2 ATTACHMENT ................................................................... 18
3.3 LINK ............................................................................... 18
3.4 CLONE ............................................................................ 18
3.5 EXPORT .......................................................................... 18
DIFFERENT STATUSES OF AN ISSUE .................................................. 19
DOCUMENT HISTORY....................................................................... 20
Users_Documentation_JIRA.docx 4/20
INTRODUCTION
1.1 PURPOSE
The purpose of this manual is to present JIRA features to the users and help them submit a defect
report or feature request to the Hotline.
JIRA is an issue tracking application that gives our customers access to various features. This tool
should provide them with useful information in real time and allow them to report or request
something more easily.
1.2 AUDIENCE
This manual is intended to external users working on LINEDATA projects.
1.3 ACCES
In order to access the application, start your Web browser and navigate to:
https://my.linedata.com
1.4 ACCOUNTS
The user accounts are mentioned with their e-mail addresses and limited to 5 per client.

Users_Documentation_JIRA.docx 5/20
INTERFACE
2.1 MYLINEDATA LOGIN PAGE
Via the address https://my.linedata.com, you gain access to MyLinedata's login screen:
Please note that you must not change the password: MyLinedata's and JIRA's username and
password must be the same. If you change your password in one of the tools and not in the other,
login will fail.

Users_Documentation_JIRA.docx 6/20
After login, the MyLinedata welcome page is displayed:
To access JIRA, you can choose the product related to the issue in the "My solutions" tab. You can
choose between:
Linedata Ekip
Linedata Profinance
Linedata Uniloan

Users_Documentation_JIRA.docx 7/20
Once you have chosen your product, the JIRA welcome page is displayed:
The JIRA client documentation is available via the link attached to the Dashboard in the
"Introduction" part:
Logout is made via icon in the small block in the top-right corner.

Users_Documentation_JIRA.docx 8/20
2.2 MAIN SCREEN
JIRA's main screen is broken down into three parts:
A left-hand menu for submitting or monitoring issues:
A right-hand menu for managing profiles:
A dashboard for monitoring the project.
Left-hand menu
This menu allows you to:
a) Manage dashboards
This feature allows you to view and configure dashboard pages.
Clicking on Dashboard will display the dashboard defined as main in the Manage
Dashboards settings.
Clicking on Manage Dashboards allows you to manage your favourite (Favourites),
created (My) and shared (Popular) dashboards, as well as search for existing ones
(Search).
It also allows you to Restore Defaults to return to the default system and Create (a)
new Dashboard to configure your home page.
Note : To create a new dashboard, please refer to the online JIRA documentation.

Users_Documentation_JIRA.docx 9/20
b) Display different projects
This feature specifies on which project you are currently working and displays the list
of projects available to you.
Clicking on the project name under Current Project gives you access to information on
this project.
This page is broken down into four sections:
A Summary section which gives a description of the project, a 30-day
summary and the activity history.
An Issues section which presents a percentage of issues by priority,
assignee, version, status, or component. You can also search issues by
category:
All
Unresolved,
Added Recently,
Resolved Recently,
Updated Recently,
Assigned to Me,
Reported by Me,
Unscheduled,
Unresolved.
A Reports section allows you to create graphs, charts or documents on
particular information relating to project issues.
A Components section presents the different LINEDATA products.
A View All Projects section lists all the projects that are available to you.
Note : For more information about these sections, please refer to the online JIRA documentation.

Users_Documentation_JIRA.docx 10/20
c) Monitor issues
This feature allows you to search for information and apply filters to the project issues.
The Query section allows you to filter issues by project, issue type, status or
assignment. Information can be displayed:
In Detail view , to display a list of issues on the left-hand side with their details on the right-hand side.
In Issue View , to display the full list of issues.
The Filters section allows you to manage your favourite (Favourites), created (My) and
shared (Popular) filters, as well as search for existing ones (Search).
After a query, it is possible to export the search results via the "Export" button located
in the top-right corner of the screen. In the "Tools" menu which is also located in the
top-right corner you can make batch changes to carry out the same action on all of the
query's reports.
Note : To create a filter, please refer to the online JIRA documentation.

Users_Documentation_JIRA.docx 11/20
d) Create an issue
This feature allows you to create client issues related to LINEDATA projects.
To create an issue, please fill in the following information and click on Create:
Field name Description
Project Mandatory field for creation
List of projects for which an issue can be created
Type of issue Mandatory field for creation
List of issue types to which an issue can be assigned The possible values
are:
"Client-Project" for defect reports relating to a project
with Linedata,
"Production-Support" for defect reports relating to
incidents occurring during production,
"Improvement-Support" for defect reports relating to
improvements currently being tested by the client.
The "Client-Project" type is enabled for clients during the project stage
only.
The "Production-Support" and "Improvement-Support" types are enabled
for clients during the support stage.
The three types are enabled for clients in the two stages.
Client ref. Mandatory field for creation
Client issue monitoring tool reference or any reference used by the client
to identify his issue.
Priority Mandatory field for creation
Issue priority set by the Client This value is set to "Minor" by default The
possible values are:
Stopped
Critical
Important
Minor
Uncomplicated
Client's
designated
contact
This field lets the user indicate the name of the person who monitors the
issue.
It is not linked to the user accounts, any name can be input.
Client
classification
Mandatory field for creation
This list lets the user define the type of issue. By default, the value is set
to "Unknown" The possible values are:
Defect
Support
Configuration

Users_Documentation_JIRA.docx 12/20
Improvement
Install./Delivery
Off-contract intervention
Summary Mandatory field for creation
Meaningful and relevant title related to the issue
Environment Mandatory field for creation
Free-input text type to describe the equipment or software environment to
which the issue refers
Line of business Single-choice list corresponding to the integration domain defined by the
person in charge of project integration By default, the value is "None" and
the possible choices are:
Other
EKP-Archiving
EKP-Accounting
EKP-Contract modification requests
EKP-Ergonomics
EKP-FRONT-Miscellaneous
EKP-FRONT-EKIP-BACK Injection
EKP-FRONT-Offers
EKP-FRONT-Configuration
EKP-FRONT-Process
EKP-FRONT-Services
EKP-FRONT-Third parties
EKP-Workflow - WF
EKP-Contract creation/Enforcement
EKP-Performances
EKP-Purge
EKP-Payments
PRF-Admin
PRF-Archiving
PRF-Autoself
PRF-B.O.S
PRF-Batches
PRF-FAMOS UK
PRF-FARM
PRF-Front Financing

Users_Documentation_JIRA.docx 13/20
PRF-Front Revolving
PRF-Front Wholesale
PRF-HUB
PRF-Interface
PRF-Migration
PRF-Performance
PRF-Portal
PRF-Reports
PRF-Score
PRF-Sofia
The functional domains starting with EKP refer to the EKIP product and
those preceded by PRF refer to the PROFINANCE product.
Description Main text field to describe the issue to be processed in detail
Component Mandatory field for creation
Multiple-choice list which lets the user indicate the product linked to the
issue
Impacts the
version(s)
Mandatory field for creation
Multiple-choice list which lets the user indicate the release(s) version(s)
in which the problem occurs
Attachments This field makes it possible to attach files.
Note : You can configure the way fields are displayed upon data input by clicking on the top-right button Configure fields.
Note : You can also click on the check box next to the Create button at the bottom of the page to automatically create a new issue.

Users_Documentation_JIRA.docx 14/20
Right-hand menu
This menu allows you to:
search for project information
access the Help and Other information features
manage user profiles.
a) Quick search
This feature enables you to perform a quick search for
specific information contained in various projects or issues.
b) Help
This feature gives access to the product's online help and to different
information related to the system.
c) User
This feature allows you to manage your profile, user preferences and to log in
and out of the Atlassian marketplace.

Users_Documentation_JIRA.docx 15/20
Profile
The first window is the Summary window,
which lets users view or edit their personal information.
The following modifications are possible in this window (via the pencil - red circle icon
on the image):
Avatars: click on the icon to choose a new one or upload another
image.
click on the pencil icon to change your username or e-mail. You will be
asked to re-enter your password to validate the changes.
click on Change Password to modify your password.
Stored information: click on Clear All Tokens to delete all dashboards,
filters, etc.

Users_Documentation_JIRA.docx 16/20
The second window is the Preferences window,
which lets users view or edit their preferences:
The following modifications are possible in this window (via the pencil - red circle icon
on the image):
The page size (number of issues displayed by page in the Issue
Navigator)
The e-mail type (text or HTML format)
The language (this only impacts the user profile)
The time zone
My changes, i.e. whether to e-mail notifications of any changes you
make
Sharing, i.e. whether to share the filters and dashboards you create
Keyboard shortcuts, i.e. whether to enable or disable keyboard
shortcuts.
Autowatch, i.e. whether issues that you create or comment on will
automatically be watched for future changes.
The third window is the Assign Open Issues per Project window, which displays the list
of issues per project for which you are the Assignee.
The fourth window is the Activity Stream window, which displays the user history.

Users_Documentation_JIRA.docx 17/20
Atlassian Marketplace
The Atlassian marketplace allows you to browse different add-ons available to
enhance Atlassian products. Different search criteria can be used to help you easily
find the add-on that you need.
Note : Please note that this feature is not available for external users.
My JIRA Home Page
This feature allows you to configure the Dashboard or the Issue Navigator as your JIRA
home page (i.e. the page you are presented with after you log in).

Users_Documentation_JIRA.docx 18/20
POSSIBLE ACTIONS ON ISSUES
3.1 COMMENT
You can leave a comment on an issue by clicking on the Comment button at the top or bottom of the
issue page.
3.2 ATTACHMENT
You can attach a file to an issue by clicking on the Attach Files button at the top of the issue page.
3.3 LINK
You can link an issue to another issue that's been submitted in the application or using an external
URL.
To do so, click on More Actions, then Link and choose a type of link.
3.4 CLONE
Cloning or copying an issue lets you quickly create a duplicate of an issue within the same project.
To do so, click on More Actions, then Clone and give a new title to the issue.
3.5 EXPORT
Click on the Export button to export the issue to a Microsoft Word, XML or printable format.
Note : This can be performed on issues set to status OPEN, IN PROGRESS, AWAITING RESPONSE, RESOLVED, DELIVERED AND CLOSED.
Note : For more information on these actions, please refer to the online JIRA documentation.

Users_Documentation_JIRA.docx 19/20
DIFFERENT STATUSES OF AN ISSUE
Below is a overview of the different statuses that can be given to an issue:
STATUS Description
OPEN The issue has been logged but still has to be assigned to a member of
staff. The issue can now be set to IN PROGRESS by LINEDATA or be
CANCELLED by the Client.
A "Cancel Issue" button allows the Client to cancel an issue.
IN PROGRESS The issue has been assigned to a member of the support staff and is
being dealt with by LINEDATA.
AWAITING
RESPONSE
LINEDATA is waiting for the client to reply and give more information
about the issue.
This means that work on the issue has been stopped until further notice.
A "Complete the issue" button allows the Client to send a reply.
Once the reply has been sent, the status will be set to REPLIED.
REPLIED LINEDATA has received feedback from the Client.
Once the reply has been handled by LINEDATA, the status will be set to
IN PROGRESS.
RESOLVED The LINEDATA support team has finished its work and has sent a written
explanation to the Client, to which a corrective patch can be attached.
The issue's status is set to RESOLVED.
DELIVERED The LINEDATA support team delivered the corrective patch to the Client,
specifying the version of the product delivered and setting the issue's
status to DELIVERED.
CLOSED The client is satisfied with the reply and has confirmed it. The issue can
only be closed after its status has been set to DELIVERED.
Click on the "Close Issue" button to do so.
CANCELLED The Client can cancel an issue by using the "Cancel issue" button when
its status is OPEN.
The Client cannot cancel an issue whose status is not OPEN, s/he must
leave a comment to request cancellation of the issue.
The issue will be cancelled by LINEDATA and its status set to CANCELLED.
Users_Documentation_JIRA.docx 20/20
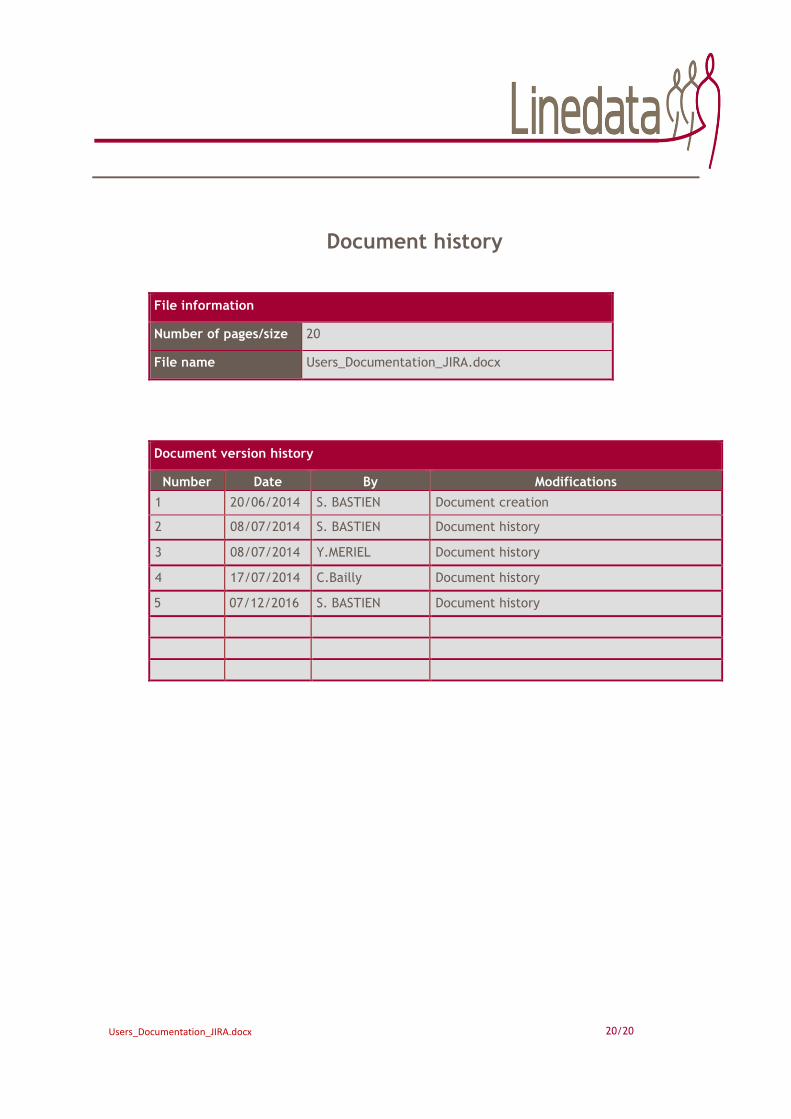
Document history
File information
Number of pages/size 20
File name Users_Documentation_JIRA.docx
Document version history
Number Date By Modifications
1 20/06/2014 S. BASTIEN Document creation
2 08/07/2014 S. BASTIEN Document history
3 08/07/2014 Y.MERIEL Document history
4 17/07/2014 C.Bailly Document history
5 07/12/2016 S. BASTIEN Document history


