12
Using Clarizen – sample scenario
| Date post: | 14-Dec-2015 |
| Category: |
Documents |
| Upload: | quinn-tate |
| View: | 219 times |
| Download: | 1 times |
Using Clarizen – sample scenario
1: Register
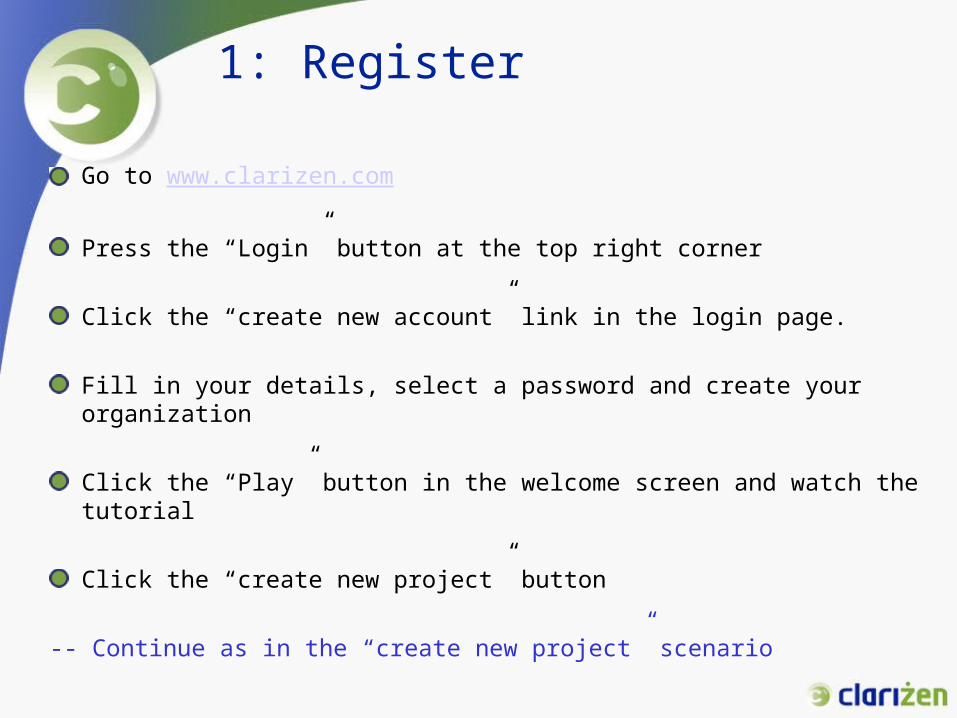
Go to www.clarizen.com
Press the “Login” button at the top right corner
Click the “create new account” link in the login page.
Fill in your details, select a password and create your organization
Click the “Play” button in the welcome screen and watch the tutorial
Click the “create new project” button
-- Continue as in the “create new project” scenario

2: Create a new project
Click the “Add new Project” link in the home pageOR Click the “Add project” button in the Project page and then choose “Create New Project”
In the New Project Wizard, select “Create project from a default template”
Change the project name to “My Project”Change project “Start Date” to 6/1/2007
Click “Finish”
Click “Go To project”

3: Edit the new project
Start with the default template

4: Edit the new project
Add tasks “t2” and “t2.1” at the end of the project and indent task “t2.1” to become the child of task “t2”

5: Edit the new project
Add a milestone “ms1” before “first milestone in the project”Add a child task “t1” to “ms1”

6: Add a new user
Go to “Home”Click “Add new user”
Enter first name, last name, your email addressClick “Finish”
You will receive an email message with a temporary password
Sign in to the application with the new user and password
After signing in, select a new password

7: Edit WBS items
Select your project from the Projects pane in the Home page
Double-Click on the ‘manager’ cell in task ‘t1’ and assign a user as managerClick the resources cell in task ‘t1’ and start typing the name of a user. Select the user from the drop-down list.Change the duration of ‘t1’ to 10 days
Do the same with task ‘t2.1’
8: Create a dependency
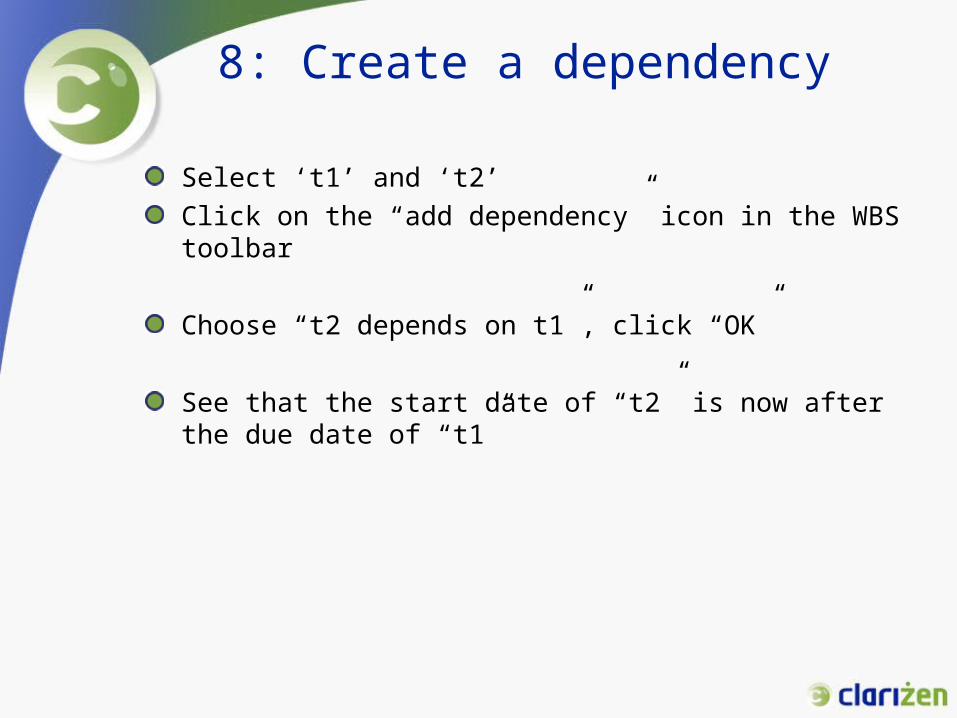
Select ‘t1’ and ‘t2’Click on the “add dependency” icon in the WBS toolbar
Choose “t2 depends on t1”, click “OK”
See that the start date of “t2” is now after the due date of “t1”
9: Documents, Notes & Discussions
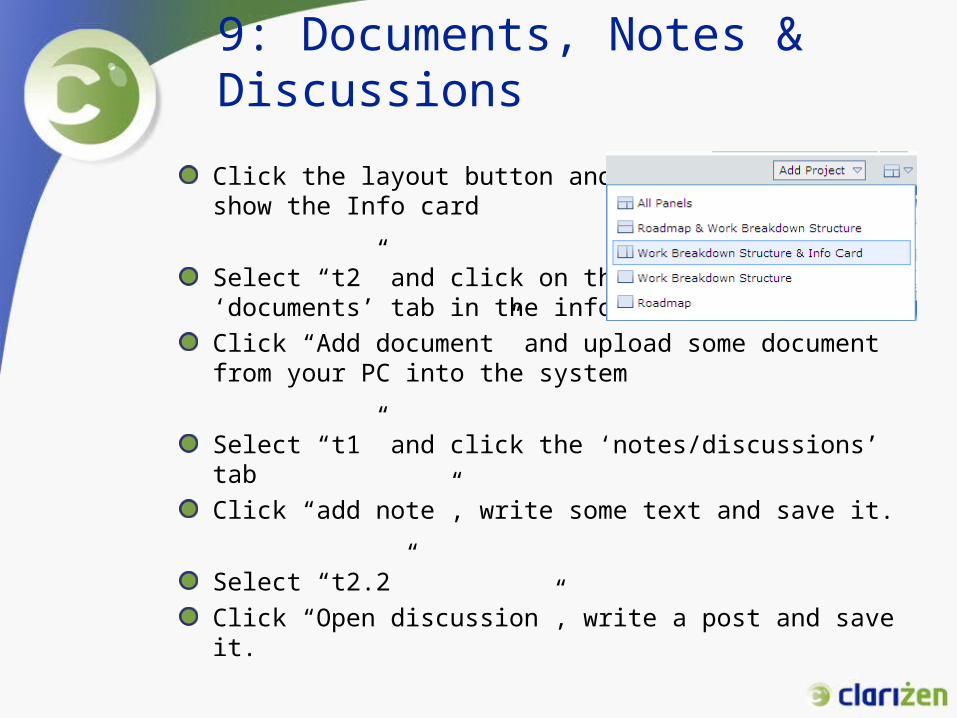
Click the layout button and show the Info card
Select “t2” and click on the ‘documents’ tab in the info cardClick “Add document” and upload some document from your PC into the system
Select “t1” and click the ‘notes/discussions’ tabClick “add note”, write some text and save it.
Select “t2.2”Click “Open discussion”, write a post and save it.
10: Templates
Select “My project” in the WBS
Open the context sensitive menu in the WBSSelect “save as template”
Go to step 2 and create a new project, but this time select the new template you have just created

Thank You


