UT: Blitz Outline V1.0 - 04/24/2017 Blitz is a round based attack & defend team game mode. Attackers attempt to deliver the objective as quickly as possible while defenders attempt to prevent them from doing so with limited lives. Basic Game Flow 1. Attackers and defenders load into the match and the pre match lineup and match countdown happens 2. First round begins and the round timer starts counting down 3. Attackers and defenders spawn into the map inside of their respective spawn rooms 4. Defenders are able to leave their spawn immediately and rush to the front lines to set up their first perimeter a. Attackers are locked in until the objective becomes available. 5. The objective spawns and can be picked up 6. Once an attacker doors touches the carried object the doors open and attackers are able to leave their spawn room 7. Attackers and defenders engage in the combat bowl adjacent to the spawn room a. Attackers attempt to protect their carrier and deplete the defenders lives b. The carrier is attempting to help his team break through the enemy perimeter by activating rally points near choke points c. If the carrier is killed, the objective is dropped and will stay in place while a short timer runs out or until it picked up by another attacker. i. Once the dropped objective timer completes the objective will move back to a nearby location along its previous path. The objective will continue to move backward along its previous path with each timer completion until it is picked up again d. Additional pickups (weapons, armor, powerups) are fought over by both teams as they become available 8. Eventually defenders may be pushed back far enough to consider the perimeter of the current combat area breached, allowing attackers to have made permanent progress 9. Once attackers breach the defender base perimeter they attempt to maintain pressure and utilize a wider variety of entrances and available pickups & powerups from the areas they have seized control of. This cuts off defender access to the same pickups & powerups, limiting their tools to those closest to their spawn area. 10. The round ends when: a. Attackers Score - An attacker manages to take the objective to the delivery point b. Attackers Eliminate Defenders - All defender lives have been depleted
Transcript
UT: Blitz Outline V1.0 - 04/24/2017
Blitz is a round based attack & defend team game mode. Attackers attempt to deliver the objective as quickly as possible while defenders attempt to prevent them from doing so with limited lives.
Basic Game Flow 1. Attackers and defenders load into the match and the pre match lineup and match
countdown happens 2. First round begins and the round timer starts counting down 3. Attackers and defenders spawn into the map inside of their respective spawn rooms 4. Defenders are able to leave their spawn immediately and rush to the front lines to set up
their first perimeter a. Attackers are locked in until the objective becomes available.
5. The objective spawns and can be picked up 6. Once an attacker doors touches the carried object the doors open and attackers are able
to leave their spawn room 7. Attackers and defenders engage in the combat bowl adjacent to the spawn room
a. Attackers attempt to protect their carrier and deplete the defenders lives b. The carrier is attempting to help his team break through the enemy perimeter by
activating rally points near choke points c. If the carrier is killed, the objective is dropped and will stay in place while a short
timer runs out or until it picked up by another attacker. i. Once the dropped objective timer completes the objective will move back
to a nearby location along its previous path. The objective will continue to move backward along its previous path with each timer completion until it is picked up again
d. Additional pickups (weapons, armor, powerups) are fought over by both teams as they become available
8. Eventually defenders may be pushed back far enough to consider the perimeter of the current combat area breached, allowing attackers to have made permanent progress
9. Once attackers breach the defender base perimeter they attempt to maintain pressure and utilize a wider variety of entrances and available pickups & powerups from the areas they have seized control of. This cuts off defender access to the same pickups & powerups, limiting their tools to those closest to their spawn area.
10. The round ends when: a. Attackers Score - An attacker manages to take the objective to the delivery point b. Attackers Eliminate Defenders - All defender lives have been depleted
c. Defenders Successfully Hold Out - The round timer reaches zero without the attackers delivering the objective.
11. The action freezes and focuses on the scorer and scores are tallied up 12. The round is scored as follows:
a. Attackers Succeed: Attacking team receives 1-3 stars (points) are scored based on the amount of time remaining in the roundtime buckets that yield 1-3 stars (points)
b. Defenders Succeed: Defending team receives receive 1 star (point) for successfully defending
13. The action replay of the last few seconds of the round deciding play happens 14. We return to the player line up of the winning team 15. Depending on score and remaining rounds we either move on to the next round or one
team is declared the winner
Level Structure The following is a simple structural breakdown of the main components of our maps that so far have been successful. They are a good example of sharing all the same basic elements while at the same time trading length for complexity.
Components ● DEFENDER SPAWN
○ Staging area and safe space for the defenders. Provides the ability to heal and stock up on ammo. Only owning team can shoot through exit barriers.
○ Exits need to establish good flow into defender base and provide options to combat potential spawn griefers. Minimum of 2 exits (or 1 exit in the case of split rooms).
○ Make an effort to give attackers good visibility into the area immediately surrounding the spawn door
■ I.e. one-way windows, 45 degree slants following the exit, etc ○ Opportunity to thematically stage the level, affords freedom to set dress since
there is no combat happening. ● CHOKE POINTS
○ Can be short thresholds or small spaces. ○ They are relatively tight and contrast in spacing with the bowls they are
connected to and function as funnels for attackers. ○ Chokes have to be easily understood and identified as such via their physical
structure itself. ● PERIMETERS
○ A natural boundary/defensive line that is easily understood by both attackers and defenders.
○ The first one of these is where defenders are comfortably able to get to within the door unlock time.
○ Holding and pushing past these thresholds should feel like a big power shift between attackers and defenders.
● RALLY POINTS ○ Utilized to build or maintain momentum, fake out defenders, quickly rotate
between lanes, and gather the attackers together to push. ○ Placed near (before and/or after) choke points. They need to be oriented in the
direction you want rallying players to face as they teleport in. They are ideally situated on the outer edge of the map, adjacent to the major flow direction.
○ In most cases should be in a space that open enough to be contestable while still offering a moderate amount of cover and/or evasive space.
○ Rally Points must have a strong landmark nearby (ideally integrated) that can be utilized for call outs.
● COMBAT BOWLS ○ Bigger and more open, arena-like spaces. Affords largest surface area for
gameplay variance and experimentation. ○ The carrier is challenged to traverse these with the help of his team and *has* to
be easily visible to defenders when he is on the move and someone is paying
attention. Making these too porous and maze-like means a carrier can easily sneak through without ever being seen, which is bad. At the same time we have to make sure that there is enough cover to dart between and sight lines for long distance combat adhere to corridors that can be anticipated.
○ Multiple lanes that interconnect with each other and choke points in ways that adds advantages and disadvantages to taking each path.
○ Pickups (weapons/armor/powerups) act as sub objectives for players ○ It is generally advisable to not go too wide with these spaces to ensure the
overall combat front is maintained and we don’t introduce a secondary perpendicular front.
● ATTACKER SPAWN ○ Staging area and safe space for the attackers. Provides the ability to heal and
stock up on ammo. Only owning team can shoot through exit barriers. ○ Provides access to a redeemer (spawns after 3 star time has elapsed) ○ Exits need to establish good flow into connected combat bowl and provide
options to combat potential spawn griefers. Minimum of 2 exits (or 1 exit in the case of split rooms).
○ Opportunity to thematically stage the level, affords freedom to set dress since there is no combat happening.
Things Of Note ● Blitz is designed for and played in 5v5 only ● The basic level flow is intentionally simple and straightforward
○ While we consider the overall structural breakdown to be established, there is room for variance and some added complexity inside of the individual elements for future, more advanced designs.
● Rally points have the ability to control our Team Door actors (which is utilized in Fort) ○ This can theoretically be expanded to other actors via interface but it is
recommended to utilize this element sparingly ● It takes some restraint to create a successful Blitz map
○ It is very easy to get too elaborate with paths and designs, or jump to the conclusion that “more objectives=more choice=more fun”
● The major flow direction of the level should avoid 90 degree angles as much as possible ○ We want to avoid creating perpendicular combat fronts as much as possible ○ 45 degrees is generally the better choice
● Traversal time from carried object spawn to delivery point should be no longer than 20-25s
● Stock shells that we consider to be going in the right direction and that we are actively invested in and working on are
○ FR-Fort ○ FR-Meltdown ○ FR-Loh
● Blackstone, Heist, and Highroad are our other shells that are currently on hold and may be revisited later. They don’t hit the same quality bar yet but may still be useful for investigation of what works and what doesn’t and/or serve as inspiration for improvements in your own designs.
Technical Ingredients It is generally advisable to simply examine one of the stock shells for reference (copy/paste works well here for parts and pieces). Regardless, the following is a list of some of the things needed or to consider for putting together a Blitz level.
● Browsing around Example_Map (which opens on editor load) is a good resource for a basic level setup and some other guidelines and examples of items we use to build our levels.
○ I.e. Weapon and Powerup Bases, lighting & Post Process actors etc. We try not to deviate from these.
● FR-TestMap is a good general reference point for the overall setup required and includes all major components outlined here.
● The MiniMap utilizes the Nav Mesh polygons as visual data
○ Therefore it’s crucial you have a NavMeshBoundsVolume(s) around the playable areas of your level for the game mode to function at all.
● BP_TeamDoor actors are utilized for keeping players in spawn
○ OpenOnceOnly is set to true on these as their job is only to contain attackers at the begining of the round
○ ShowFloorMarker can be set to false to hide floor marking visuals
○ StartsGameLocked is set to true for attacker doors
○ ReallyPointControlled should be set to true if this door is opened by activating a rally point
○ AlwaysOpenFromInside will allow the door to open regardless of team affiliation when somebody is approaching it from behind (this should typically be set to false if the door is controlled by a rally point)
● BP_TeamDeco_WeaponShield actors are utilized for marking the boundary of team spawn zones and will block enemy weapon fire
○ They do allow friendly players to shoot through
● UTTeamPlayerStart actors are used to designate spawn points for each team.
○ TeamNum: 0=TeamA 1=TeamB.
○ PlayerStartGroup is utilized to specify groups of spawns for scenarios that use more than one spawn room per team. The game will know to alternate between those groups when spawning the team to avoid everybody clustering up in one space
● BP_SupplyChest actors utilized in spawn rooms to supply players with ammo and health as well as starting weapon loadout
○ They can be place on the floor as well as moved up against a wall at the prescribed height (marked via text) in which case they will automatically adjust their visual components to line up properly.
○ WeaponList is an array that is filled out with weapon references
● UTRedFlagBase is placed in the attacker spawn room and acts as the spawn point of the carried object.
● UTBlueFlagBase is placed in the defender base and acts as the delivery point for the carried object.
● BP_RallyPoint actors are used to mark rally zones
○ The arrow points in the general facing direction of players rallying in and should be rotated accordingly (a useful direction)
○ ControlledActors is an array that can be filled with actors that support the RallyPoint Interface which is used to activate and deactivate sub objectives
● UTGameVolume volume actors are used for a variety of settings pertaining to a certain location
○ VolumeName is the string that draws on the minimap
○ MinimapOffset can be used to reposition the drawn name (the initial location is based on the x/y location of the pivot of the volume
○ IsTeamSafeVolume should be true for spawn rooms
○ IsDefenderBase should be true for the volume outlining the defender base
○ PlayIncmingWarning should be true for volumes telegraphing attacker movements adjacent to the defender base
○ IsWarningZone should be true for the defender base
○ TeamIndex should be set for spawn and base volumes (where belonging to a particular team is important for the game mode to be able to disseminate relevant
information). 0=attackers 1=defenders
○ VoiceLinesSet identifies location audio call outs via string (library of which is listed separately)
○ ReportDefenseStatus should be set true for volumes that form a last line of defense for a lane leading into the defender base
○ RouteID should be a unique number shared between volumes that are considered to be part of the same lane (and will be identified as such when the game mode considers whether or not to trigger a message for it being undefended)
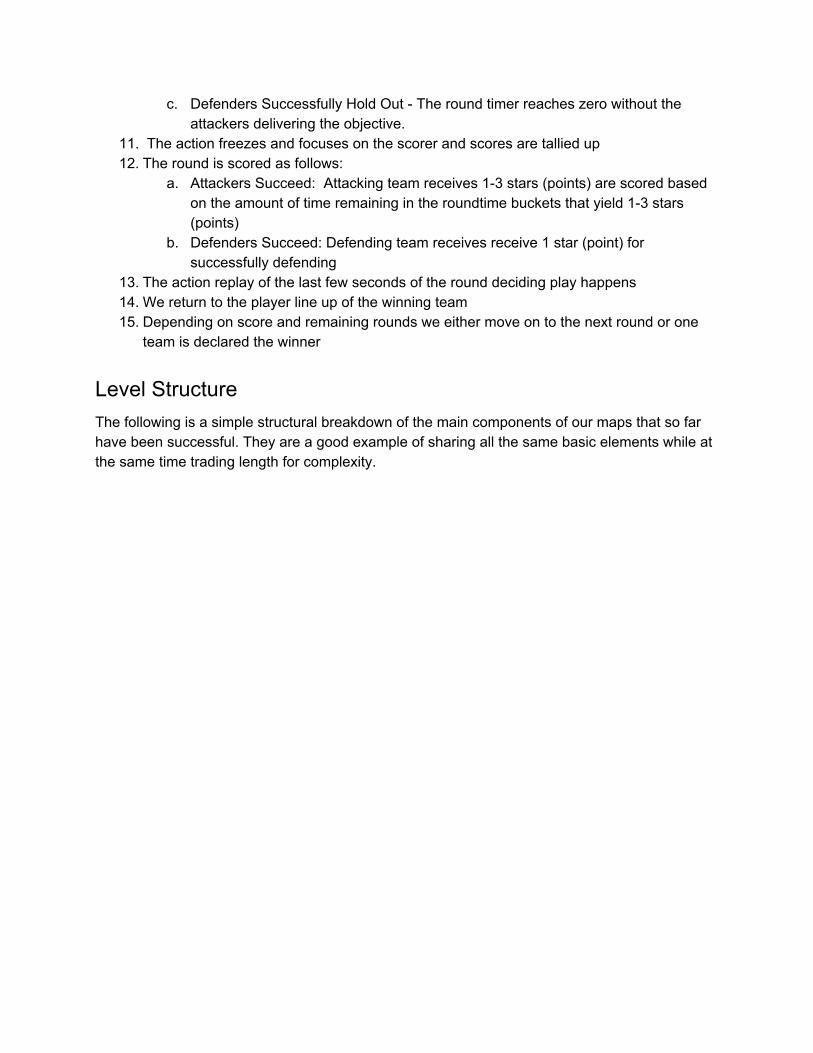
● LineUpZone actors are used to stage character line ups in the game. The settings we care about in the context of Blitz are:
○ ZoneType describes the intended purpose of the LineUpZone (Intro, Intermission, Post Match) and creates a matching default layout
○ SnapToFloor can be toggled on to have the entire actor and all pawn dummies rest on the floor. It’s advised to leave this off when moving the point around the map to position it and toggle it once in the desired location.
○ IsTeamSpawnList will enable the team version of the default
layouts (true by default and the desired setting)
● While the option exists to create custom layouts by manipulating the camera component and preview actors it is advised to stick with the defaults for the time being. The only place we imagine we will truly stick with custom layouts in the future is the intro, as it allows setting up a nice staging shot of the map that way. Intermission and Intro are more about taunting the enemy team and showing off.