VERTICAL BAND SAW: TRAIN THE TRAINER (SAFETY, PARTS & OPERATION) This material was produced under Susan Harwood grant number SH-31214-SH7 Occupational Safety and Health Administration, U.S. Department of Labor. The contents in this presentation do not necessarily reflect the views or policies of the U.S. Department of Labor, nor does the mention of trade names, commercial products, or organizations imply endorsement by the U.S. Government. CONTENT VISUALS TRAIN THE TRAINER NOTES 1 SAFETY FIRST 2 WHO IS OSHA With the Occupational Safety and Health Act of 1970, Congress created the Occupational Safety and Health Administration (OSHA) to assure safe and healthful working conditions for working men and women by setting and enforcing standards and by providing training, outreach, education and assistance. ORGANIZATION OSHA is part of the United States Department of Labor. The administrator for OSHA is the Assistant Secretary of Labor for Occupational Safety and Health. OSHA's administrator answers to the Secretary of Labor, who is a member of the cabinet of the President of the United States. OSHA has 2 branches, the Enforcement Branch and the Collaboration Branch. The Enforcement Branch investigates complaints and serious accidents. The Collaboration Branch works on education, such as the Susan Harwood Grant.
Transcript
VERTICAL BAND SAW: TRAIN THE TRAINER (SAFETY, PARTS & OPERATION)
This material was produced under Susan Harwood grant number SH-31214-SH7 Occupational Safety and Health Administration, U.S. Department of Labor. The contents in this presentation do not necessarily reflect the views or policies of the U.S. Department of Labor, nor does the mention of trade names, commercial products, or organizations imply endorsement by the U.S. Government.
CONTENT VISUALS TRAIN THE TRAINER NOTES
1 SAFETY FIRST 2 WHO IS OSHA
With the Occupational Safety and Health Act of 1970, Congress created the Occupational Safety and Health Administration (OSHA) to assure safe and healthful working conditions for working men and women by setting and enforcing standards and by providing training, outreach, education and assistance. ORGANIZATION OSHA is part of the United States Department of Labor. The administrator for OSHA is the Assistant Secretary of Labor for Occupational Safety and Health. OSHA's administrator answers to the Secretary of Labor, who is a member of the cabinet of the President of the United States.
OSHA has 2 branches, the Enforcement Branch and the Collaboration Branch. The Enforcement Branch investigates complaints and serious accidents. The Collaboration Branch works on education, such as the Susan Harwood Grant.
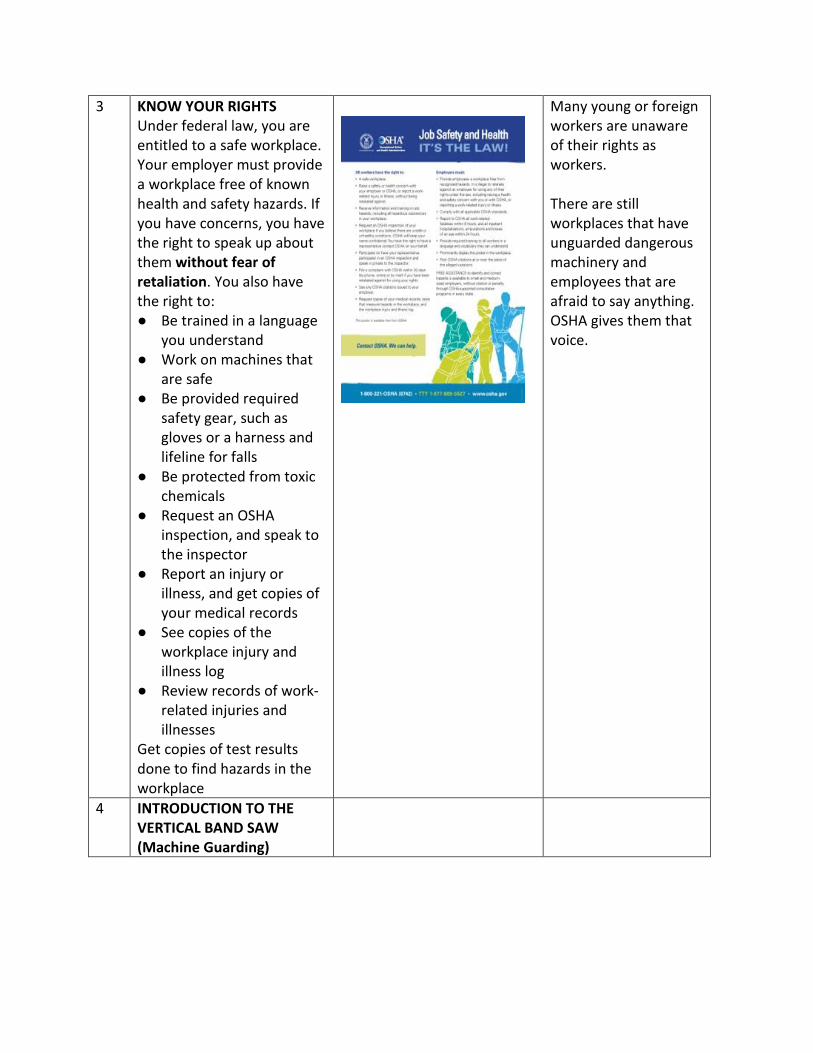
3 KNOW YOUR RIGHTS Under federal law, you are entitled to a safe workplace. Your employer must provide a workplace free of known health and safety hazards. If you have concerns, you have the right to speak up about them without fear of retaliation. You also have the right to: ● Be trained in a language
you understand ● Work on machines that
are safe ● Be provided required
safety gear, such as gloves or a harness and lifeline for falls
● Be protected from toxic chemicals
● Request an OSHA inspection, and speak to the inspector
● Report an injury or illness, and get copies of your medical records
● See copies of the workplace injury and illness log
● Review records of work-related injuries and illnesses
Get copies of test results done to find hazards in the workplace
Many young or foreign workers are unaware of their rights as workers. There are still workplaces that have unguarded dangerous machinery and employees that are afraid to say anything. OSHA gives them that voice.
4 INTRODUCTION TO THE VERTICAL BAND SAW (Machine Guarding)
5 WHAT IS MACHINE GUARDING A means of shielding employees from moving or flying parts and preventing them from accidentally coming into contact with moving pieces of equipment
Simply put, machine guarding protects the worker from the hazard. Machine guarding should not impede the lubrication or operation of the machine.
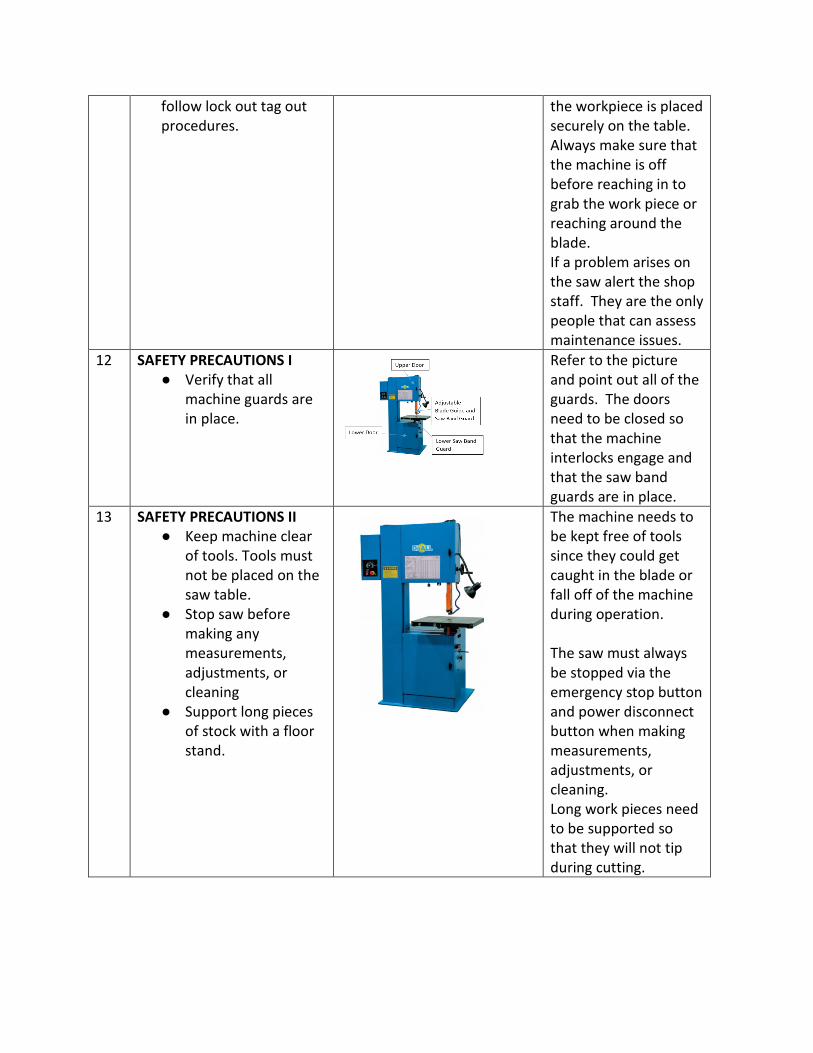
6 MACHINE-RELATED INJURIES Possible machinery-related injuries include: ● Crushed fingers or hands ● Amputations ● Burns ● Blindness A good rule to remember is: Any machine part, function, or process which may cause injury must be safeguarded
Explain not to take the machines for granted. Accidents can happen very quickly. Machine users need to keep their fingers and hands away from the Point of Operation. Wear safety glasses to protect their eyes and closed toe sturdy shoes to protect their feet. Machine users need to put long hair up in a ponytail or bun and not wear loose clothing or dangling jewelry to protect themselves from getting caught up in rotational hazards.
7 MACHINERY ACCIDENTS Examples of how machine accidents can occur: Hazardous conditions Missing or loose machine guards Human actions Reaching-in to “clear” equipment Unauthorized persons doing maintenance or using the machines
Explain to trainers that some manufacturing facilities still have machines that are not properly guarded. Some types of accidents are related to poor on non-existent machine guarding can be getting fingers caught where the work is being done (Point of Operation). Dangling jewelry, loose
clothing, or hair can get caught in the Point of Operation. Reaching in to grab a work piece while the saw is running can also result in an injury.
8 BASIC MACHINERY PARTS AND HAZARDS Three fundamental machine areas: ● Point of operation ● Power transmission
device Other moving parts – Operating controls such as mechanical or electric power control
“All machines consist of three fundamental areas: the point of operation, the power transmission device, and the operating controls. Despite all machines having the same basic components, their safeguarding needs widely differ due to varying physical characteristics and operator involvement” (OSHA 2007). OSHA Machine Guarding eTool - https://www.osha.gov/SLTC/etools/machineguarding/intro.html
9 HAZARD TYPES ● Point of Operation ● Nip Points and Rotating
Parts ● Flying Chips
These hazards exist on the Vertical Band Saw and they need to be guarded. Explain that the Point of Operation is where the work is being done on the machine. In this case it is where the band saw blade contacts the work material or at the machine table.
Nip Points exist at the saw blade and table interface and at the blade drive wheels inside the saw doors. Chips may fly up or fall to the floor.
10 POTENTIAL HAZARDS The primary hazards of vertical band saws are contact with in line running nip points and contact at the point of operation. An operator can risk serious hand injury or amputation from working too close to the sawing area, wearing gloves, loose clothing, loose hair, or jewelry.
Any loose article has the potential to get pulled into the saw. Users must be sure not to wear loose fitting clothing, dangling jewelry, or long hair. Long hair needs to be in a ponytail or bun.
11 PREVENTING INJURIES AND AMPUTATIONS ● Know where the
Emergency Stop button is.
● Do not remove the any guards, or other devices.
● Do not operate the vertical band saw unless you are trained and authorized to operate the machine.
● Operators must place the work material on the table. Taking caution not to place hands near the saw blade.
● Do not reach around the saw blade to remove chips or material while the machine is in motion.
● If performing service and maintenance activities
If an adjustment needs to be made or a blade needs to be changed press the emergency stop button and turn the power disconnect switch off. This in conjunction with the door interlocks gives the user 3 levels of disconnection from the power source. To release the emergency stop button turn it clockwise and let it pop out. Do not remove any guards from the machine. If there is a problem with the guards let the shop staff know. Always make sure that
follow lock out tag out procedures.
the workpiece is placed securely on the table. Always make sure that the machine is off before reaching in to grab the work piece or reaching around the blade. If a problem arises on the saw alert the shop staff. They are the only people that can assess maintenance issues.
12 SAFETY PRECAUTIONS I ● Verify that all
machine guards are in place.
Refer to the picture and point out all of the guards. The doors need to be closed so that the machine interlocks engage and that the saw band guards are in place.
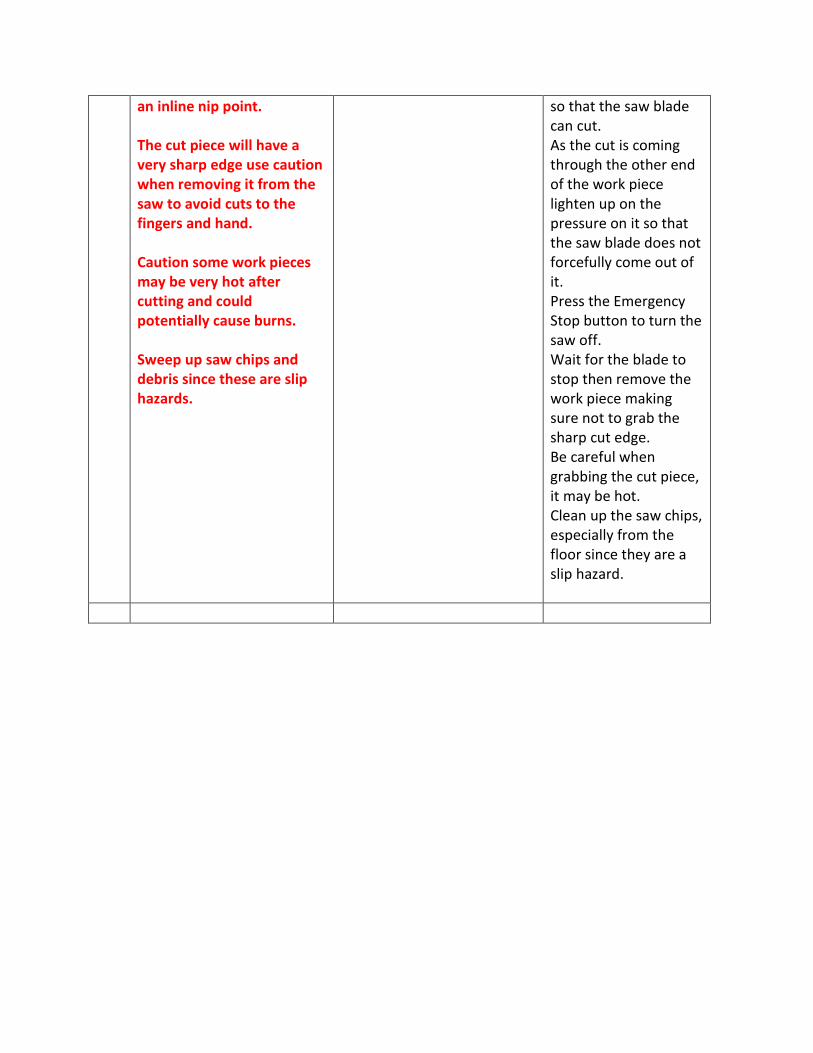
13 SAFETY PRECAUTIONS II ● Keep machine clear
of tools. Tools must not be placed on the saw table.
● Stop saw before making any measurements, adjustments, or cleaning
● Support long pieces of stock with a floor stand.
The machine needs to be kept free of tools since they could get caught in the blade or fall off of the machine during operation. The saw must always be stopped via the emergency stop button and power disconnect button when making measurements, adjustments, or cleaning. Long work pieces need to be supported so that they will not tip during cutting.
14 SAFETY PRECAUTIONS III ● The upper blade
guide and saw band guard should be brought to within a ¼” of the top of the highest part of the piece being cut.
● Note: At some point the blade guide will run out of travel and you may not be able to achieve the ¼” gap. If this is the case, bring the blade guide down as far as possible.
The upper blade guide needs to be brought as close to the work piece as its travel allows to minimize the contact exposure to the saw blade. This will also help to stabilize the blade to produce a better cut.
15 SAFETY PRECAUTIONS IV • Avoid touching saw
cut edges before they are de burred the edges are very sharp.
To avoid cuts do not grab the cut edge. Grab the work piece behind the cut to move it, then deburr the cut edge with a file or belt sander.
16 PROTECT YOURSELF WITH PPE ● Always wear safety
glasses ● Always wear closed toe
shoes that protect the top of your foot
● Do not wear any rings or dangling jewelry
Long hair needs to be tied up or put into a bun
Personal Protective Equipment may be a bit uncomfortable or bulky, but needs to be worn to protect the user from injury.
17 INTRODUCTION TO THE VERTICAL BAND SAW OPERATION
18 MAJOR COMPONENTS OF THE HORIZONTAL BAND SAW
The upper and lower doors also act as guards for the band wheels behind them. These doors have safety interlocks on them so that the machine will not run with the door open.
19
Review the function of these buttons and switches. When ready to use the saw make sure that the power disconnect is on and that the emergency stop button is released. Then press the green start button.
20
The Band Wheels are what drive the blade. The saw blade tension is adjusted by turning the Saw Band Tension Knob. Reference the Saw Band Tension Indicator for the proper blade tension.
21 SAFE MACHINE OPERATIONS 1 Make sure that all of the guards are in place.
Operators always need to verify that the upper and lower doors function properly and that the adjustable blade guide, saw band guard, and lower saw band guard are in place.
Since the Upper Door is going to be opened the emergency stop is going to need to be depressed and the Power Disconnect
turned off. Open the Upper Door. Turn the Blade Guide lock handle about a ¼ turn counter clockwise. Adjust the height of the blade guide so that you have about a ¼” gap between the work piece and the blade guide. Keep in mind that you may run out of travel on the blade guide. In that case, adjust it as far down as it will go. Tighten the Blade Guide lock handle by turning it right about a ¼ turn. Close and lock the Upper Door. Turn the Power Disconnect to on. Turn the emergency stop button to the right to disengage it.
23 SAFE MACHINE OPERATIONS 3 Setting the blade speed for the material that is being cut.
Check the listed materials next to the Speed Adjusting Wheel. If the setting does not match the material that is being cut an adjustment will need to be made. Note: speed adjustments can only be made while the saw is running. Press the Start Button to turn on the saw. Turn the Speed Adjusting Wheel clockwise or counter
clockwise to get to the material that is being cut. Press the Emergency Stop button to turn the saw off.
24 SAFE MACHINE OPERATIONS 4 Setting rip guide.
A rip guide is used to make straight cuts.
To adjust the Rip Guide the desired location loosen the Rip Guide knob a ¼ turn to the left. Move the Rip Guide to the desired location. Tighten the Rip Guide knob by turning it a ¼ turn right. Check the squareness of the Rip Guide by putting a square against it and the table. Verify your setting before cutting.
25 SAFE MACHINE OPERATIONS 5 Preparing to cut the material. Safety Note: Make sure that there is nothing near the saw blade except for the material being cut.
A wood push block should always be used to push the material that is being cut so that there is no risk of injury to fingers or hands. Set the work piece onto the saw table. Use a material support if the work piece is long. If the Rip Guide is being used, put the material against it. Press the start button to turn the saw on.
26 SAFE MACHINE OPERATIONS 6 Making a straight cut.
Using the wood push block apply pressure to the work piece to push it into the saw blade.
Always use a push block to avoid contact injuries at the point of operation. Safety Note: Do not attempt to remove the cut piece from the saw until the saw blade has stopped. This is an inline nip point. The cut piece will have a very sharp edge use caution when removing it from the saw to avoid cuts to the fingers and hand. Caution some work pieces may be very hot after cutting and could potentially cause burns. Sweep up saw chips and debris since these are slip hazards.
Exert even steady force so that the saw blade can cut. As the cut is coming through the other end of the work piece lighten up on the pressure on it so that the saw blade does not forcefully come out of it. Press the Emergency Stop button to turn the saw off. Wait for the blade to stop then remove the work piece making sure not to grab the sharp cut edge. Be careful when grabbing the cut piece, it may be hot. Clean up the saw chips, especially from the floor since they are a slip hazard.
27 SAFE MACHINE OPERATIONS 7 Cutting a piece of tubing Always use a vise to keep the tubing from rotating while cutting it. Always use a push block to avoid contact injuries at the point of operation. Safety Note: Do not attempt to remove the cut piece from the saw until the saw blade has stopped. This is
Unrestrained tubing can rotate when it is being cut. To keep this from happening a vise needs to be used. Select a vise that the tubing will fit in. Flip the vise upside down over the tubing and tighten the vise. This will keep it from rotating. Using the wood push block apply pressure to the work piece to push it into the saw blade. Exert even steady force
an inline nip point. The cut piece will have a very sharp edge use caution when removing it from the saw to avoid cuts to the fingers and hand. Caution some work pieces may be very hot after cutting and could potentially cause burns. Sweep up saw chips and debris since these are slip hazards.
so that the saw blade can cut. As the cut is coming through the other end of the work piece lighten up on the pressure on it so that the saw blade does not forcefully come out of it. Press the Emergency Stop button to turn the saw off. Wait for the blade to stop then remove the work piece making sure not to grab the sharp cut edge. Be careful when grabbing the cut piece, it may be hot. Clean up the saw chips, especially from the floor since they are a slip hazard.