14
Working with Working with Cascading Style Cascading Style Sheets (CSS) Sheets (CSS) Module 2: HTML Basics LESSON 5 LESSON 5
| Date post: | 30-Dec-2015 |
| Category: |
Documents |
| Upload: | margaret-barker |
| View: | 220 times |
| Download: | 0 times |
Working with Cascading Working with Cascading Style Sheets (CSS)Style Sheets (CSS)
Module 2: HTML Basics
LESSON 5LESSON 5LESSON 5LESSON 5

Module 2: HTML Basics
LESSON 5LESSON 5LESSON 5LESSON 5
Lesson OverviewIn this lesson, you will learn to: Create the code needed for a Web page to access an external style sheet. Create an external style sheet.

Module 2: HTML Basics
LESSON 5LESSON 5LESSON 5LESSON 5
Guiding Questions for Lesson 5 How can you tell if a Web site uses CSS? Look at the code of a few Web sites. Can you find the code that
tells the browser to access an external style sheet?
Module 2: HTML Basics
LESSON 5LESSON 5LESSON 5LESSON 5
Exploring Style Sheets Access the Zen Garden Web site to view the use of
style sheets.
http://www.csszengarden.com/ As you click on the name of a style, the Web page will
change to reflect that style. The location of the menu choices will change with each
style .
Module 2: HTML Basics
LESSON 5LESSON 5LESSON 5LESSON 5
Categories of Selectors First part of CSS Syntax is the selector: selector {property: value} Three categories of selectors:
HTML tag selector
Class selector
ID selector Each provides for a different way to create CSS syntax.
Module 2: HTML Basics
LESSON 5LESSON 5LESSON 5LESSON 5
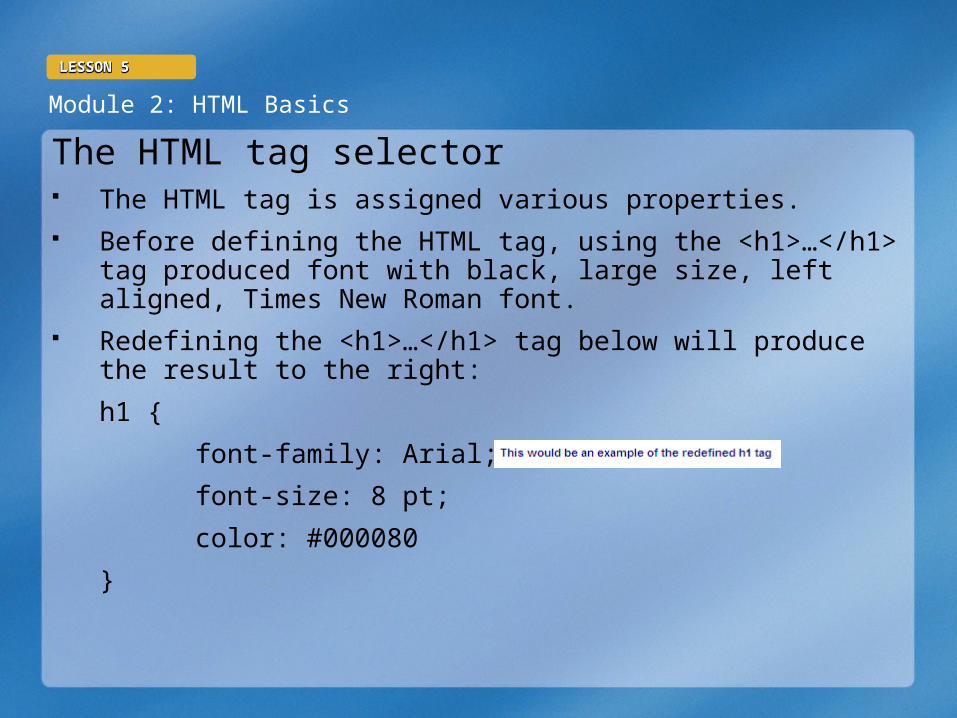
The HTML tag selector The HTML tag is assigned various properties. Before defining the HTML tag, using the <h1>…</h1> tag produced font
with black, large size, left aligned, Times New Roman font. Redefining the <h1>…</h1> tag below will produce the result to the right:
h1 {
font-family: Arial;
font-size: 8 pt;
color: #000080
}

Module 2: HTML Basics
LESSON 5LESSON 5LESSON 5LESSON 5
Class Selector Defines styles to use without affecting the existing HTML tags. Using the previous example, the <h1>…</h1> tag can be used as
needed for centering. h1.center {
font-family: Arial;
font-size: 8 pt;
color: #000080;
align=center
}
To use a class selector, a line of code telling the browser to switch to the use of the class selector needs to be added.
Add this line to the HTML page to switch to the class selector:
<h1 class=“center”> …… </h1>
Module 2: HTML Basics
LESSON 5LESSON 5LESSON 5LESSON 5
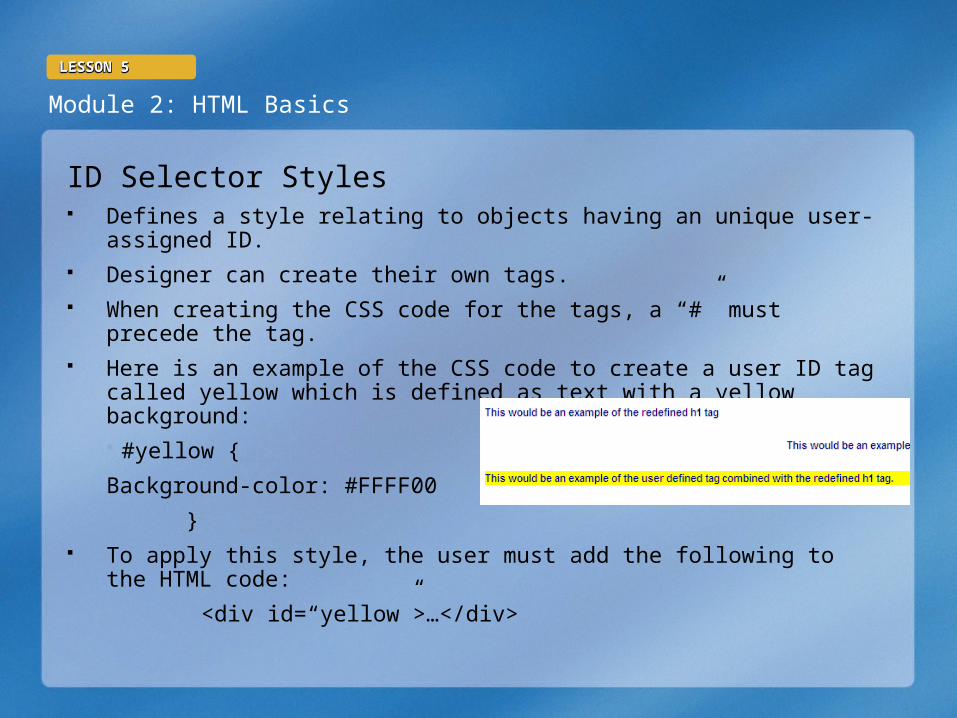
ID Selector Styles Defines a style relating to objects having an unique user-assigned ID. Designer can create their own tags. When creating the CSS code for the tags, a “#” must precede the tag. Here is an example of the CSS code to create a user ID tag called
yellow which is defined as text with a yellow background:
#yellow {
Background-color: #FFFF00
} To apply this style, the user must add the following to the HTML code:
<div id=“yellow”>…</div>
Module 2: HTML Basics
LESSON 5LESSON 5LESSON 5LESSON 5
Three ways to associate a Web page with a style sheet:
1. External style sheet
2. Internal style sheet
3. Inline styles
Module 2: HTML Basics
LESSON 5LESSON 5LESSON 5LESSON 5
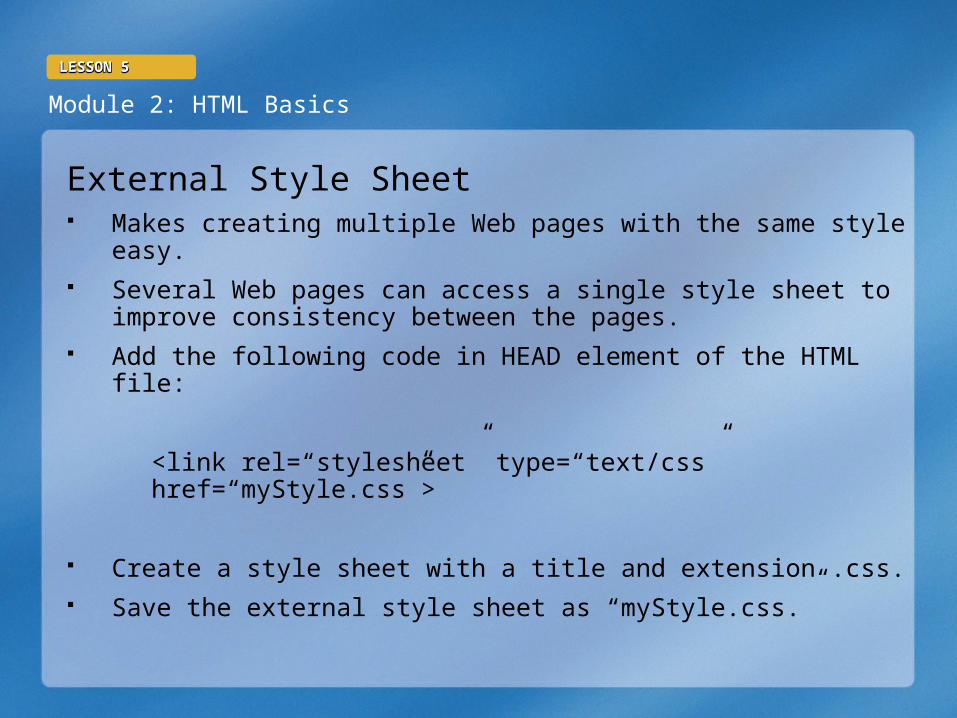
External Style Sheet Makes creating multiple Web pages with the same style easy. Several Web pages can access a single style sheet to improve consistency
between the pages. Add the following code in HEAD element of the HTML file:
<link rel=“stylesheet” type=“text/css” href=“myStyle.css”>
Create a style sheet with a title and extension .css. Save the external style sheet as “myStyle.css.”
Module 2: HTML Basics
LESSON 5LESSON 5LESSON 5LESSON 5
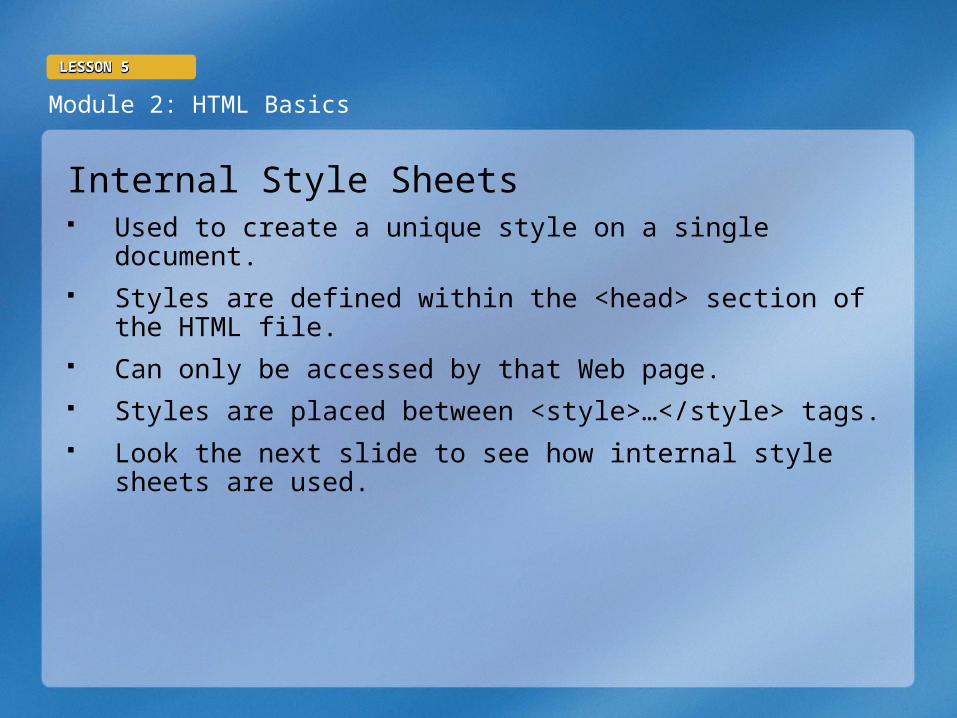
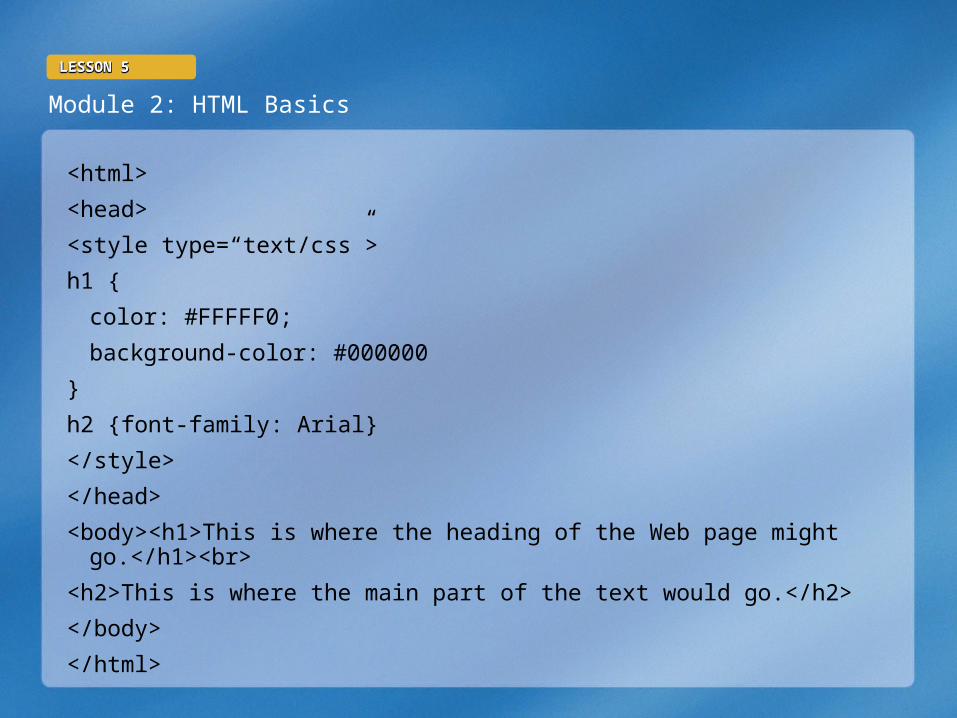
Internal Style Sheets Used to create a unique style on a single document. Styles are defined within the <head> section of the HTML file. Can only be accessed by that Web page. Styles are placed between <style>…</style> tags. Look the next slide to see how internal style sheets are used.
Module 2: HTML Basics
LESSON 5LESSON 5LESSON 5LESSON 5
<html>
<head>
<style type=“text/css”>
h1 {
color: #FFFFF0;
background-color: #000000
}
h2 {font-family: Arial}
</style>
</head>
<body><h1>This is where the heading of the Web page might go.</h1><br>
<h2>This is where the main part of the text would go.</h2>
</body>
</html>
Module 2: HTML Basics
LESSON 5LESSON 5LESSON 5LESSON 5
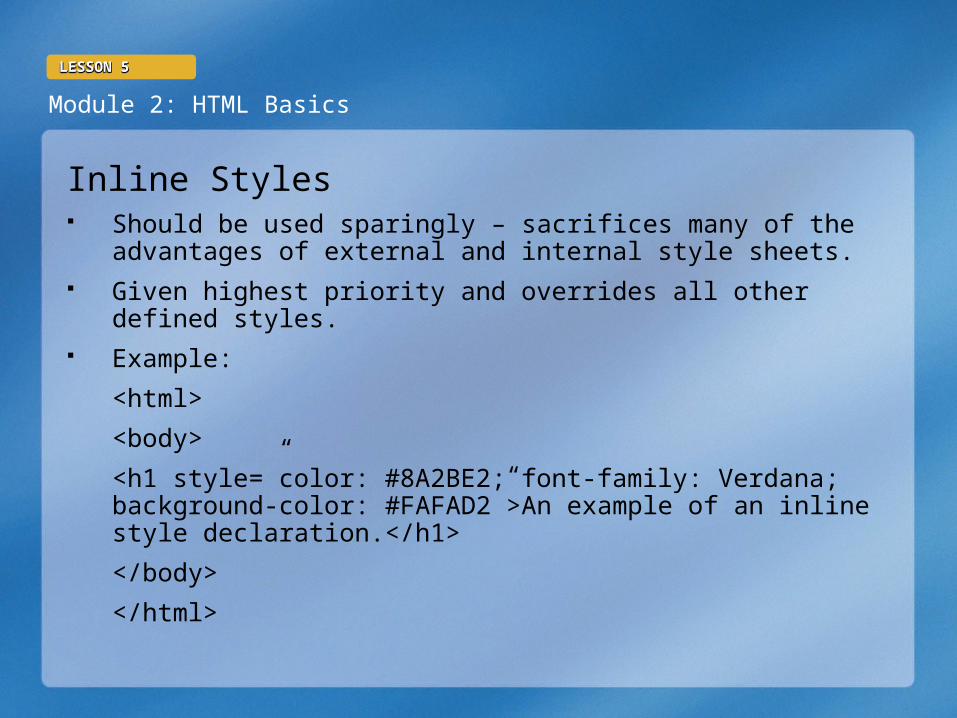
Inline Styles Should be used sparingly – sacrifices many of the advantages of external
and internal style sheets. Given highest priority and overrides all other defined styles. Example:
<html>
<body>
<h1 style=”color: #8A2BE2; font-family: Verdana; background-color: #FAFAD2”>An example of an inline style declaration.</h1>
</body>
</html>

Module 2: HTML Basics
LESSON 5LESSON 5LESSON 5LESSON 5
Practice: Complete the “Creating Style Sheets” worksheet. Complete the three challenges at the bottom of the worksheet.


