

MODULE 2
1SKILLS
Microsoft Windows 8
Navigating around Windows
Managing Files and Folders
Working with Windows Settings,
Accessories, Security, and Help © Paradigm Publishing, Inc.
2SKILLS© Paradigm Publishing, Inc.
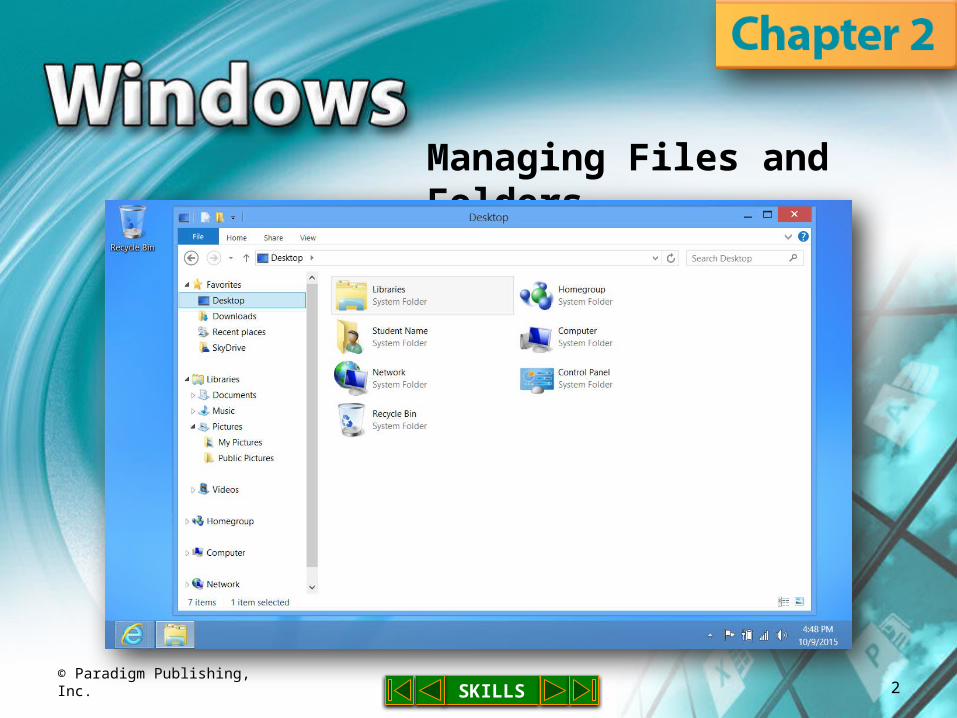
Managing Files and Folders

3SKILLS
Managing Files and Folders
© Paradigm Publishing, Inc.
A file is a collection of data that is stored on a hard drive or other storage medium
File names have two parts:– a descriptive name you assign, such as Resume– a file extension automatically assigned by the
application when you save the file
Using the context-sensitive ribbons in the File Explorer window, you can copy, rename, organize, delete, and search for files
By default, Windows contains four libraries: Documents, Music, Pictures, and Videos
4SKILLS
Skills You Learn
1. Use File Explorer
2. Copy a folder from the Student Resources disc
3. Create a folder
4. Rename files and folders
5. Compress and extract files
6. Search for files
7. Delete files and folders
8. Use the Recycle Bin
© Paradigm Publishing, Inc.

5SKILLS
Skill 1 Steps: Use File Explorer
1. Click the File Explorer button on the Taskbar
2. Double-click Pictures in the Libraries section of the Navigation pane
3. Click Desktop in the Favorites section of the Navigation pane to display desktop files and folders
4. Click the Back button to redisplay the Pictures library
© Paradigm Publishing, Inc.

6SKILLS
Skill 1 Visual: Use File Explorer
© Paradigm Publishing, Inc.
Double-click Pictures in the Libraries section of the Navigation pane.
Address bar
Status bar

7SKILLS© Paradigm Publishing, Inc.
Using the Preview and Details Views Open File Explorer, open a folder, and click a file to
select it Click Preview pane in the Panes group on the View
tab to see a thumbnail image of the file– click Preview pane again when you no longer wish to
display the Preview pane
Click Details pane to see a thumbnail image plus key properties of the file
You will find shortcut buttons to these views in the lower right corner of the File Explorer window:

8SKILLS© Paradigm Publishing, Inc.
Browsing a Location When a File Explorer window opens, the
Address bar displays the current location The path to reach the location is shown on the
Address bar as links with arrows between them– for example: Libraries ► Pictures
You can jump to a location by clicking its name in the Address bar
You can jump to a particular location in the path by clicking the arrow to the right of a link and then clicking a location from the displayed menu

9SKILLS
Skill 2 Steps: Copy a Folder from the Student Resources Disc
1. Insert the Student Resources disc into the CD/DVD drive
2. Insert your USB flash drive into a USB port
3. Press Win + D to open your desktop
4. Click the File Explorer button on the Taskbar
5. Right-click the disk drive in the Navigation pane and then click Open in new window
6. Click the Module2-Windows folder in the File List pane
© Paradigm Publishing, Inc.

10SKILLS
Skill 2 Steps…continued
7. Click the Home tab
8. Click the Copy button in the Clipboard group
9. Close the Guidelines13-StudentResources window
10. In the File Explorer window that is still open, click your USB drive (Removable Disk) in Computer section in the Navigation pane
11. Click the Paste button in the Clipboard group on the Home tab
© Paradigm Publishing, Inc.

11SKILLS
Skill 2 Visual: Copy a Folder from the Student Resources Disc
© Paradigm Publishing, Inc.
Click the Paste button in the Clipboard group on the Home tab.

12SKILLS© Paradigm Publishing, Inc.
Copying Folders Another Way Open two File Explorer windows and arrange
them so that both are visible on the screen You can then drag a folder from one window to
the other If you drag the folder to a different disk location,
the folder will be copied If the new folder location is on the same disk,
the folder will be moved

13SKILLS
Skill 3 Steps: Create a Folder
1. With your USB flash drive inserted and the desktop displayed, click the File Explorer button
2. Double-click Computer in the Navigation pane to expand the section and then click the removable disk drive name in the Navigation pane
3. Click the New Folder button in the New group on the Home tab to create a new folder
4. Type Module2-Skill3 and then press Enter
5. Double-click the Module2-Skill3 folder to open it
6. Click the Back button
© Paradigm Publishing, Inc.

14SKILLS
Skill 3 Visual: Create a Folder
© Paradigm Publishing, Inc.
Click the New Folder button in the New group on the Home tab.
15SKILLS© Paradigm Publishing, Inc.
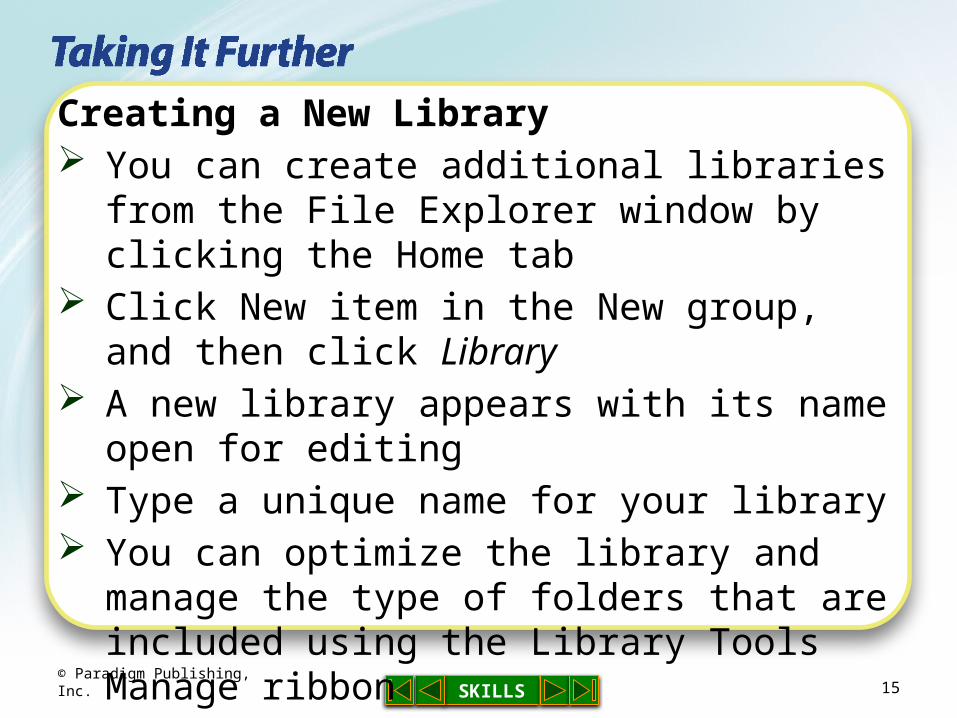
Creating a New Library You can create additional libraries from the File
Explorer window by clicking the Home tab Click New item in the New group, and then click
Library A new library appears with its name open for
editing Type a unique name for your library You can optimize the library and manage the
type of folders that are included using the Library Tools Manage ribbon

16SKILLS
Skill 4 Steps: Rename Files and Folders
1. With your USB flash drive inserted and the desktop displayed, click the File Explorer button
2. Double-click Computer in the Navigation pane expand the section and then click the removable disk drive name to see the list of files or folders saved on your USB flash drive
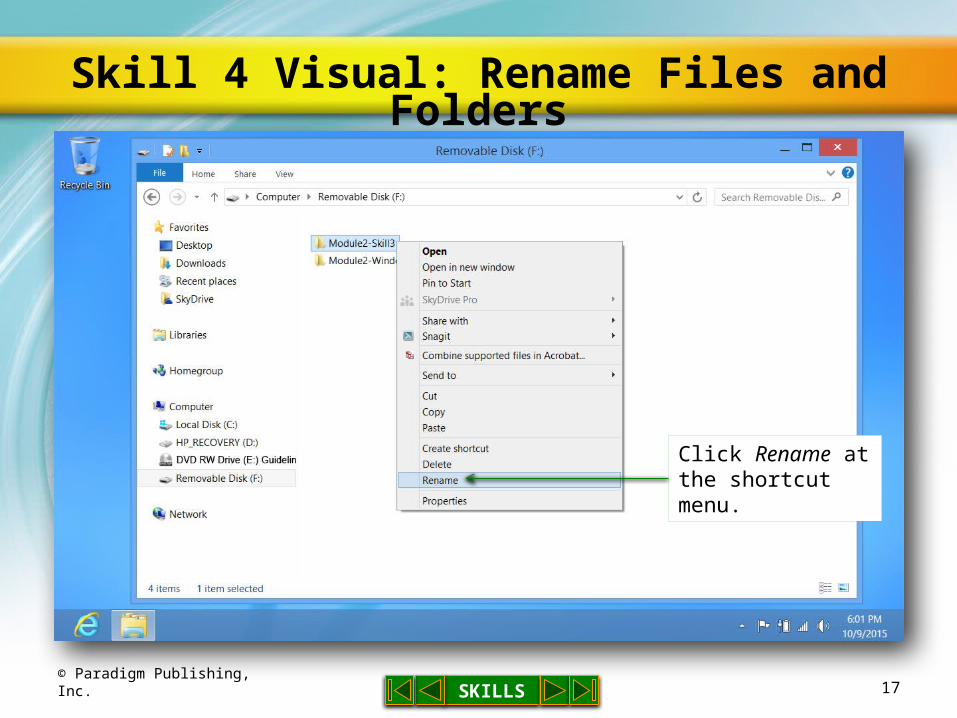
3. Right-click the Module2-Skill3 folder to display the shortcut menu
4. Click Rename
5. Type Module2-Practice and then press Enter© Paradigm Publishing, Inc.
17SKILLS
Skill 4 Visual: Rename Files and Folders
© Paradigm Publishing, Inc.
Click Rename at the shortcut menu.
18SKILLS© Paradigm Publishing, Inc.
Displaying File Extensions If you prefer to have Windows display file
extensions, follow these steps:1. click the View tab in a File Explorer window
2. click the File name extensions check box in the Show/Hide ¶ group to insert a check mark
19SKILLS© Paradigm Publishing, Inc.
Renaming Multiple Files To rename a series of files in a File Explorer
window, follow these steps:1. hold down the Ctrl key and click each file you want
to rename
2. press the F2 key, type the prefix you will use to rename the files, and then press Enter
The computer automatically adds the parenthetical numbers after your prefix to differentiate the files

20SKILLS
Skill 5 Steps: Compress and Extract Files
1. With your USB flash drive inserted and the desktop displayed, click the File Explorer button
2. Double-click Computer in the Navigation pane to expand the section and then click the removable disk drive name
3. Right-click the Module2-Windows folder
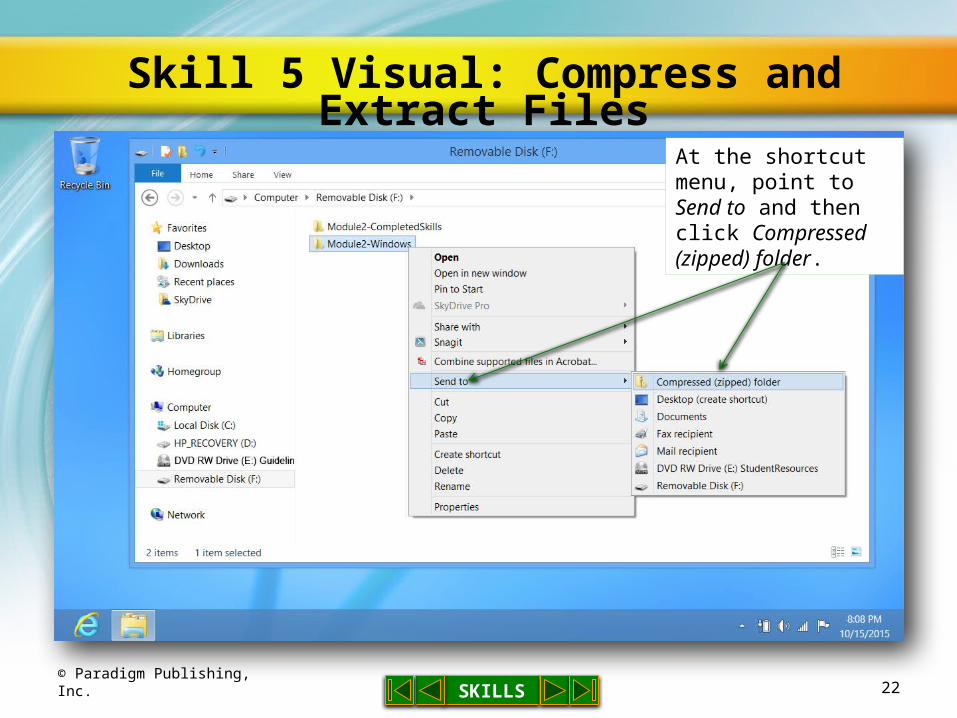
4. At the shortcut menu, point to Send to and then click Compressed (zipped) folder
5. Press Enter to accept the default name
6. Double-click the compressed Module2-Windows folder
© Paradigm Publishing, Inc.

21SKILLS
Skill 5 Steps…continued
7. Click the Compressed Folder Tools Extract tab and then click the Extract All button to open the Extract Compressed (Zipped) Folders dialog box
8. Click the Browse button
9. In the Select a destination dialog box, browse to the Module2-CompletedSkills folder and click it
10. Click OK to close the Select a destination dialog box
11. Click the Extract button in the Extract Compressed (Zipped) Folders dialog box
© Paradigm Publishing, Inc.
22SKILLS
Skill 5 Visual: Compress and Extract Files
© Paradigm Publishing, Inc.
At the shortcut menu, point to Send to and then click Compressed (zipped) folder.

23SKILLS
Skill 6 Steps: Search for Files
1. With your USB flash drive inserted and the desktop displayed, click the File Explorer button
2. Double-click Computer in the Navigation pane to expand the section and then click the removable disk drive name
3. Click in the search box and type Module2
4. Click the Clear button next to the search box
5. In the search box, type *.zip
6. Click the Clear button next to the search box
© Paradigm Publishing, Inc.

24SKILLS
Skill 6 Visual: Search for Files
© Paradigm Publishing, Inc.
Click in the search box and type Module2.
25SKILLS© Paradigm Publishing, Inc.
Repeating a Search and Using Search Filters When you click in a search box in a File
Explorer window, previous searches are displayed in a drop-down list
Click a previous search to repeat it The Refine group on the Search Tools Search
tab contains filter categories that you can use to refine your search

26SKILLS
Skill 7 Steps: Delete Files and Folders
1. With your USB flash drive inserted and the desktop displayed, click the File Explorer button
2. Double-click Computer in the Navigation pane to expand the section and double-click the removable disk drive name in the Navigation pane
3. Right-click the zipped Module2-Windows folder in the File List pane to display a shortcut menu
4. Click Delete
5. At the warning dialog box, click Yes© Paradigm Publishing, Inc.

27SKILLS
Skill 7 Visual: Delete Files and Folders
© Paradigm Publishing, Inc.
Click Delete at the shortcut menu.

28SKILLS© Paradigm Publishing, Inc.
Deleting Multiple Files If you want to delete a series of files listed one
after the other, select the files as follows:– select adjacent files by clicking the first file and then
holding down the Shift key while clicking the last file– select nonadjacent files by clicking the first file and
then holding down the Ctrl key while clicking the other files
Once you’ve selected the files, click the Delete button in the Organize group on the Home tab
29SKILLS
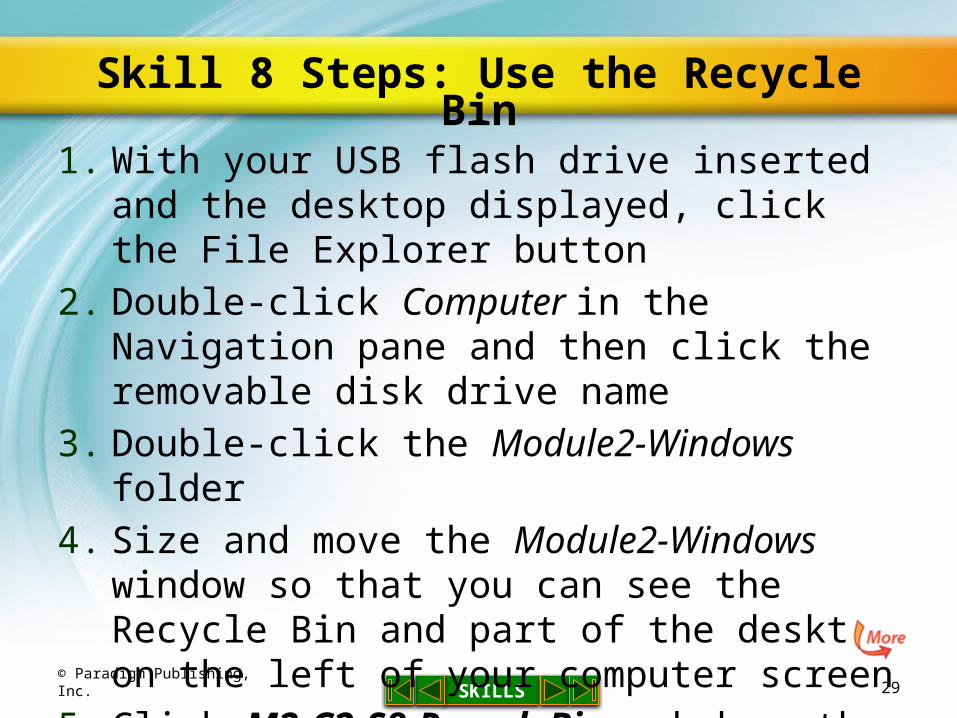
Skill 8 Steps: Use the Recycle Bin
1. With your USB flash drive inserted and the desktop displayed, click the File Explorer button
2. Double-click Computer in the Navigation pane and then click the removable disk drive name
3. Double-click the Module2-Windows folder
4. Size and move the Module2-Windows window so that you can see the Recycle Bin and part of the desktop on the left of your computer screen
5. Click M2-C2-S8-RecycleBin and drag the file onto your desktop
© Paradigm Publishing, Inc.
30SKILLS
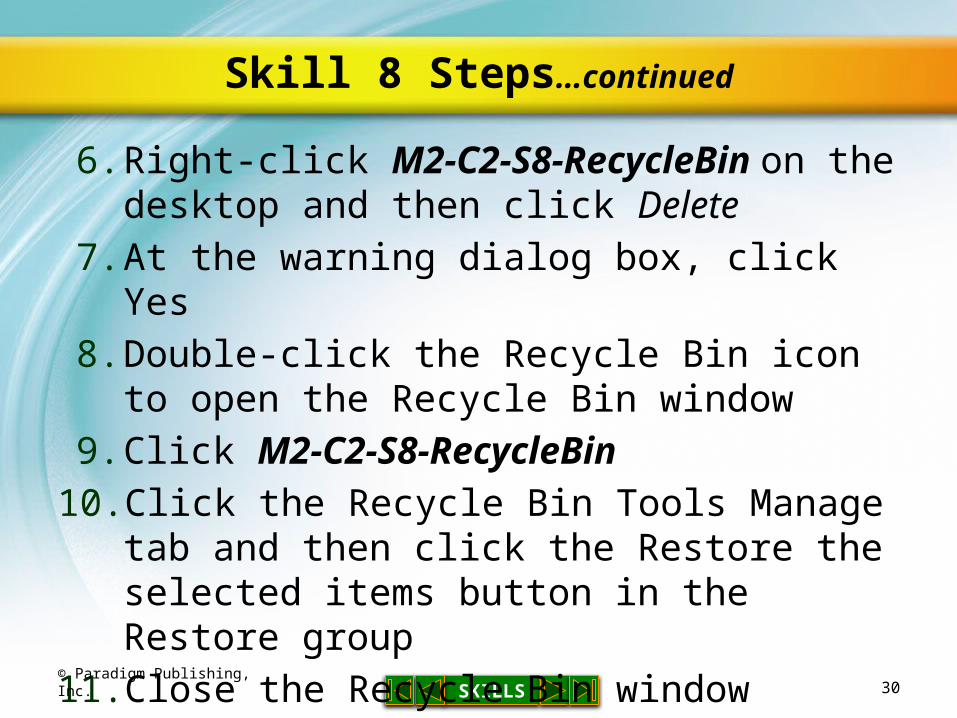
Skill 8 Steps…continued
6. Right-click M2-C2-S8-RecycleBin on the desktop and then click Delete
7. At the warning dialog box, click Yes
8. Double-click the Recycle Bin icon to open the Recycle Bin window
9. Click M2-C2-S8-RecycleBin
10. Click the Recycle Bin Tools Manage tab and then click the Restore the selected items button in the Restore group
11. Close the Recycle Bin window
© Paradigm Publishing, Inc.
31SKILLS
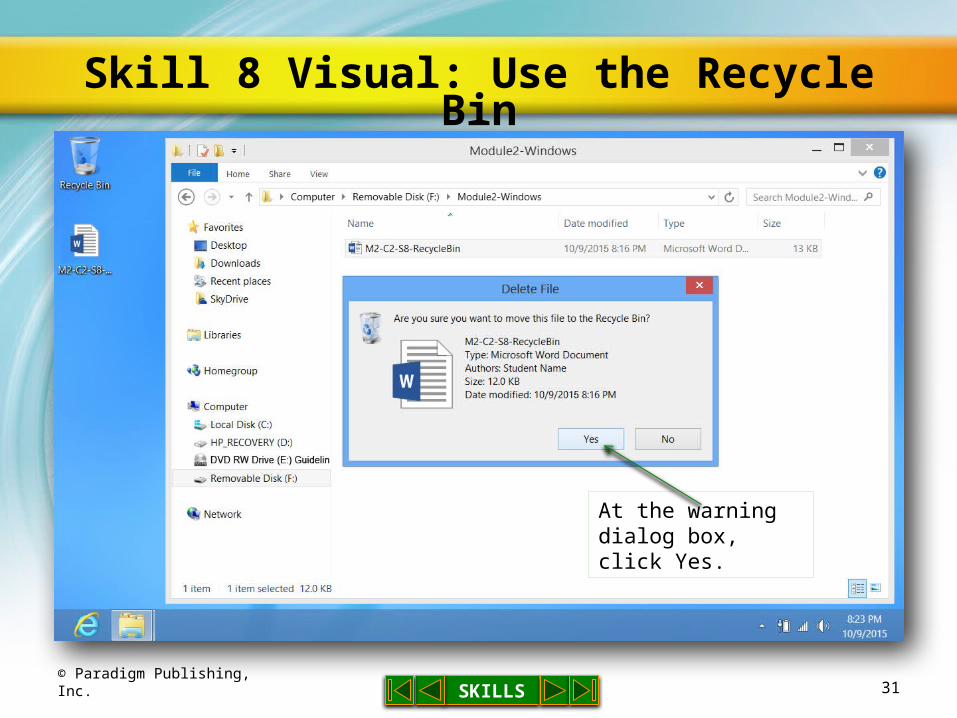
Skill 8 Visual: Use the Recycle Bin
© Paradigm Publishing, Inc.
At the warning dialog box, click Yes.
32SKILLS© Paradigm Publishing, Inc.
Adjusting the Recycle Bin Properties The maximum storage size of the Recycle Bin
can be adjusted by following these steps:1. right-click the Recycle Bin icon
2. click Properties
3. enter a different number in the Maximum size (MB) box
You can also turn off the Recycle Bin by selecting the option Don’t move files to the Recycle Bin. Remove files immediately when deleted.


