

Installation instructions for Canon Printer PIXMA iP1900
Installation Instructions
forCanon Printer
PIXMAiP1900ONLY
Created by Javier Ramirez © Page 1 of 14
Installation instructions for Canon Printer PIXMA iP1900
Step 1
Connect printer to Power
Do not connect the USB cable yet
Step 2
Insert CD driver into PC
Step 3
Select the option below
Created by Javier Ramirez © Page 2 of 14

Installation instructions for Canon Printer PIXMA iP1900
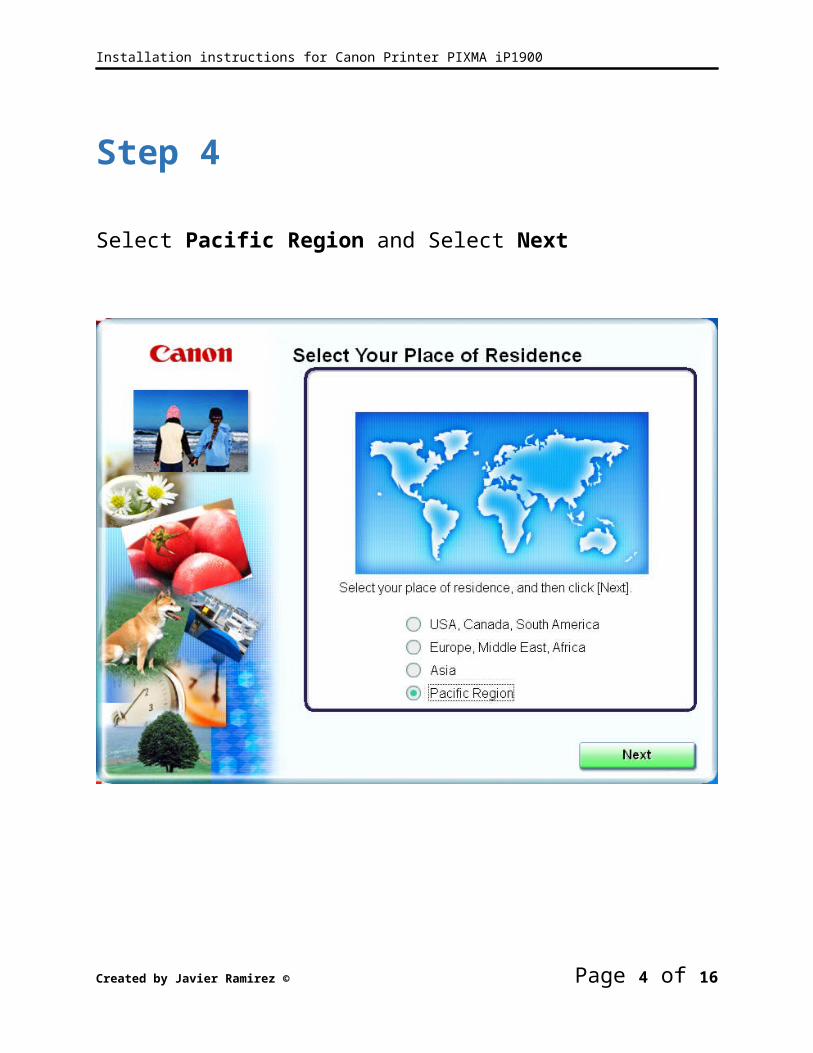
Step 4
Select Pacific Region and Select Next
Created by Javier Ramirez © Page 3 of 14
Installation instructions for Canon Printer PIXMA iP1900
Step 5
Select Easy Install option
Created by Javier Ramirez © Page 4 of 14

Installation instructions for Canon Printer PIXMA iP1900
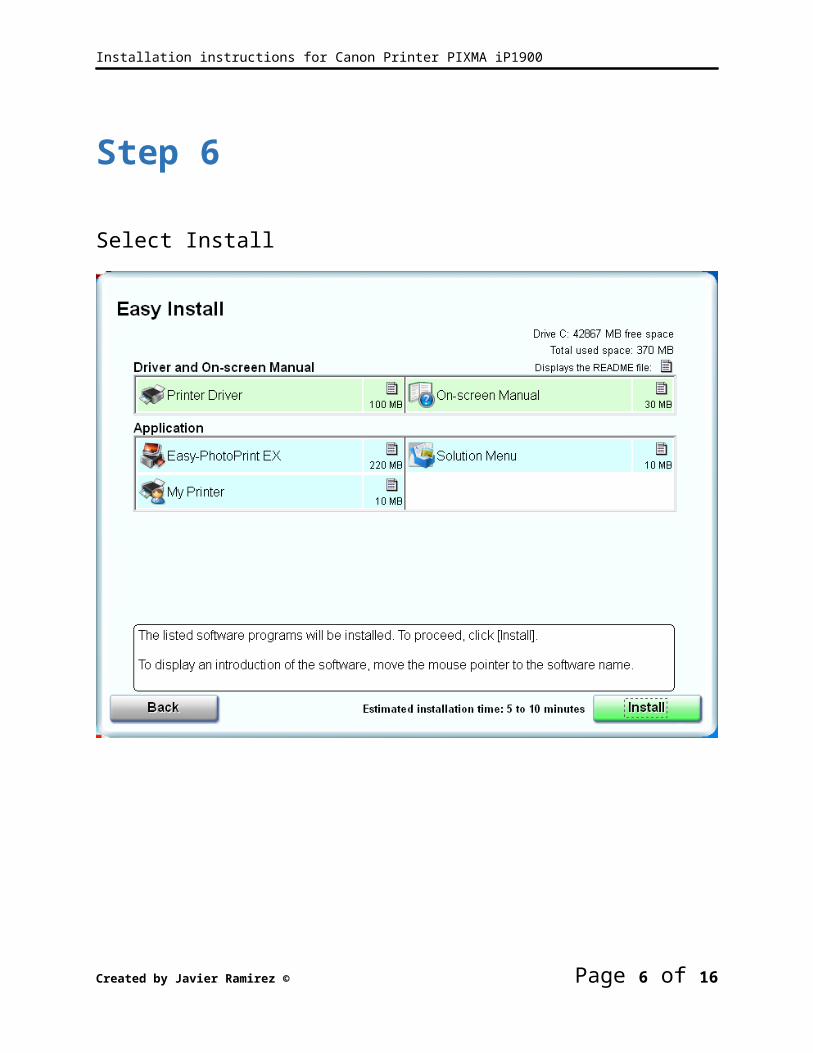
Step 6
Select Install
Created by Javier Ramirez © Page 5 of 14
Installation instructions for Canon Printer PIXMA iP1900
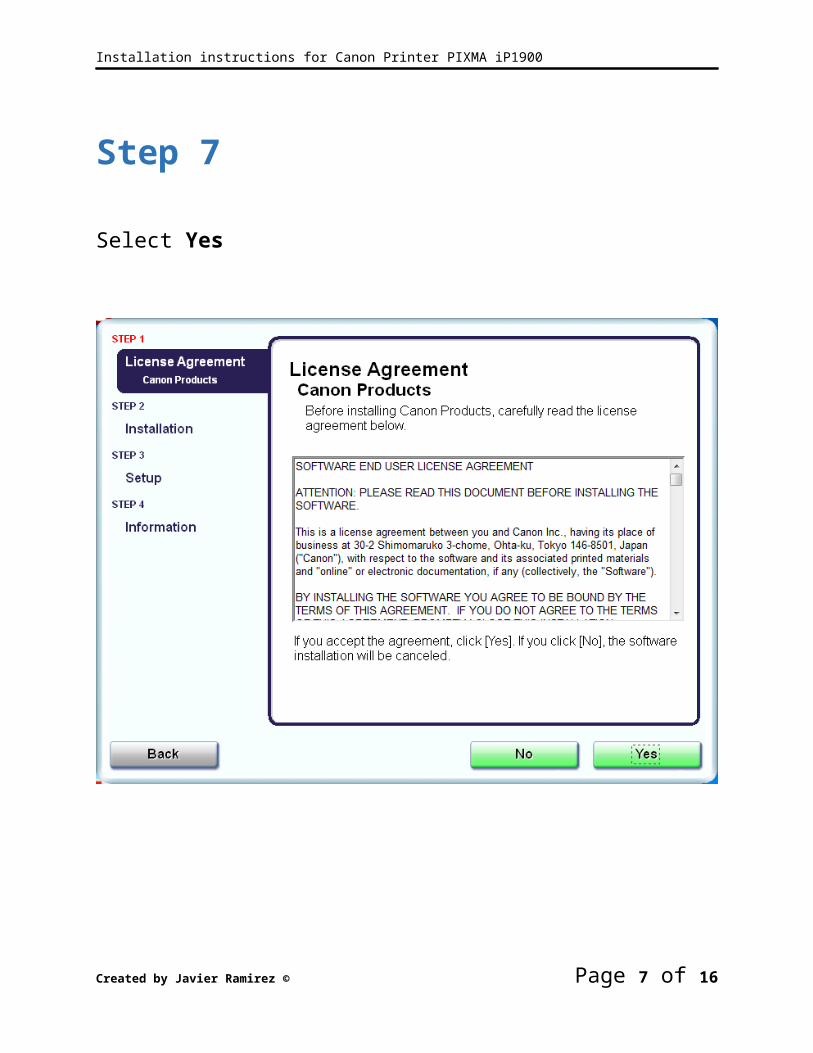
Step 7
Select Yes
Created by Javier Ramirez © Page 6 of 14
Installation instructions for Canon Printer PIXMA iP1900
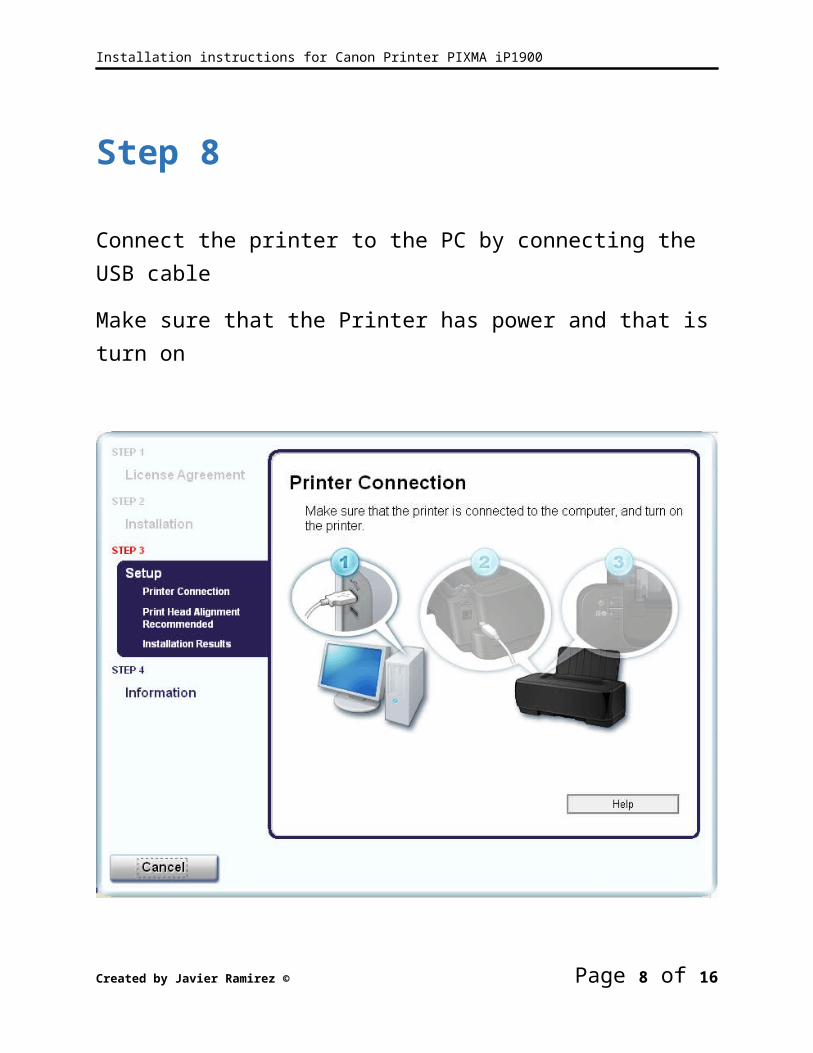
Step 8
Connect the printer to the PC by connecting the USB cable
Make sure that the Printer has power and that is turn on
Created by Javier Ramirez © Page 7 of 14
Installation instructions for Canon Printer PIXMA iP1900
Created by Javier Ramirez © Page 8 of 14

Installation instructions for Canon Printer PIXMA iP1900
Step 9
Select Next
Created by Javier Ramirez © Page 9 of 14

Installation instructions for Canon Printer PIXMA iP1900
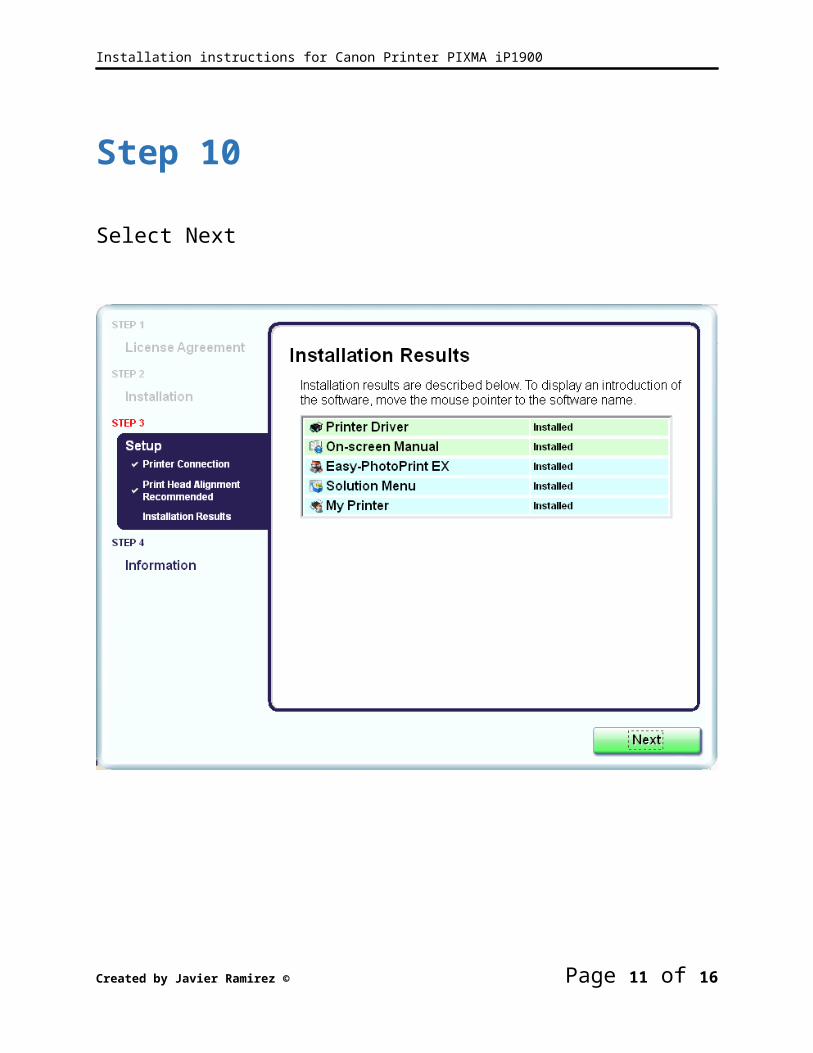
Step 10
Select Next
Created by Javier Ramirez © Page 10 of 14
Installation instructions for Canon Printer PIXMA iP1900
Step 11
Select Agree
Created by Javier Ramirez © Page 11 of 14

Installation instructions for Canon Printer PIXMA iP1900
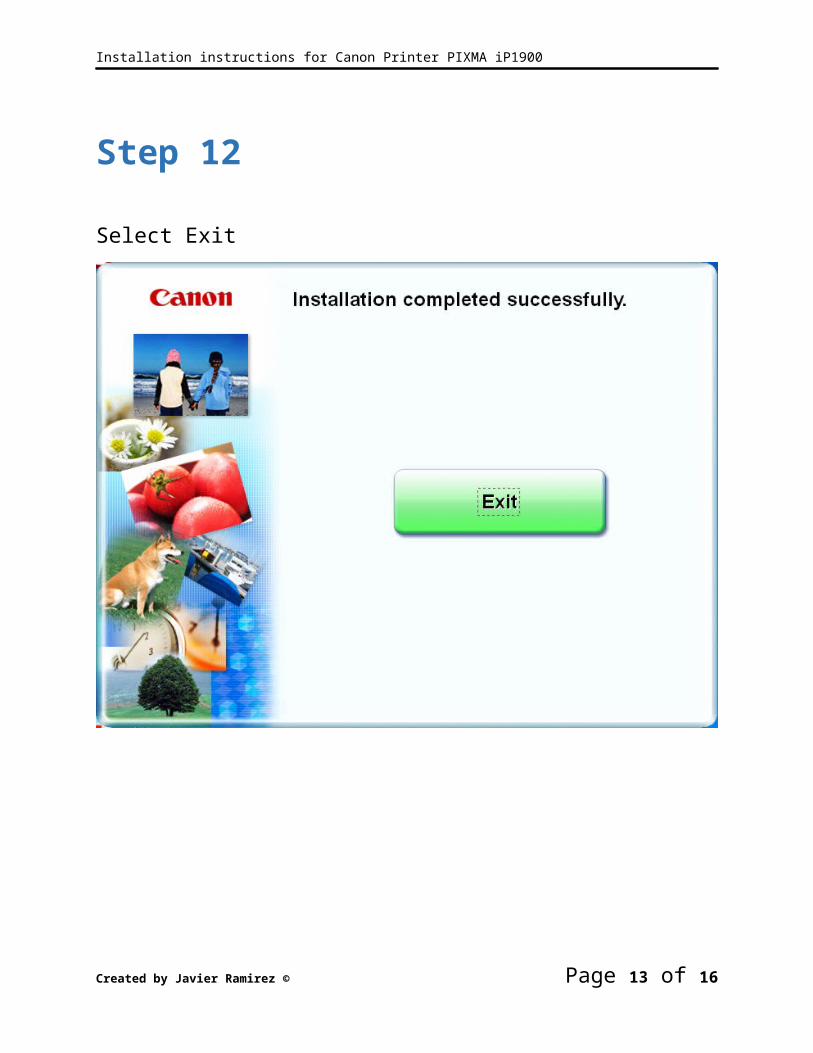
Step 12
Select Exit
Created by Javier Ramirez © Page 12 of 14
Installation instructions for Canon Printer PIXMA iP1900
Step 13
Check if printer was installed properly by selecting device and printers icon below
Created by Javier Ramirez © Page 13 of 14

Installation instructions for Canon Printer PIXMA iP1900
Step 14
Make sure that you can see the new printer with its proper icon
Created by Javier Ramirez © Page 14 of 14


