
Copyright 2012 A Journey Through Learning 1
Sam
ple
file

Please check our website at:www.ajourneythroughlearning.com
While there, sign up for our email newsletter and receive a FREE lapbook!You’ll also receive great discount codes, special offers, and find out
what’s new and what’s to come!
Join us on Face Book!
Clipart is from Art Explosion 800,000 andwww.clipart.com with permission
Logo and Mascots pictures taken from http://www.london2012.com/games/
Authors: Paula Winget and Nancy FilecciaCopyright 2012
Can be copied for members of your household only.
Copyright 2012 A Journey Through Learning 2
Sam
ple
file
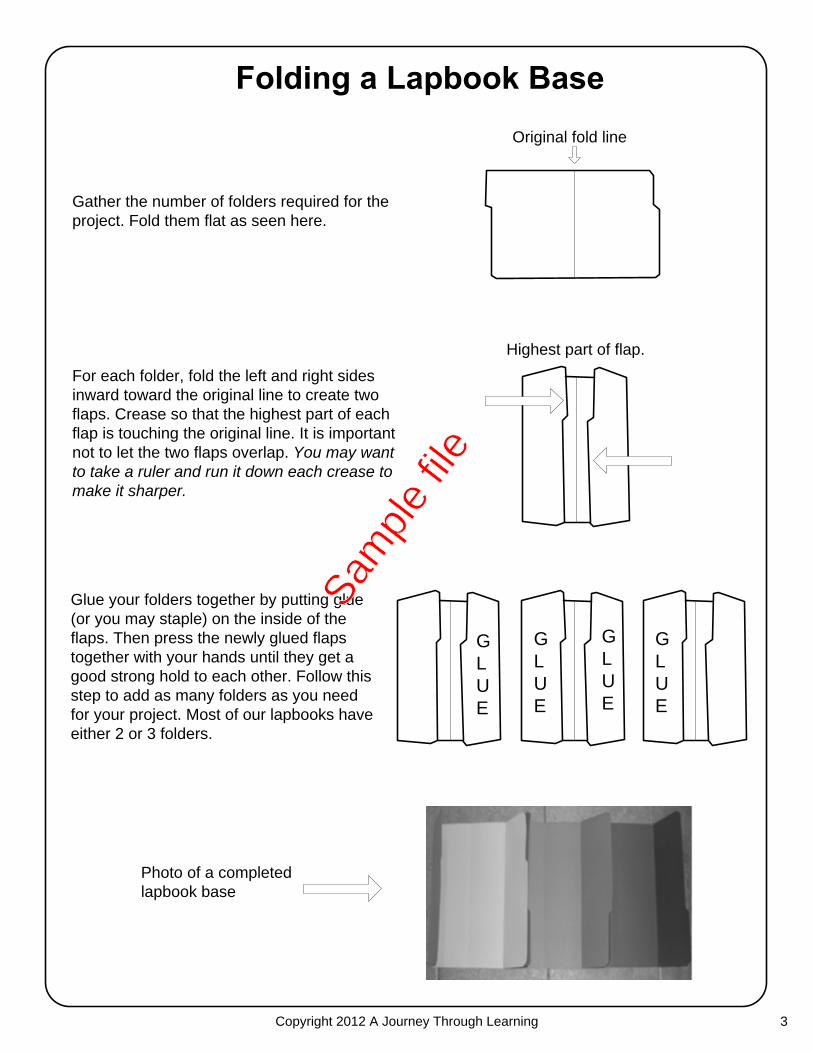
Gather the number of folders required for the project. Fold them flat as seen here.
Original fold line
For each folder, fold the left and right sides inward toward the original line to create two flaps. Crease so that the highest part of each flap is touching the original line. It is important not to let the two flaps overlap. You may want to take a ruler and run it down each crease to make it sharper.
Highest part of flap.
GLUE
GLUE
Glue your folders together by putting glue (or you may staple) on the inside of the flaps. Then press the newly glued flaps together with your hands until they get a good strong hold to each other. Follow this step to add as many folders as you need for your project. Most of our lapbooks have either 2 or 3 folders.
GLUE
GLUE
Photo of a completedlapbook base
Copyright 2012 A Journey Through Learning 3
Sam
ple
file

*Lapbook Pages*3 Colored File Folders*Scissors*Glue*Stapler*Brads (not needed for every lapbook. If brads are not available, a stapler will do.)*Hole Puncher (again, not needed for every lapbook.)
To make the storage system (optional)See details below about the use of a storage system.*Duct tape (any color)*One 3-ring binder*Hole Puncher
My child has made several lapbooks. Can I store all of the lapbooks together in one place?
Yes! A three-ring binder serves as a great place to keep your lapbooks. This method of storage not only keeps your lapbooks from getting lost but also keeps them neat and readily available to share with dad, grandparents, friends, etc. When you are through sharing your lapbooks, just place the three-ring binder back on your bookshelf! Below are step-by-step directions of how to prepare each lapbook to be placed a in a three-ring binder.
Supplies and Storage
Close the lapbook. Measure a piece of duct tape that is as long as the lapbook. Place the edge of the duct tape on the top edge of the lapbook. Then fold the duct tape over so that it can be placed on the bottom edge. Make sure to leave enough duct tape sticking out from the edges to punch three holes. Be careful when punching the holes that you do not punch the holes in the folder. If you do, that’s okay. Then place in three-ring binder. Depending on the size of your three-ring binder, you can store many lapbooks in it.
Copyright 2012 A Journey Through Learning 4
Sam
ple
file

1. Label your tabs: Study Guide/Mini Booklets, Book Log, NICK Notes(easier) or Outline Form (harder), Biography Reports, What I Learned Pages (Copywork and Notebooking, if using these).
2. You will find a master copy of all of these special pages at the back of the lapbook packet. Make copies of the NICK Notes or Outline Form, Biography Report (if included), and What I Learned Pages and put them behind the tabs. Make more copied of the Book Log if your child reads a lot and needs more room to log books. We will explain how your child can use all of these enrichment pages later.
3. Hole punch your study guide and mini-booklets sheets and place behind the Study Guide tab. You will read a page of a study guide. Behind the study guide is the booklet(s) that goes with that study guide.
4. Keeping your office supplies handy-Measure the bottom of a quart size zip-lock bag. Then measure out a strip of duct tape that length. Lay the zip-lock bag on the lower edge of the tape. Fold the other end of the tape down on the zip-lock bag. Your duct tape should be sticking out from the bag. Now, you can hole punch the duct tape strip. DO NOT HOLE PUNCH INTO THE BAG! Then put it into your 3-ring binder. Use this bag to store items you will be using for your lapbook. Glue, scissors, hole puncher, stapler and extra staples, crayons, pencils, brads, ribbon, and any unfinished work. Doing this one step keeps you from having to constantly gather supplies every time you want to work on your lapbook!
Supplies Need:
½ inch three-ring binder
5 tabs (if you are using our copywork and/or notebooking pages, you will need to have 7 tabs. Label with copywork and notebooking)
Quart size baggies
Duct tape
Your study guide and mini-booklets pages and copies of the enrichment pages at the end
Office supplies-glue, scissors, brads, stapler, pencils, crayons, and ribbon (if needed)
Tips and tricks to go the extra mile! (optional)
Copyright 2012 A Journey Through Learning 5
Sam
ple
file

Folder 1
Who Were the Ancient
Greeks?
Origin of theOlympicGames
Olympia
AncientGreek
Government
Honor ofwhichgod?
Where were the first Ancient
Olympicgames held?
AncientOlympicPrizes
Ancient OlympicStadium
Folder 2
Torch Relay
Events
Folder 3
Archery
Football
Tennis
Fencing
Swim-ming
Wrest-ling
Bad-minton
Basket-ball
Diving
Hockey Rowing Sailing
TriathlonVolley-
ballWaterPolo
SymbolsAnd
Mascots
Word Search
The Medals
OlympicDates
MapOf
England
Copyright 2012 A Journey Through Learning 6
Sam
ple
file

Table of Contents
Photo of assembled Summer Olympics lapbook
Copyright 2012 A Journey Through Learning 7
Sam
ple
file

Complete the scene- Pretend that you have been asked to carry the torch. Draw yourself. Add details like the stadium and crowd around you. Cut out and glue onto the front of your closed booklet.
Copyright 2012 A Journey Through Learning 8
Sam
ple
file

Time Line and Triviaof the Modern Olympic Games
Athens, 1896 - The first modern Olympic Games and the first Summer Olympics.
Paris, 1900 - Women took part for the first time.St Louis, 1904 - Gold, silver and bronze medals were awarded for first, second
and third prize respectively.London, 1908 Stockholm, 1912 - For the first time competitors came from all five continents
symbolized in the Olympic rings.Antwerp, 1920- First time for the Olympic oath, Olympic flag, and release of
doves. Paris, 1924 Amsterdam, 1928- Olympic torch lit.Los Angeles, 1932 Berlin, 1936- Jesse Owens, an African-American athlete in the times of racial
discrimination, won four gold medals.London, 1948Helsinki, 1952 Melbourne / Stockholm, 1956 Rome, 1960 Tokyo, 1964Mexico, 1968-The only games to be held in Latin America.Munich, 1972 Montreal, 1976 Moscow, 1980-The United States boycotts the games in protest to the USSR
invading Afghanistan.Los Angeles ,1984Seoul, 1988 Barcelona, 1992 Atlanta, 1996Sydney, 2000- Referred to as the “Games of the New Millennium.”Athens, 2004 Beijing, 2008 Canada, 2010London, 2012
Cut out and glue to back of closed lapbook
Copyright 2012 A Journey Through Learning 9
Sam
ple
file
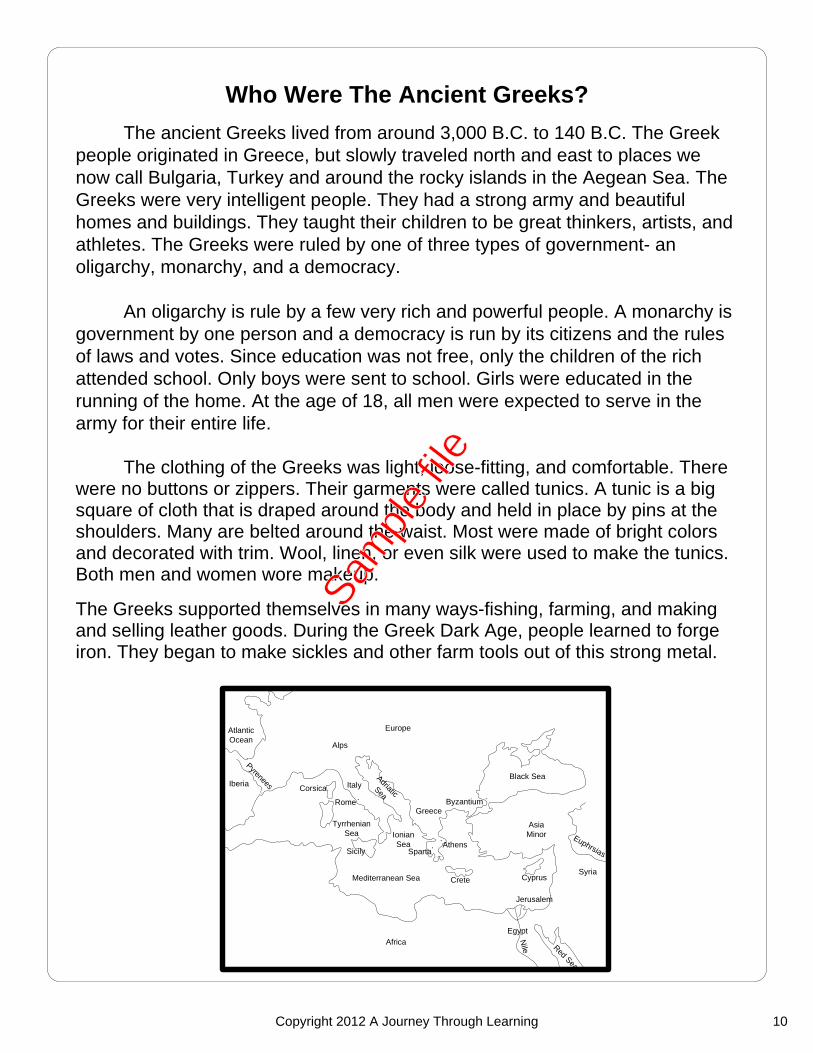
Who Were The Ancient Greeks?
The ancient Greeks lived from around 3,000 B.C. to 140 B.C. The Greek people originated in Greece, but slowly traveled north and east to places we now call Bulgaria, Turkey and around the rocky islands in the Aegean Sea. The Greeks were very intelligent people. They had a strong army and beautiful homes and buildings. They taught their children to be great thinkers, artists, and athletes. The Greeks were ruled by one of three types of government- an oligarchy, monarchy, and a democracy.
An oligarchy is rule by a few very rich and powerful people. A monarchy is government by one person and a democracy is run by its citizens and the rules of laws and votes. Since education was not free, only the children of the rich attended school. Only boys were sent to school. Girls were educated in the running of the home. At the age of 18, all men were expected to serve in the army for their entire life.
The clothing of the Greeks was light, loose-fitting, and comfortable. There were no buttons or zippers. Their garments were called tunics. A tunic is a big square of cloth that is draped around the body and held in place by pins at the shoulders. Many are belted around the waist. Most were made of bright colors and decorated with trim. Wool, linen, or even silk were used to make the tunics. Both men and women wore makeup.
The Greeks supported themselves in many ways-fishing, farming, and making and selling leather goods. During the Greek Dark Age, people learned to forge iron. They began to make sickles and other farm tools out of this strong metal.
Africa
Mediterranean Sea Crete
SpartaAthens
Greece
Adriatic Sea
Rome
Tyrrhenian Sea Ionian
Sea
Europe
Corsica ItalyBlack Sea
Byzantium
Asia Minor
Cyprus
Jerusalem
Egypt
Red Sea
Nile
Syria
Euphrsias
Iberia
Pyrenees
Atlantic Ocean
Alps
Sicily
. .
.
..
Copyright 2012 A Journey Through Learning 10
Sam
ple
file

Read Who Were The Ancient Greeks? Cut out as one booklet. Fold down flap and then fold over the other. Glue into lapbook. Cut out the labels and glue onto blank sides of booklet.Directions: Answer the questions.
Who were the Ancient Greeks?
Folder 1
Copyright 2012 A Journey Through Learning 11
Sam
ple
file

Read Who Were The Ancient Greeks?Cut out each piece. Fasten together at the top with a brad (or staple). Glue into lapbook.Directions: Inside, explain each type of government.
Ancient Greek
Government
Folder 1
Copyright 2012 A Journey Through Learning 12
Sam
ple
file

Copyright 2012 A Journey Through Learning 13
Sam
ple
file

The Origin of the Ancient Olympic
Games
The Ancient Olympic Games were a religious event for the Greeks to honor their greatest god, Zeus. The games were first played in 776 B.C. and continued until 393 A.D. Held in Olympia, Greece, representatives from various city-states across Greece got together to compete in athletic games.
Prizes were awarded to winners in each competition. Prizes may have included olive wreaths, palm branches, and woolen ribbons. The games were just for men. Women were forbidden to participate.
The Ancient Olympics were held every four years. This period became known as an “Olympiad” and was used as a reference point to date events in Greece.
Copyright 2012 A Journey Through Learning 14
Sam
ple
file
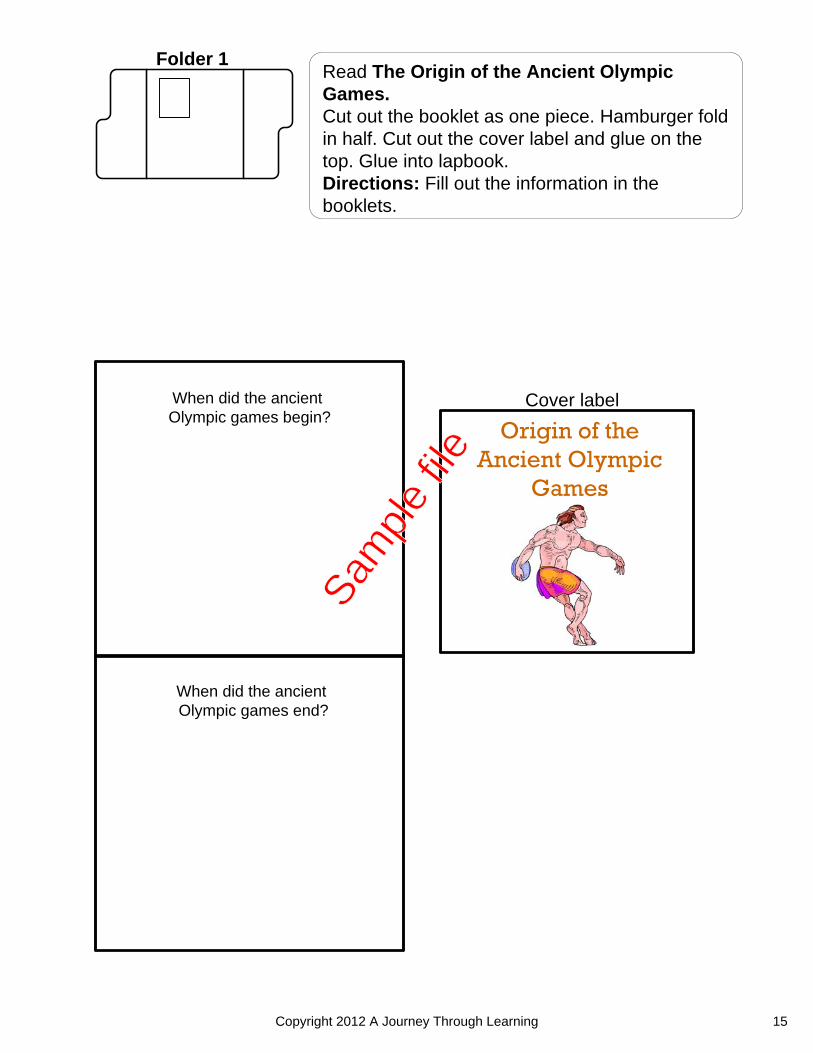
Cover label
Origin of the Ancient Olympic
Games
Read The Origin of the Ancient Olympic Games.Cut out the booklet as one piece. Hamburger fold in half. Cut out the cover label and glue on the top. Glue into lapbook. Directions: Fill out the information in the booklets.
When did the ancientOlympic games begin?
When did the ancientOlympic games end?
Folder 1
Copyright 2012 A Journey Through Learning 15
Sam
ple
file
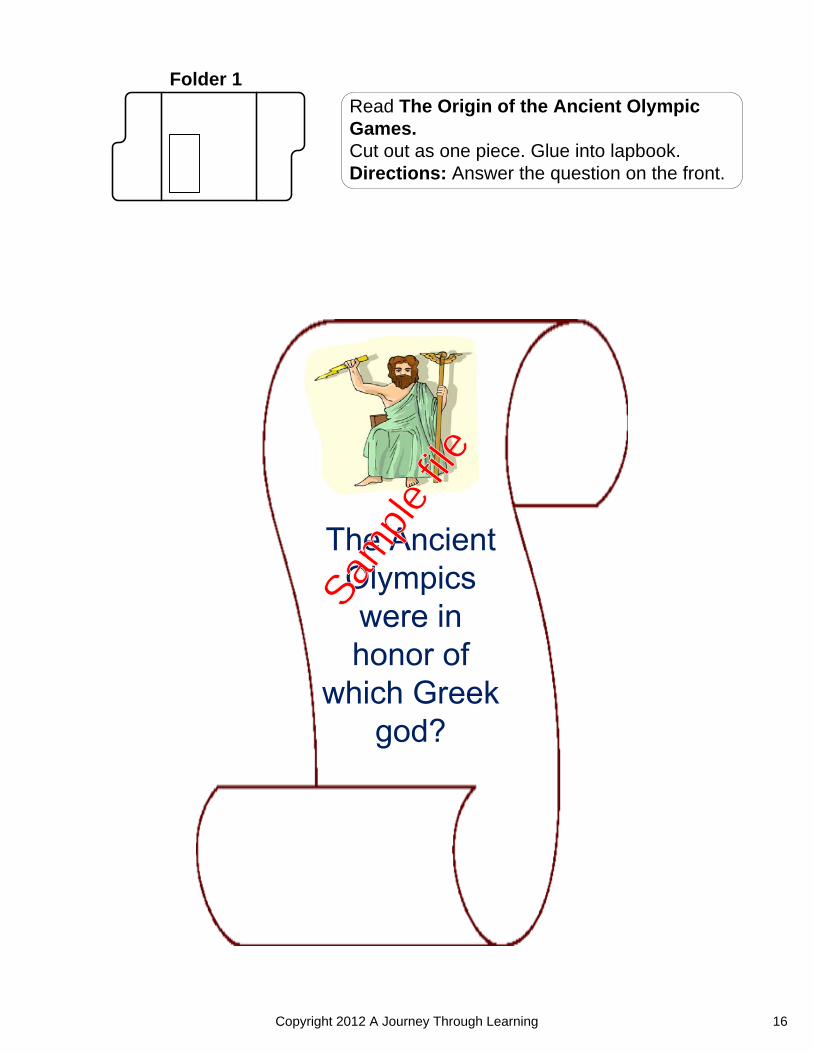
Read The Origin of the Ancient Olympic Games.Cut out as one piece. Glue into lapbook.Directions: Answer the question on the front.
Folder 1
Copyright 2012 A Journey Through Learning 16
Sam
ple
file


