48
© Park University, 2006 Creating an Interactive Web Page with DHTML and JavaScript Park University
| Date post: | 31-Mar-2015 |
| Category: |
Documents |
| Upload: | jolie-holmes |
| View: | 222 times |
| Download: | 0 times |

© Park University, 2006
Creating an Interactive Web Page with DHTML and
JavaScriptPark University
© Park University, 2006
Topics• Core Learning Outcomes:
– #2 Demonstrate creativity and problem-solving skills.
– #4 Debug and test Web programs. – #5 Write Web pages and programs that use
proper style. – #6 Write Web pages and Web programs
that use: XHTML, JavaScript, CSS, DHTML
• Topics included in this tutorial:– DHTML
© Park University, 2006
DHTML• A dynamic HTML document (DHTML) is:
– one whose tag attributes, tag contents, or element style properties can be changed after the document has been downloaded, and is still being displayed by a browser
– Uses a combination of HTML, CSS, and JavaScript
© Park University, 2006
Element Positioning• Positioning was covered with CSS.
– CSS-P is CSS Positioning – where CSS is used to position elements (absolute, relative and static positioning)
– CSS-P was released by W3C in 1997– Completely supported by IE6 and NS7
• Review– Please review absolute and relative
positioning examples from your CSS presentation in week 5!
© Park University, 2006
Moving Elements• If position is set to either absolute or
relative, the element can be moved after it is displayed
• Just change the top and left property values with a script

© Park University, 2006
mover.html• Step 1. Open
Notepad & type header & the code
Type this code
Change top & left properties
Change src to "stars.gif"
© Park University, 2006
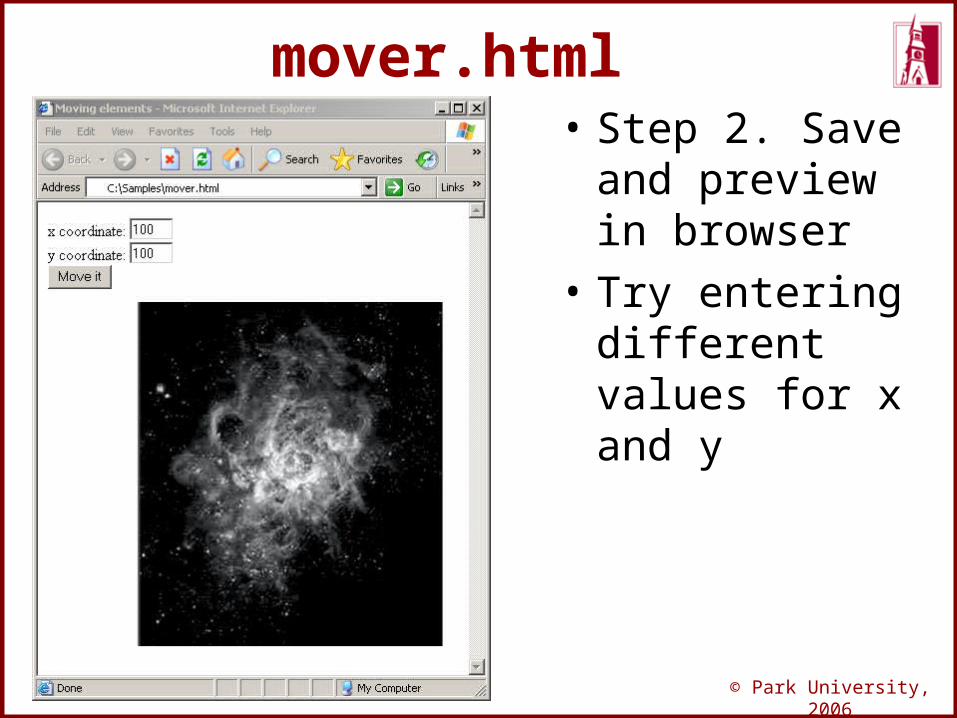
mover.html• Step 2. Save
and preview in browser
• Try entering different values for x and y
© Park University, 2006
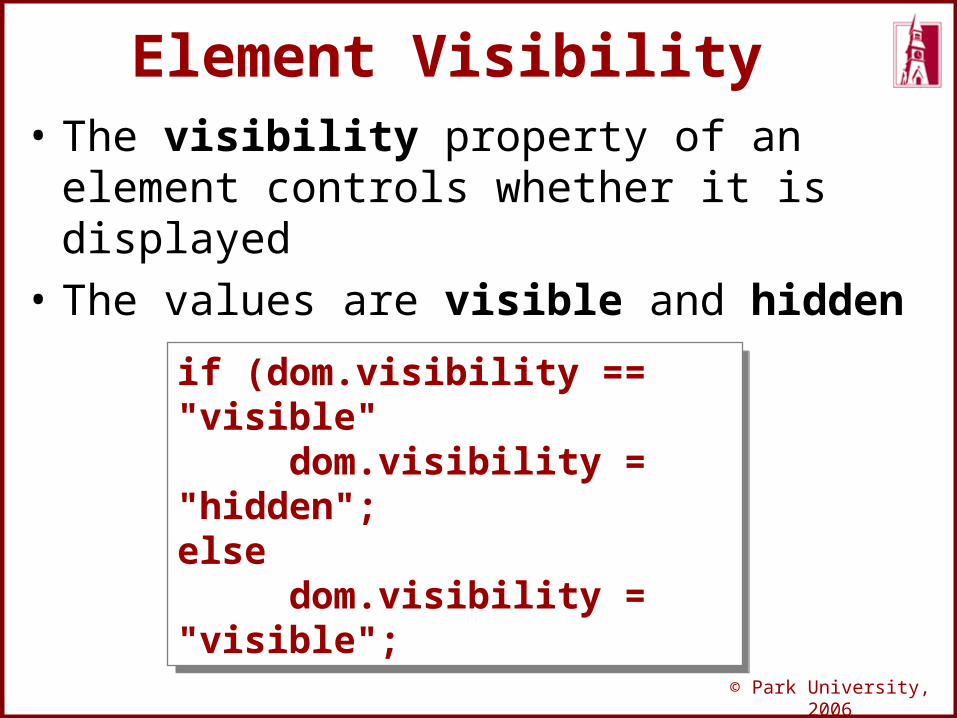
Element Visibility• The visibility property of an element
controls whether it is displayed• The values are visible and hidden
if (dom.visibility == "visible" dom.visibility = "hidden";else dom.visibility = "visible";
if (dom.visibility == "visible" dom.visibility = "hidden";else dom.visibility = "visible";
© Park University, 2006
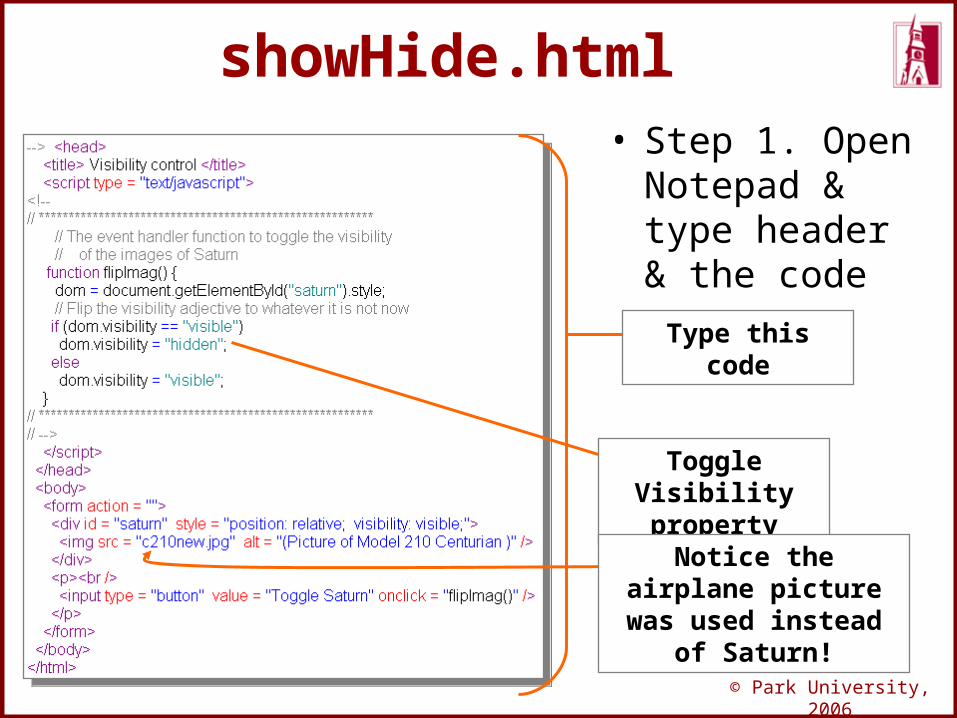
showHide.html• Step 1. Open
Notepad & type header & the code
Type this code
Toggle Visibility property
Notice the airplane picture was used instead of Saturn!
© Park University, 2006
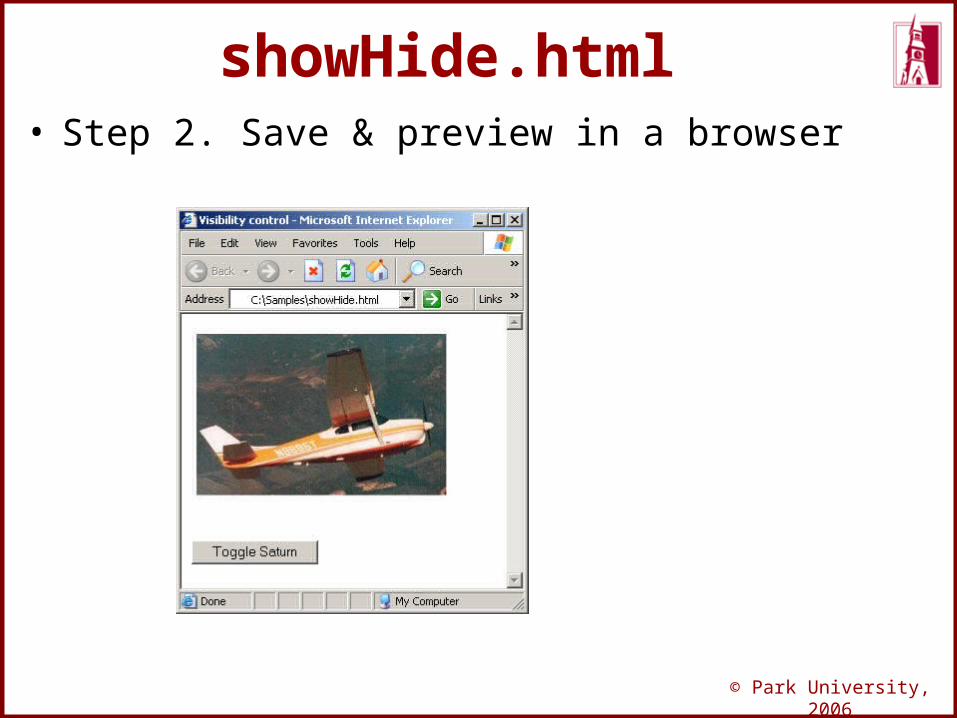
showHide.html• Step 2. Save & preview in a browser
© Park University, 2006
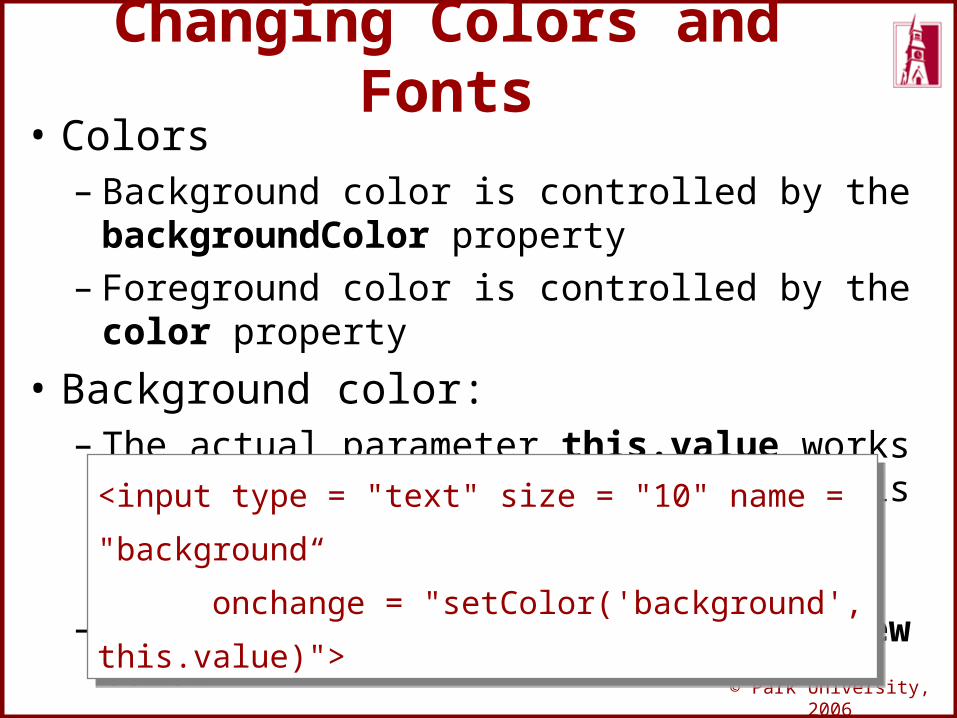
Changing Colors and Fonts
• Colors– Background color is controlled by the
backgroundColor property– Foreground color is controlled by the color
property
• Background color: – The actual parameter this.value works
because at the time of the call, this is a reference to the text box (the element in which the call is made)
– So, this.value is the name of the new color
<input type = "text" size = "10" name = "background“
onchange = "setColor('background', this.value)">
<input type = "text" size = "10" name = "background“
onchange = "setColor('background', this.value)">
© Park University, 2006
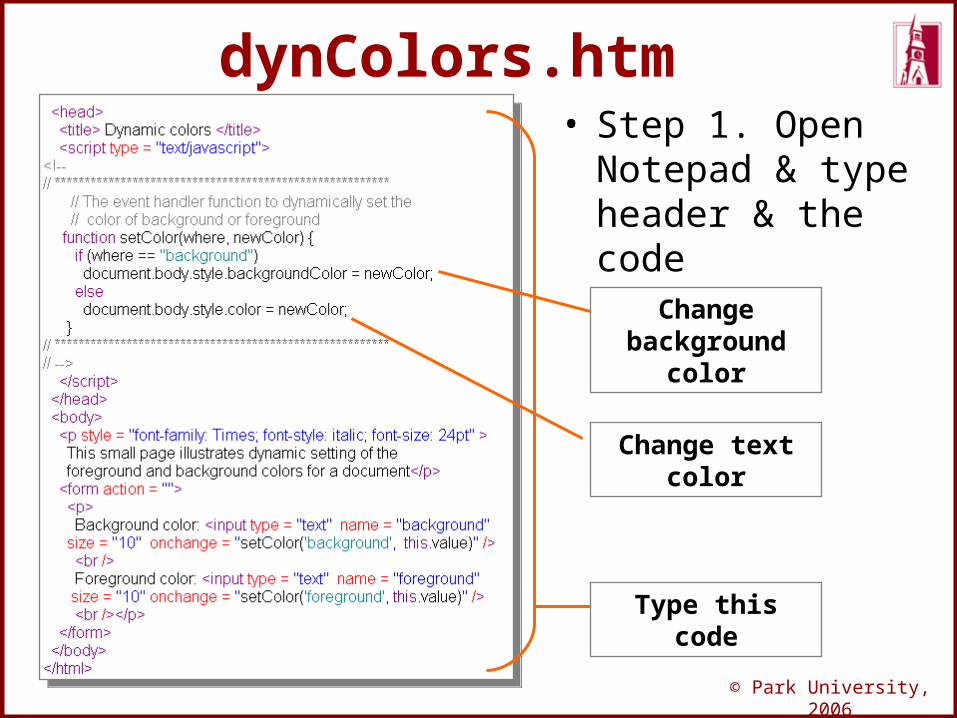
dynColors.htm• Step 1. Open
Notepad & type header & the code
Change background
color
Change text color
Type this code
© Park University, 2006
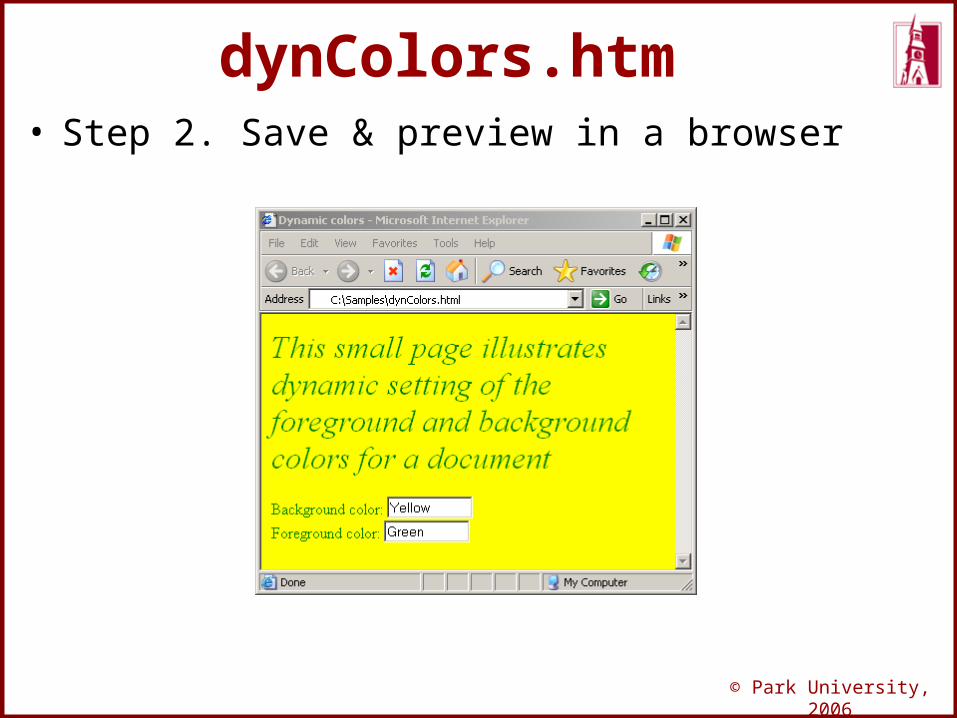
dynColors.htm• Step 2. Save & preview in a browser
© Park University, 2006
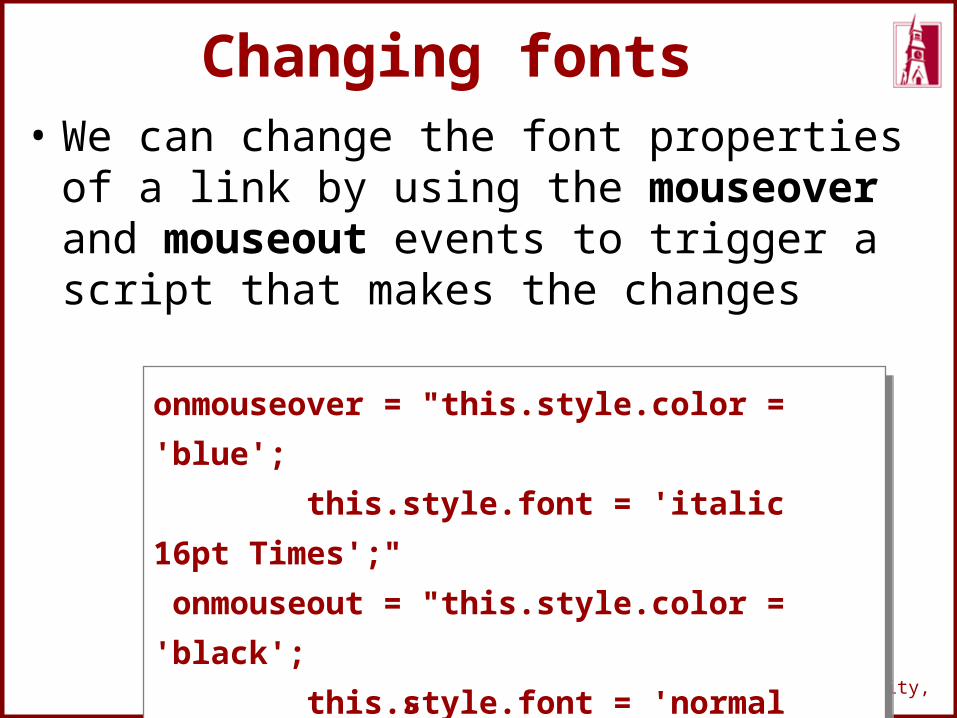
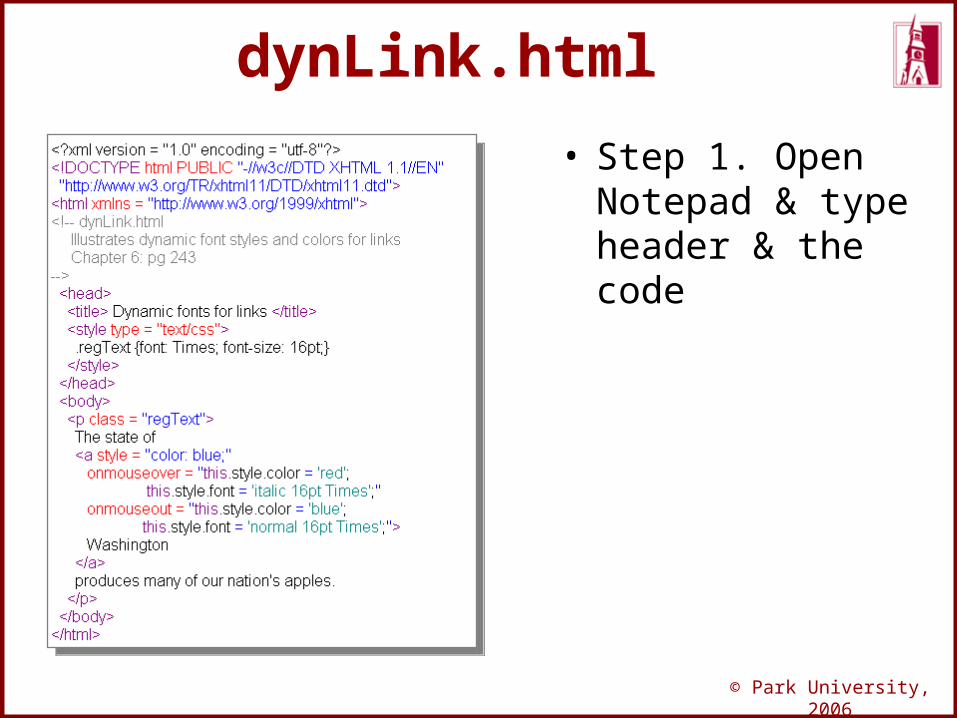
Changing fonts• We can change the font properties of a
link by using the mouseover and mouseout events to trigger a script that makes the changes
onmouseover = "this.style.color = 'blue';
this.style.font = 'italic 16pt Times';"
onmouseout = "this.style.color = 'black';
this.style.font = 'normal 16pt Times';”
onmouseover = "this.style.color = 'blue';
this.style.font = 'italic 16pt Times';"
onmouseout = "this.style.color = 'black';
this.style.font = 'normal 16pt Times';”
© Park University, 2006
dynLink.html
• Step 1. Open Notepad & type header & the code
© Park University, 2006
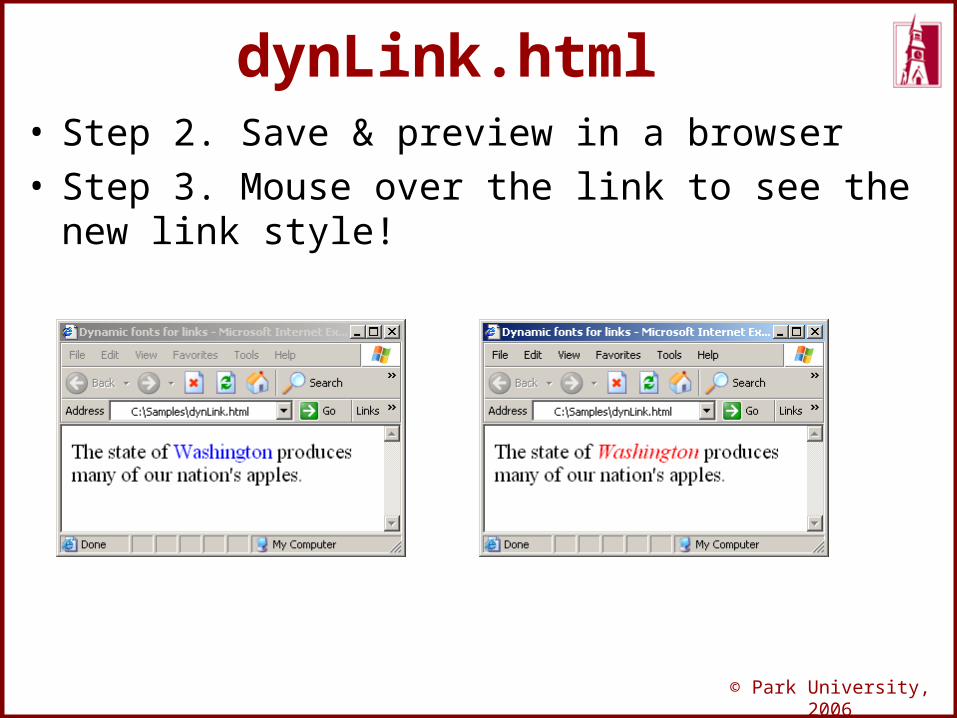
dynLink.html• Step 2. Save & preview in a browser• Step 3. Mouse over the link to see the new
link style!
© Park University, 2006
Dynamic Content• The content of an HTML element is
addressed with the value property of its associated JavaScript object
© Park University, 2006
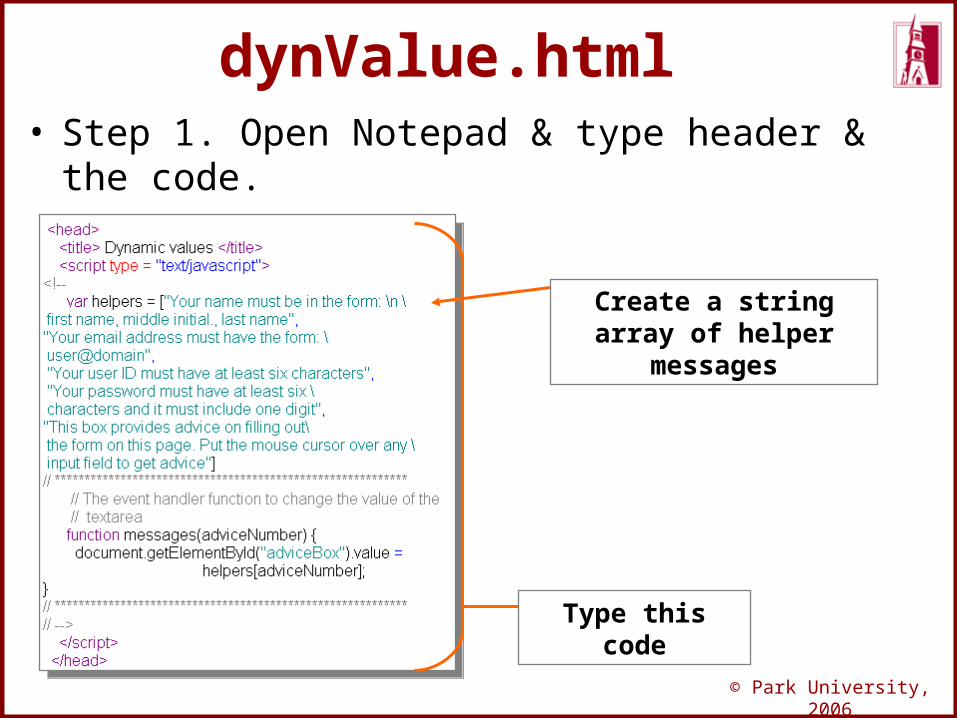
dynValue.html• Step 1. Open Notepad & type header & the
code.
Type this code
Create a string array of helper messages
© Park University, 2006
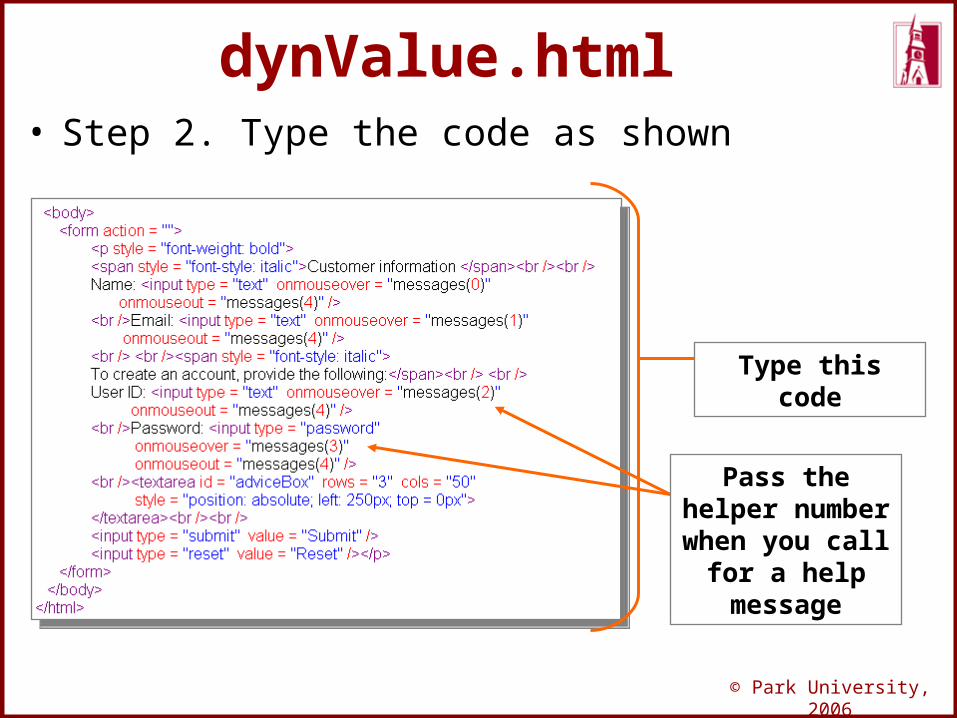
dynValue.html• Step 2. Type the code as shown
Type this code
Pass the helper number when you call for a help message
© Park University, 2006
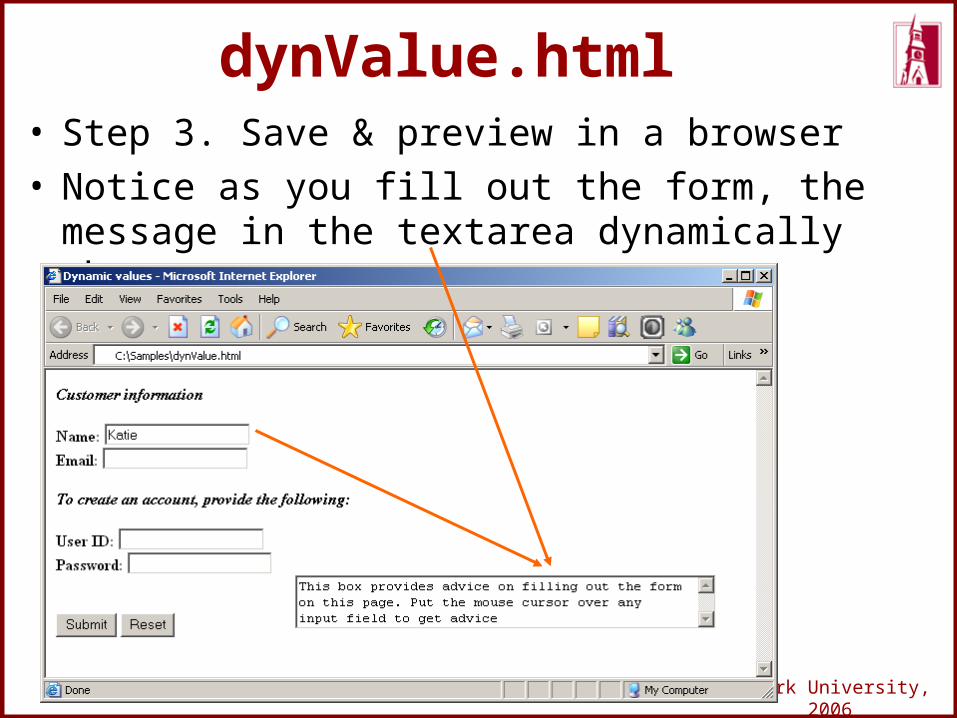
dynValue.html• Step 3. Save & preview in a browser• Notice as you fill out the form, the message in
the textarea dynamically changes.
© Park University, 2006
Stacking Elements• The z-index attribute determines which
element is in front and which are covered by the front element
• The JavaScript property associated with the– z-index attribute is zIndex– z-index can be changed dynamically (by
changing zIndex)
© Park University, 2006
Stacking Elements• To change stacking order,
– the handler function must change the zIndex property value of the element
– A call to the function from an element sets the zIndex value of the new top element to 10 and the zIndex value of the old top element to 0
– It also sets the current top to the new top

© Park University, 2006
Stacking Elements• An image element can have an onclick
attribute, so images can be clicked to trigger event handlers– Anchors can also trigger event handlers
when they are clicked– The href attribute can be set to call a
JavaScript function by assigning it the call, with 'JAVASCRIPT' attached to the call code
<a href = "JAVASCRIPT:fun()"><a href = "JAVASCRIPT:fun()">
© Park University, 2006
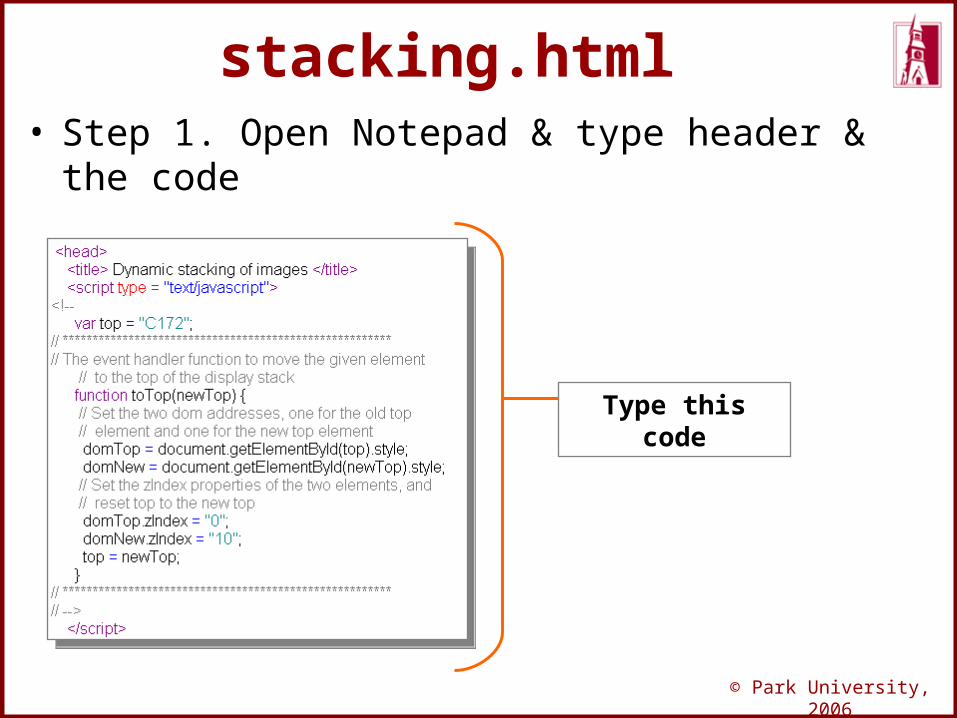
stacking.html• Step 1. Open Notepad & type header & the
code
Type this code
© Park University, 2006
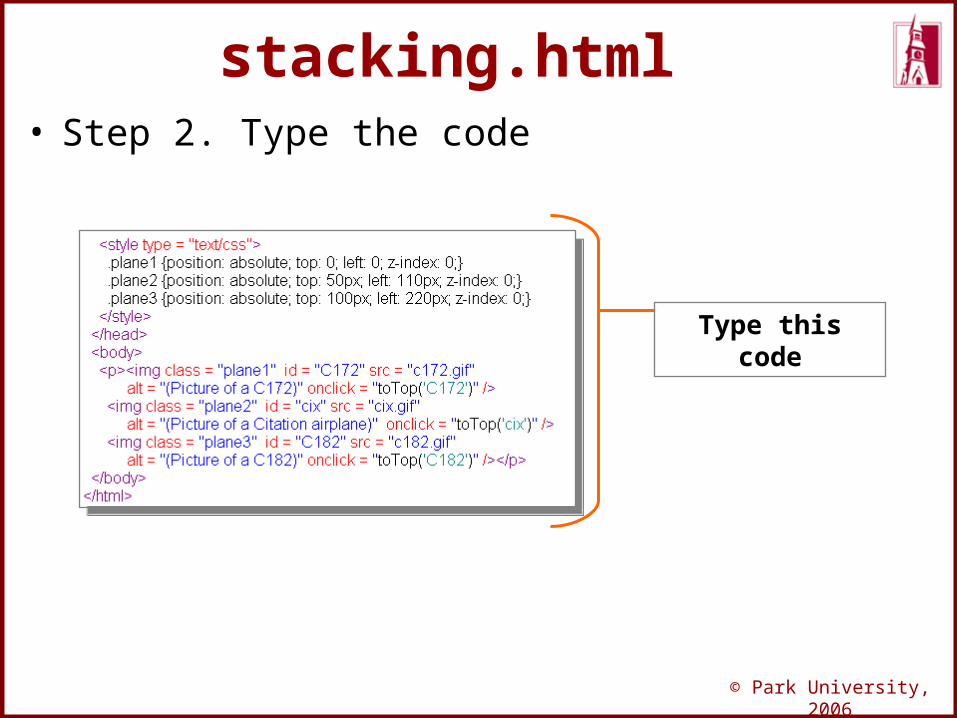
stacking.html• Step 2. Type the code
Type this code
© Park University, 2006
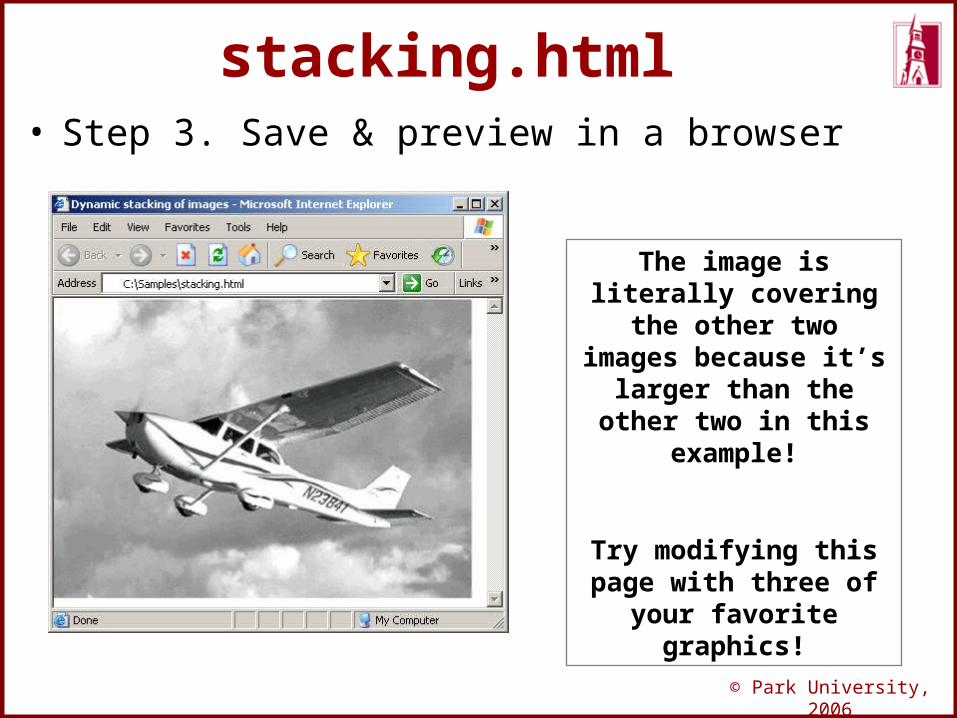
stacking.html• Step 3. Save & preview in a browser
The image is literally covering the other two
images because it’s larger than the other two
in this example!
Try modifying this page with three of your favorite graphics!
© Park University, 2006
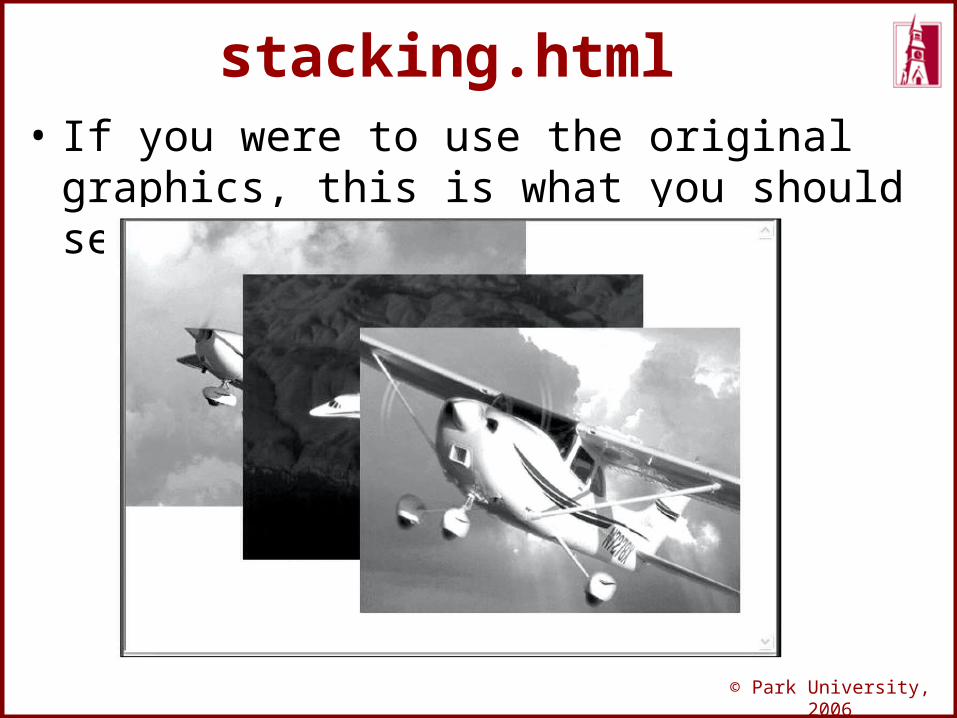
stacking.html• If you were to use the original graphics,
this is what you should see:
© Park University, 2006
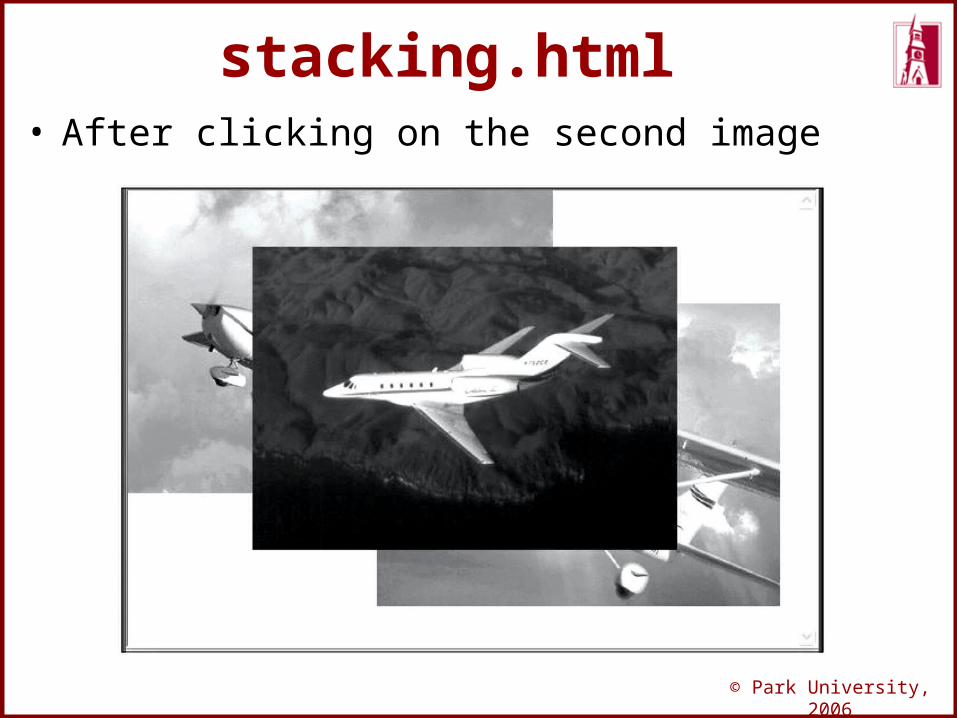
stacking.html• After clicking on the second image
© Park University, 2006
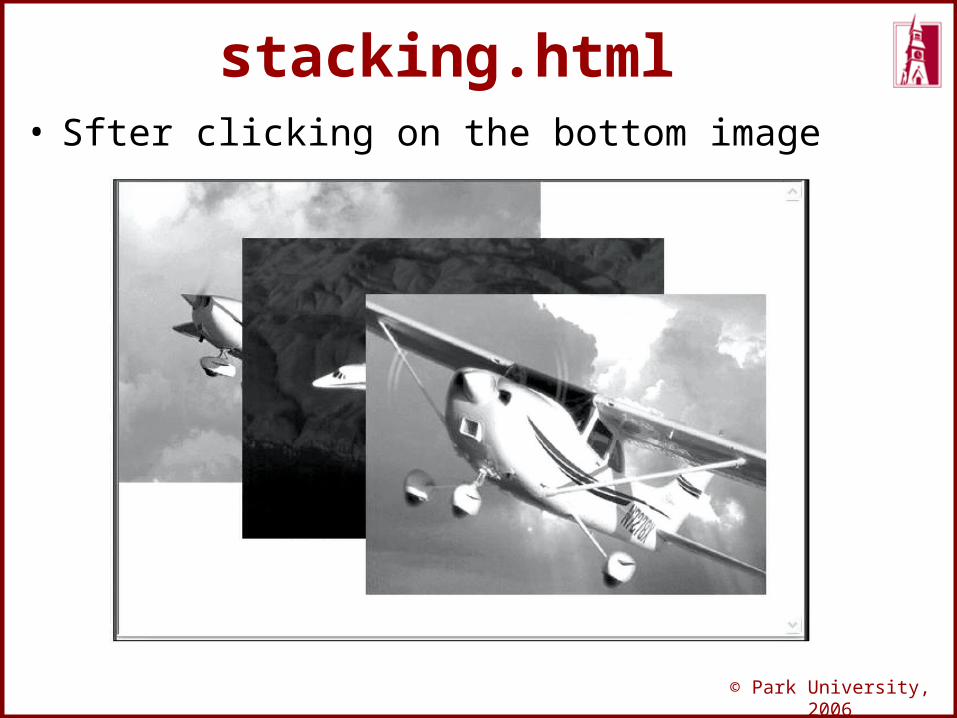
stacking.html• Sfter clicking on the bottom image
© Park University, 2006
Locating the Mouse Cursor
• The coordinates of the element that caused an event are available in the clientX and clientY properties of the event object– These are relative to upper left corner of
the browser display window– screenX and screenY are relative to the
upper left corner of the whole client screen– If we want to locate the mouse cursor when
the mouse button is clicked, we can use the click event
© Park University, 2006
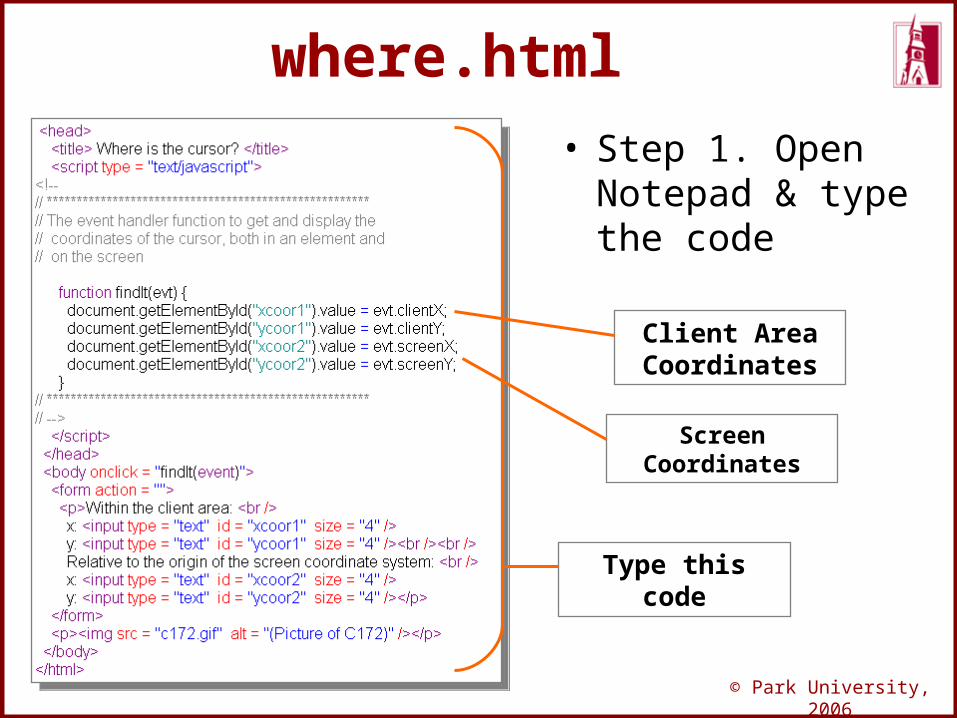
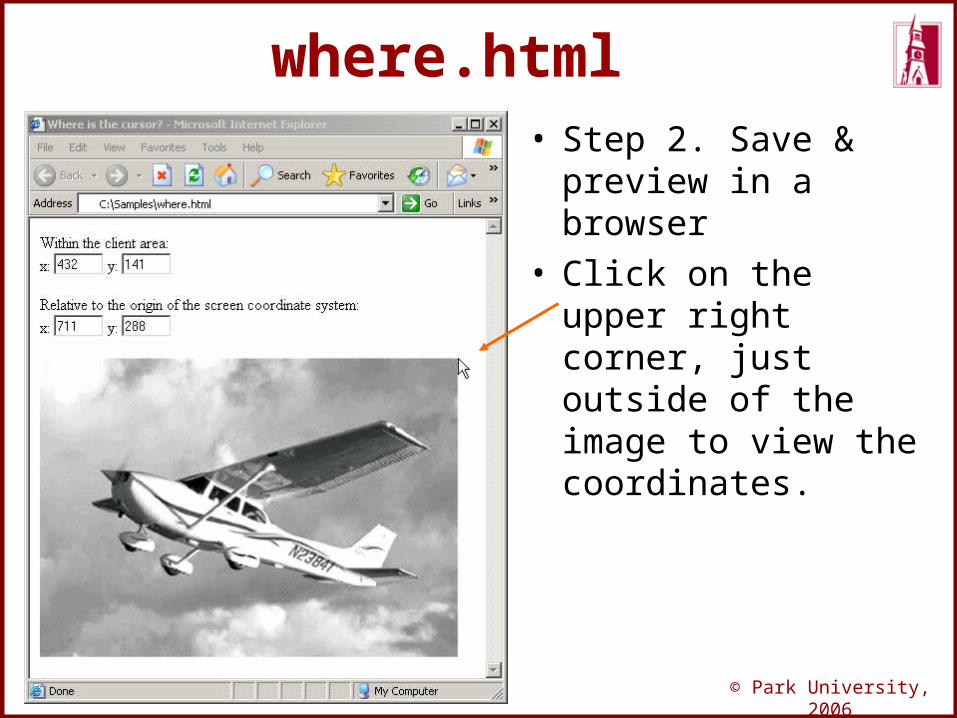
where.html• Step 1. Open
Notepad & type the code
Type this code
Client Area Coordinates
Screen Coordinates
© Park University, 2006
where.html• Step 2. Save &
preview in a browser
• Click on the upper right corner, just outside of the image to view the coordinates.
© Park University, 2006
Reacting to a Mouse Click
• A mouse click can be used to trigger an action, no matter where the mouse cursor is in the display– Use event handlers for onmousedown and
onmouseup that change the visibility attribute of the message
© Park University, 2006
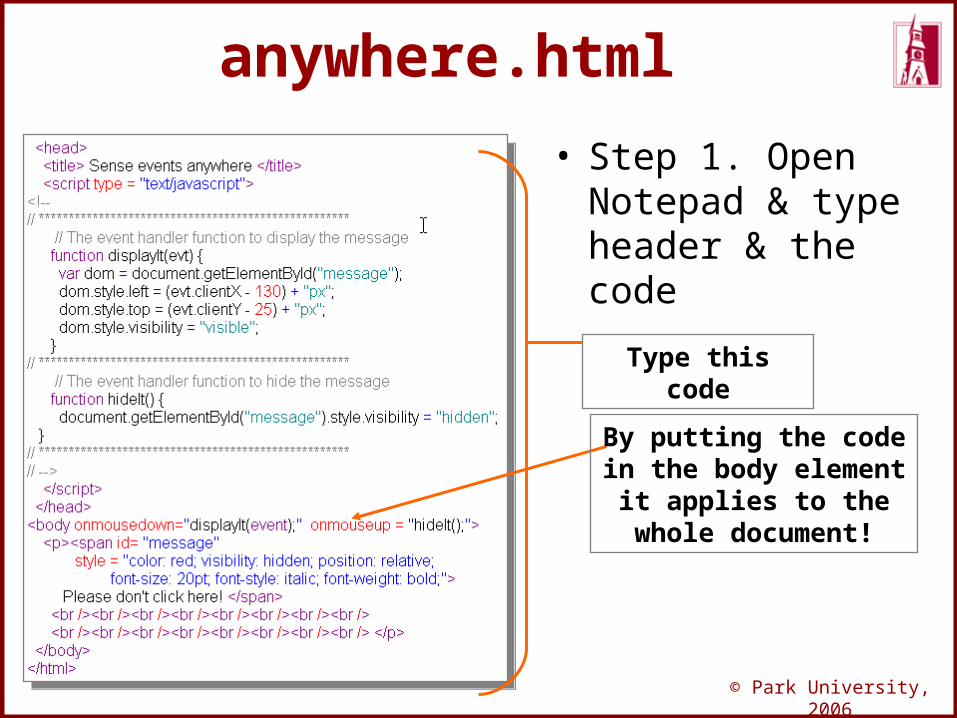
anywhere.html
• Step 1. Open Notepad & type header & the code
Type this code
By putting the code in the body element it applies to the whole
document!
© Park University, 2006
anywhere.html• Step 2. Save & preview in a browser• Note that this doesn’t work IE!
© Park University, 2006
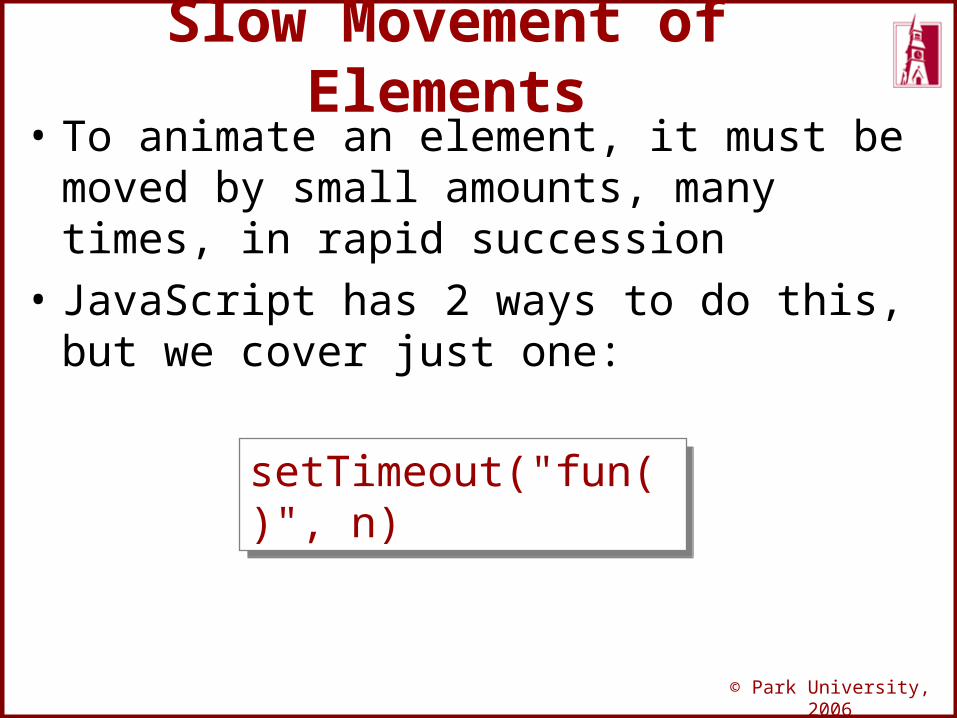
Slow Movement of Elements
• To animate an element, it must be moved by small amounts, many times, in rapid succession
• JavaScript has 2 ways to do this, but we cover just one:
setTimeout("fun()", n)setTimeout("fun()", n)

© Park University, 2006
Slow Movement of Elements
• Move a text element from its initial– position (100, 100) to a new position (300,
300)– Use the onload attribute of the body
element to initialize the position of the element
– Use a move function to change the top and left attributes by one pixel in the direction of the destination
• Problem: – coordinate properties are stored as strings, – which include the units ("150px")
© Park University, 2006
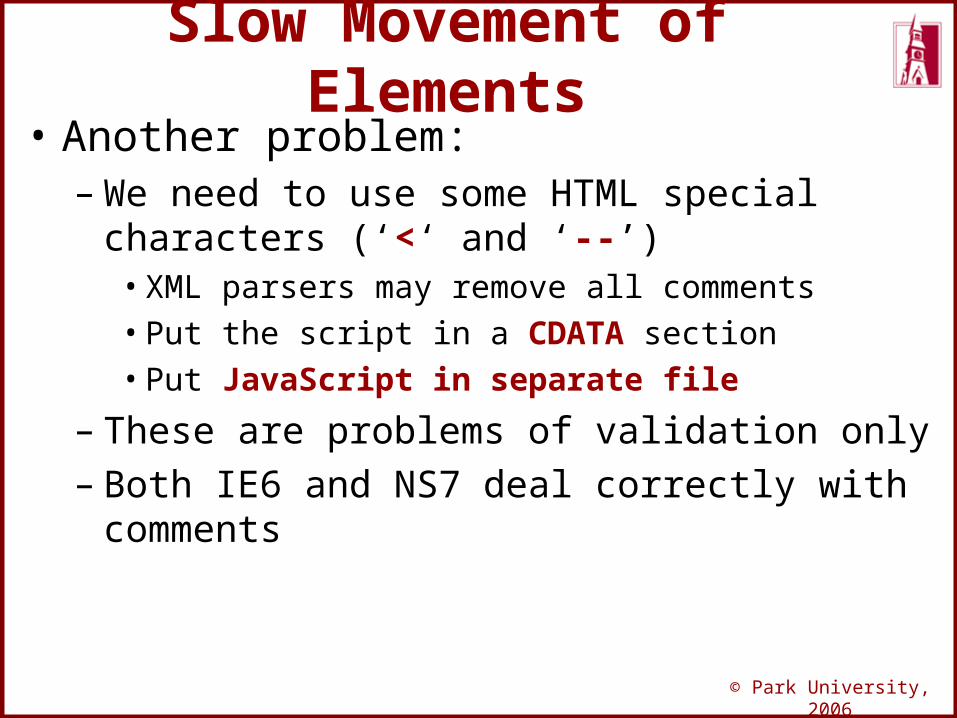
Slow Movement of Elements
• Another problem: – We need to use some HTML special
characters (‘<‘ and ‘--’)• XML parsers may remove all comments• Put the script in a CDATA section• Put JavaScript in separate file
– These are problems of validation only– Both IE6 and NS7 deal correctly with
comments
© Park University, 2006
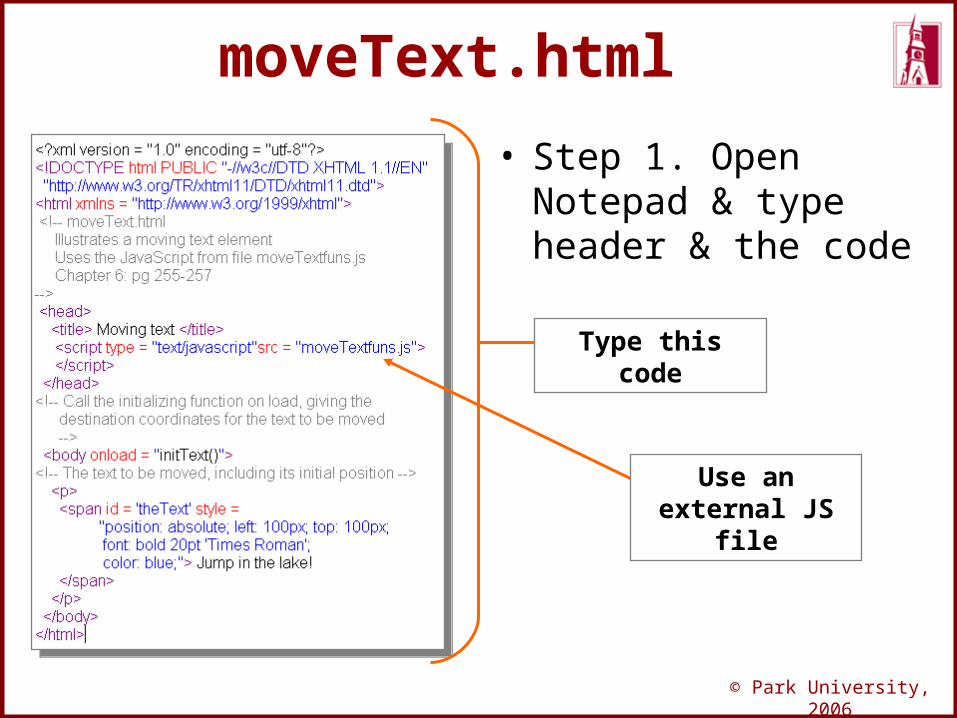
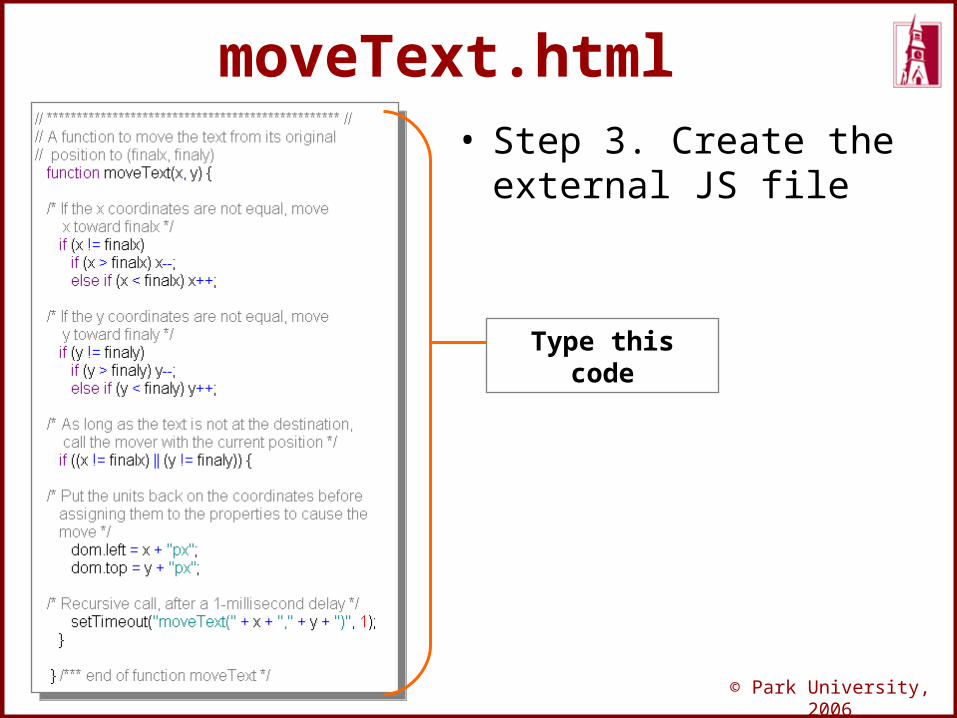
moveText.html
• Step 1. Open Notepad & type header & the code
Type this code
Use an external JS file
© Park University, 2006
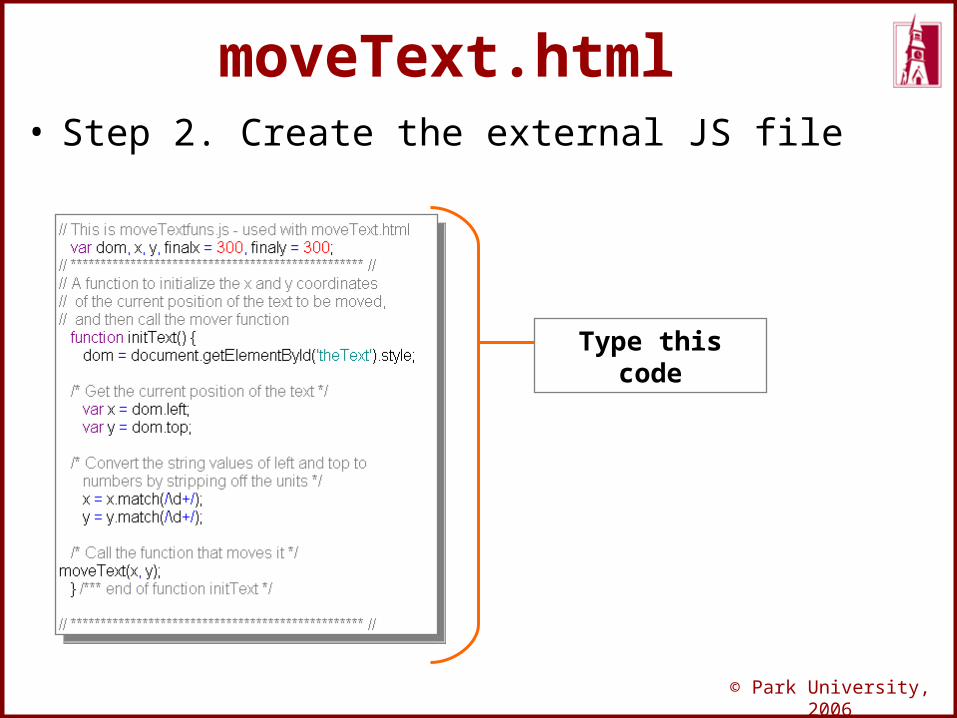
moveText.html• Step 2. Create the external JS file
Type this code
© Park University, 2006
moveText.html• Step 3. Create the
external JS file
Type this code
© Park University, 2006
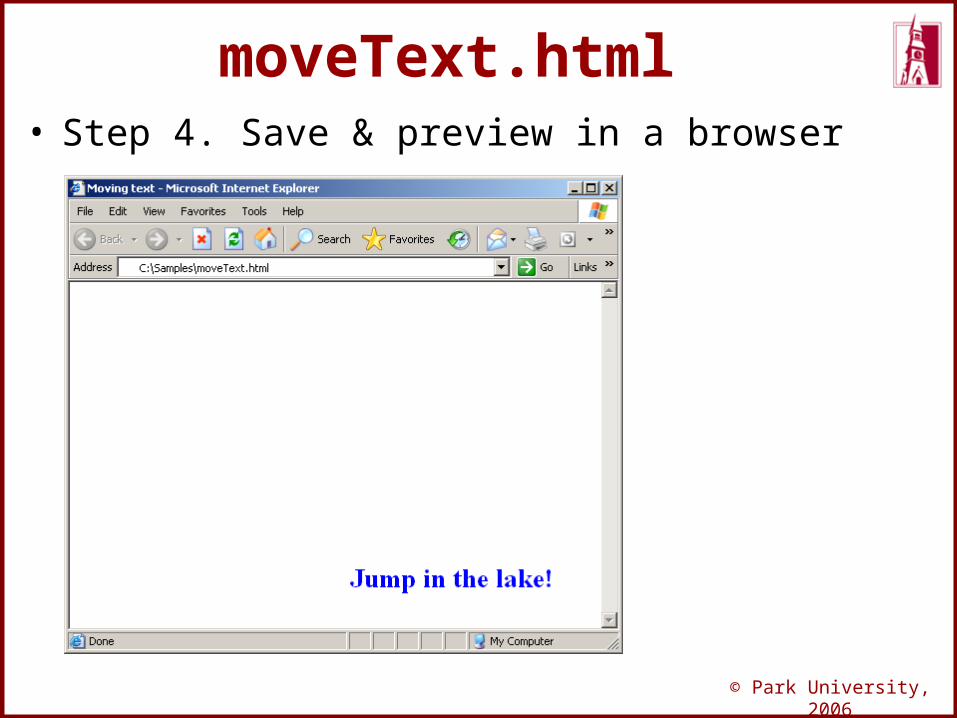
moveText.html• Step 4. Save & preview in a browser

© Park University, 2006
Dragging and Dropping• We can use mousedown, mousemove,
and mouseup events to grab, drag, and drop– We know how to move an element - just
change its left and top properties
• Magnetic poetry– The DOM 2 event model is required (the
Event object and its property, currentTarget)
– We use both DOM 0 and DOM 2 models (DOM 0 to call the mousedown handler, grabber)
© Park University, 2006
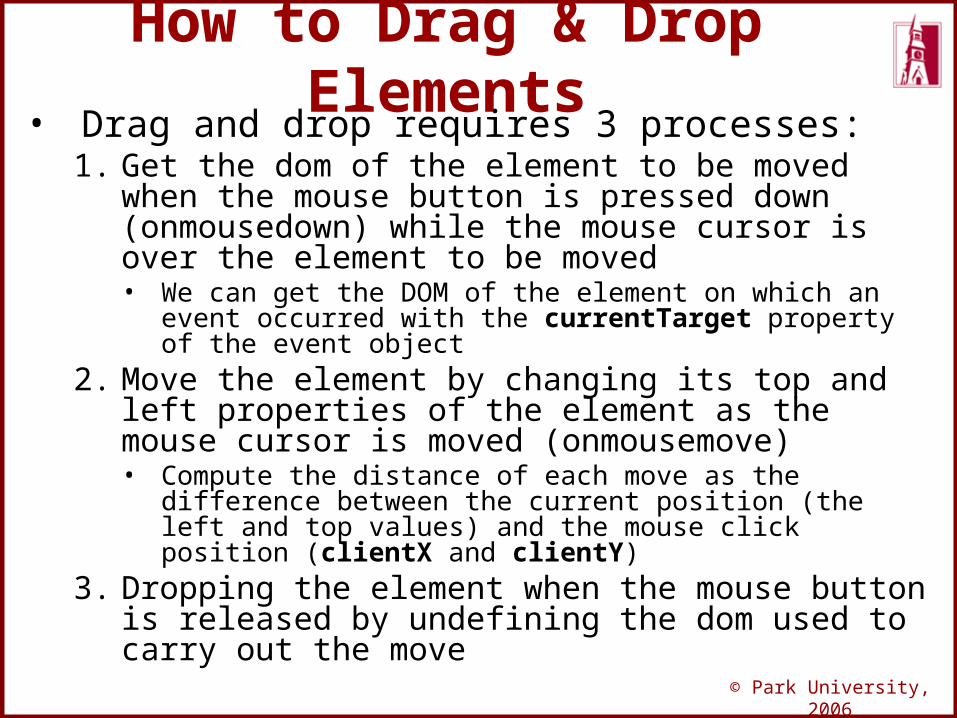
How to Drag & Drop Elements
• Drag and drop requires 3 processes:1. Get the dom of the element to be moved when
the mouse button is pressed down (onmousedown) while the mouse cursor is over the element to be moved• We can get the DOM of the element on which an event
occurred with the currentTarget property of the event object
2. Move the element by changing its top and left properties of the element as the mouse cursor is moved (onmousemove)• Compute the distance of each move as the difference
between the current position (the left and top values) and the mouse click position (clientX and clientY)
3. Dropping the element when the mouse button is released by undefining the dom used to carry out the move
© Park University, 2006
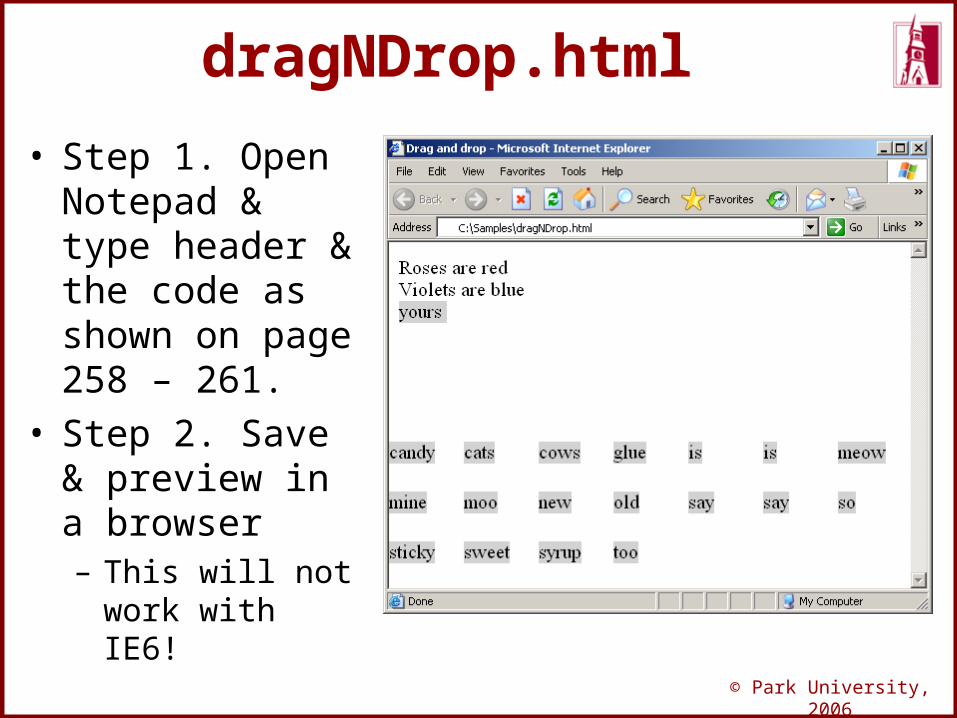
dragNDrop.html
• Step 1. Open Notepad & type header & the code as shown on page 258 – 261.
• Step 2. Save & preview in a browser– This will not
work with IE6!
© Park University, 2006
Third Party DHTML Scripts
• There are many third party JavaScripts and DHTML snippets that you can use in your web pages to create animation, dynamic menus, and dynamic content. – It’s important to look at them to see how
they work on various platforms. – Some are royalty free, but some require
you to keep the copyright information intact and that you can’t modify the code.
– Always respect the copyright and rules!
© Park University, 2006
Expectations• Students should be able to modify the
attributes of the elements dynamically using CSS and JavaScript (DHTML). For example:– You should describe what the attributes are
used for, and their names and values are. – You should be able to create hyperlinks that
change text properties when users mouse over them. This is commonly used to create menu effects.
– You need to describe the steps to stack elements, hide and unhide elements, and to move elements.

© Park University, 2006
Now you are all ready to start building interactive web
applications!
If you need more help, post your questions in the weekly
Q & A discussion forum.
Ready, Set, Go!


