29
1 Introduction to Word Chapter 3 Lecture Outline
| Date post: | 17-Dec-2015 |
| Category: |
Documents |
| Upload: | leslie-gibbs |
| View: | 220 times |
| Download: | 0 times |
1
Introduction to WordChapter 3
Lecture Outline

2
Wizard Activation:
• File menu• New command• Choose “general
templates” in the new document task pane
• Choose the desired wizard
• View menu• Task pane command• Choose “general
templates” in the new document task pane
• Choose the desired wizard

3
Panel Names:
• A list of names along the left side of the wizard dialog box that represents a different set of options for which the user can select preferences
4
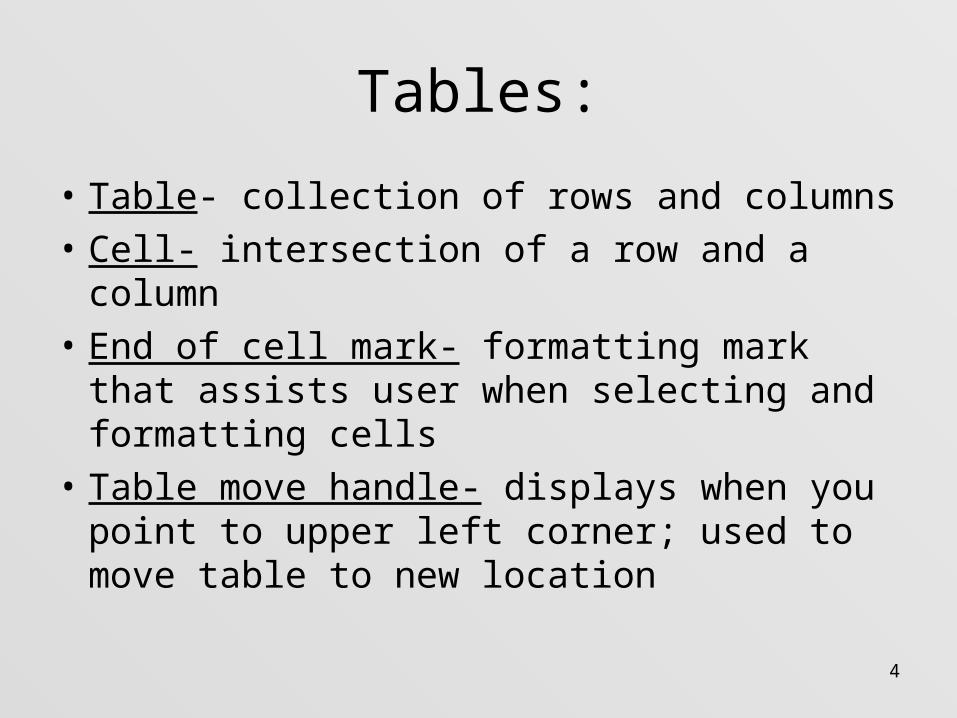
Tables:
• Table- collection of rows and columns
• Cell- intersection of a row and a column
• End of cell mark- formatting mark that assists user when selecting and formatting cells
• Table move handle- displays when you point to upper left corner; used to move table to new location

5
Select within a table:
• Single cell- click to the left of the cell
• Entire row- click to the left of the row
• Entire column- click column top border
6
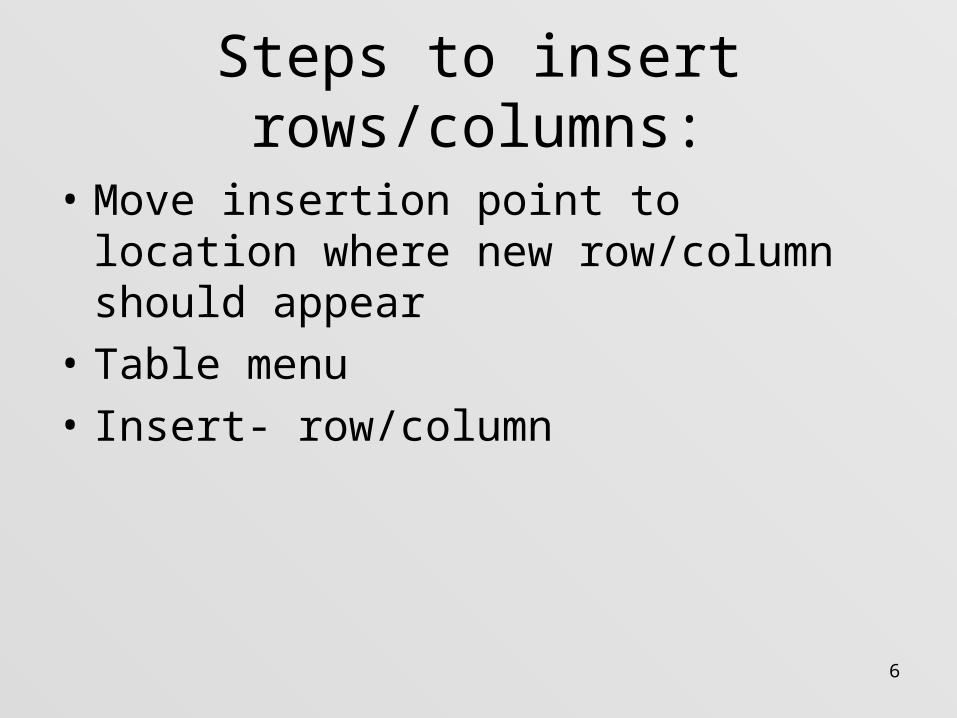
Steps to insert rows/columns:
• Move insertion point to location where new row/column should appear
• Table menu
• Insert- row/column

7
Styles and Formatting:
• Used to view, create, and apply styles• 4 basic styles:• Paragraph styles: affect formatting of an entire
paragraph• Character styles: affect formats of only selected
characters• List styles: affect alignment and fonts in a
numbered/bulleted list• Table styles: affect borders, shading, alignment,
and fonts in a table
8
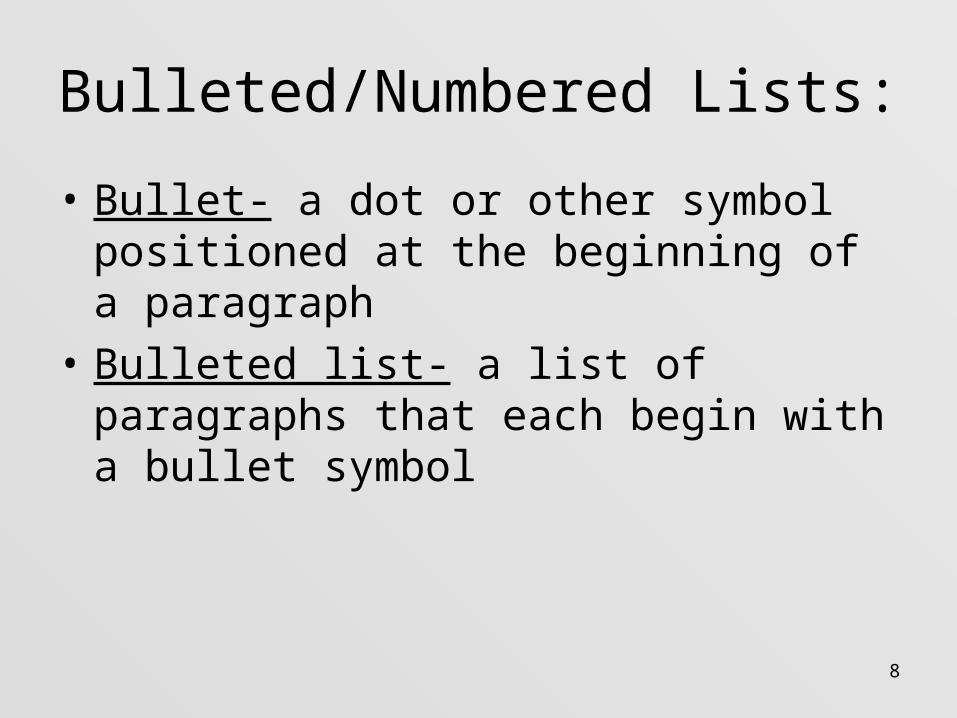
Bulleted/Numbered Lists:
• Bullet- a dot or other symbol positioned at the beginning of a paragraph
• Bulleted list- a list of paragraphs that each begin with a bullet symbol
9
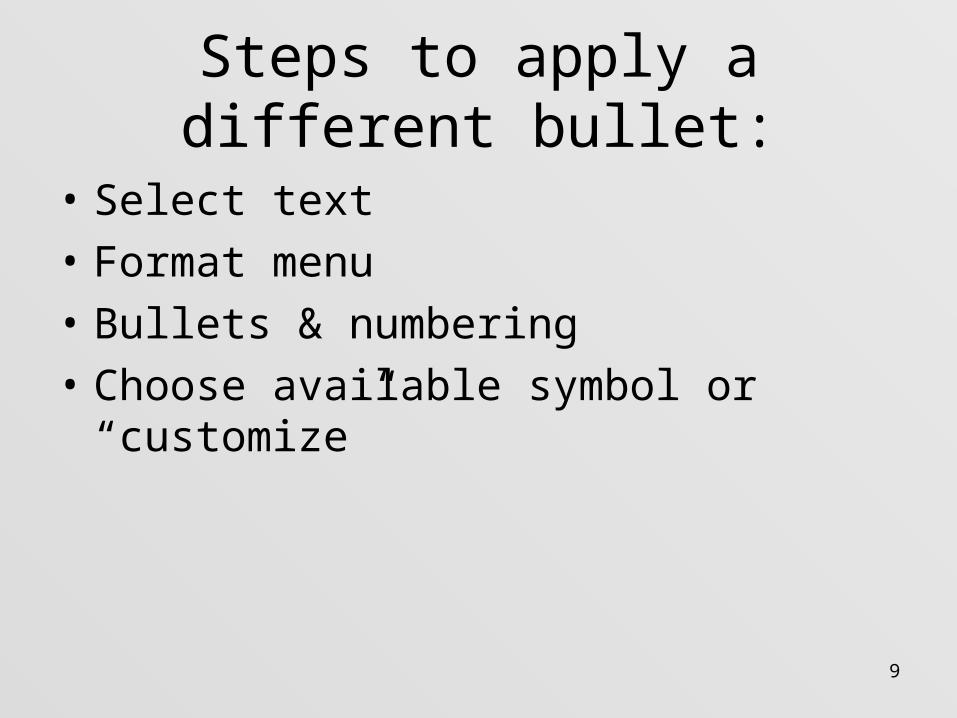
Steps to apply a different bullet:
• Select text
• Format menu
• Bullets & numbering
• Choose available symbol or “customize”

10
Line breaks:
• Advances insertion point to beginning of next physical line – ignoring any paragraph formatting instructions
• [shift] + [enter]

11
Autoformat:
• Automatically formats as you type certain keystrokes
• Tools menu
• Autocorrect options
• Autoformat as you type tab
12
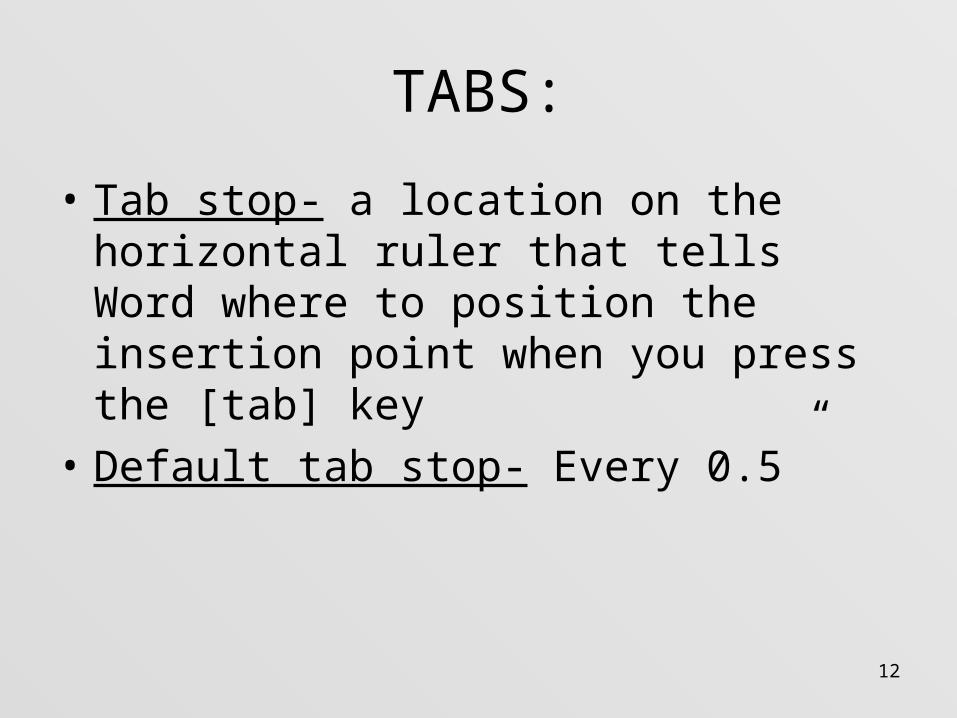
TABS:
• Tab stop- a location on the horizontal ruler that tells Word where to position the insertion point when you press the [tab] key
• Default tab stop- Every 0.5”

13
Setting custom tabs 2 ways:
• Place insertion point on the line where tabs should occur
• Format menu• Tabs command• *Type in the tab stop in
inches• *Choose a tab alignment• *Choose a leader (if
needed)• *Click the “set” button• Must do last 4 things in
order to work!!!!!!!!
• Place insertion point on the line where tabs should occur
• Click tab button on ruler bar to reflect the desired tab
• Click on ruler in desired location
14
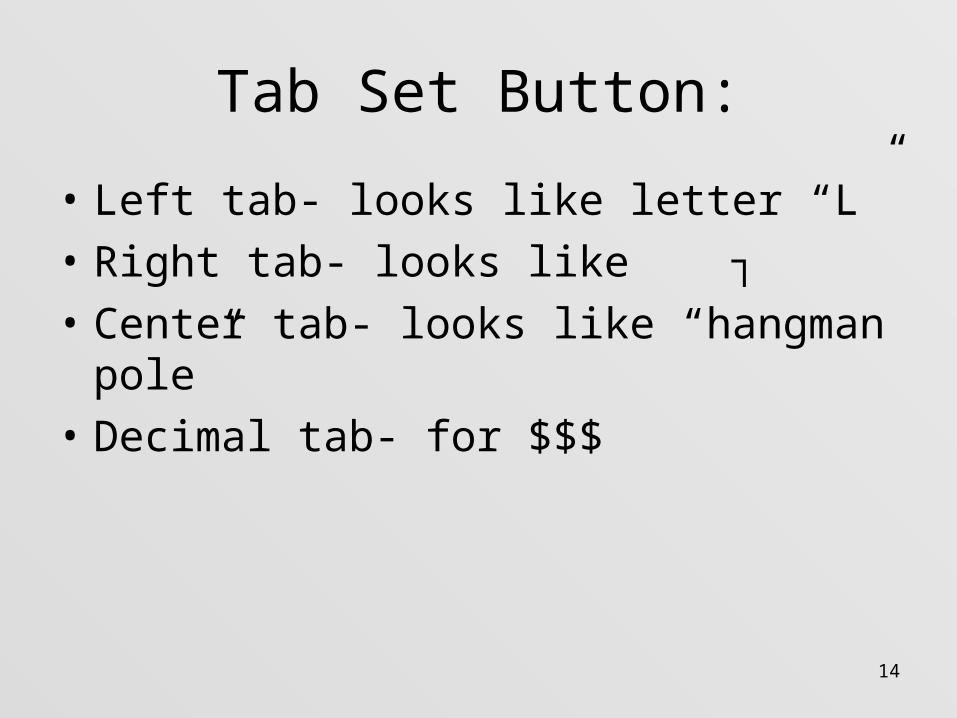
Tab Set Button:
• Left tab- looks like letter “L”
• Right tab- looks like ┐
• Center tab- looks like “hangman pole”
• Decimal tab- for $$$
15
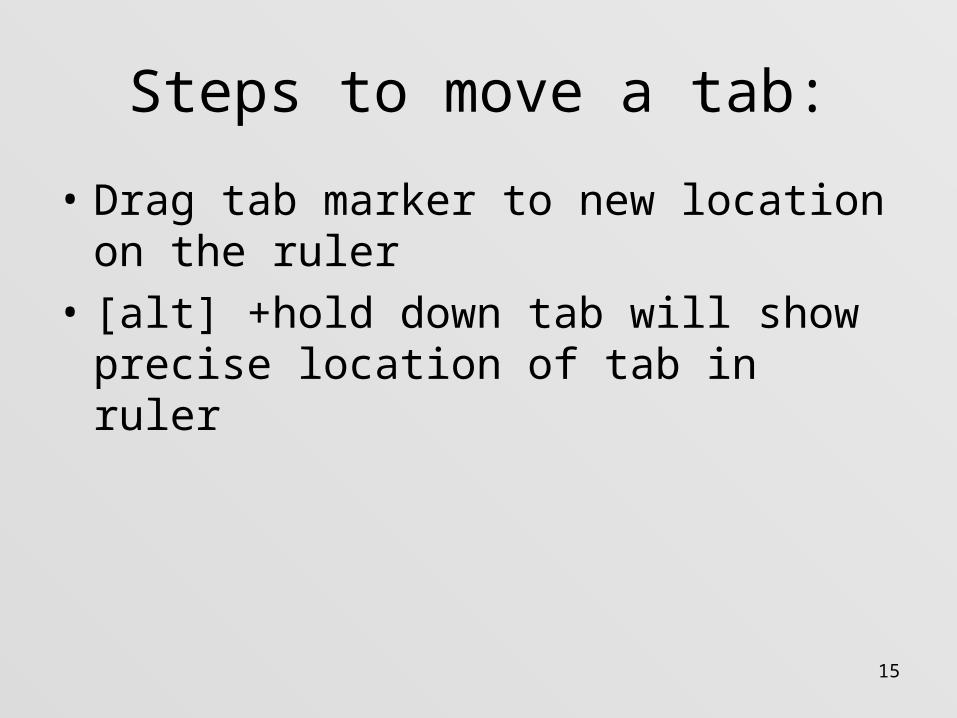
Steps to move a tab:
• Drag tab marker to new location on the ruler
• [alt] +hold down tab will show precise location of tab in ruler
16
Deleting tabs:
• Drag tab marker into the document screen off the ruler and let go
17
Collect and paste:
• Windows 97 clipboard- capable of holding only 1 copied or cut item at a time
• Office clipboard- capable of holding up to 24 items copied from any office application
18
Steps to activate clipboard:
• Edit menu
• Office clipboard
19
2 ways to activate Borders:
• Select text• Click border button
drop list on formatting toolbar
• Choose border setting
• Select text• Format• Borders and shading• Borders tab• Select a style• Select a color• Select a setting

20
Inserting Date:
• Insert menu
• Date and time command
• “update automatically”- if this option is checked “on” the computer will always insert the current date/time into the document when it is opened or printed.
21
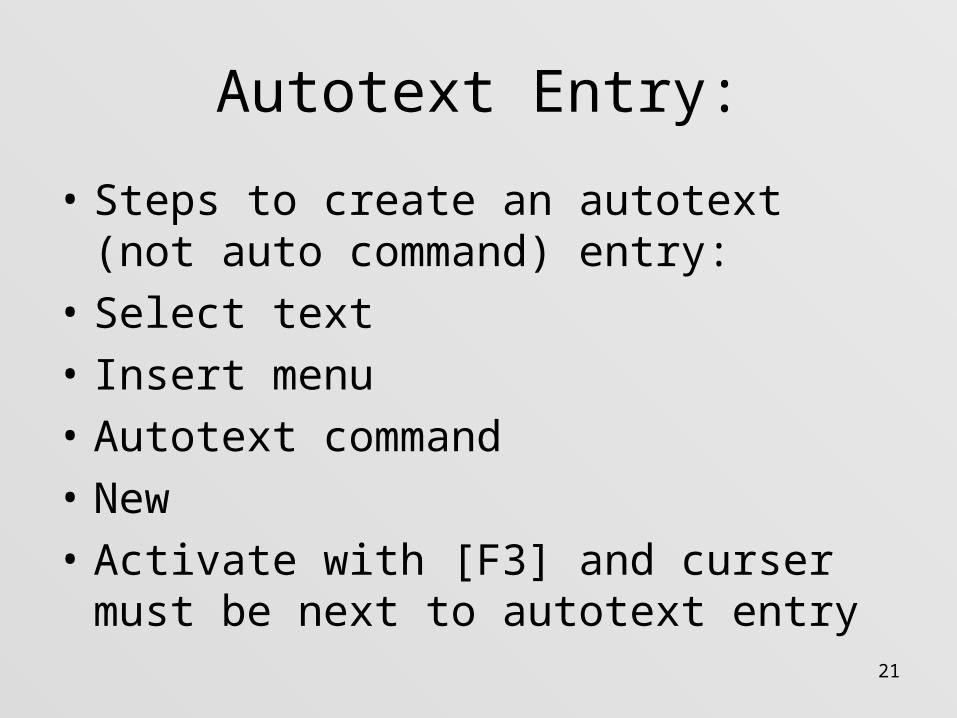
Autotext Entry:
• Steps to create an autotext (not auto command) entry:
• Select text
• Insert menu
• Autotext command
• New
• Activate with [F3] and curser must be next to autotext entry

22
Autocorrect vs. autotext:
• Autocorrect feature will make corrections for you automatically as soon as you press the [spacebar] or punctuation mark key.
• Autotext feature must use the [F3] or click the autotext command to instruct the autotext correction
23
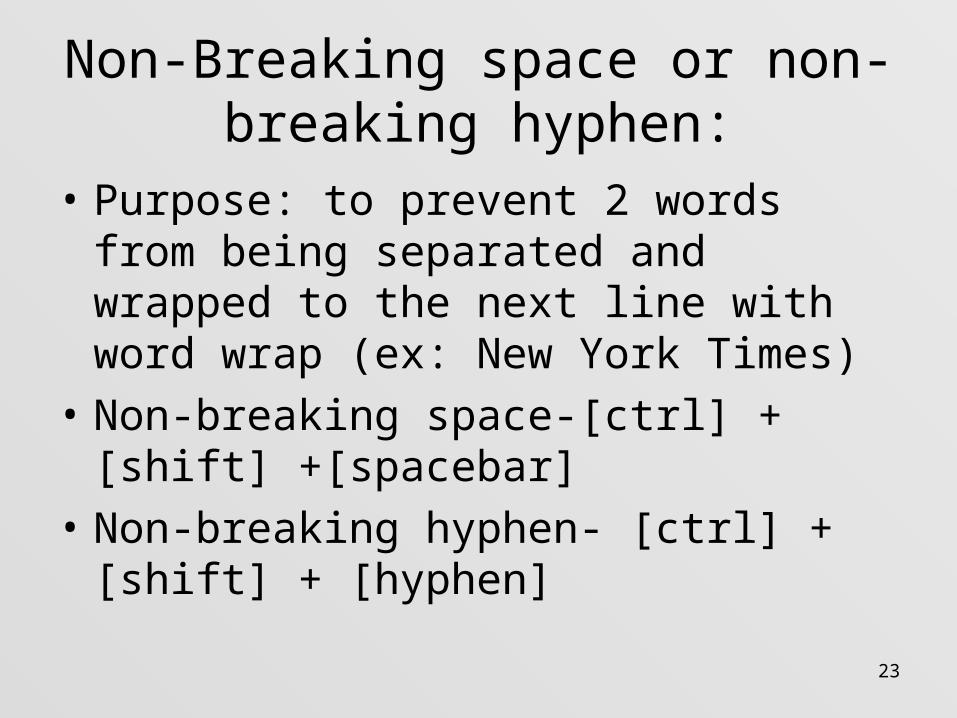
Non-Breaking space or non-breaking hyphen:
• Purpose: to prevent 2 words from being separated and wrapped to the next line with word wrap (ex: New York Times)
• Non-breaking space-[ctrl] + [shift] +[spacebar]
• Non-breaking hyphen- [ctrl] + [shift] + [hyphen]
24
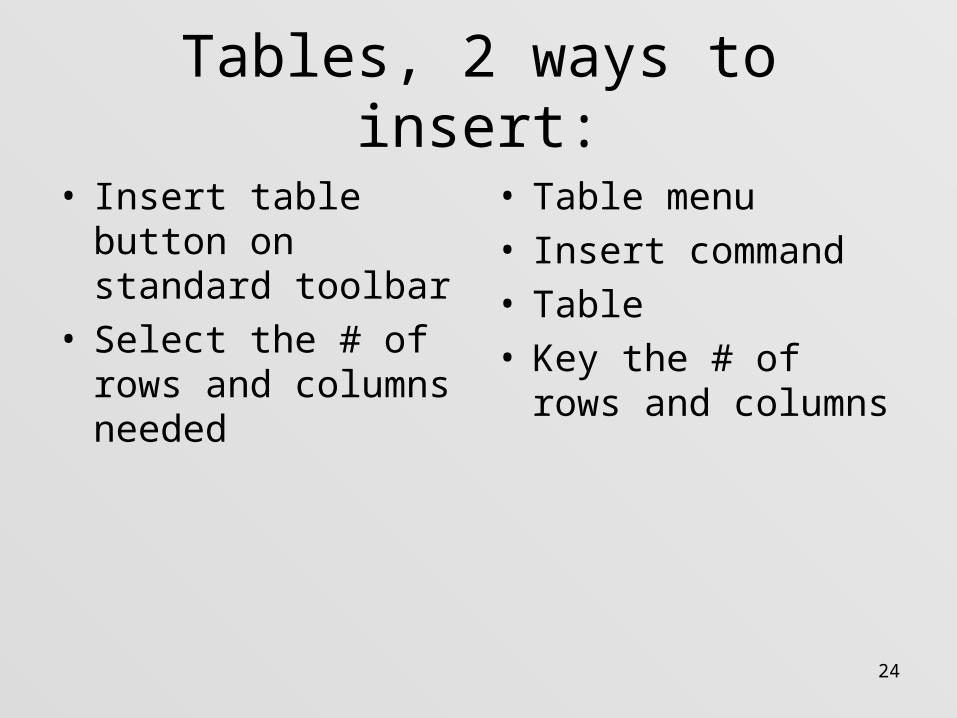
Tables, 2 ways to insert:
• Insert table button on standard toolbar
• Select the # of rows and columns needed
• Table menu• Insert command• Table• Key the # of rows and
columns

25
Autofit columns/rows on Tables:
• Place insertion point within table
• Table menu• Autofit command• Choose autofit to
contents
• Place resizing mouse on the column/row boundary to autofit
• Double-click
26
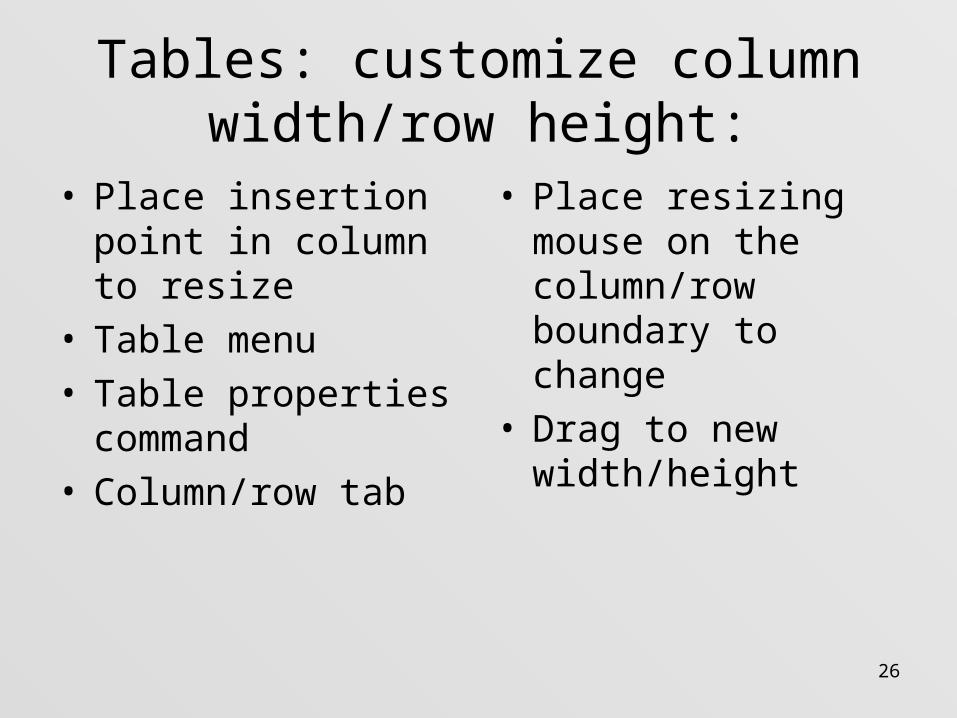
Tables: customize column width/row height:
• Place insertion point in column to resize
• Table menu• Table properties
command• Column/row tab
• Place resizing mouse on the column/row boundary to change
• Drag to new width/height
27
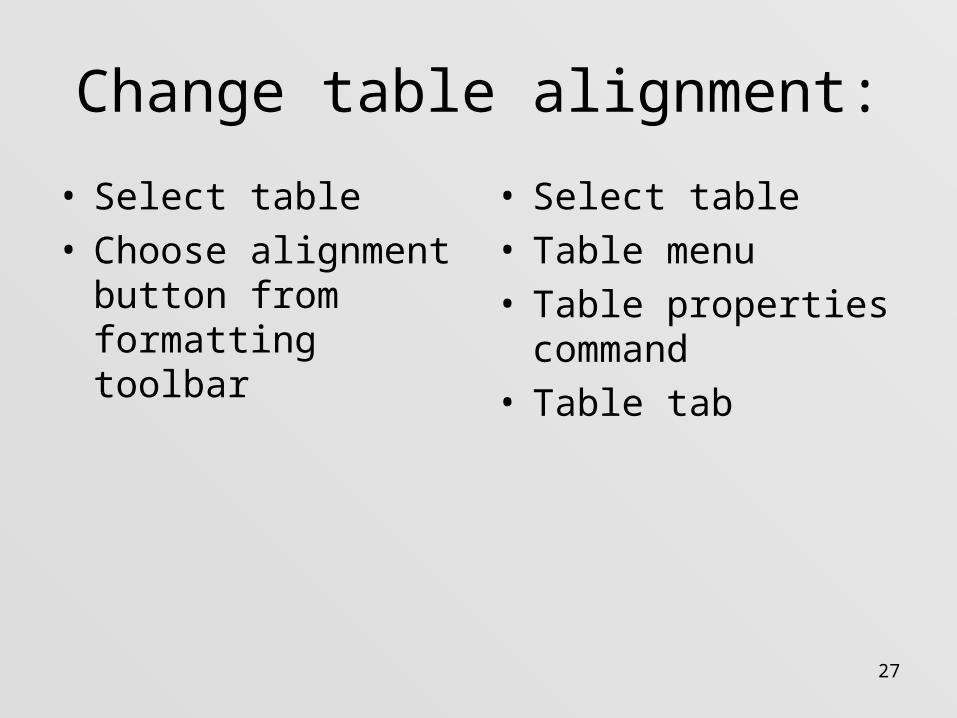
Change table alignment:
• Select table• Choose alignment
button from formatting toolbar
• Select table• Table menu• Table properties
command• Table tab

28
Envelopes:
• Select the address from the letter
• Tools menu
• Letters and mailings command
• Envelopes and labels
• Envelopes tab

29
THE END


