HMA Overlays on Bridge Decks HMA Overlays on Bridge Decks WSDOT Team Effort: HQ & Region Program Managers, HQ & Region Pavement HQ & Region Program Managers, HQ & Region Pavement Managers, HQ & Region Construction, Region Design, Bridge Manager, and Contractor
Transcript
HMA Overlays on Bridge DecksHMA Overlays on Bridge Decks
WSDOT Team Effort:HQ & Region Program Managers, HQ & Region PavementHQ & Region Program Managers, HQ & Region Pavement
Managers, HQ & Region Construction, Region Design, Bridge Manager, and Contractor
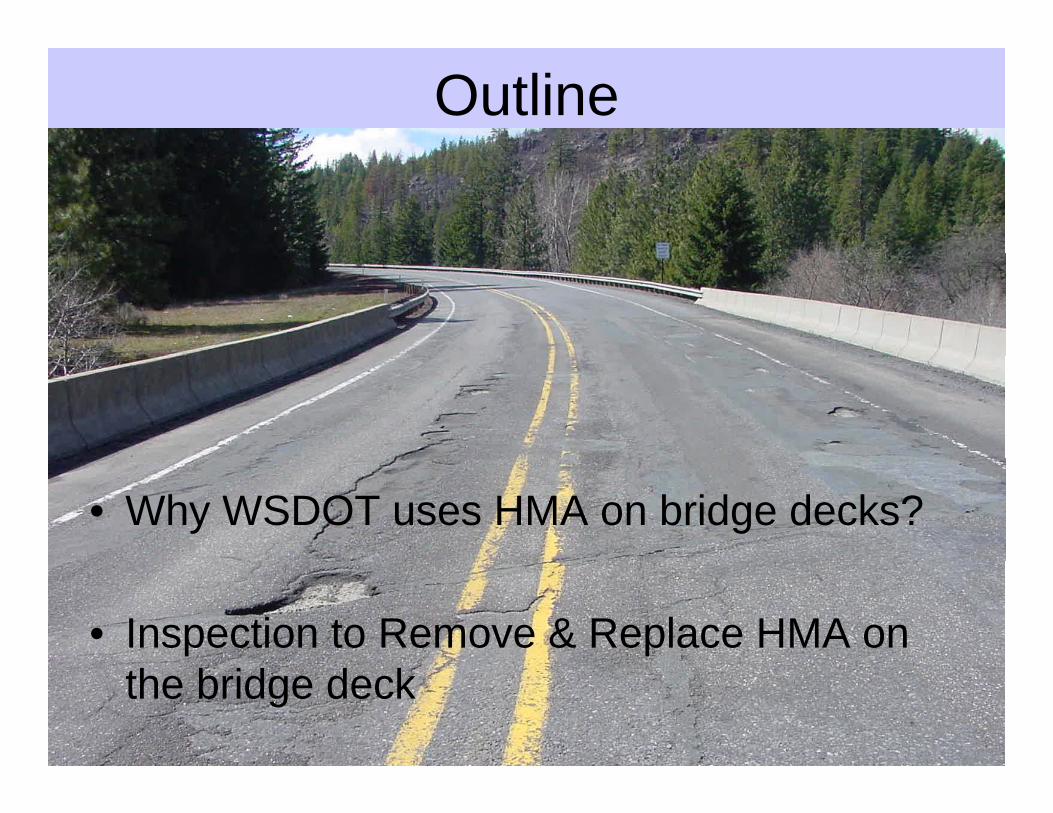
Outline
• Why WSDOT uses HMA on bridge decks?
• Inspection to Remove & Replace HMA on the bridge deck
HMA Design: Benefits
• Moves the wheels off the concreteMoves the wheels off the concrete– Extends life of deck
Economical solution for rutting– Economical solution for rutting– For bridges within paved roadways
• Improved Ride• Improved Ride• Improved construction by removing butt joints in
the paving projects.p g p j– Deck paving managed with the roadway
HMA Design: Drawbacks
• Limits inspection of deck top surfaceLimits inspection of deck top surface• Deck repairs required for quality HMA base
• Water passes thru HMA and concrete• Water passes thru HMA and concrete• Passes salts and oxygen to reinforcement• Requires Waterproof MembranesRequires Waterproof Membranes
– Cost is equal to a 0.15’ of HMA
• Full depth planing of concrete can damage u dept p a g o co c ete ca da agethe deck.
Resurfacing HMA Depths• Optimum paving depth is 0.25’ or 3” of HMA.
– Allows for the standard Mill & Fill depth of 0.15’ when resurfacing.
– Most overlays are 0.15’ or 1.8”
• Plan Options:– Maintain, Raise, or Lower grade
• See Std. Plan A60.30 for grade transitions
• When HMA is Removed:– Deck Inspection
• Chain Drag Report Submitted to BridgeDeck Repairs– Deck Repairs
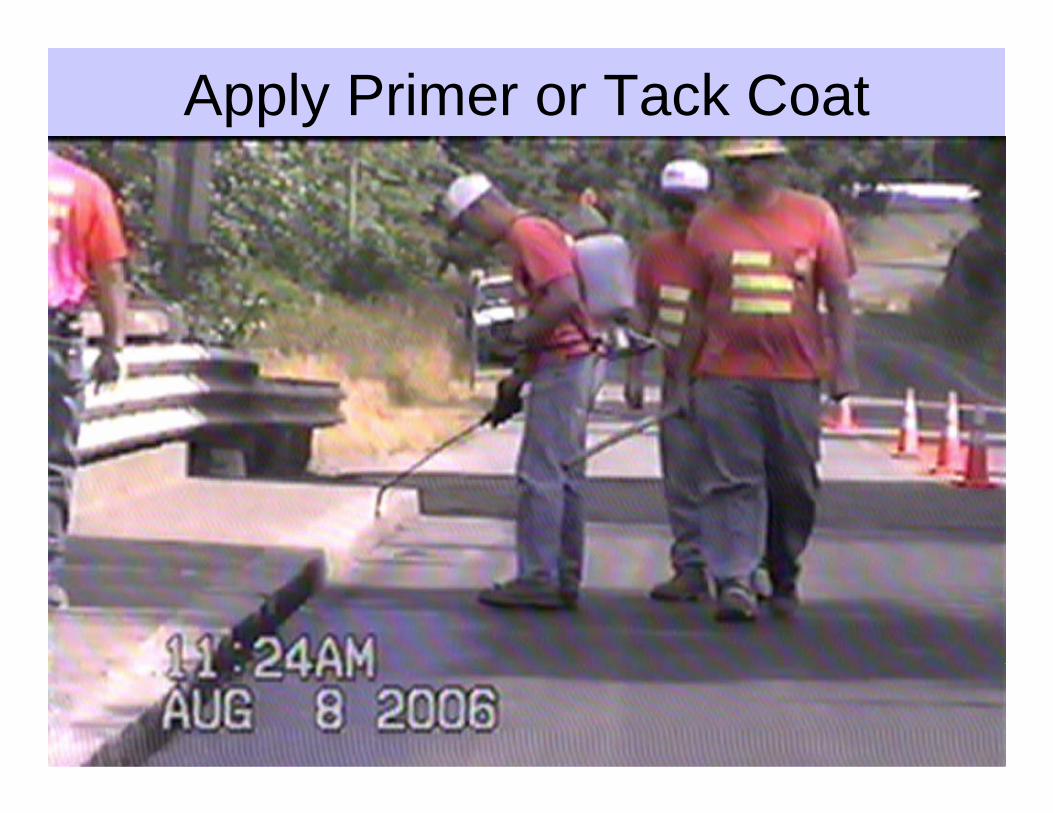
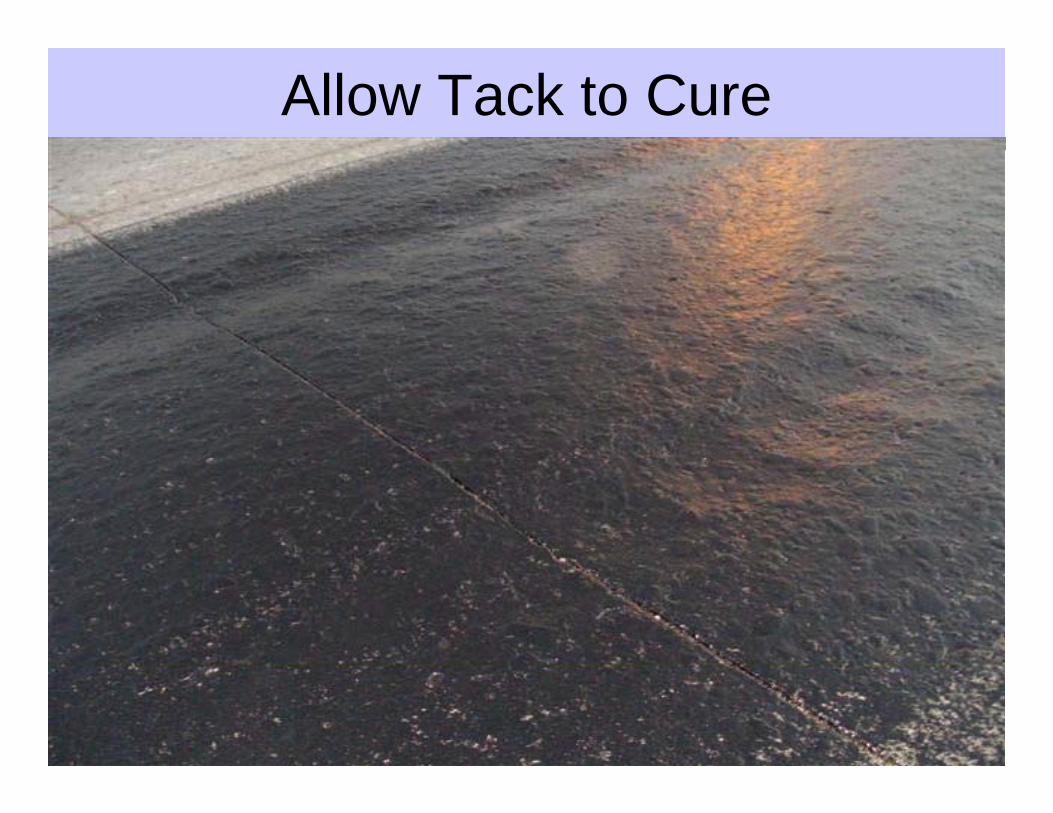
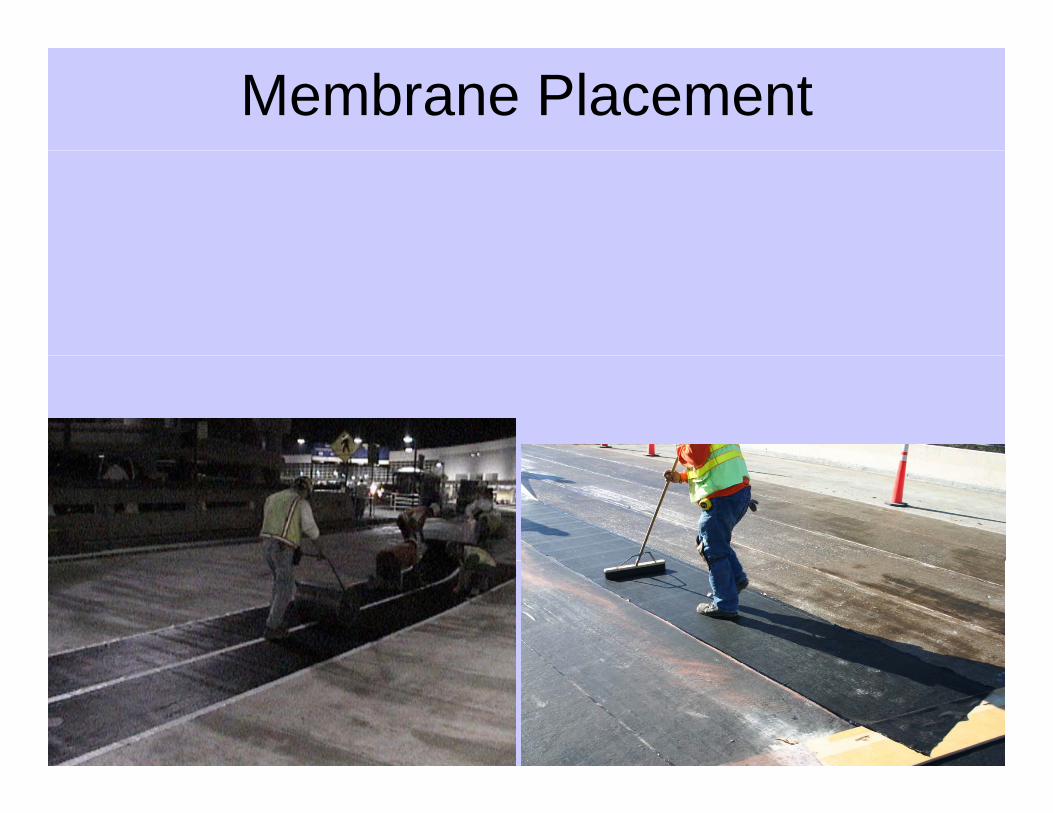
– Place membrane
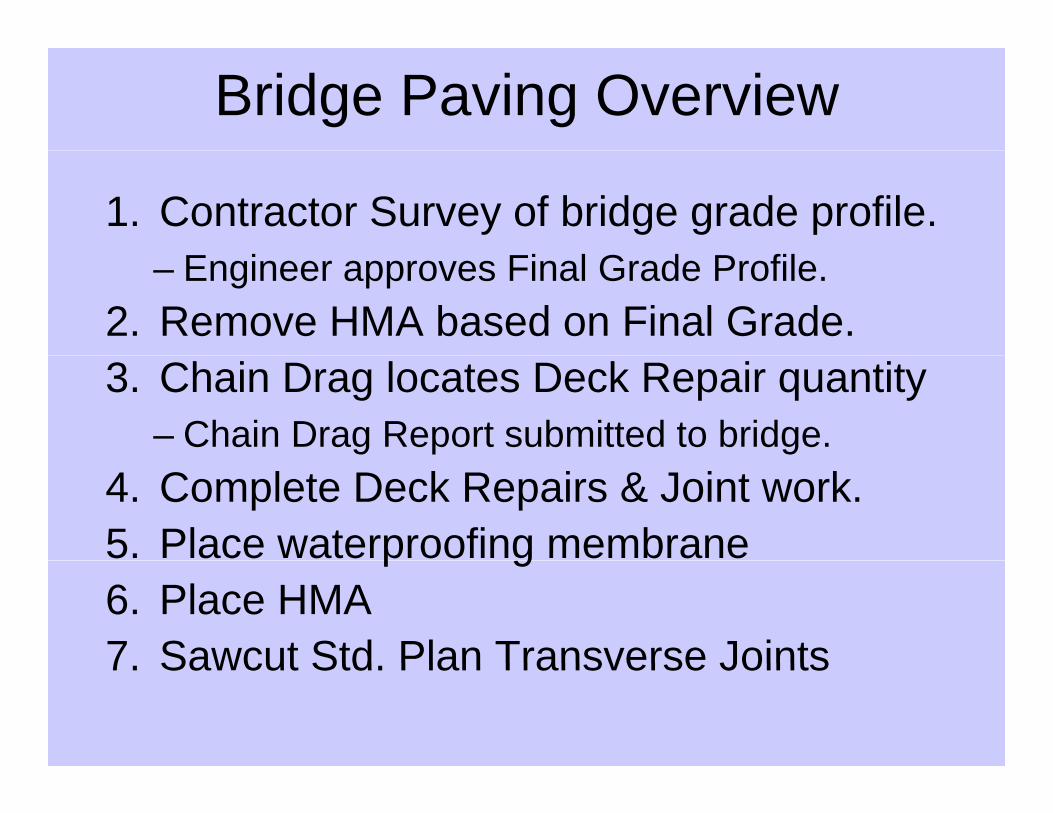
Bridge Paving Overview
1. Contractor Survey of bridge grade profile.– Engineer approves Final Grade Profile.
2. Remove HMA based on Final Grade.3. Chain Drag locates Deck Repair quantity
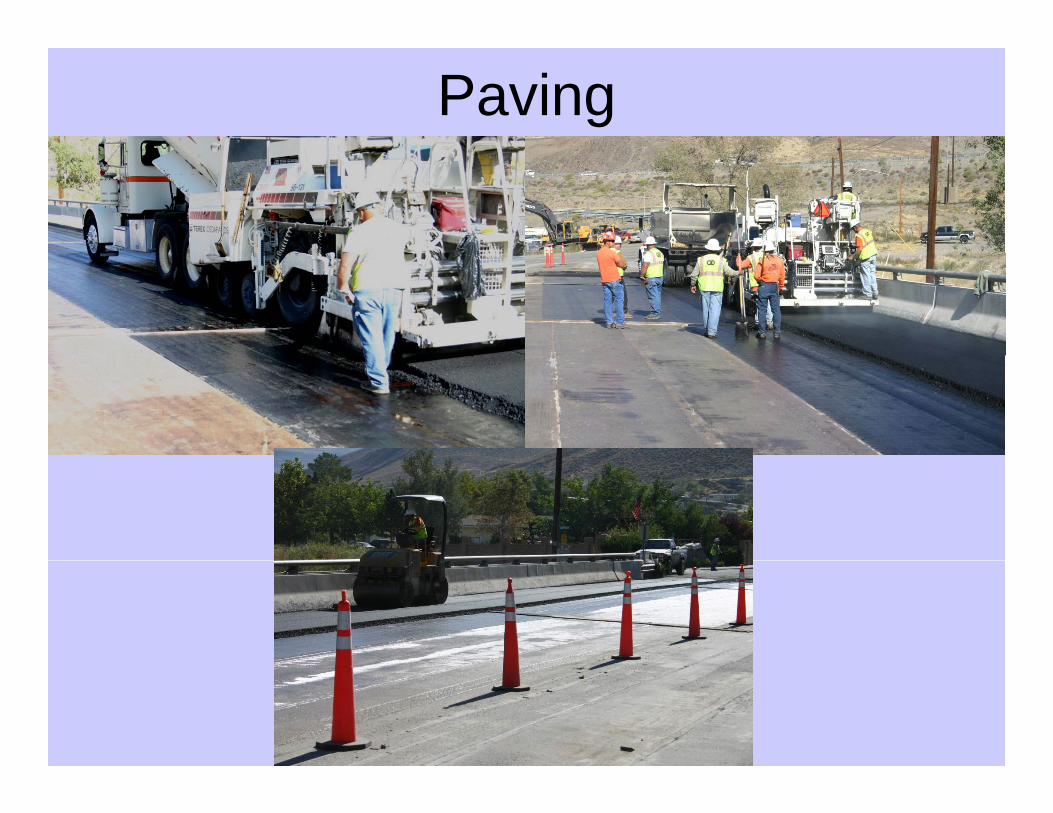
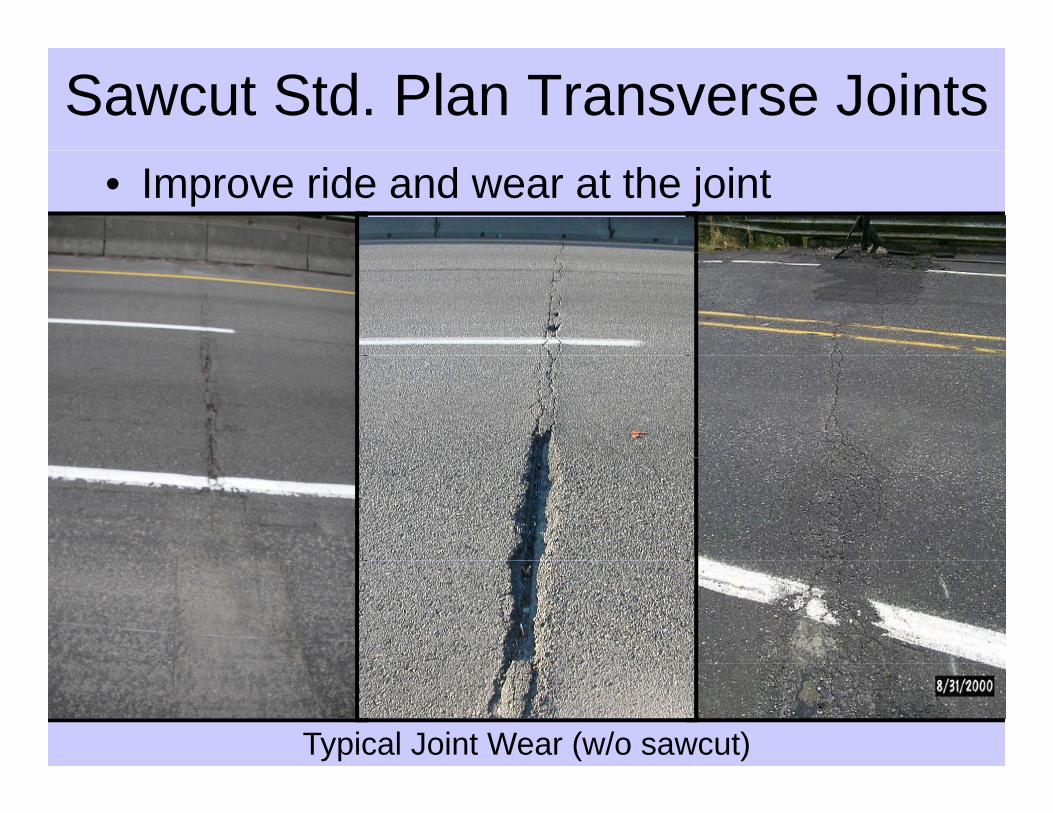
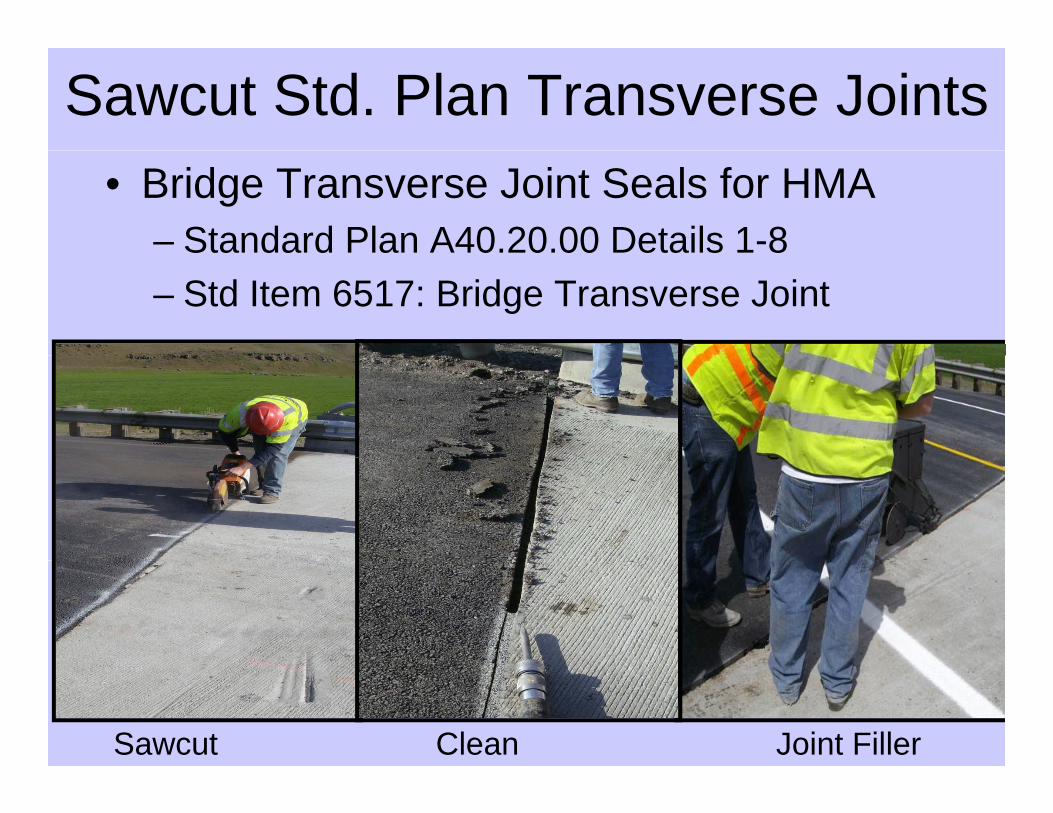
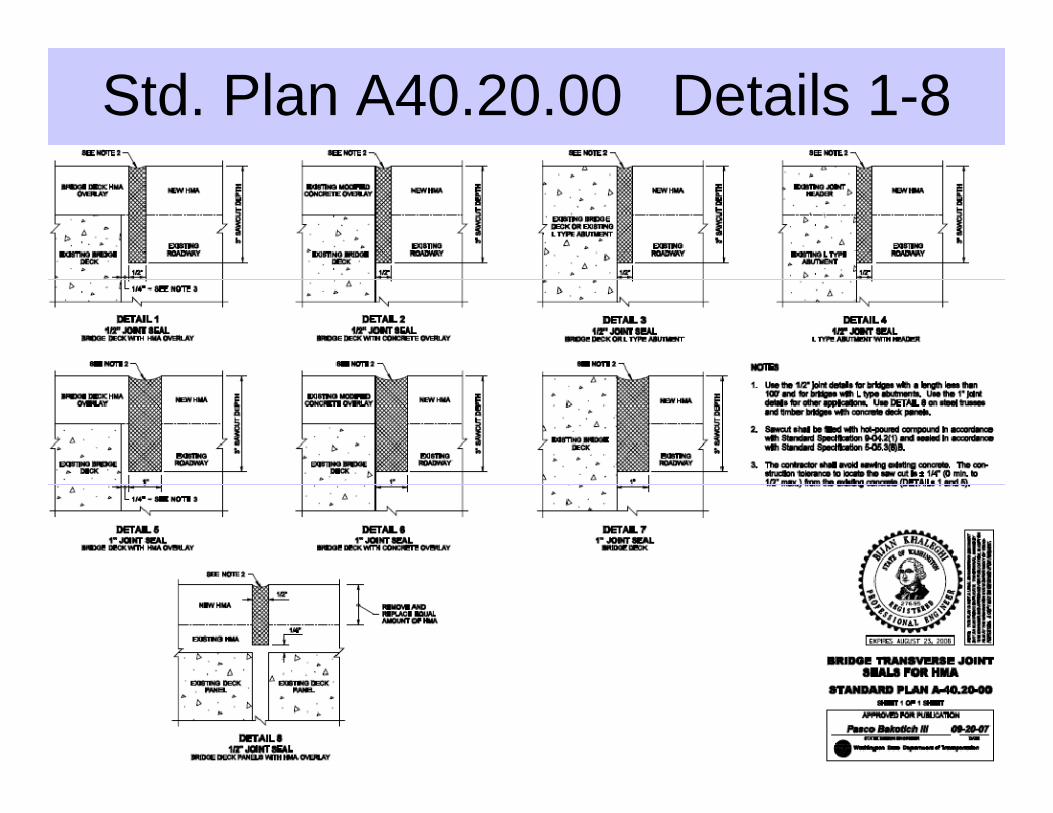
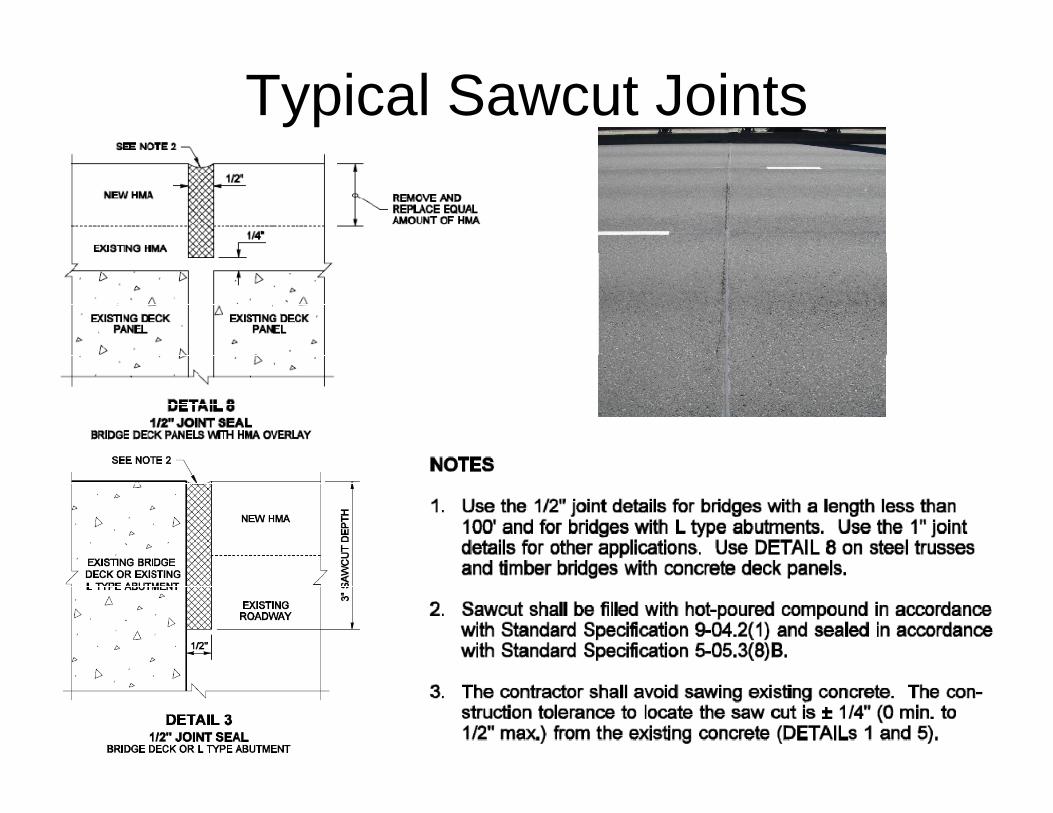
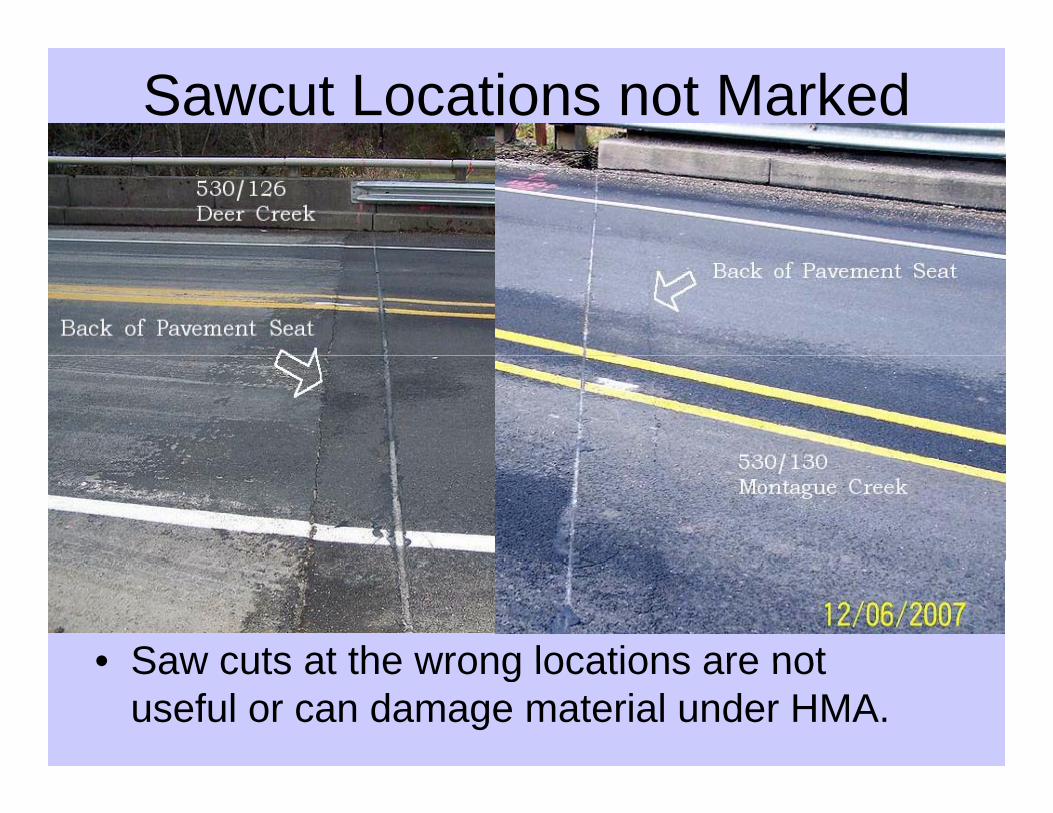
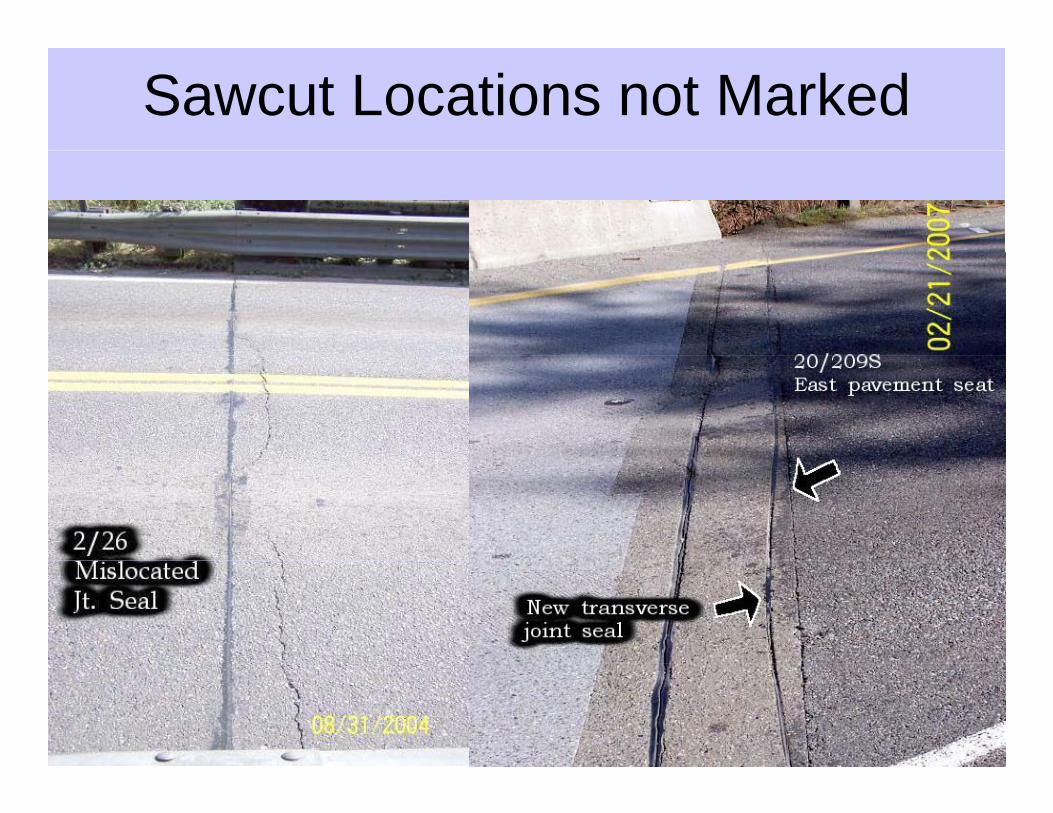
– Chain Drag Report submitted to bridge.4. Complete Deck Repairs & Joint work.5. Place waterproofing membranep g6. Place HMA7 Sawcut Std Plan Transverse Joints7. Sawcut Std. Plan Transverse Joints
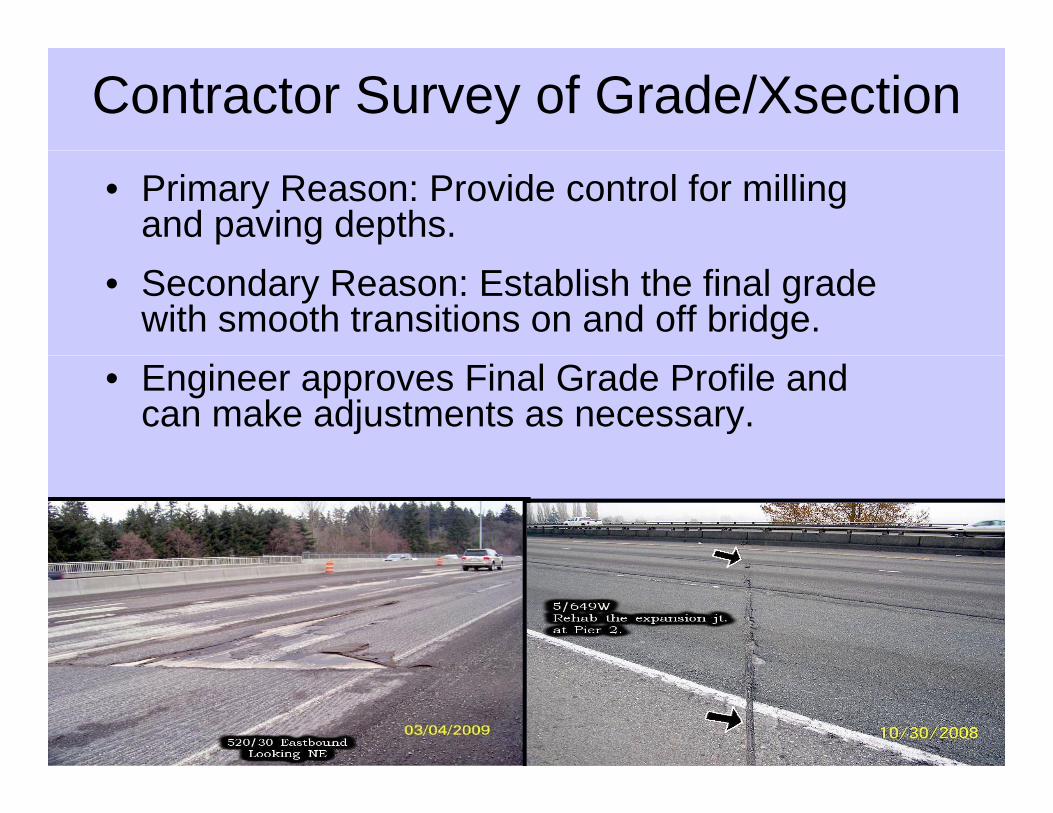
Contractor Survey of Grade/Xsection• Primary Reason: Provide control for milling
and paving depths. • Secondary Reason: Establish the final grade
with smooth transitions on and off bridge. • Engineer approves Final Grade Profile and
can make adjustments as necessary.
Contractor Survey of Grade/Xsection
• Deck Surveyed at 20’ spacing with addition points at joints.p j
• Paving depth is documented at all surveyed locations on deck.
Contractors method is not specified: PK nails small– Contractors method is not specified: PK nails, small concrete bit, or small cores.
Final Grade Approval• See internal Bridge website for Construction
Inspection for detailed instructions.
• Based field measurements, existing grade is checked for:checked for:– Plan depths may be significantly different
• If more than 0.25’, over milling may be appropriate.• If Plan milling removes deck concrete then milling and paving• If Plan milling removes deck concrete, then milling and paving
depth may need changing.– Smooth transition on and off the bridge
• Final grade approval is key bridge deck paving– Preserves bridge deck and membranes– Allows enforcement of poor contractor performance
Full Depth HMA Removal Specs• Removing HMA by non-milling methods is
encouraged but not required.• Rotor Head must have ¼” tooth spacing and• Rotor Head must have ¼ tooth spacing and
equipment with good grade control.– Contractor will unacceptable equipment must leave 0.04’
or ½” of HMA and remove it with other methodsor ½ of HMA and remove it with other methods.• Maximum milling depth is measured from the Final
Grade Profile to bottom of the mill head tooth strike.Rotomilling will remove up to ½” of rebar concrete cover– Rotomilling will remove up to ½ of rebar concrete cover. The third resurfacing overlay will start removing deck rebar.
– Documents HMA depths @ surveyed pointsDocuments HMA depths @ surveyed points• PK nails, small concrete bit, or small cores.
• Small areas < 5 SF tightly bonded may be left in• Small areas < 5 SF tightly bonded may be left in place with approval of engineer.
Mill/Fill Specs
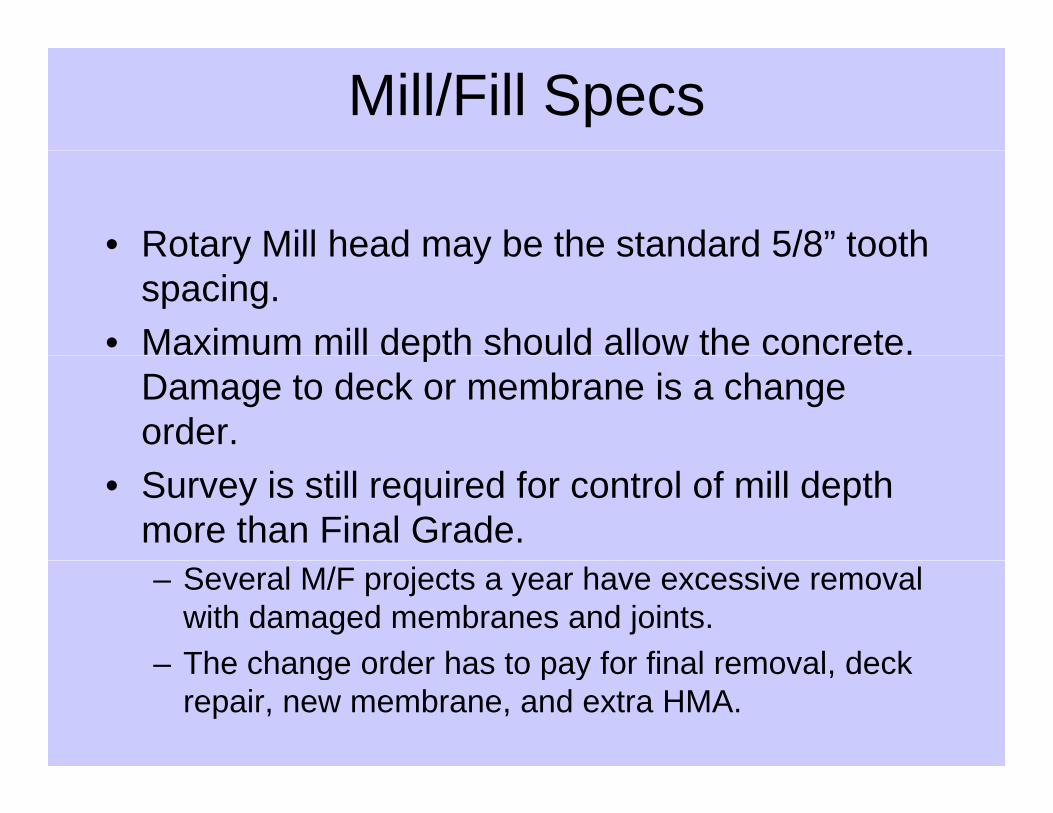
• Rotary Mill head may be the standard 5/8” toothRotary Mill head may be the standard 5/8 tooth spacing.
• Maximum mill depth should allow the concrete. pDamage to deck or membrane is a change order.
• Survey is still required for control of mill depth more than Final Grade.– Several M/F projects a year have excessive removal
with damaged membranes and joints.The change order has to pay for final removal deck– The change order has to pay for final removal, deck repair, new membrane, and extra HMA.
Rotary Milling Specs
• Prior to milling operationsPrior to milling operations– Mill head tooth spacing = ¼”
Mill head tooth length within 3/8”– Mill head tooth length within 3/8– Document HMA depths @ surveyed points
• Use PK nails or small concrete bit• Use PK nails or small concrete bit
Ideal Deck Surface after Removal with other methodswith other methods
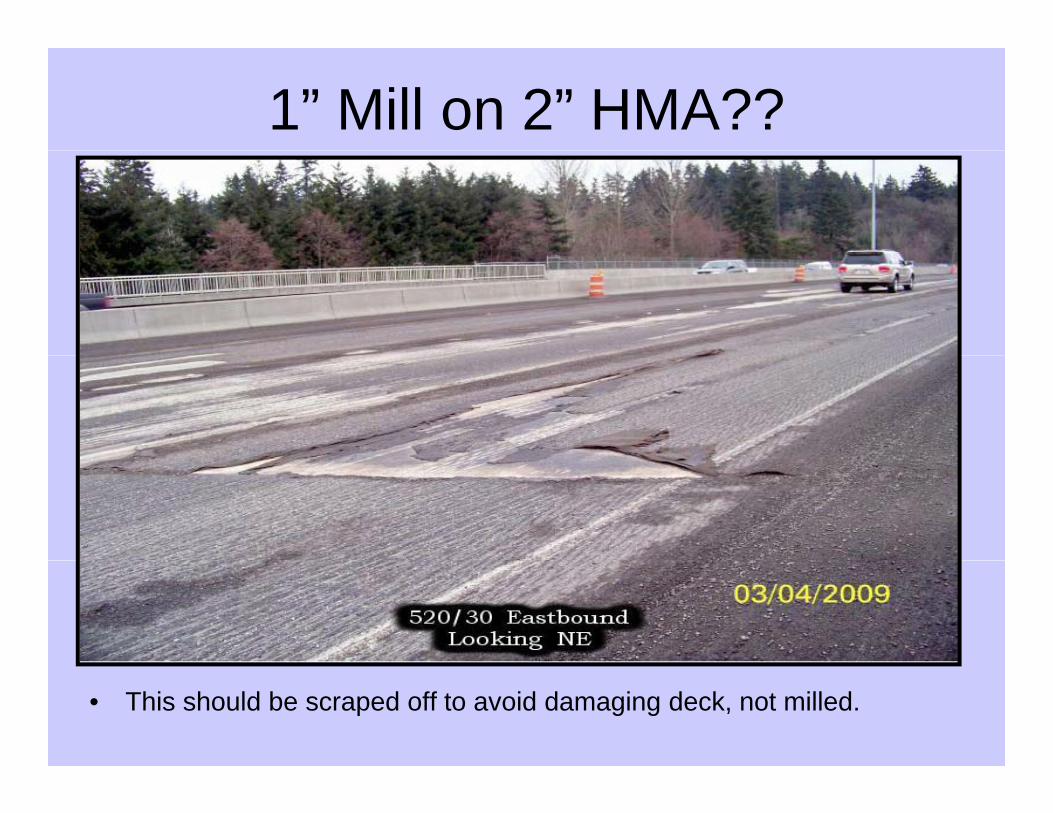
1” Mill on 2” HMA??
• This should be scraped off to avoid damaging deck, not milled.
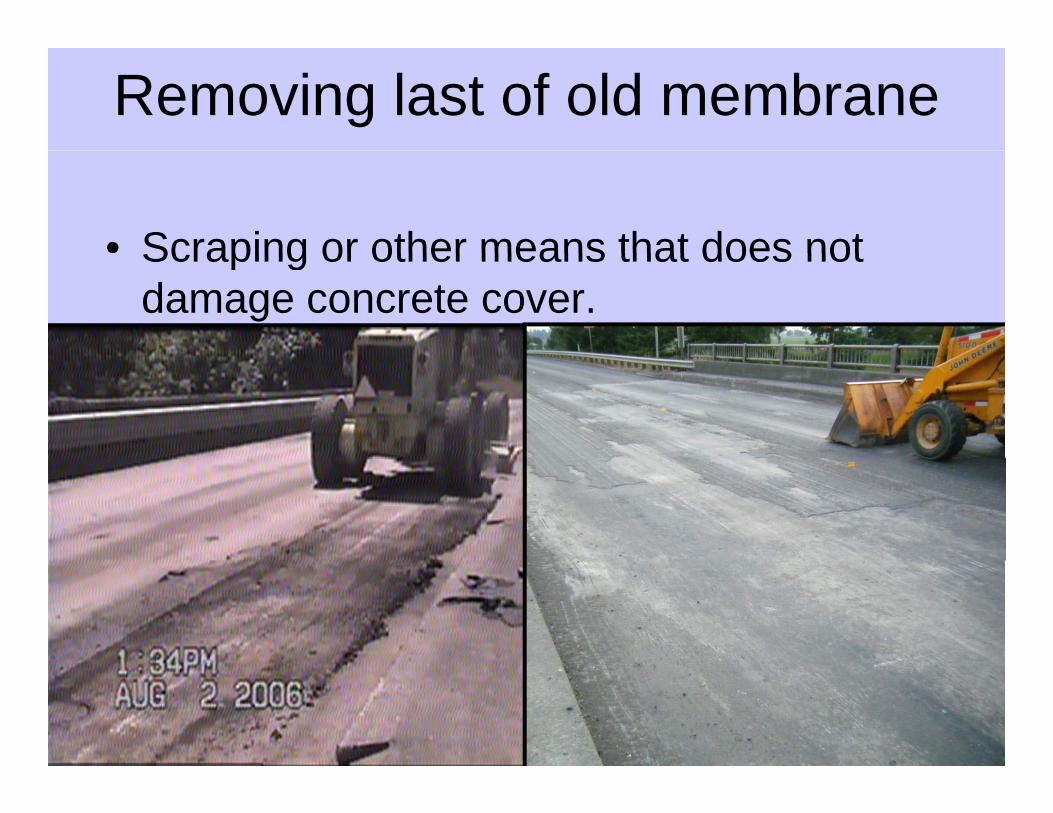
Removing last of old membrane
• Scraping or other means that does notScraping or other means that does not damage concrete cover.
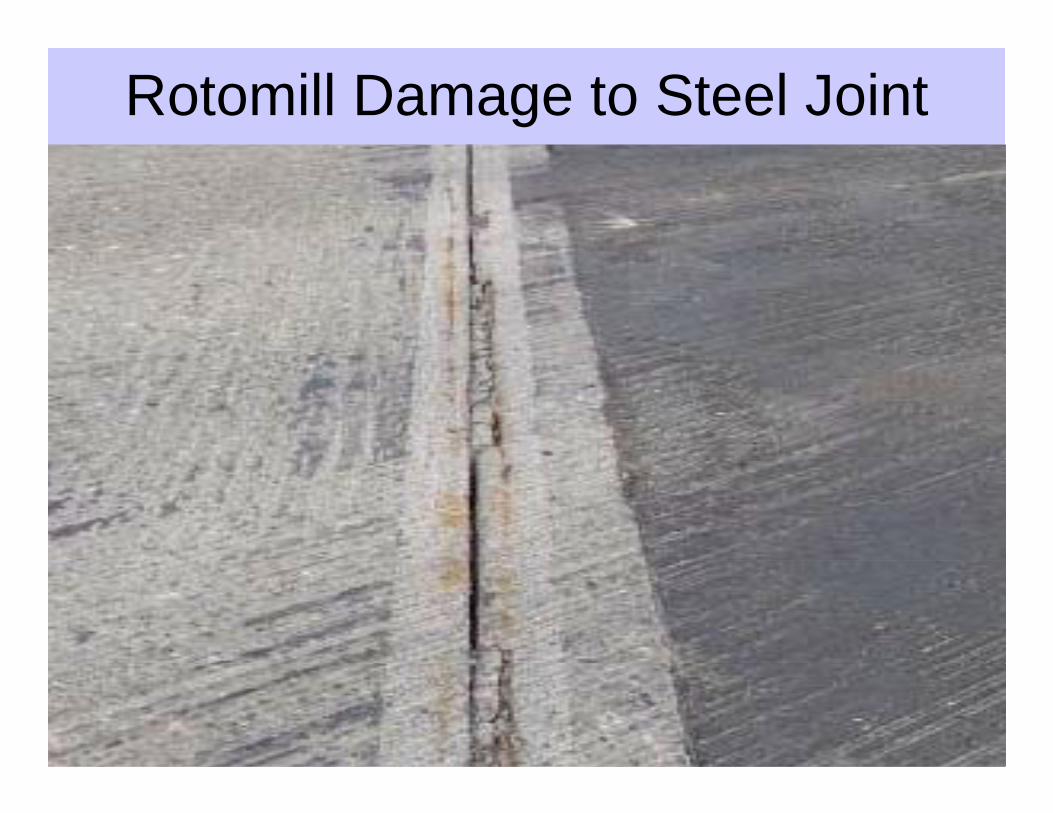
ROTOMILLING DAMAGES BRIDGE DECKS
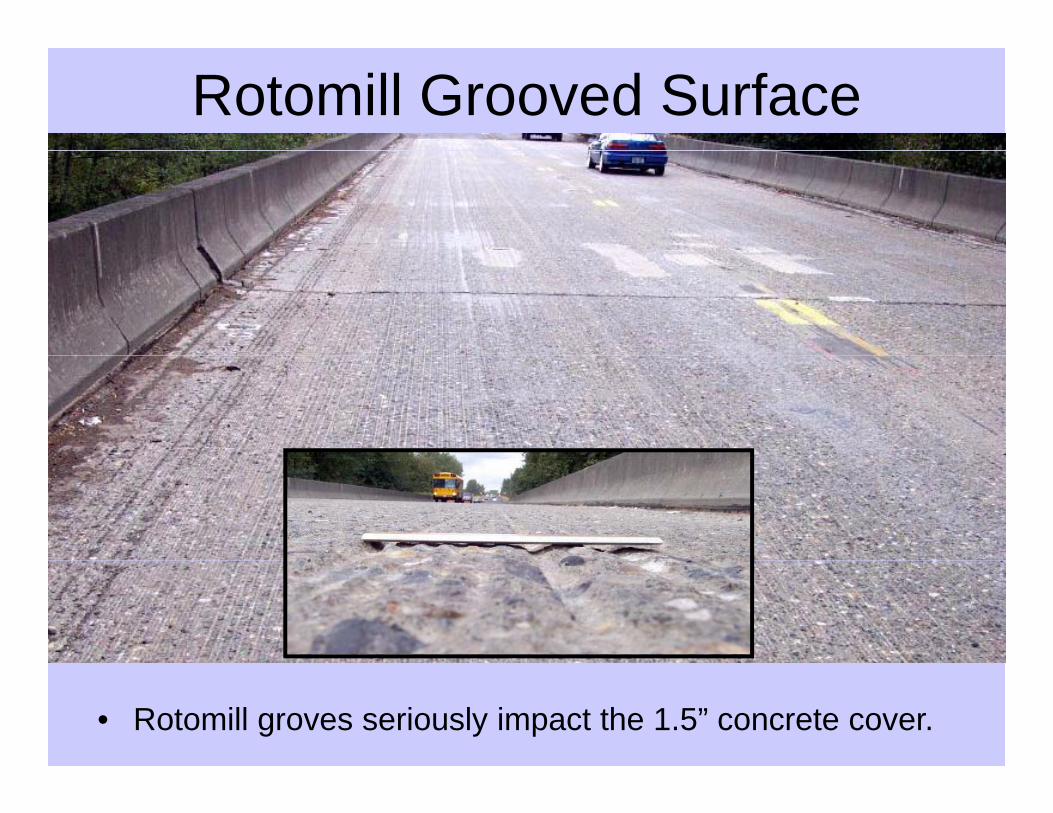
Rotomill Grooved Surface
• Rotomill groves seriously impact the 1.5” concrete cover.
Rotomill Damage to Steel Joint
Chain Drag Bridge Deck
• Chaining defines deck repair areaChaining defines deck repair area• Region Materials should be contacted
three days prior to HMA removalthree days prior to HMA removal.– Mats Lab will provide personnel or provide
training for chain dragtraining for chain drag.• Chain Drag Report is documents critical
i f ti d b th B id Offi tinformation used by the Bridge Office to manage the deck. Extremely important!
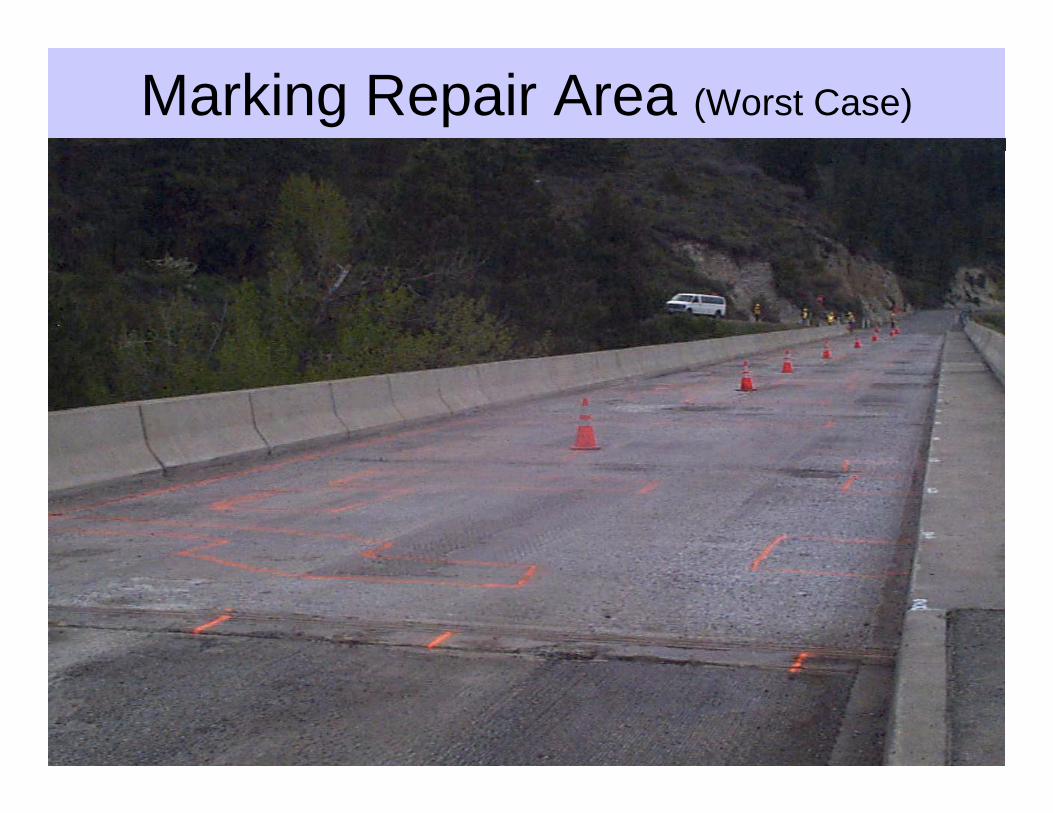
Marking Repair Area (Worst Case)
• Available on Bridge websiteg– www.wsdot.wa.gov/eesc/bridge/bridgeoverlays/– Download Chain Drag Results Excel Spreadsheet
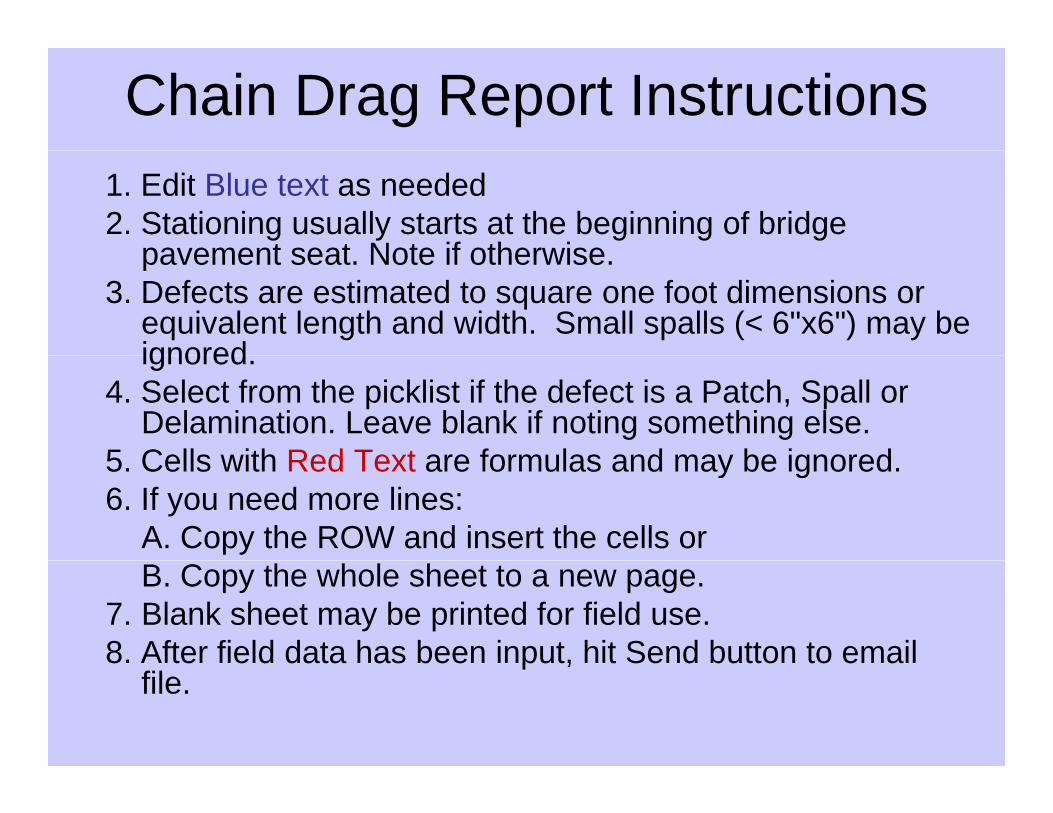
Chain Drag Report Instructions1. Edit Blue text as needed2. Stationing usually starts at the beginning of bridge
pavement seat Note if otherwisepavement seat. Note if otherwise. 3. Defects are estimated to square one foot dimensions or
equivalent length and width. Small spalls (< 6"x6") may be ignoredignored.
4. Select from the picklist if the defect is a Patch, Spall or Delamination. Leave blank if noting something else.
5 Cells with Red Text are formulas and may be ignored5. Cells with Red Text are formulas and may be ignored.6. If you need more lines:
A. Copy the ROW and insert the cells or B. Copy the whole sheet to a new page.
7. Blank sheet may be printed for field use.8. After field data has been input, hit Send button to email 8 te e d data as bee put, t Se d butto to e a
file.
• Note new patches vs. oldS ll ill b bl f th HMA• Spalls area will be a problem for the HMA
• All information is helpful & stored with the deck for the next overlay or rehabilitationfor the next overlay or rehabilitation
• Photos are welcomed in the email
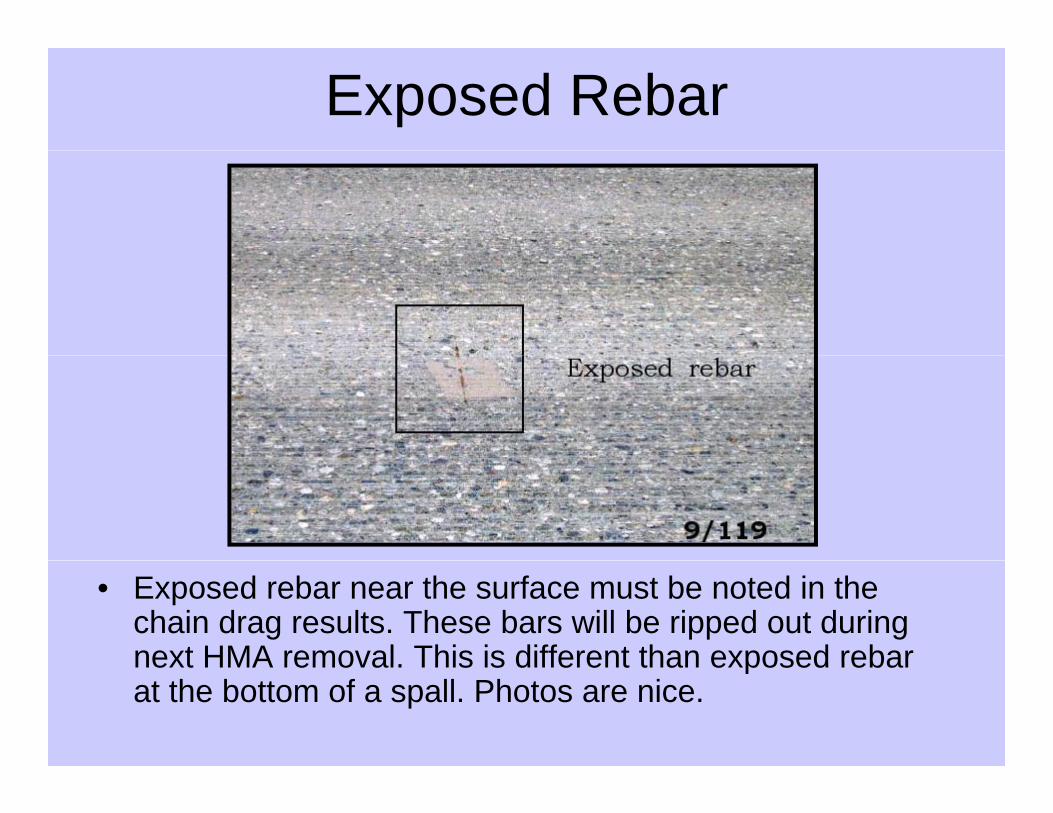
Exposed Rebar
• Exposed rebar near the surface must be noted in the chain drag results. These bars will be ripped out during next HMA removal This is different than exposed rebarnext HMA removal. This is different than exposed rebar at the bottom of a spall. Photos are nice.
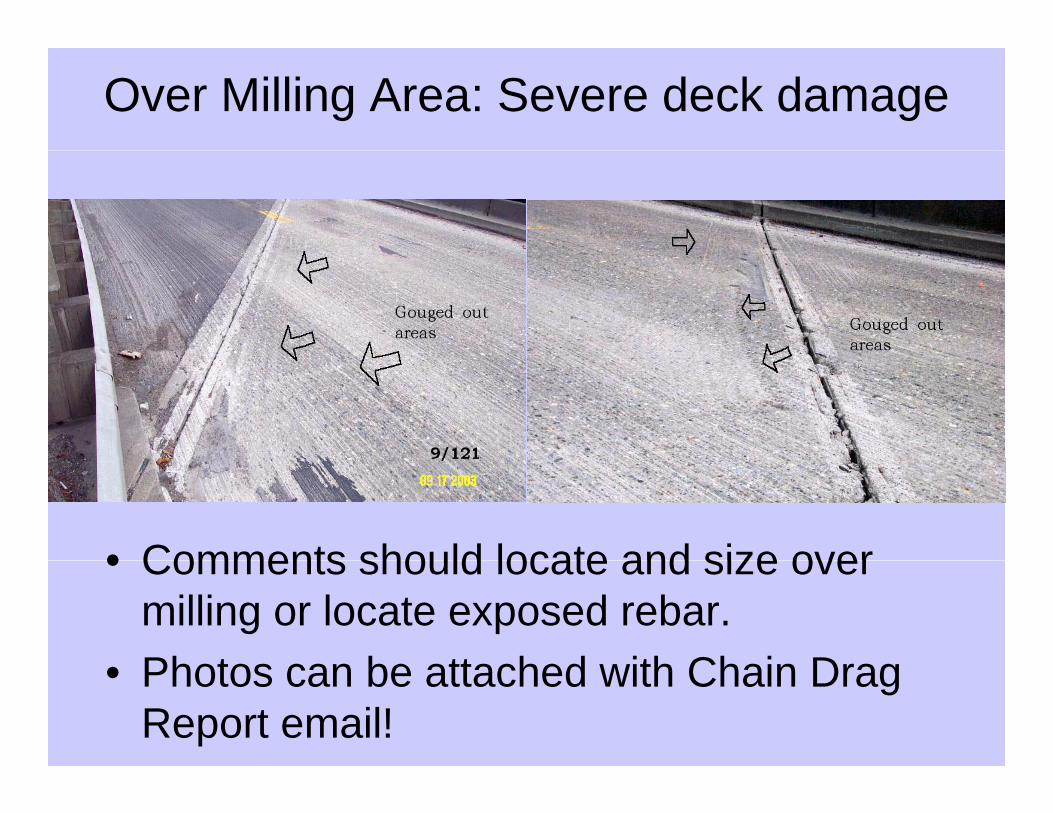
Over Milling Area: Severe deck damage
• Comments should locate and size over• Comments should locate and size over milling or locate exposed rebar.Ph t b tt h d ith Ch i D• Photos can be attached with Chain Drag Report email!
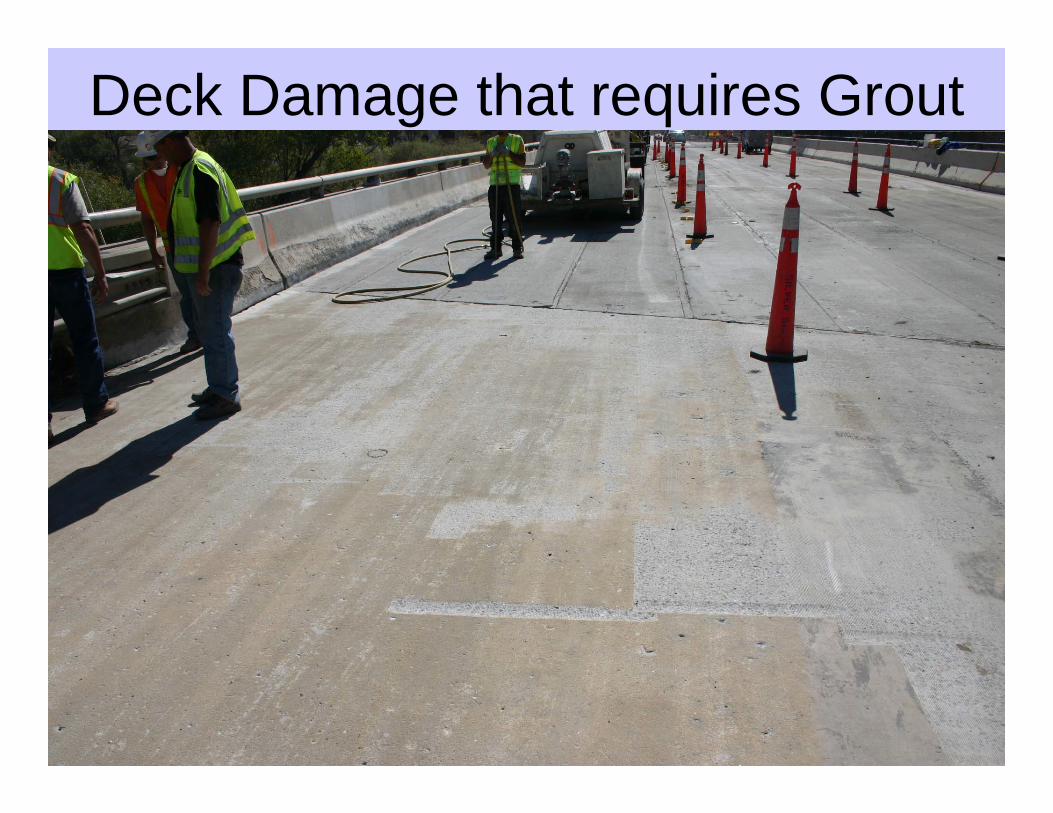
Deck Damage that requires Grout
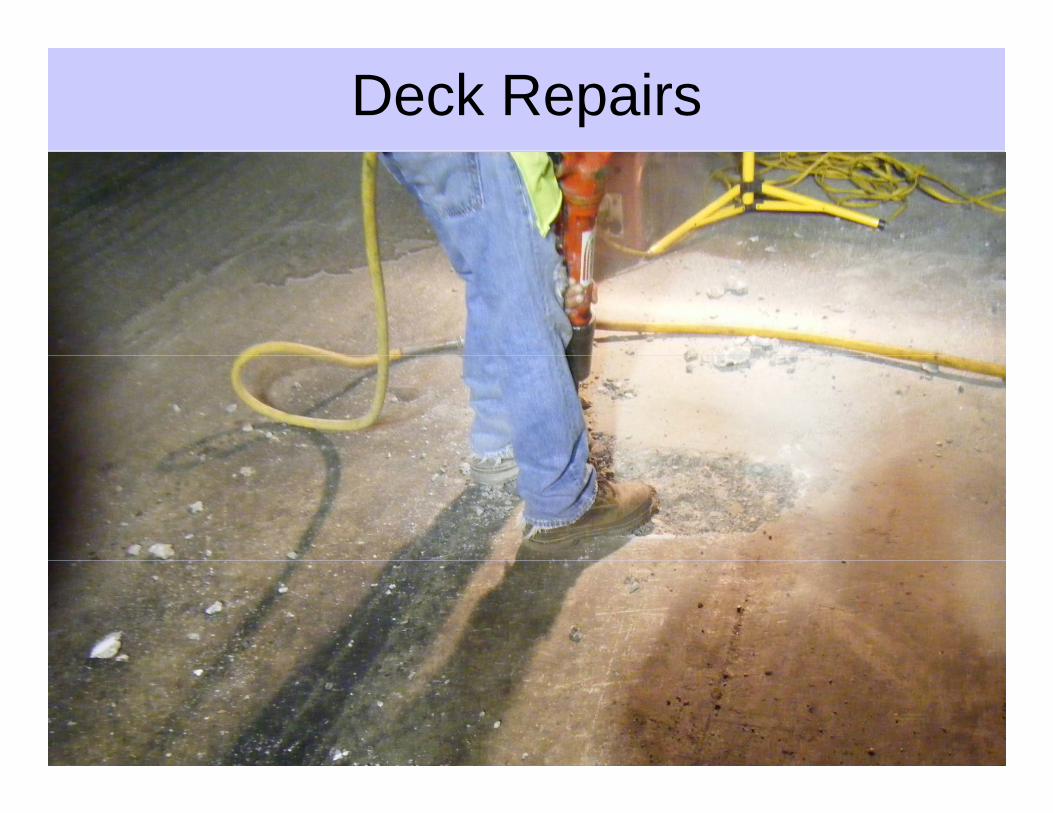
Deck Repairs
Std Item 4451 Bridge Deck Repair (SF)
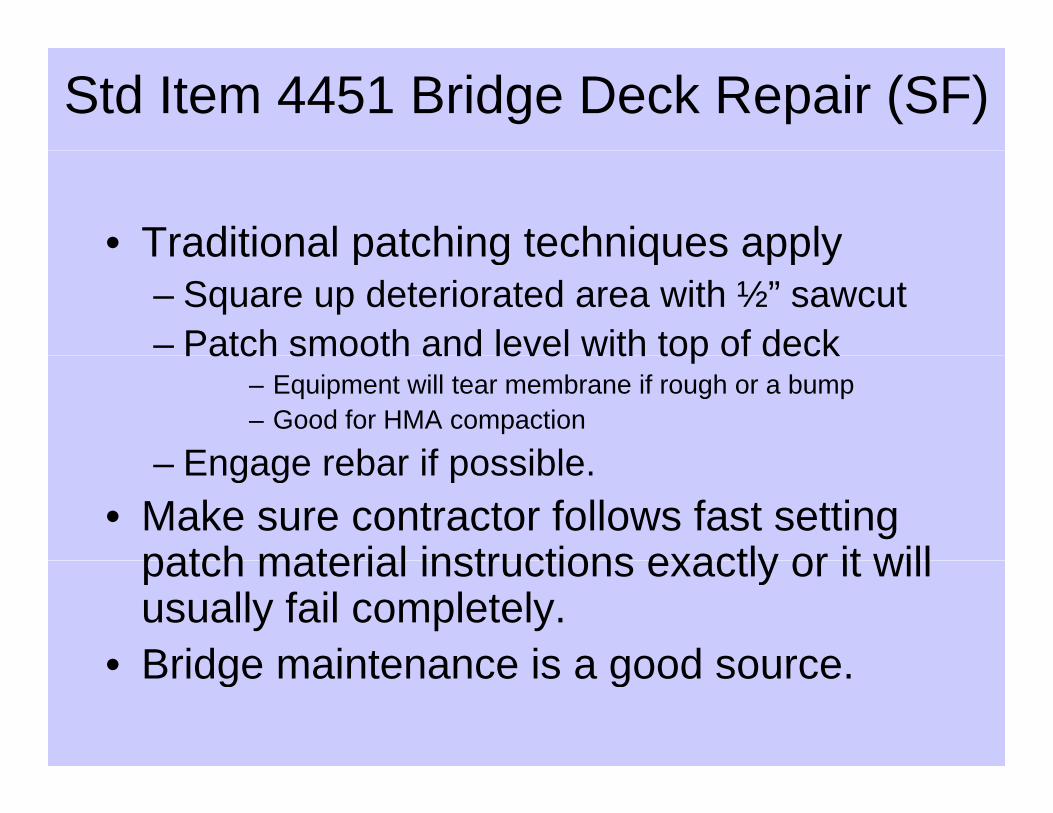
• Traditional patching techniques applyTraditional patching techniques apply– Square up deteriorated area with ½” sawcut – Patch smooth and level with top of deckPatch smooth and level with top of deck
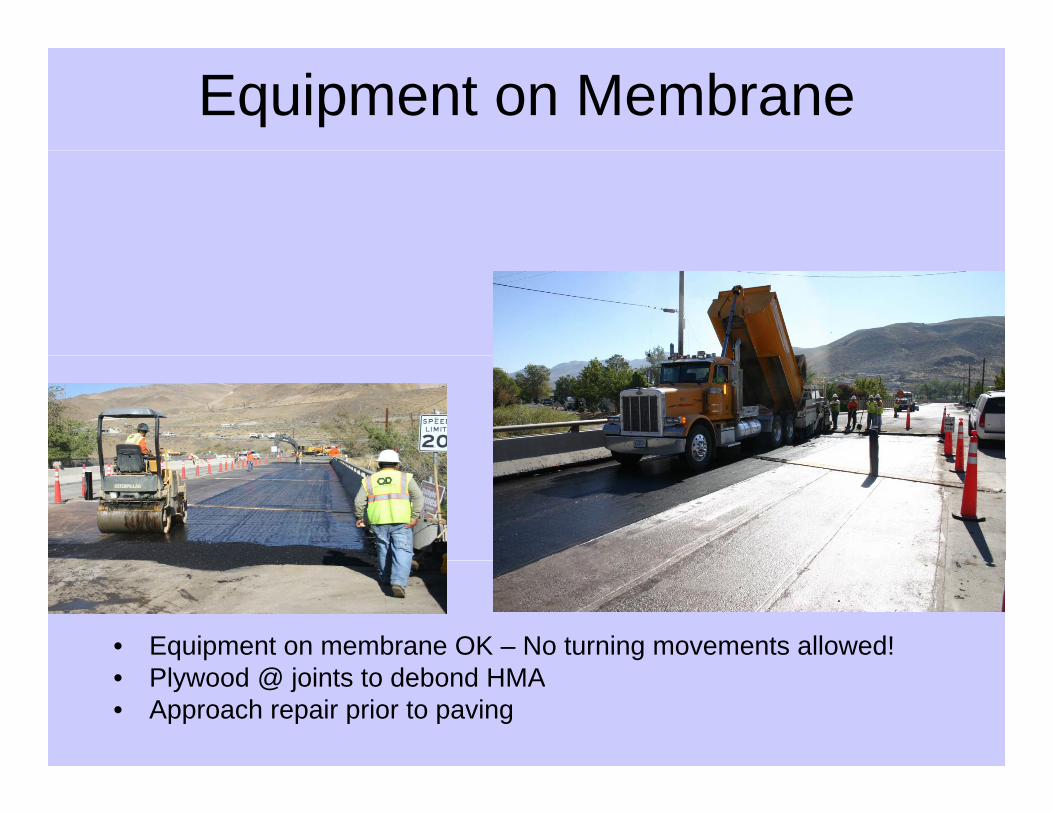
– Equipment will tear membrane if rough or a bump– Good for HMA compaction
Engage rebar if possible– Engage rebar if possible.• Make sure contractor follows fast setting
patch material instructions exactly or it willpatch material instructions exactly or it will usually fail completely.
• Bridge maintenance is a good source• Bridge maintenance is a good source.
Bad Patch Material under HMA
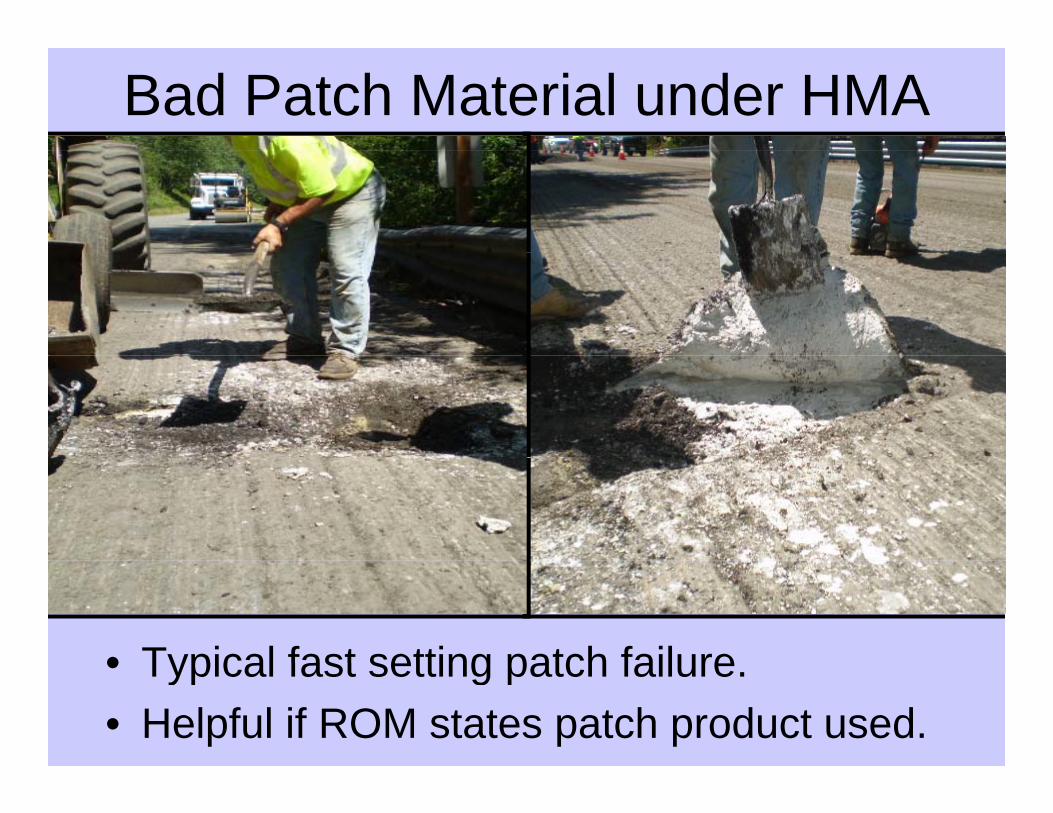
• Typical fast setting patch failure• Typical fast setting patch failure.• Helpful if ROM states patch product used.
Deck Repair Quantities• Usually unknown quantity below HMA
– May have Chain Drag Report from previous contracts.
– Bare concrete can be Chained prior to work• Normally HMA will look worse than the deck
162/15 Good Deck w/HMA patches 162/22 Very Bad Deck
Deck Repair Quantities
• Contract Quantity is an estimateContract should attempt to complete all repairs– Contract should attempt to complete all repairs
– If repairs are excessive, get the worst areas.– Chain Drag Report documents this for the next contract– Chain Drag Report documents this for the next contract.– Future concrete overlay may be required instead of HMA.
• Extending closure for deck repair is justified
Completed Deck Repairs
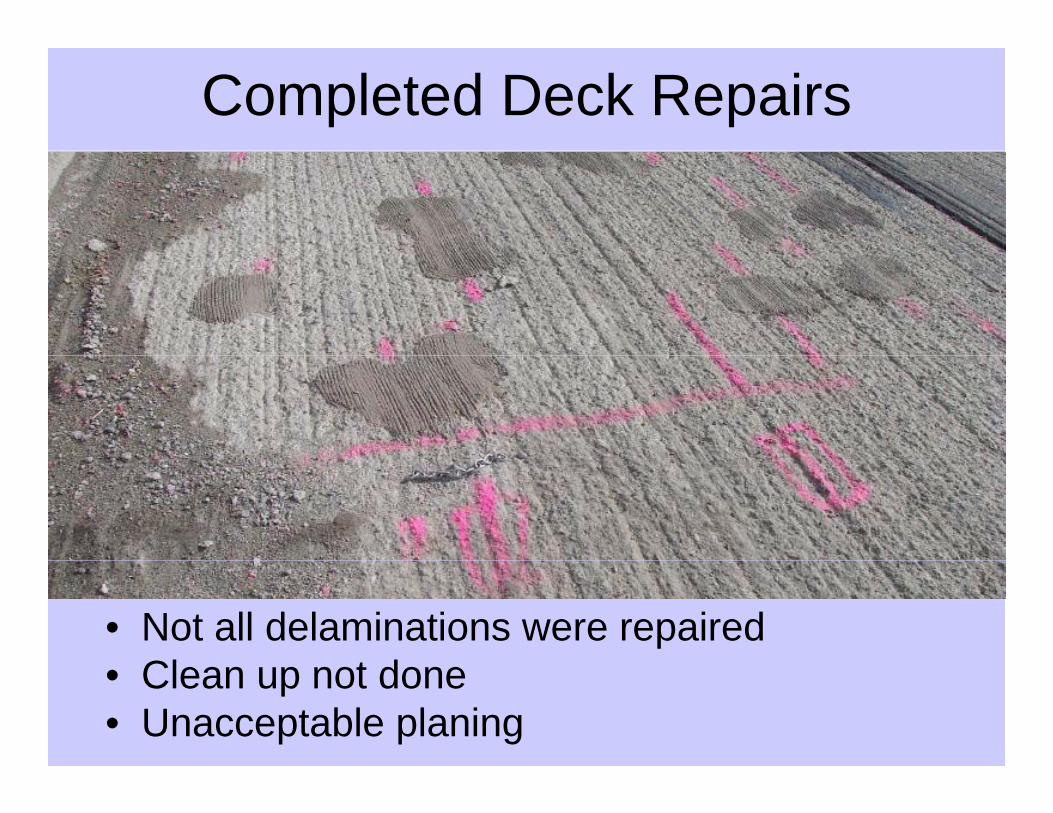
• Not all delaminations were repairedCl t d• Clean up not done
• Unacceptable planing
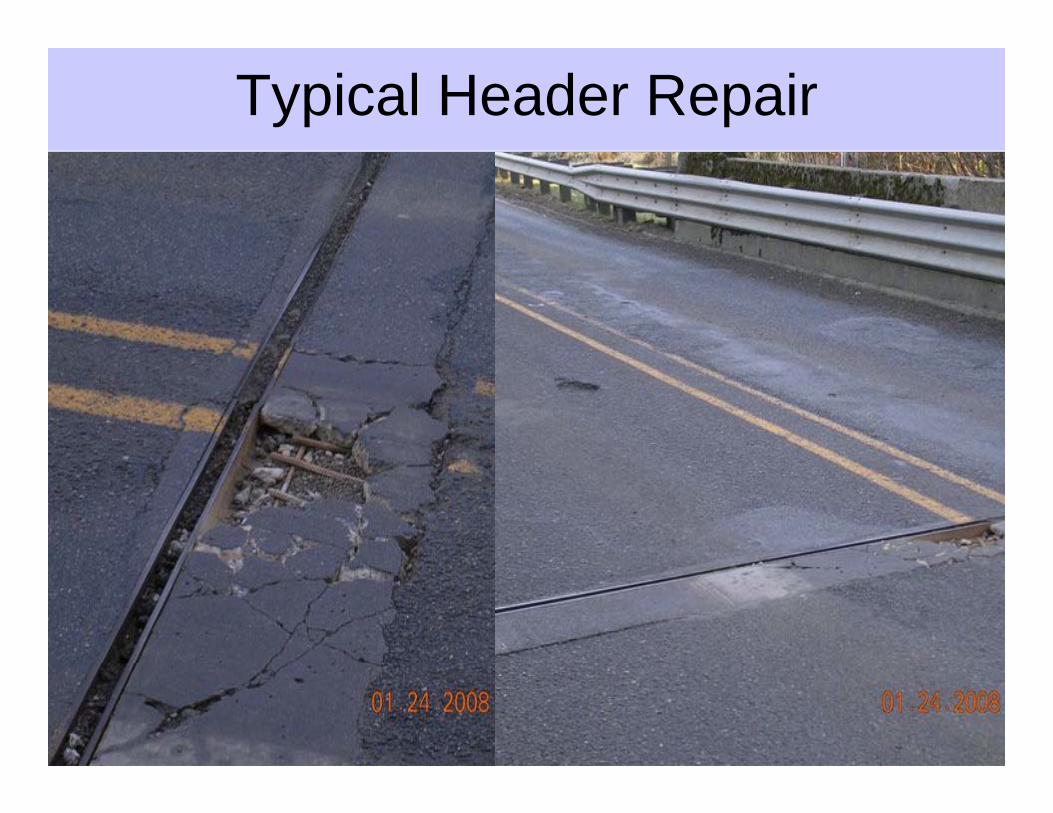
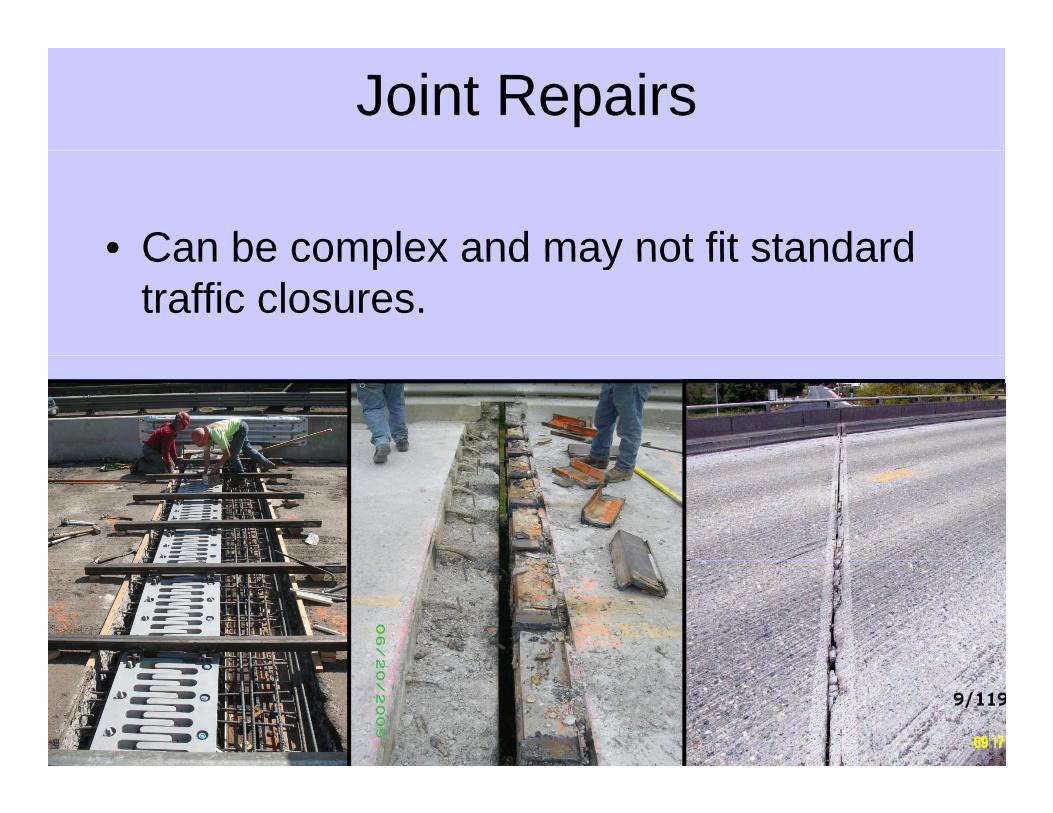
Joint Repairs & Headers
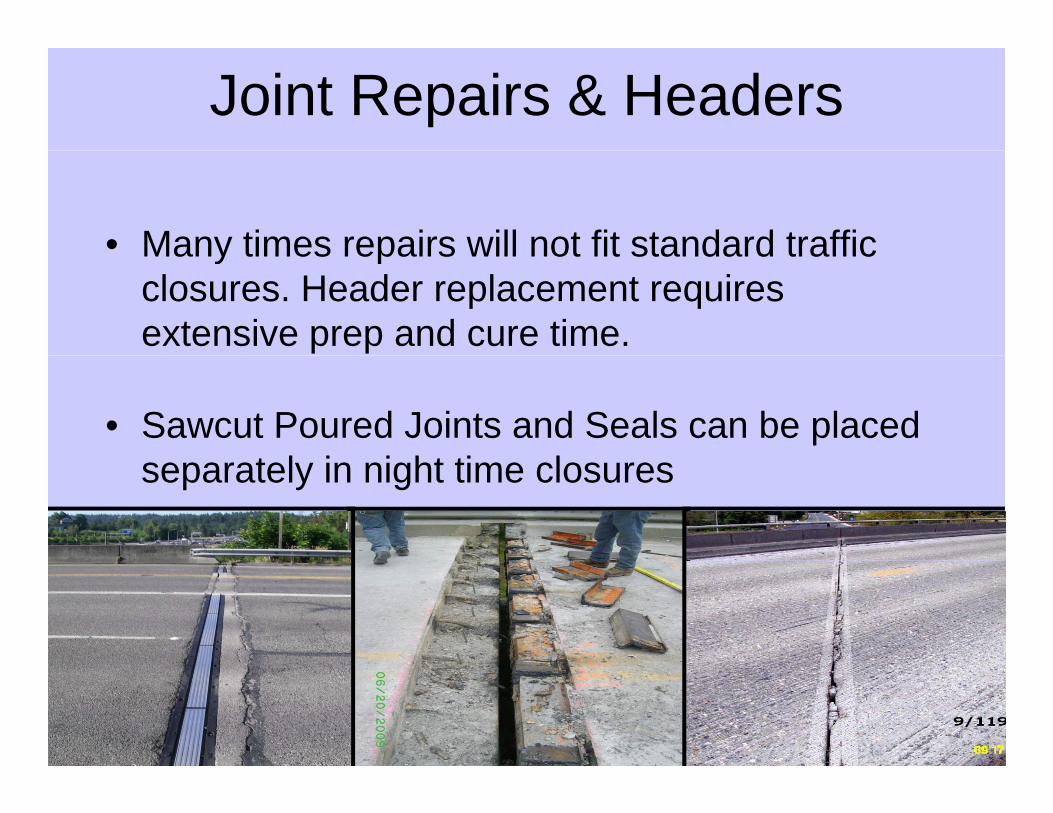
• Many times repairs will not fit standard trafficMany times repairs will not fit standard traffic closures. Header replacement requires extensive prep and cure time.
• Sawcut Poured Joints and Seals can be placed t l i i ht ti lseparately in night time closures